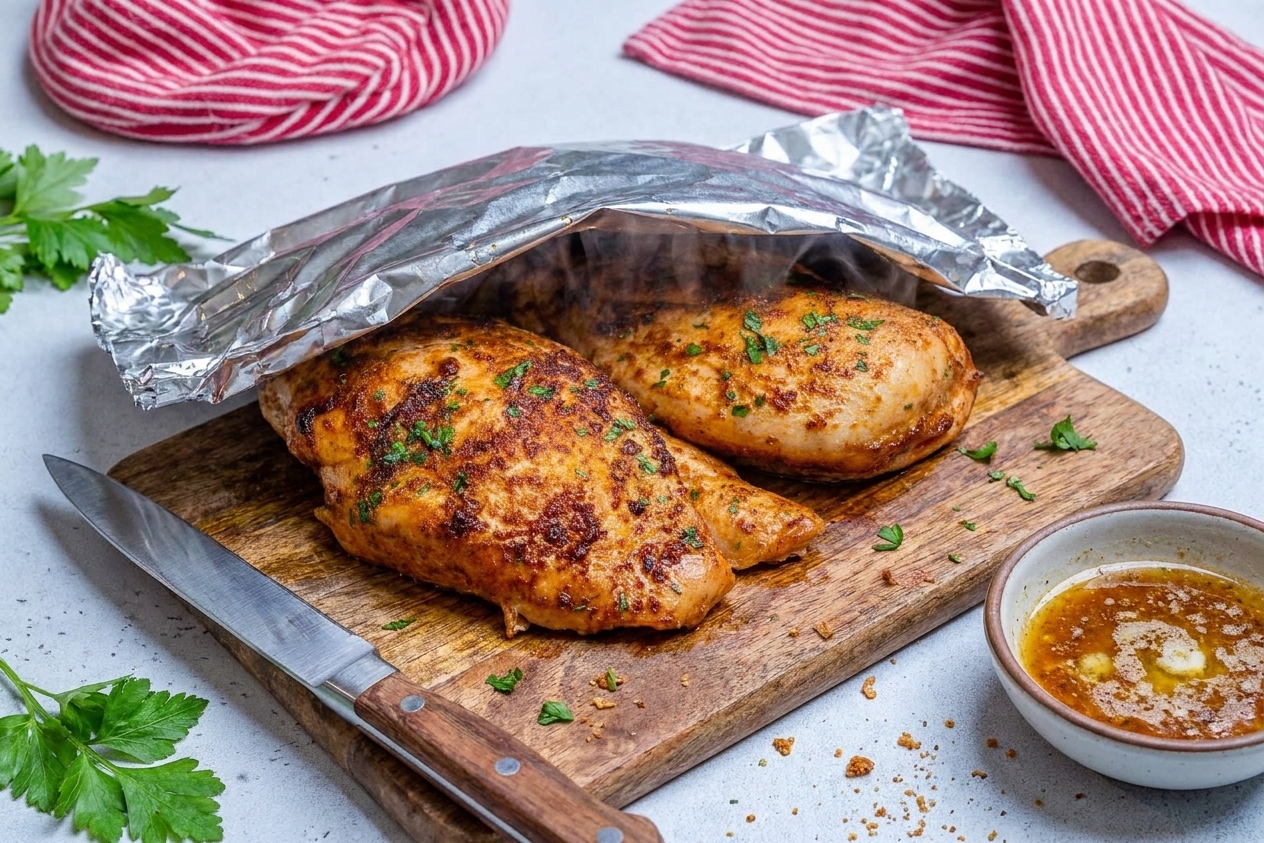
Chicken breast can be a weeknight hero, but it has one big flaw: it goes from juicy to Sahara-dry in what feels like 90 seconds. The good news is that juicy baked chicken breast is less about secrets and more about a few non-negotiable habits: even thickness, enough salt, the right oven temp, and pulling it at the correct internal temperature.
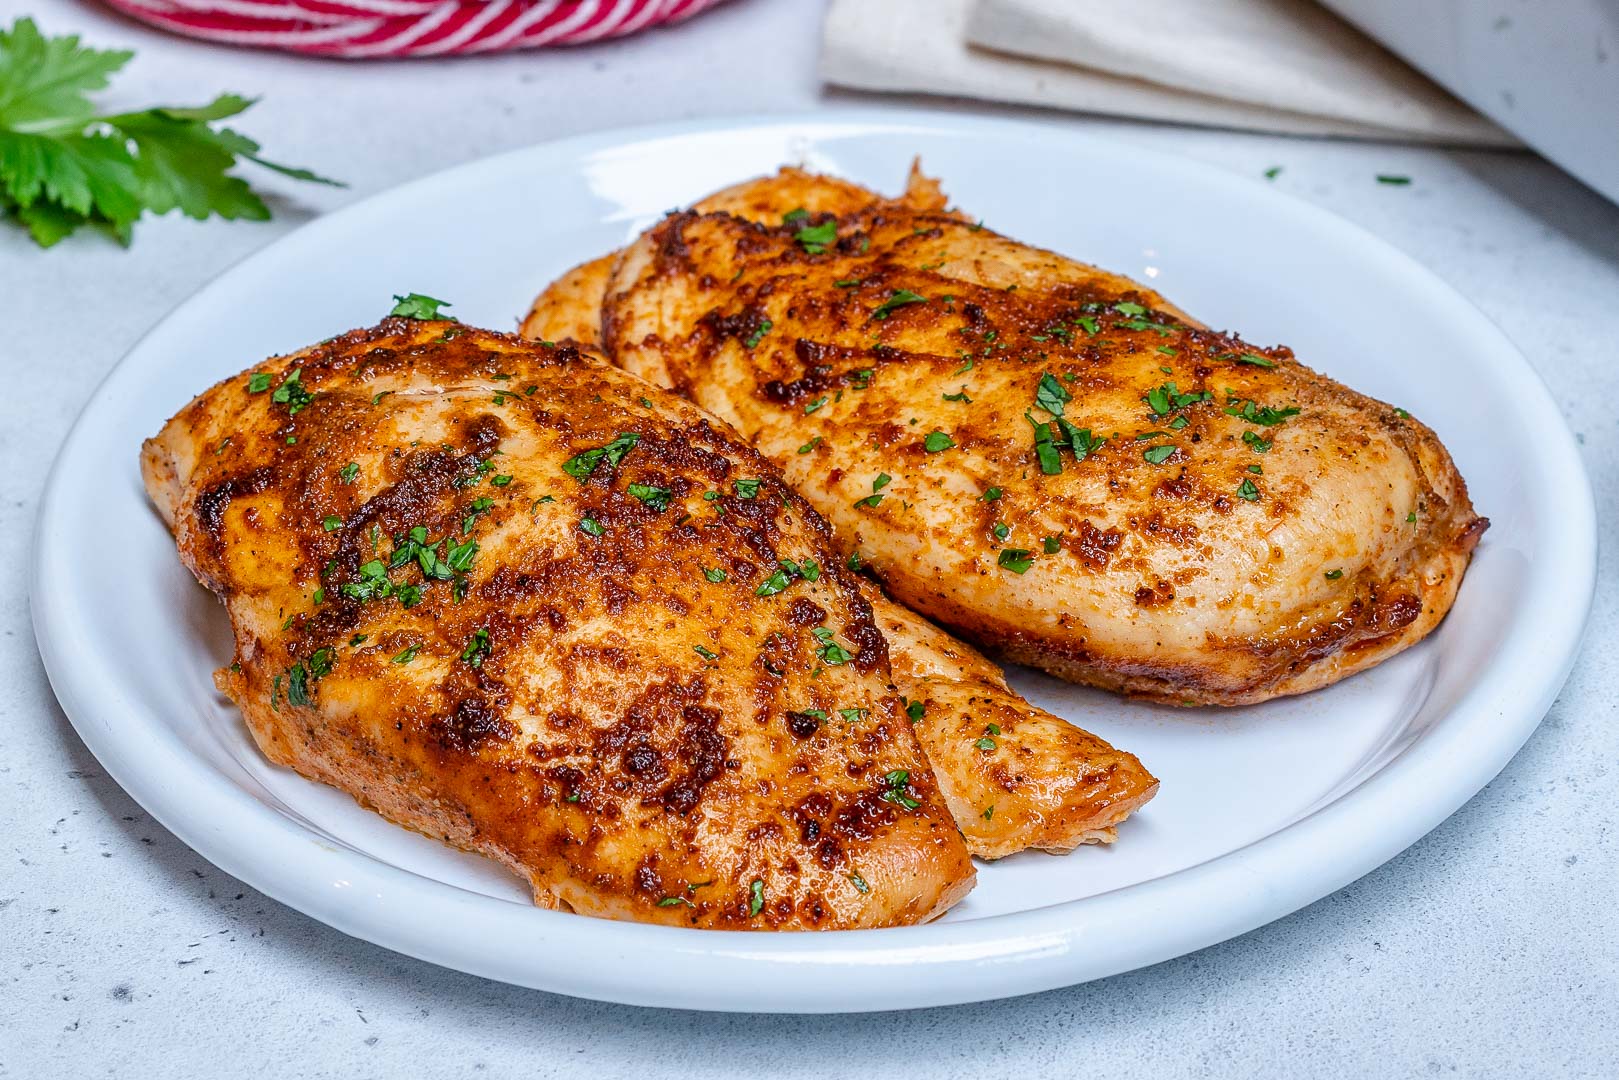
Why baked chicken breast turns dry
Dry chicken usually comes from one (or a combo) of these issues:
- Overcooking: Chicken breast is very lean. Past the target temp, it squeezes out moisture fast.
- Uneven thickness: The thin end overcooks while the thick end catches up.
- Not enough salt: Salt helps meat hold on to moisture. Under-salted chicken tastes dry even if it is technically cooked correctly.
- Oven too low: Lower temps mean longer cook time, which gives moisture more time to escape. The outside can dry out before the center is ready, especially with thinner pieces.
- Skipping rest time: Cutting immediately lets juices run out onto the board instead of redistributing back into the meat.
- Cooking straight from the fridge: Ice-cold chicken cooks less evenly. You do not need to “warm it up for an hour,” but 15 to 20 minutes takes the edge off.
The reliable method: juicy chicken breast every time
This is my go-to approach for weeknights. It is quick, repeatable, and works whether you are seasoning simply or going big on flavor.
1) Choose the right pieces
Look for breasts that are similar in size. If one is huge and the other is small, bake them on separate pans or plan to pull them at different times.
2) Even out the thickness (do not skip)
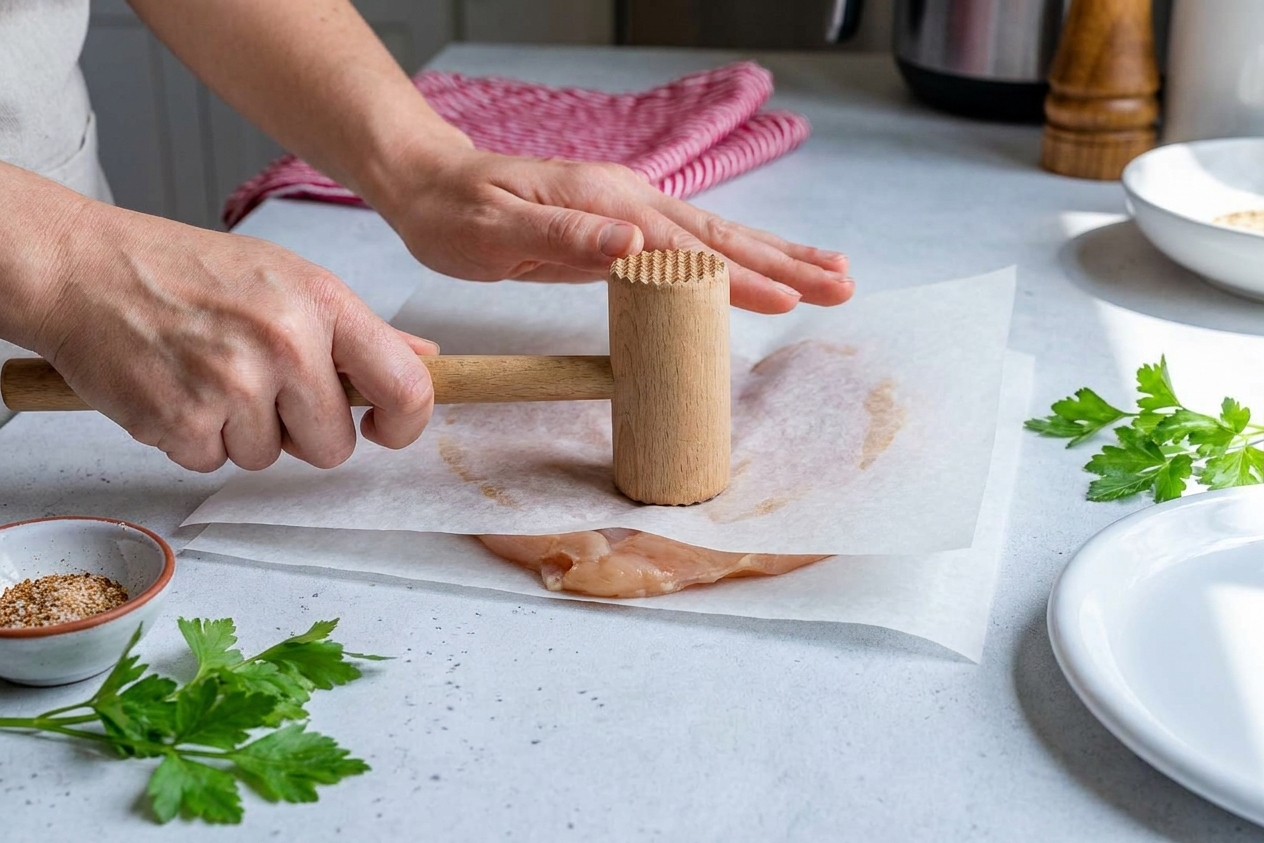
Place the chicken between parchment or plastic wrap and gently pound the thickest part until the breast is an even thickness, about 3/4 inch to 1 inch. You are not trying to flatten it paper-thin, just to make it cook evenly.
3) Pat dry, then salt it like you mean it
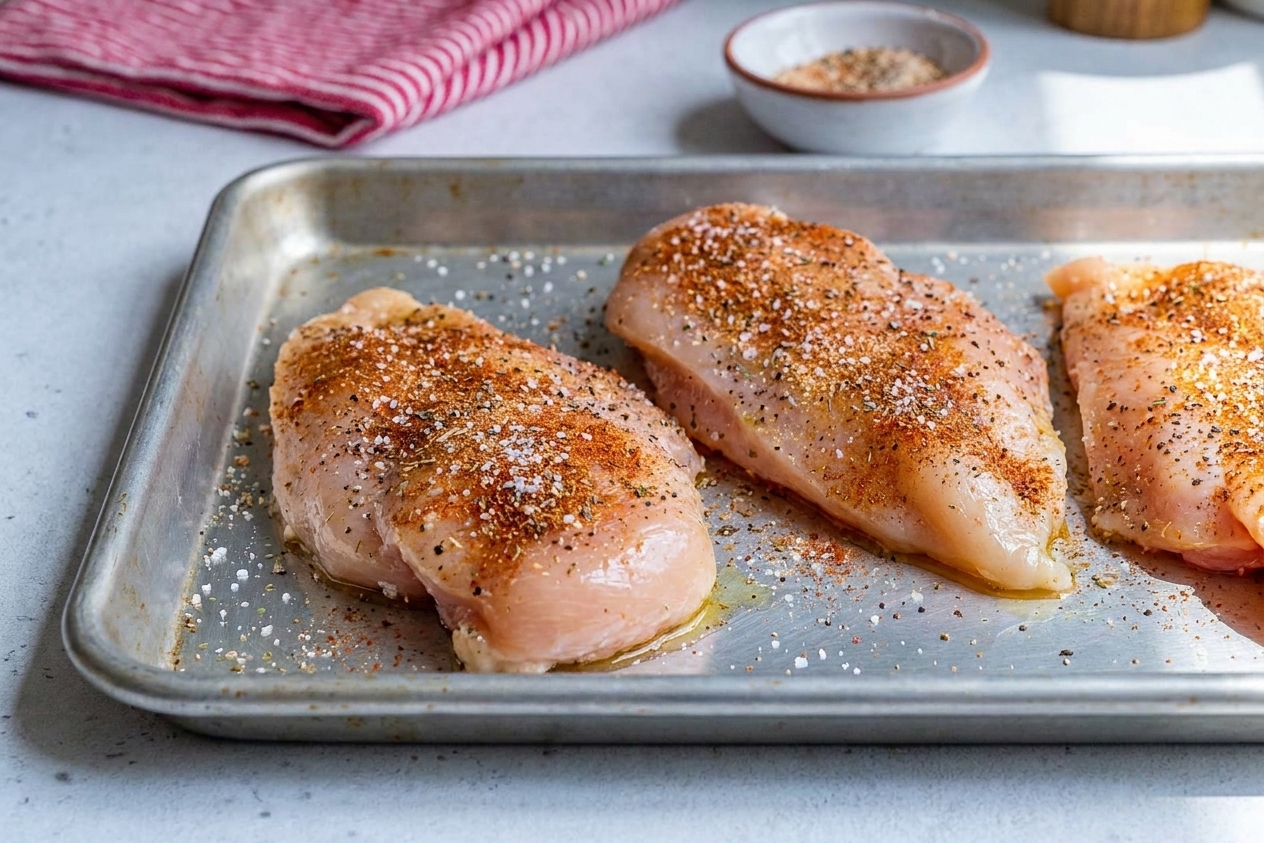
Before you add oil and seasoning, pat the chicken very dry with paper towels. It helps browning and prevents that pale, watery vibe.
For two medium breasts (about 1 to 1 1/4 pounds total), season with:
- 1 to 1 1/4 teaspoons kosher salt (use less if using fine table salt)
- Black pepper
- 1 to 2 teaspoons oil (olive oil, avocado oil, or melted butter)
Timing options:
- Best (if you have time): Salt the chicken and refrigerate uncovered for 30 minutes up to 24 hours. This is a mini dry brine that boosts juiciness and flavor.
- Weeknight-friendly: Salt and let sit on the counter for 15 minutes while the oven heats. Still helpful.
4) Use a hot oven and the right pan
Heat the oven to 425°F. A hotter oven cooks the chicken quickly so it spends less time drying out.
- Convection note: If you use convection, set the oven to 400°F or start checking a few minutes early.
- Pan: Use a metal sheet pan or a shallow baking dish. Avoid a deep casserole dish that traps steam and can lead to pale, rubbery texture.
- Spacing: Leave a little space between breasts so heat circulates.
- Covered or uncovered: Bake uncovered by default.
5) Bake to temperature, not to the clock
Time will vary based on thickness, but for pounded 3/4 to 1-inch breasts at 425°F, start checking at:
- 15 minutes for smaller pieces
- 18 to 22 minutes for average pieces
- 22 to 26 minutes for larger pieces
Thermometer targets:
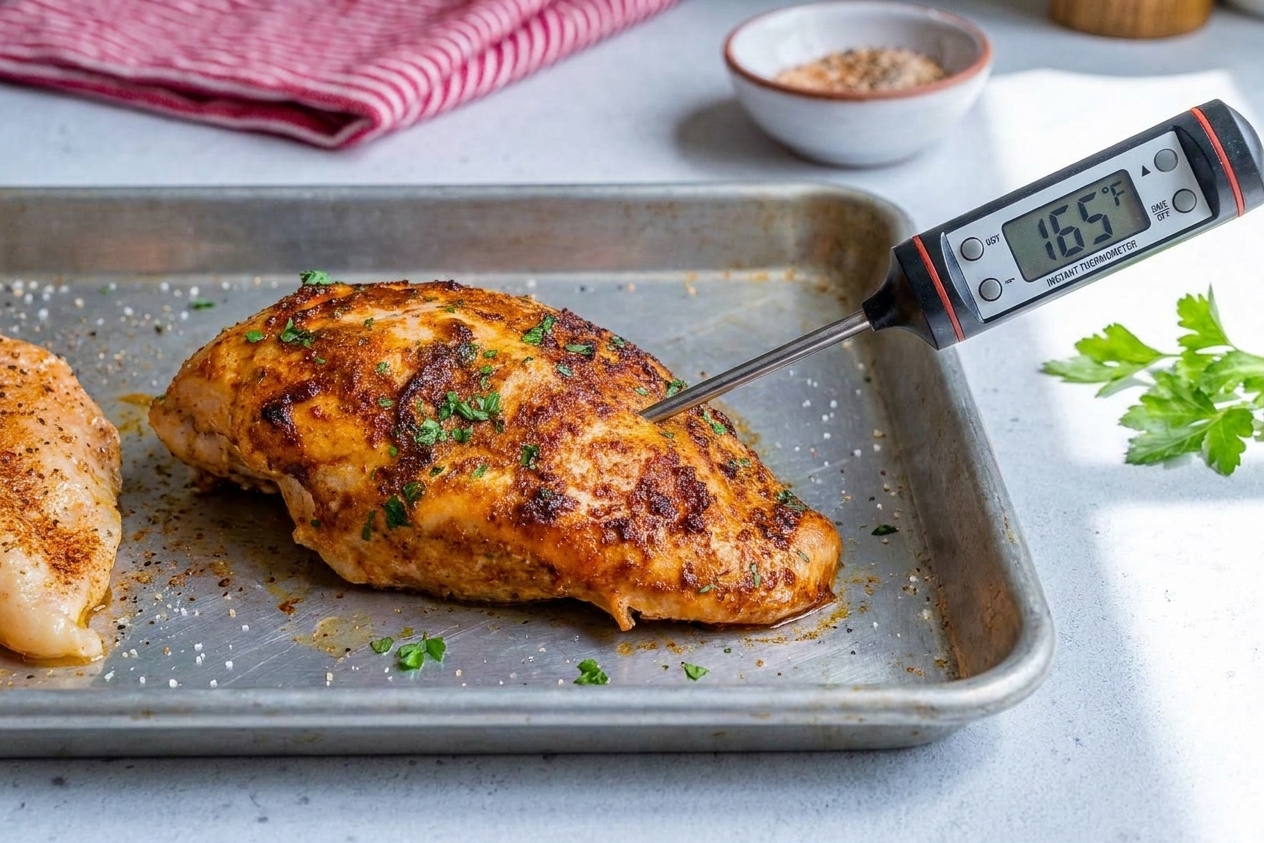
- Simplest rule: Cook chicken breast to 165°F in the thickest part.
- Juicier approach: Pull at 155°F to 160°F and rest. This can be safe because the temperature typically continues to rise and the chicken stays hot for long enough, but it depends on carryover heat, time at temperature, and thermometer accuracy.
As a rough guide, carryover is often 5°F to 10°F for pieces this size, but it varies based on thickness, pan, and how hot your oven runs.
6) Rest, then slice correctly
Transfer chicken to a plate and rest 5 to 10 minutes. This is where you keep the juices in the meat instead of on the cutting board.
- Slice against the grain for the most tender bite.
- If you are meal prepping, let it cool slightly before slicing so it stays juicier in the fridge.
The thermometer tips that matter
If you take only one thing from this page, make it this: an instant-read thermometer is the cheapest way to upgrade your chicken.
- Where to poke: The thickest part, from the side, aiming for the center. Avoid touching the pan.
- How many times: Check at least two spots if the breast is large or oddly shaped.
- Safety note: 165°F is the easiest, most reliable target. If you routinely pull at 155°F to 160°F, make sure your thermometer is accurate, rest the chicken, and confirm the temperature rises and stays hot.
Extra-juicy options (when you want insurance)
Option A: Quick brine (15 to 30 minutes)
If your chicken breasts are extra thick or you know your oven runs hot, a quick brine helps.
Stir 2 tablespoons kosher salt (about 30 to 36 grams, depending on brand) into 4 cups cold water. Add chicken and brine 15 to 30 minutes. Rinse briefly, pat very dry, then oil and season (go lighter on salt afterward).
Option B: Foil tent (first half only)
If you struggle with dryness, loosely tent the pan with foil for the first 10 to 12 minutes, then uncover to finish. You will sacrifice a little browning, but you gain moisture.
Option C: Switch to boneless thighs sometimes
Not a technique, just a gentle reminder: thighs are naturally more forgiving. If you want “juicy every time with less fuss,” keep them in your rotation.
Quick fixes for overcooked chicken breast
We have all done it. Here is how to make it taste good anyway.
- Slice thin and add a sauce: Toss with warm chicken broth + a squeeze of lemon, or spoon on pesto, chimichurri, BBQ sauce, salsa verde, or a quick pan sauce.
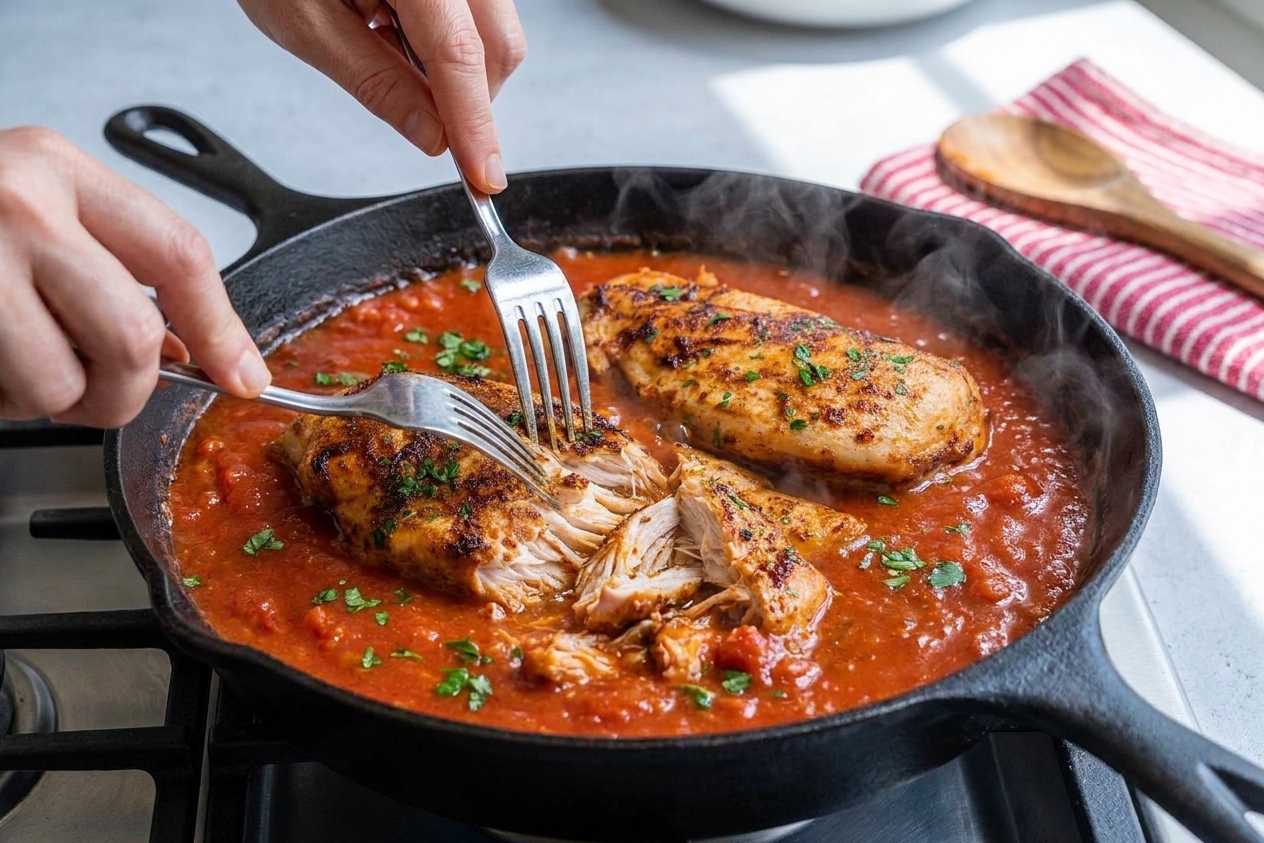
- Shred it with moisture: Shred and simmer for 2 to 3 minutes in enchilada sauce, tikka masala, marinara, or even coconut milk with curry paste.
- Turn it into chicken salad: Dice small and fold into mayo or Greek yogurt with mustard, celery, herbs, and lots of black pepper. The dressing rehydrates the texture.
- Soup save: Add chopped chicken to a brothy soup at the end, then take it off the heat. Do not keep boiling it.
Simple flavor variations
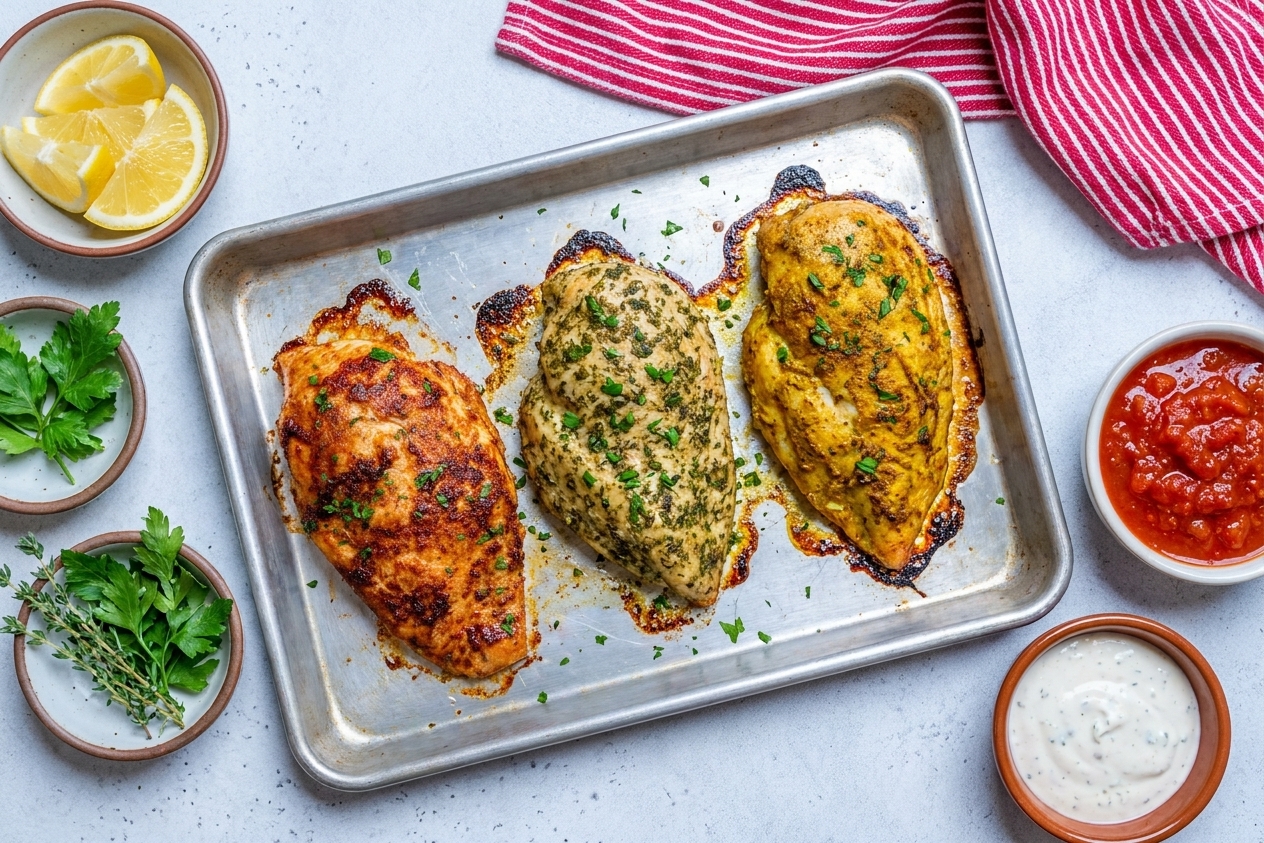
Once you have the temperature and timing down, you can swap flavors endlessly. Use the same bake method at 425°F and the same thermometer targets.
Lemon garlic
- Olive oil + kosher salt + pepper
- 1 teaspoon garlic powder (or 2 grated garlic cloves)
- Lemon zest, then squeeze lemon over the chicken after baking
Smoky paprika
- Olive oil
- Smoked paprika + a pinch of cumin
- Optional: brown sugar pinch for caramelized edges
Italian herb
- Olive oil
- Dried Italian seasoning or oregano + thyme
- Serve with a spoon of warm marinara or a splash of balsamic
Taco night
- Oil
- Chili powder + cumin + garlic powder
- Finish with lime juice and chopped cilantro
Miso sesame
- 1 tablespoon white miso
- 1 tablespoon oil (or tahini)
- 1 teaspoon honey or maple syrup
- Optional: sesame seeds and scallions after baking
Troubleshooting fast
- My chicken is dry but I did not overcook it: Add more salt next time and rest it longer. Under-seasoning mimics dryness.
- It is tough and chewy: Usually overcooked, or sliced with the grain. Slice against the grain and use a sauce.
- It is pale and watery: Pat the chicken very dry before oiling. Use a hot oven and a metal pan for better evaporation and browning.
- One breast finishes way earlier: Pound to even thickness, or pull pieces individually as they hit temp.
Storage and reheating
- Store: Cool, then refrigerate in an airtight container for up to 3 to 4 days.
- Reheat (best): Slice and warm gently in a skillet with a splash of broth or water, covered, just until hot.
- Reheat (microwave): Use medium power, cover, and add a tiny splash of broth. Stop as soon as it is heated through.
My weeknight checklist
- Pound to even thickness (3/4 to 1 inch)
- Pat dry, then salt properly (and give it 15 minutes if you can)
- Bake uncovered at 425°F (or 400°F convection)
- Pull at 165°F, or 155°F to 160°F plus a rest if you know your carryover
- Rest 5 to 10 minutes
- Slice against the grain
If you want, tell me the average weight and thickness of the chicken you buy and whether it is air-chilled or not, and I can give you a tighter time range for your oven.