Soggy meal prep is rarely a recipe problem. It is a moisture management problem. Once you learn how to separate wet from dry, control steam, and pack lunches in the right order, you can prep on Sunday and still want to eat your Thursday lunch.
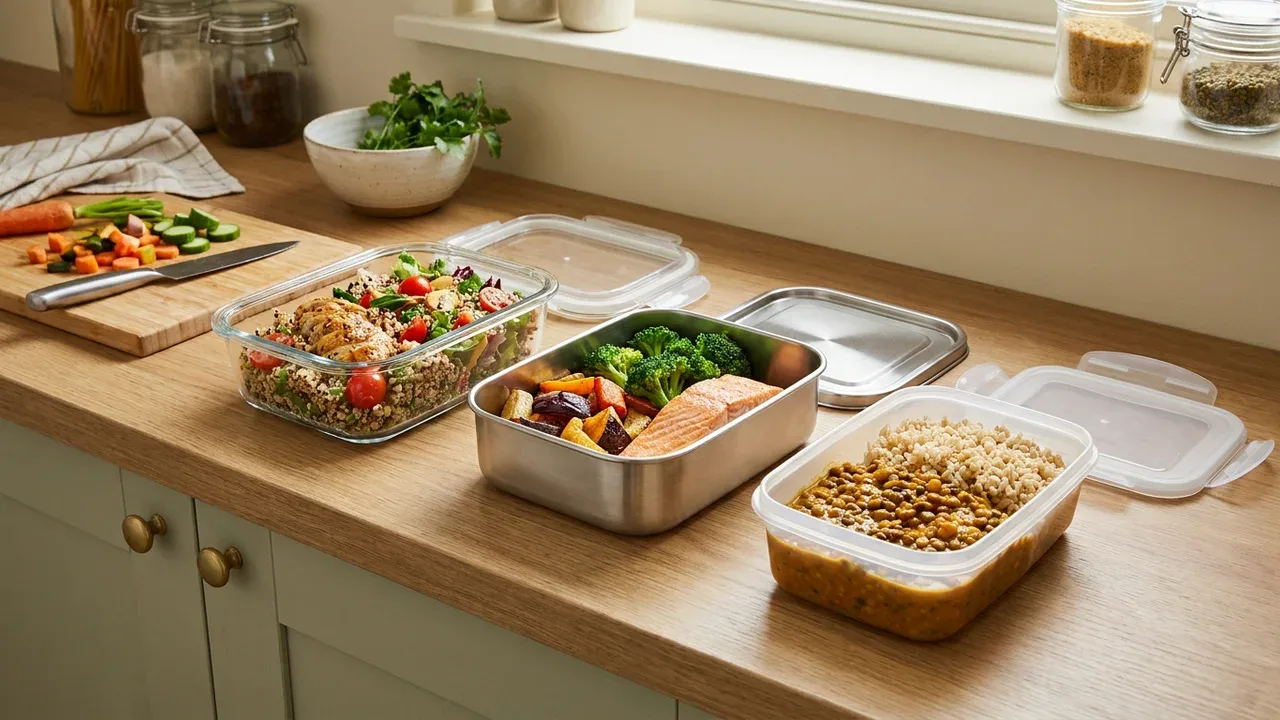
I am going to walk you through the containers that actually help, the packing order that keeps textures crisp, and the best make-ahead components for three lunches that usually go limp: salads, grain bowls, and pasta.
Why lunches get soggy
Soggy lunches usually come down to one (or more) of these:
- Steam trapped in a sealed container: Hot food keeps releasing moisture, which condenses on the lid and rains back down.
- Wet ingredients touching absorbent ingredients: Dressing + greens, salsa + rice, tomato + bread, juicy cucumbers + anything.
- Overdressed or under-drained components: Unspun greens, watery beans, just-cooked pasta not cooled properly.
- Salt too early: Salt draws water out of cucumbers, tomatoes, mushrooms, and even shredded carrots over time.
The fix is a system: cool, contain, and layer.
Containers that prevent mush
You do not need a drawer full of matching boxes, but the right features matter.
My container non-negotiables
- Leak-resistant lid: Not just “snaps on,” but truly tight. This is what lets you pack dressing or saucy components confidently.
- Glass or sturdy BPA-free plastic: Glass is heavier but resists stains and odors, and it works especially well for chilling when you portion food in a shallow layer. Plastic is lighter and fine if it is thick and not flexy.
- Wide, shallow shape: Food cools faster (less condensation) and is easier to layer without crushing greens.
- Optional compartments or add-ons: Removable dividers are nice, but what you really want is space for a separate little sauce cup.
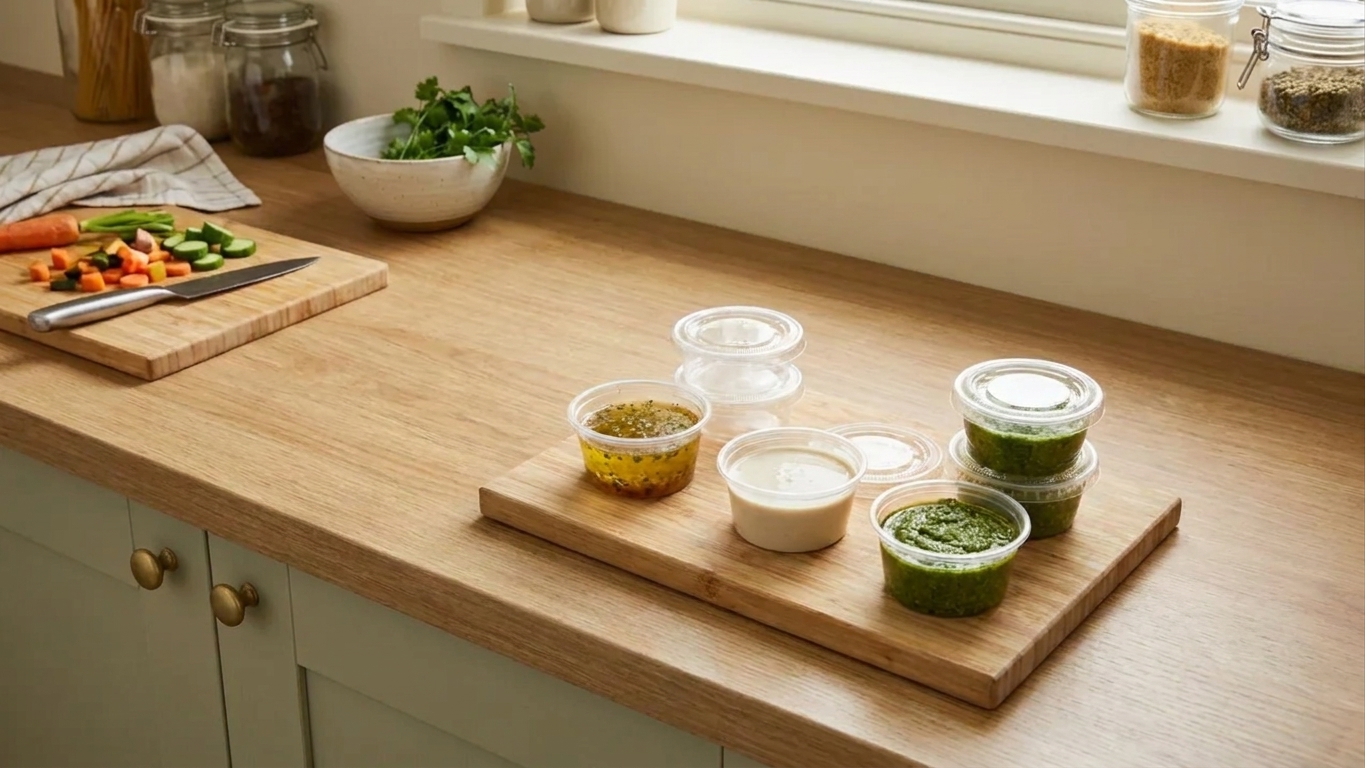
The MVP add-on: sauce cups
Small lidded cups (2 to 4 ounces) are the easiest way to keep lunches crisp. Use them for dressing, pesto, salsa, chimichurri, peanut sauce, even hummus. You can tuck them into the container or pack alongside.
When to use a jar
Jars shine for layered salads only if you follow the order (wet on bottom, greens on top) and you are okay with shaking and eating from a narrower container. For most people, a wide container is easier to eat from at work.
Avoid these if sogginess is your nemesis
- Flimsy lids: They leak, so you end up mixing dressing in early “so it won’t spill.” That is the fast lane to wilted lunch.
- Deep, tall containers: They trap heat and steam longer, especially with warm grains or pasta.
- Huge single containers for everything: If wet and dry share space, wet wins.
The no-soggy packing order
Think of it like building a tiny moisture barrier. This order works for salads, bowls, and most lunch boxes.
Step 1: Cool everything completely
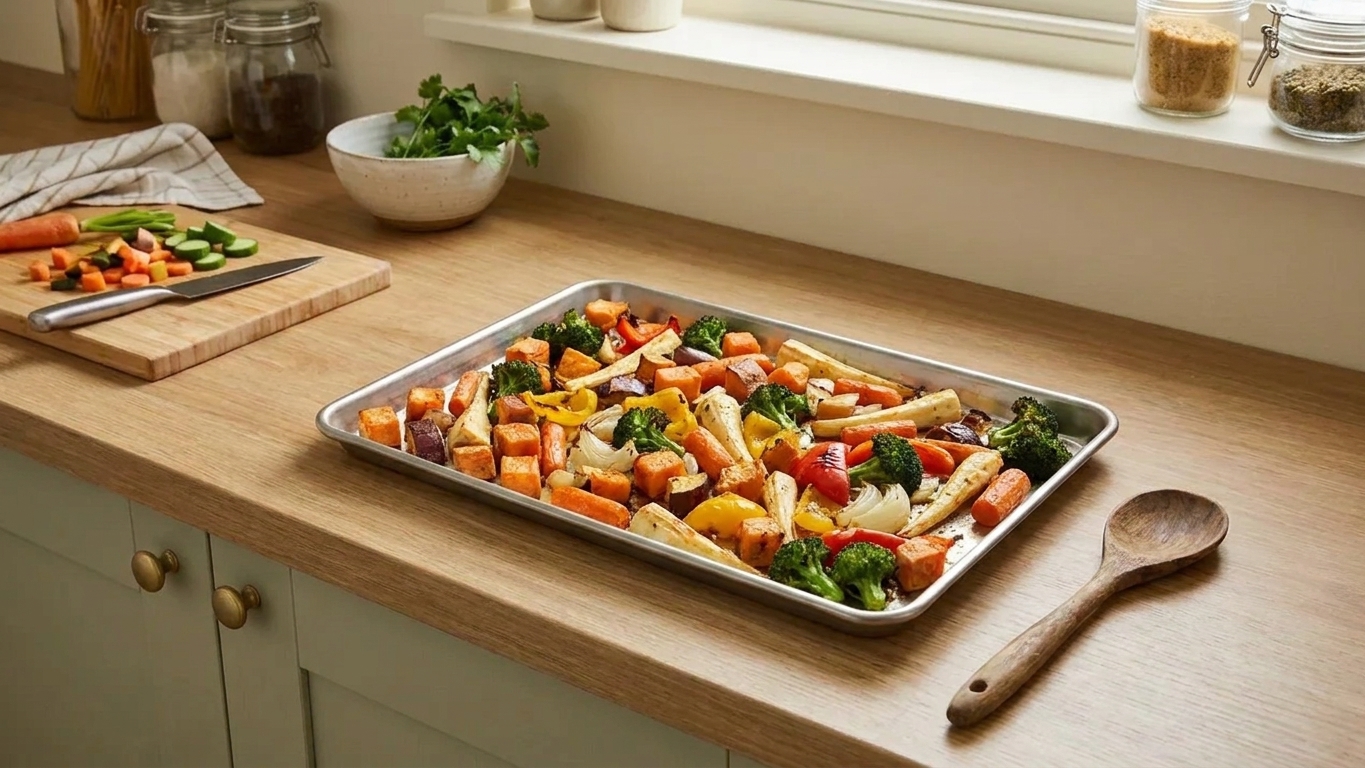
Pack hot food into a sealed container and you are basically meal-prepping condensation. Spread warm components (rice, roasted vegetables, chicken, pasta) on a sheet pan for 10 to 15 minutes so steam can escape, then portion into shallow containers and refrigerate promptly. A simple tell: if the lid fogs when you close it, it was not cool enough yet.
Food-safety guardrail: Do not let cooked food sit at room temperature too long. Aim to get it into the fridge within 2 hours total (within 1 hour if it is very hot out).
Step 2: Put the wettest items in their own zone
- Best: separate sauce cup
- Next best: wet ingredients in a bottom layer (only if the ingredients above can handle it)
Examples of “wet”: dressing, salsa, juicy tomatoes, citrus segments, marinated cucumbers, saucy beans, pickles, kimchi.
Step 3: Build from sturdy to delicate
- Bottom: hearty grains, roasted vegetables, beans, sturdy proteins
- Middle: crunchy vegetables that can take some moisture (carrots, cabbage, radish, bell pepper)
- Top: tender greens, herbs, toasted nuts, seeds, croutons
Step 4: Keep crunchers dry until eating
Croutons, tortilla strips, fried onions, seaweed snacks, pita chips, crispy chickpeas, toasted nuts. Pack them in a tiny dry container or a small zip-top bag and add at lunch.
Step 5: Salt at the right time
Salt pulls water out of many vegetables over time. For cucumbers and tomatoes, either:
- salt right before eating, or
- salt, then drain well and pack separately if you love them seasoned ahead
Make-ahead components that hold up
If you want lunches that stay exciting by day 4, prep components with good texture stability.
Great for prepping 3 to 5 days
- Grains: quinoa, brown rice, farro, barley (cool completely, then store)
- Roasted vegetables: broccoli, cauliflower, carrots, sweet potatoes, Brussels sprouts (roast until browned so they are not watery)
- Proteins: shredded chicken, baked tofu, hard-boiled eggs, lentils
- Crunchy raw vegetables: cabbage, carrots, radish, snap peas
- Pickled things: quick pickled onions, pickled jalapeños (pack separately)
- Sauces: vinaigrettes, tahini sauce, pesto, peanut sauce, yogurt-based sauces (many keep well for 3 to 5 days; some vinaigrettes can go closer to a week). When in doubt, follow the recipe’s storage guidance and your nose.
Prep with caution
- Avocado: add day-of, or pack with a lime wedge and press plastic wrap directly on the surface
- Cut apples/pears: toss with lemon juice
- Watery vegetables: tomatoes, cucumbers, zucchini (keep separate or use later in the week)
- Delicate greens: spinach and spring mix wilt faster than kale or romaine
My favorite “texture insurance” tricks
- Massage kale: It stays pleasantly tender for days without collapsing like delicate greens.
- Use cabbage as a salad base: Shredded cabbage stays crisp and actually improves after a day with dressing.
- Roast harder: A little extra browning on vegetables reduces water content and prevents puddles.
Examples you can copy
Here are three lunch formats with exact packing strategies. Use these as a blueprint with whatever is already in your fridge.
Example 1: Grain bowls
Best for: 4 to 5 days of lunches without texture heartbreak.
Base formula: grain + roasted vegetables + protein + crunchy vegetables + sauce + topper.
- Container setup: wide container + 1 sauce cup + (optional) small dry bag for crunch
- Pack it like this:
- Bottom: cooled grain (farro or brown rice)
- Next: roasted vegetables (sweet potato, broccoli)
- Next: protein (chicken, tofu, lentils)
- Next: crunchy vegetables (shredded cabbage, carrots)
- Top: herbs (cilantro, parsley) and greens (optional)
- Sauce cup: tahini-lemon dressing or peanut sauce
- Crunch pack: toasted nuts or crispy chickpeas
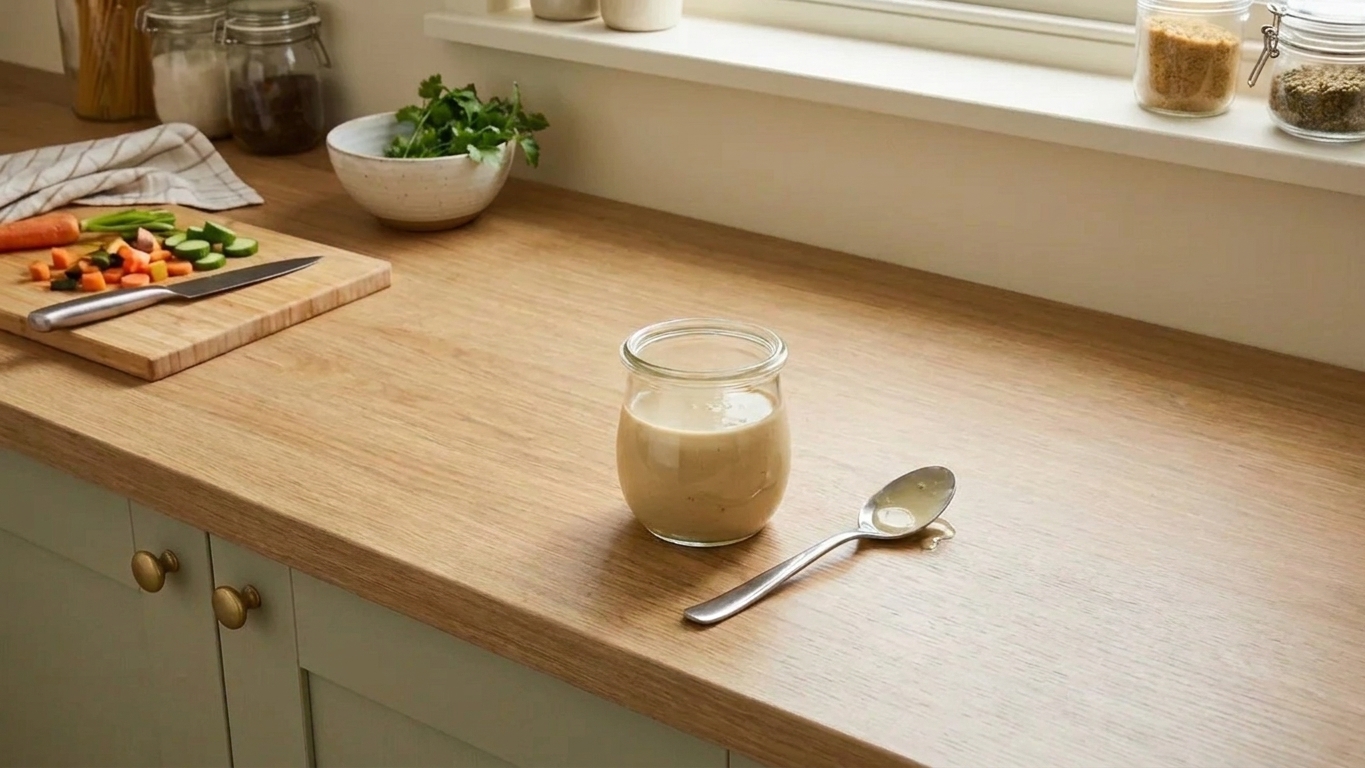
Weeknight-friendly sauce idea: Stir together tahini + lemon juice + water + garlic + salt. It thickens in the fridge, so loosen with a splash of water before packing.
Little anti-soggy detail: If you love tomatoes in your bowl, pack them in a separate tiny container or add them only on days 1 and 2.
Example 2: Salads
Best for: people who want salad daily but refuse sad greens.
Option A: The wide-container layered salad (my go-to)
- Bottom: sturdy, not-too-wet items like chickpeas (well-drained), roasted beets (pat dry), chopped bell peppers
- Middle: crunchy vegetables like shredded carrots, cabbage, radish
- Top: greens (romaine, kale), herbs
- Separate: dressing in a sauce cup, croutons or nuts in a dry pack
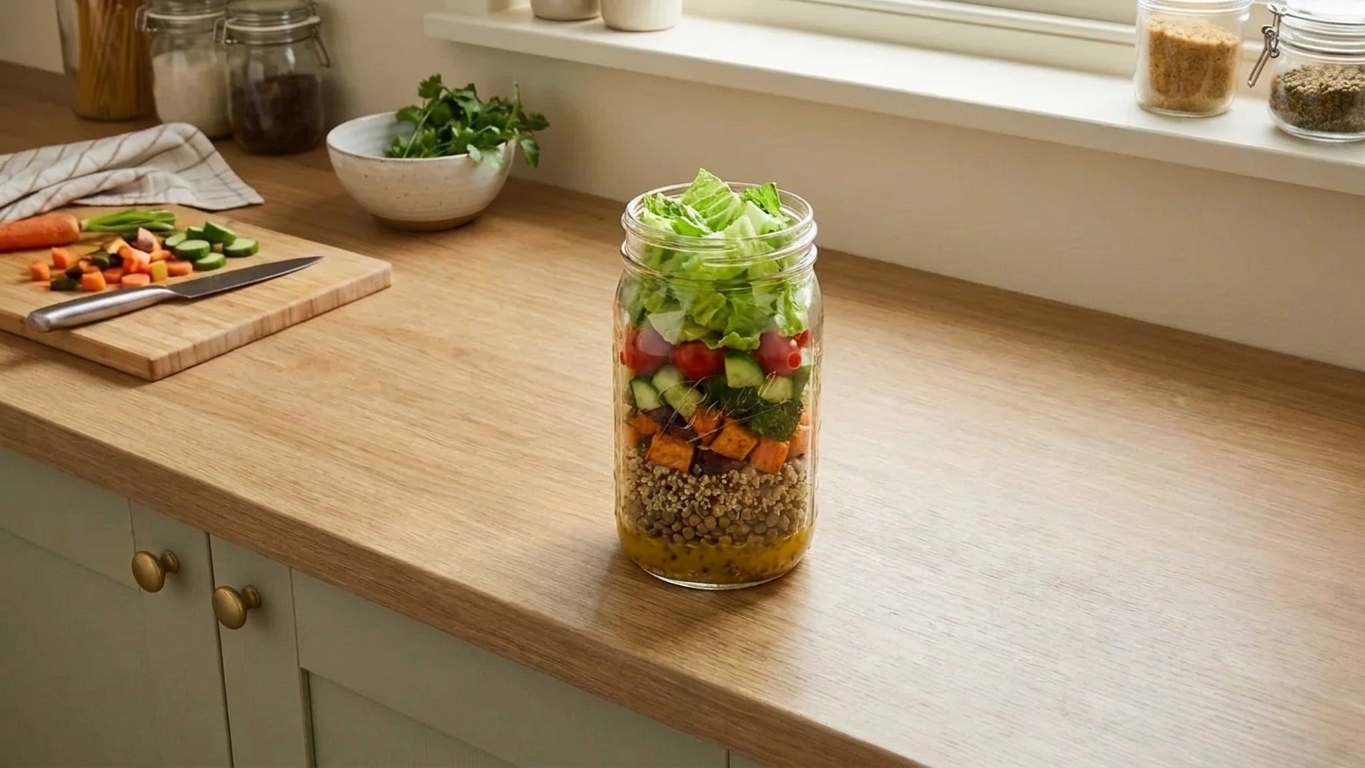
Option B: The jar salad (only if you like shaking)
Jar order is non-negotiable:
- Bottom: dressing
- Next: hearty vegetables (carrots, cucumbers if you must, bell pepper)
- Next: proteins and grains
- Top: greens and herbs
Salad bases that hold up: kale, shredded cabbage, romaine. Spinach and spring mix are best for days 1 and 2.
My favorite “no sog” salad trick: If you want cucumber in a salad, cut it into thicker chunks, lightly salt it for 5 minutes, then drain and pat dry before packing. That quick step removes the water that would otherwise flood your container.
Example 3: Pasta lunches
Best for: 3 to 4 days (pasta texture is good, but it is not immortal).
Pasta gets unpleasant for two reasons: it absorbs sauce and it dries out. The solution is to undercook slightly, cool properly, and sauce strategically.
- Cook it right: Boil to just shy of al dente. It will soften a bit as it sits.
- Cool it fast: Drain well, then toss with a teaspoon or two of olive oil while warm to prevent clumping. Spread on a tray for 10 minutes before packing.
- Sauce strategy:
- For creamy sauces: pack sauce separately and stir in at lunch.
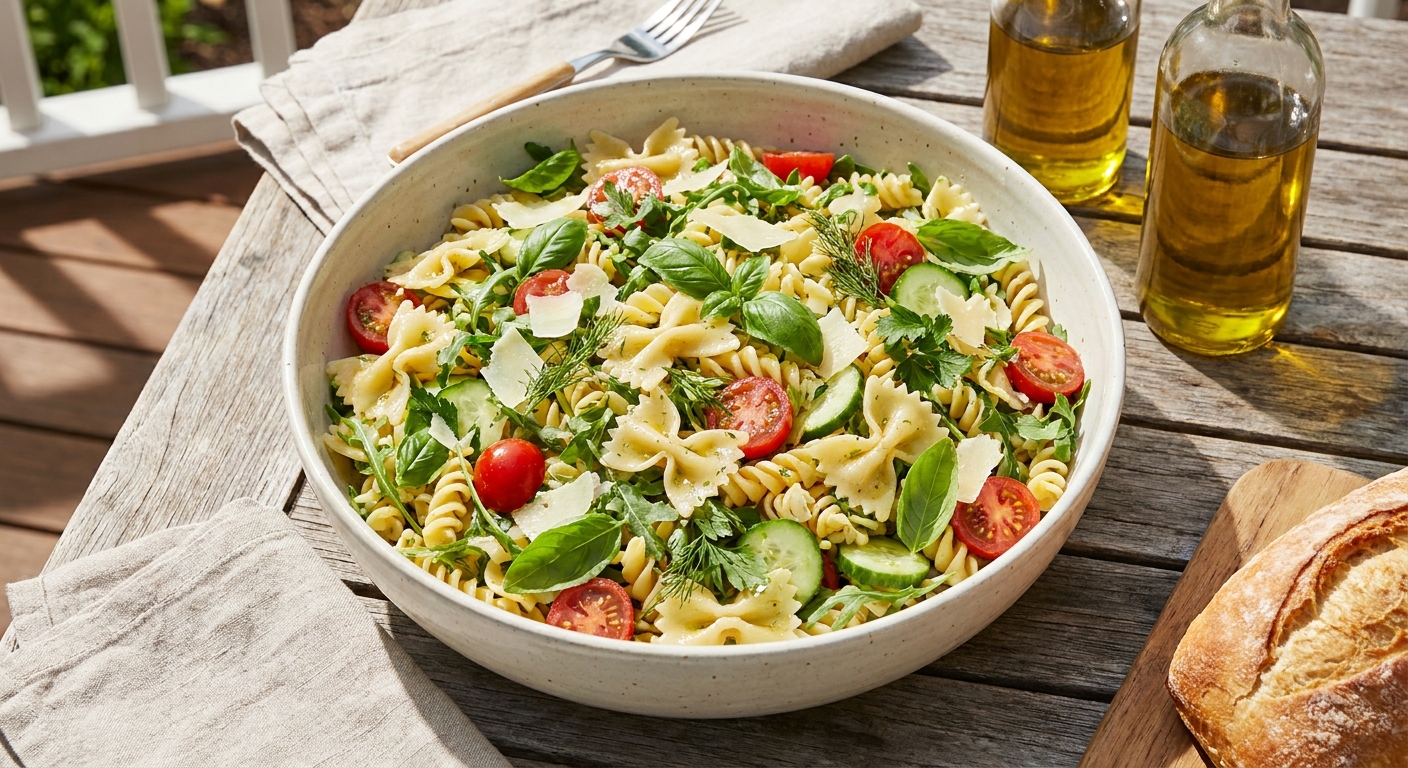
- For vinaigrette pasta salads: dress lightly now, then add a splash more at lunch.
Pasta lunch formula: pasta + sturdy vegetables + protein + bold dressing.
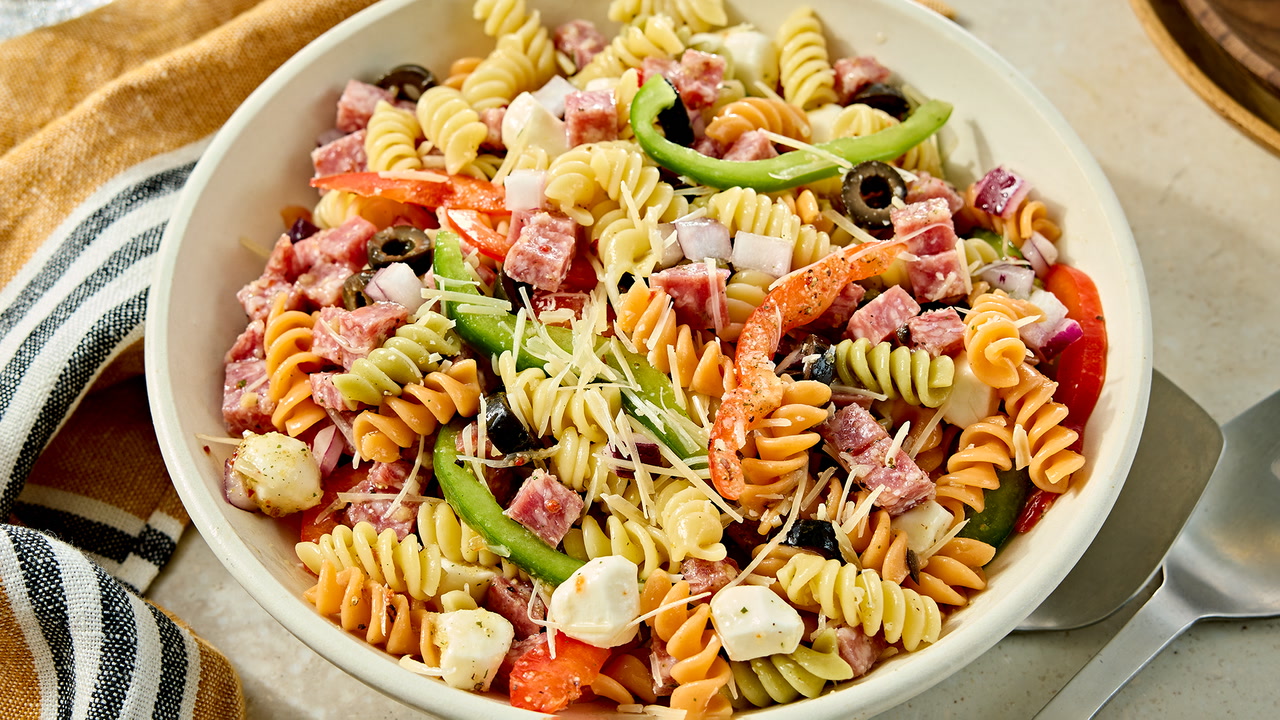
- Great add-ins: olives, artichokes, roasted peppers (drained), salami, chickpeas, mozzarella pearls (pat dry)
- Add later: fresh tomatoes, arugula, basil (pack separately if possible)
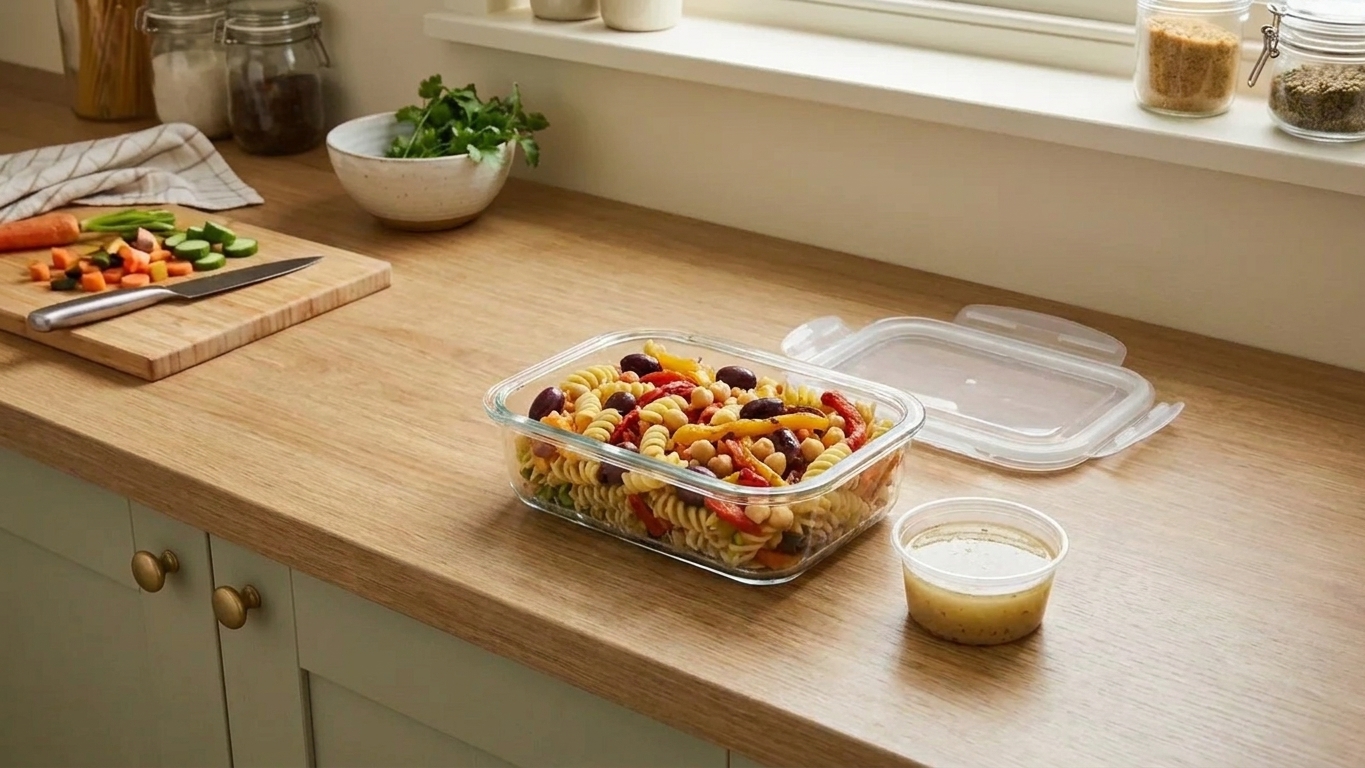
Extra credit for texture: Choose shapes with ridges and curves (fusilli, rotini, farfalle). They hold dressing without turning into a single glued-together mass.
Reheating without sogginess
Even perfectly packed lunches can get a little steamy in the microwave. A few small moves keep everything from turning soft.
- Vent the lid: crack the lid or use a microwave-safe cover so steam can escape.
- Reheat in zones: warm grains and proteins first, then add greens, herbs, and crunchy toppings after.
- Keep cold and hot separate when you can: if you are packing salad greens with a warm bowl, store the greens in a separate container and combine at lunch.
My Sunday prep routine
If you like structure, this is the flow I teach because it minimizes dishes and keeps food safe.
- Start grains first. Get rice, quinoa, or farro going. While it cooks, do everything else.
- Roast vegetables. High heat for browning. Roast on a large sheet pan so they do not steam.
- Make one sauce. One great dressing carries multiple lunches.
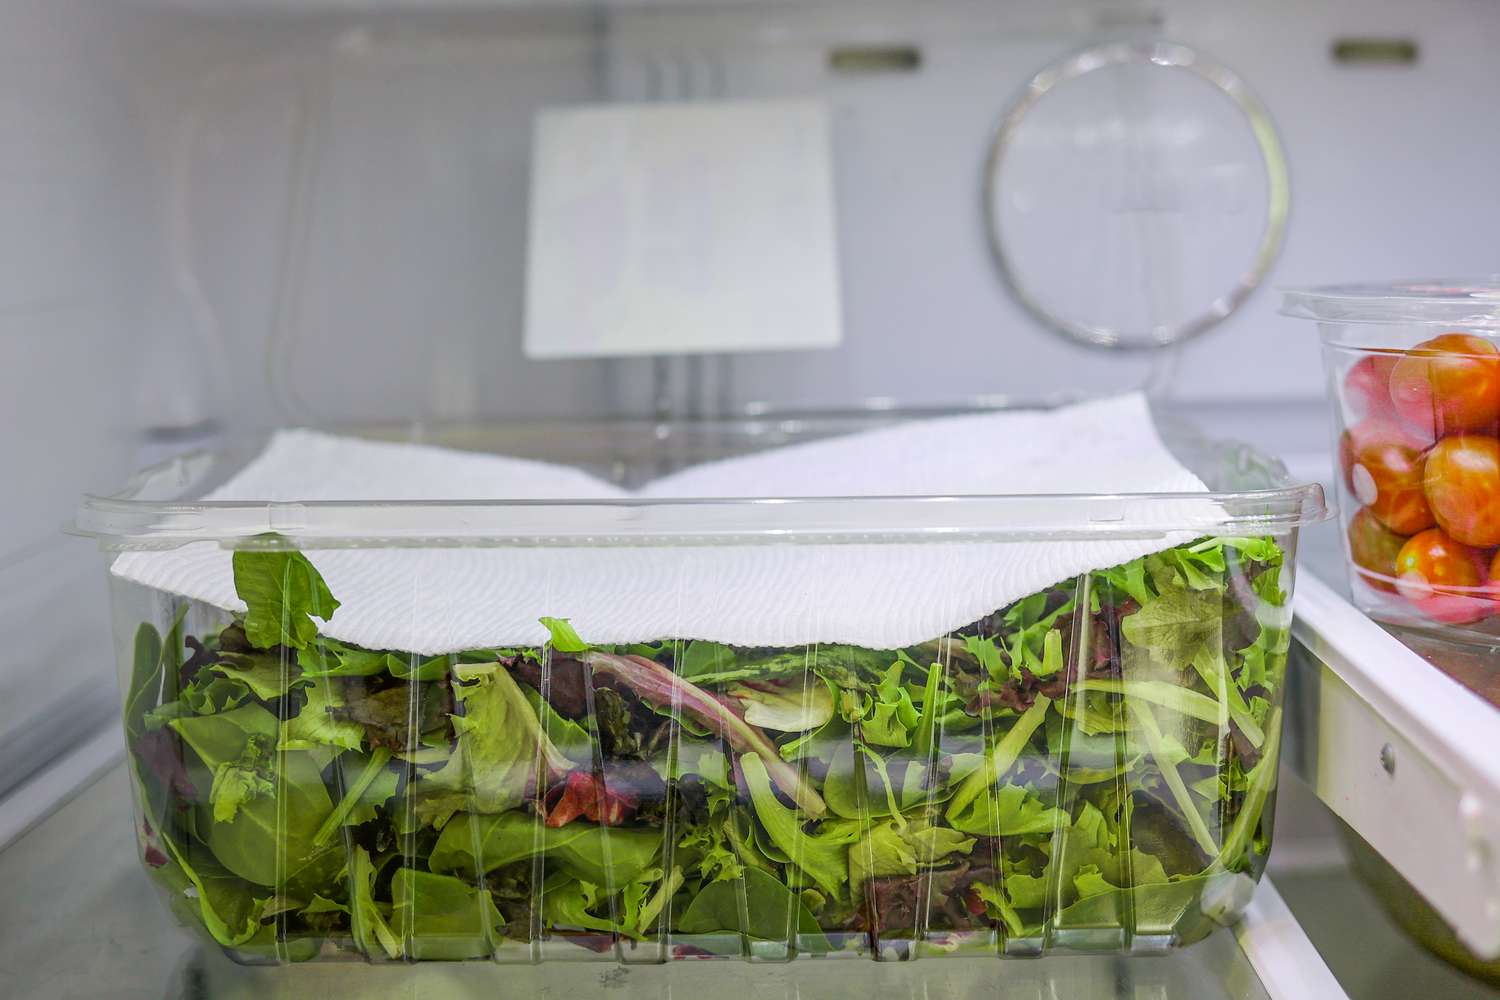
- Prep crunchy vegetables. Shred cabbage, slice carrots, cut bell peppers. Store dry with a paper towel in the container if they are very wet.
- Cook protein. Use what is easy: rotisserie chicken, baked tofu, hard-boiled eggs.
- Cool everything. This is the part that prevents condensation and sliminess. Keep an eye on the clock and refrigerate within 2 hours total (within 1 hour if it is very hot out).
- Pack using the layering rules. Sauces and crunchy toppers stay separate.
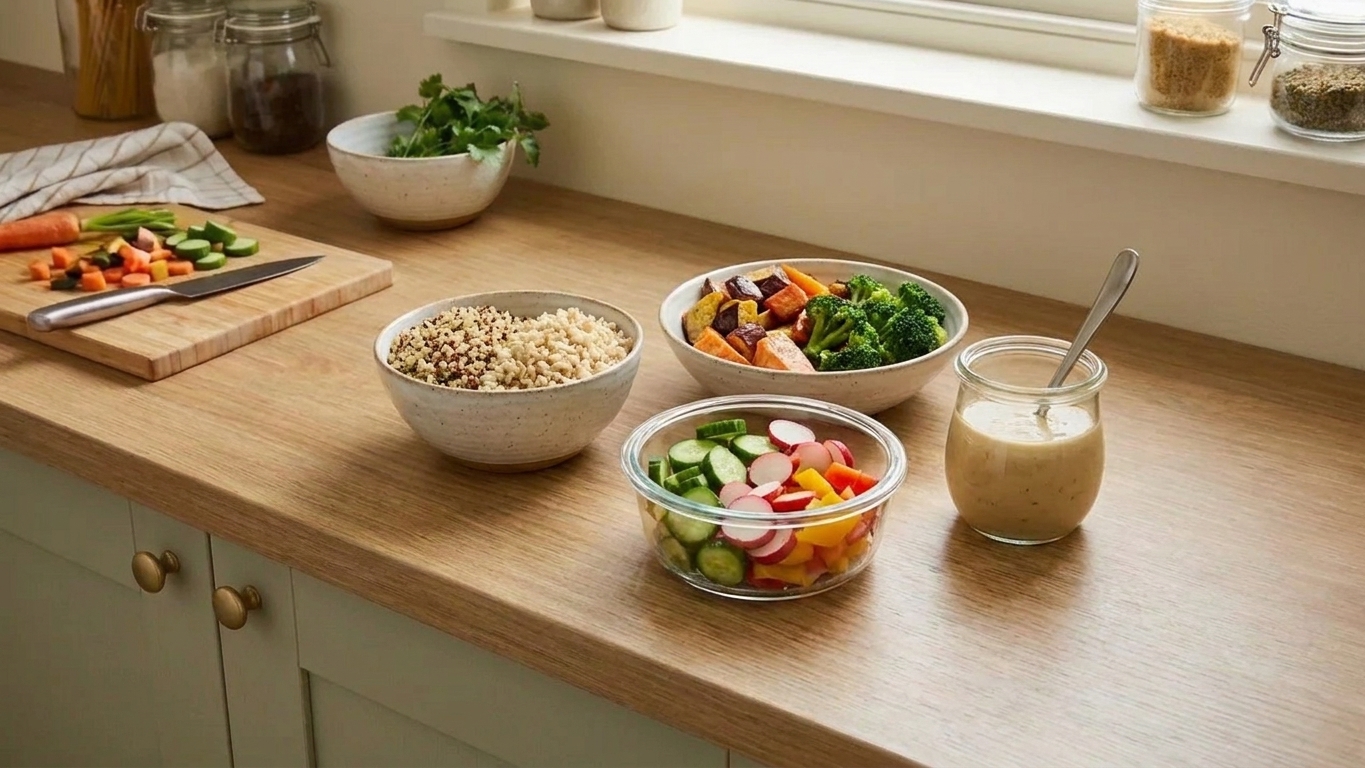
Food waste note from my very organized heart: If you know you will not want the same bowl five days in a row, prep neutral components (grains, roasted vegetables, a protein) and change the vibe with sauces. Tahini one day, salsa the next, pesto after that. Same base, totally different lunch.
Troubleshooting
“My salad is wet even without dressing.”
Your greens are probably not dry enough. After washing, spin them thoroughly, then wrap in a clean towel for 10 minutes before storing.
“My roasted vegetables leak water into the container.”
They were crowded on the pan and steamed instead of roasted, or they were packed while warm. Roast in a single layer with space, and cool completely before packing.
“My rice or quinoa turns firm in the fridge.”
That is normal starch behavior, but it can also mean the grains dried out a bit. The fix is moisture plus gentle heat: add a splash of water, cover loosely, and reheat until hot. Then add your cold toppings and sauce.
“My pasta gets stiff.”
Reserve some dressing or sauce for day-of. A tablespoon makes pasta spring back to life.
“Everything tastes flat by day 3.”
Add a bright finisher at lunch: lemon wedge, pickle, hot sauce, a sprinkle of flaky salt, or fresh herbs. Acid and salt are your best friends here.
Packing checklists
Salad checklist
- Greens completely dry
- Dressing in a separate cup
- Crunch packed dry
- Watery vegetables packed separately (tomatoes, cucumbers) or used early week
Grain bowl checklist
- Grains cooled
- Wet items separated
- Delicate toppings on top
- Sauce added at lunch
Pasta checklist
- Pasta slightly undercooked
- Tossed with a little oil to prevent clumping
- Creamy sauce separate
- Extra sauce reserved for day-of
FAQ
How long do meal-prep lunches last?
Most cooked components are best within 3 to 5 days when refrigerated promptly. If something smells off, looks slimy, or has been sitting at room temperature for more than 2 hours total, skip it. When in doubt, throw it out.
Any special food-safety notes?
Cool cooked food quickly by spreading it out or portioning into shallow containers, then refrigerate promptly. Reheat hot components until steaming hot. Cooked rice is especially important to cool and refrigerate quickly, then reheat thoroughly.
Do I have to meal prep the whole week at once?
No. If you hate day-4 texture, prep for 3 days on Sunday, then do a smaller refresh on Wednesday. Even 20 minutes midweek makes lunches feel brand new.
What are the best greens for meal prep?
Kale, romaine, and shredded cabbage hold up beautifully. Spinach and spring mix are more delicate, so plan them earlier in the week or keep them separate from everything else.
What is the easiest way to avoid soggy lunches with no extra containers?
Use a piece of parchment or a folded lettuce leaf as a barrier between wet and dry components, and keep dressing in a tight jar you already own. Even a small jam jar works.