If you have ever opened your fridge to a bag of slimy spinach or a sad, wilted romaine situation, you already know the truth: salad is not hard, but salad storage is a skill.
The goal for meal prep is simple: keep greens dry, cold, and protected from excess moisture and bruising. Below is the exact system I use at home in Portland when I want crisp salads for several days without wasting half a clamshell.
Why greens go limp
Most greens lose their crunch for three main reasons:
- Moisture sitting on the leaves (water droplets invite faster spoilage and slime).
- Too much pressure (heavy containers, tight packing, or stacking causes bruising, especially for tender greens).
- Ethylene exposure (ripening gas from certain fruits and vegetables can contribute to faster decline, especially in tight, closed drawers next to high ethylene producers).
So the fix is not fancy. It is a rinse that actually removes grit, a dry that is truly dry, and a storage setup that manages humidity instead of trapping puddles.
Step 1: Wash greens well
Before you start
If you wash in a sink basin, give it a quick clean first. Leafy greens are the last thing you want picking up leftover raw-meat juices or mystery fridge drips from earlier in the day.
For loose greens (romaine, butter lettuce, spinach, arugula, spring mix)
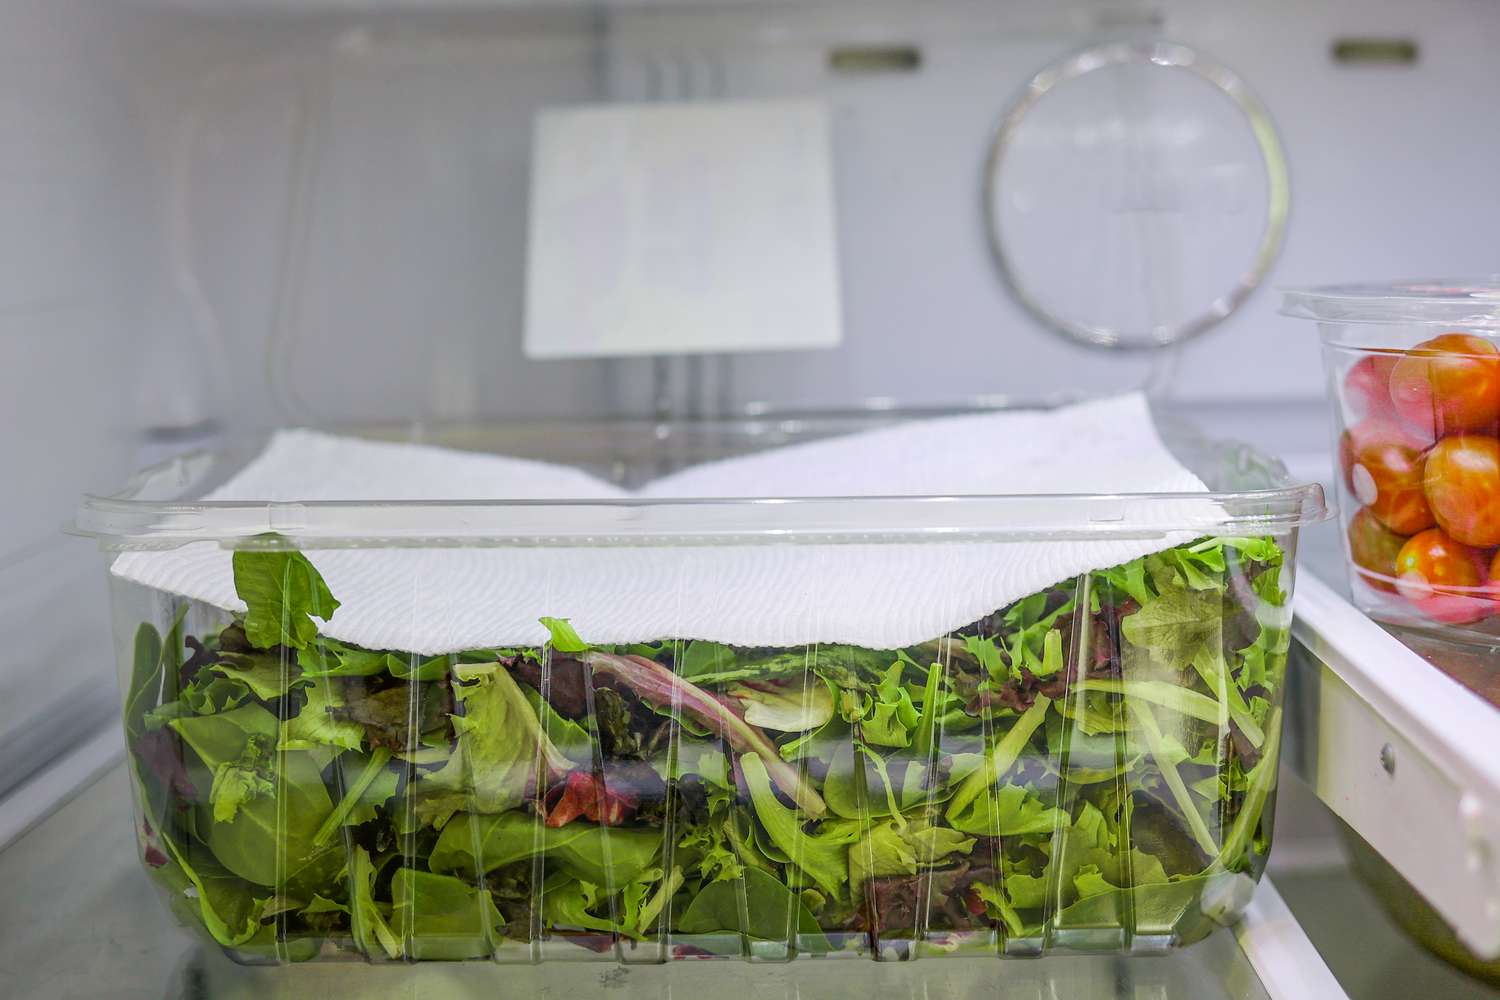
A quick rinse under running water can be less effective at removing grit, and it can be harsher if you handle tender leaves roughly. A cold-water bath works better.
- Fill a big bowl or clean sink with very cold water. Add greens and swish gently. Dirt sinks.
- Lift greens out of the water with your hands or a strainer insert. Do not pour everything through a colander or you will dump the grit right back onto the leaves.
- Repeat once more if you see a lot of grit.
For hearty greens (kale, collards)
Strip leaves from stems, then wash in cold water. These can handle a more vigorous swish.
For pre-washed boxed greens
If you trust the label, you can skip washing. I still recommend a quick check for slimy leaves, then go straight to the storage steps below. Even pre-washed greens benefit from moisture control.
Step 2: Dry completely
Drying is the make-or-break step. If your greens are even slightly wet, you are basically meal-prepping a compost experiment.
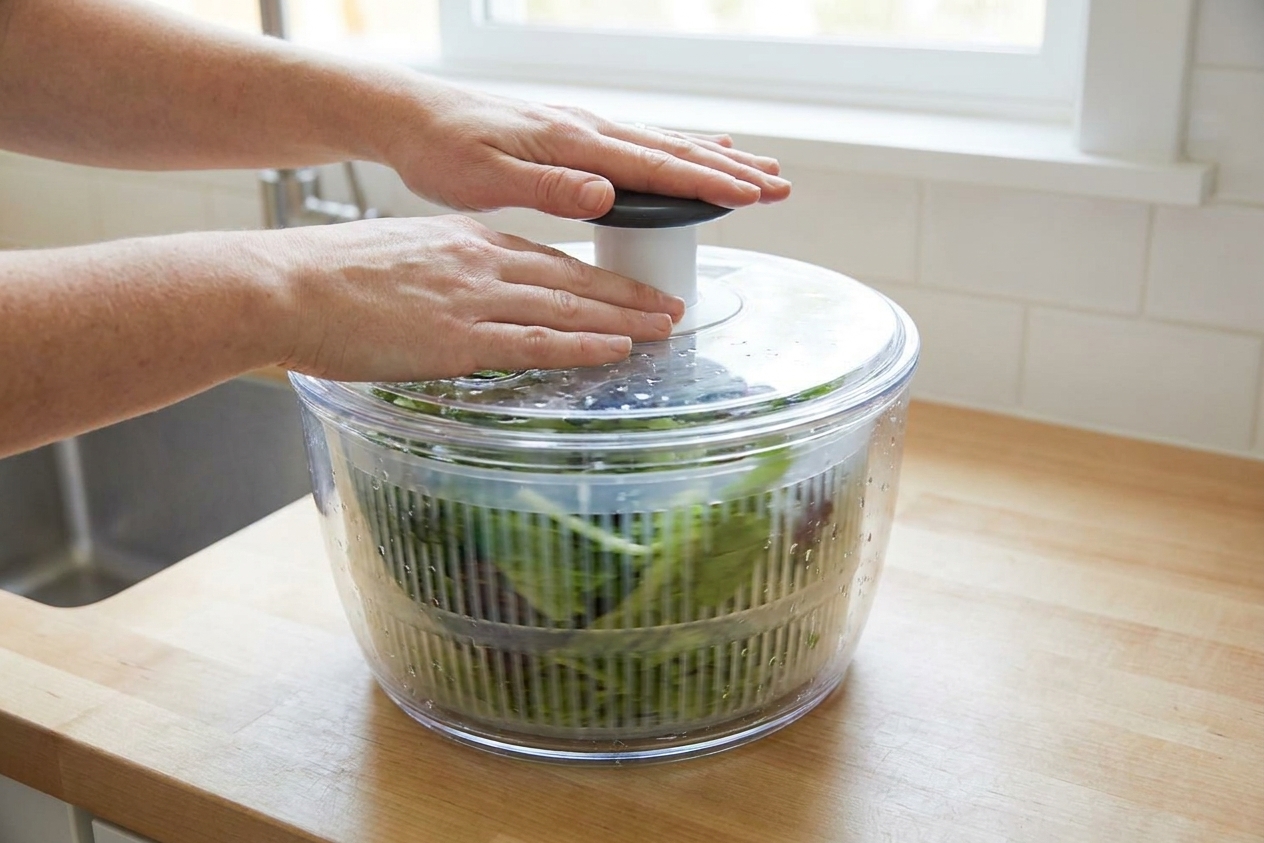
The best tool: a salad spinner
I know it is one more gadget, but a salad spinner is the fastest path to crisp greens. Spin in batches so the leaves can move freely.
- Spin, then pour out the water from the outer bowl.
- Spin again after draining for 10 to 15 seconds. That second spin is the secret.
No salad spinner? Use the towel method
- Lay a clean kitchen towel (or a few paper towels) on the counter.
- Spread greens out in a single layer.
- Roll up gently and press lightly to wick away moisture.
- Let the greens air-dry for 10 minutes before storing if they still feel damp.
Sensory cue: greens should feel crisp and almost “squeaky,” not slick or cool and damp.
Step 3: Store with layering
You are trying to create a mini environment: humid enough that leaves do not dehydrate, but dry enough that water does not pool.
My go-to method (works for most greens)
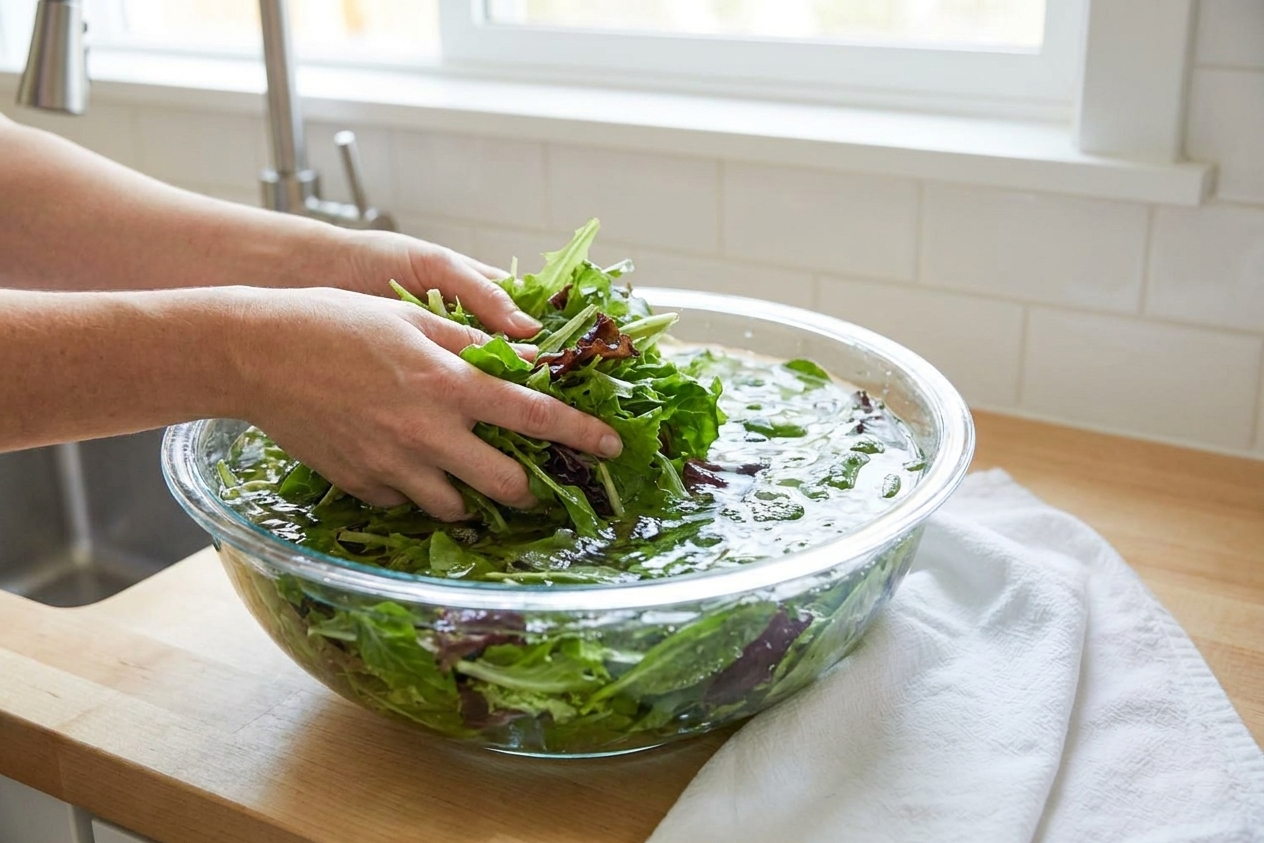
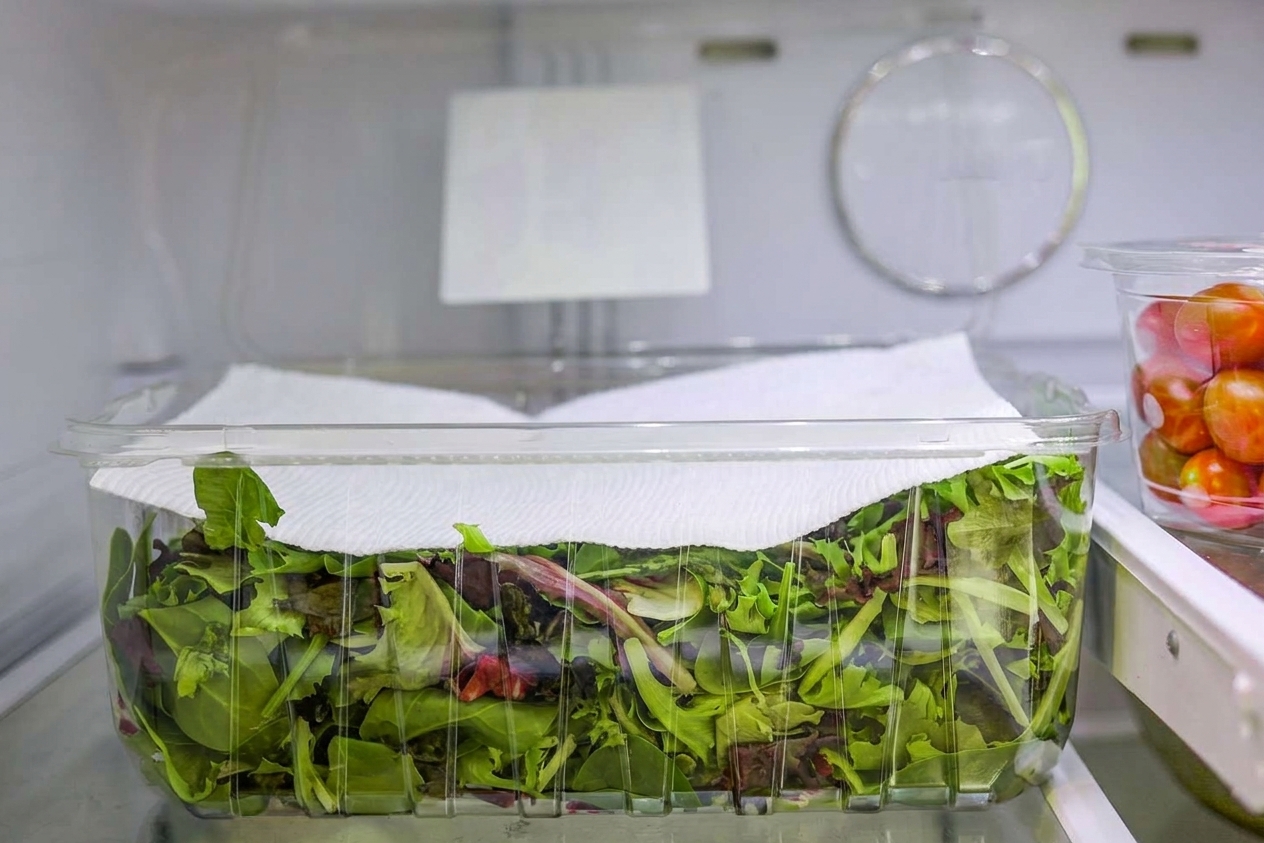
- Line a container with 1 to 2 paper towels (or a clean, thin cotton towel).
- Add greens loosely. Do not cram them in. Air space helps.
- Top with another paper towel before closing the lid.
- Seal and refrigerate.
The towels act as a moisture buffer: they catch condensation and any lingering droplets so your greens stay crisp, not swampy.
Best containers for crispness
- Airtight, rigid containers (glass or sturdy plastic): best protection from bruising.
- Clamshells from store-bought greens: surprisingly good if you add paper towels and do not crush them.
- Zip-top bags: workable, but press out only some air, not all. Fully compressed bags can bruise greens and trap moisture in contact with leaves.
Fridge placement matters: keep greens in the crisper or another consistently cold spot, but avoid pressing them against the coldest back wall where they can freeze and turn limp.
Crisper drawer setting
If your crisper has a humidity slider, leafy greens usually do best on the high-humidity setting. You want humidity in the drawer, with the paper towel acting as the safety valve so you do not end up with standing water on the leaves.
Greens by type
Hearty greens (romaine, kale, cabbage)
These hold up the longest. You can usually wash, dry, and store for 4 to 6 days if they start fresh and your fridge runs cold (roughly 34 to 40°F).
- For chopped romaine, keep pieces a bit larger. Smaller shreds bruise faster.
- Kale stays crisp longer if you store leaves whole, then chop right before eating.
Tender greens (spring mix, baby spinach, arugula)
Plan for 3 to 5 days typically, depending on freshness, how dry they are, and whether they are already cut.
- Store loosely and avoid stacking heavy items on the container.
- Swap the paper towel if it becomes noticeably damp.
Herbs used like greens (cilantro, parsley, dill)
For big bunches, treat them like flowers for maximum life: trim stems and stand upright in a jar with a little water, loosely covered with a bag in the fridge. For smaller amounts mixed into salad, store dry with paper towels like greens.
Meal-prep salads, not soggy
If you are prepping full salads (not just greens), the trick is to keep wet ingredients away from leaves until the last moment.
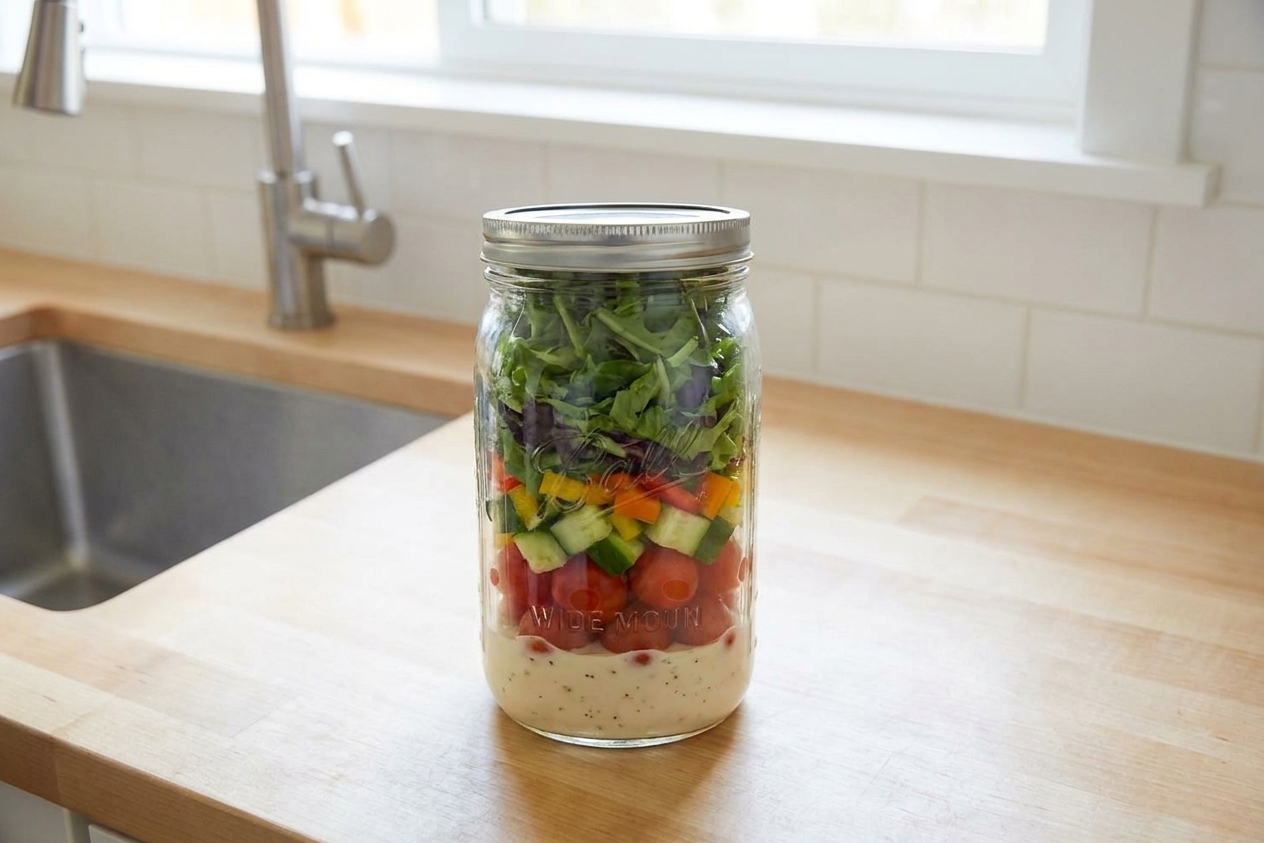
The jar method
Layer from wettest to driest so greens never sit in liquid:
- Dressing
- Firm, less juicy vegetables (carrots, bell pepper, radish, cabbage)
- Proteins (chicken, chickpeas, tofu)
- Grains (quinoa, farro) or sturdy add-ins
- Greens last
When it is time to eat, shake or pour into a bowl.
The container method
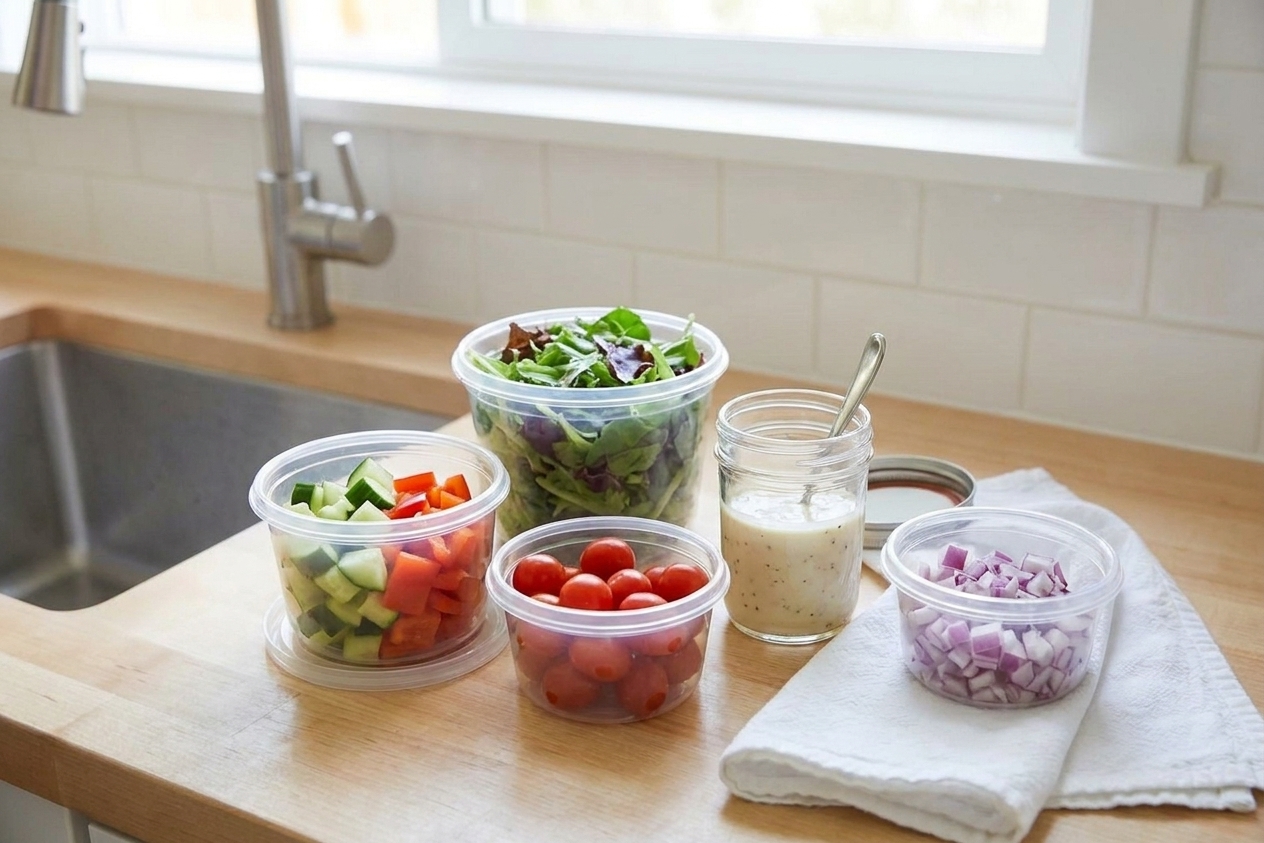
Use a wide, shallow container for greens and a separate small container for dressing.
- Put greens on the bottom, then dry toppings (nuts, seeds, croutons) in a small cup or bag.
- Store juicy items (tomatoes, citrus segments, cut strawberries, cucumbers) in a separate compartment or container.
Moisture-control upgrades
Swap paper towels
Paper towels are not glamorous, but they are effective. If you are storing greens more than 3 days, check once midweek. If the towel feels damp, replace it.
Use a produce towel
A thin cotton towel is reusable and reduces waste. It also wicks moisture more gently than paper towels, which can help with delicate spring mix.
Cool warm ingredients first
Let roasted vegetables, cooked grains, and proteins cool completely before packing. Warmth creates condensation, and condensation turns into soggy leaves fast.
Watch ethylene neighbors
Store salad greens away from apples, pears, avocados, and ripe bananas when you can. This is not usually the main issue with leafy greens, but in a tight drawer it can make a noticeable difference.
Quick revive
If your greens are a bit tired but not slimy or smelly, you can often bring them back.
- Soak in ice water for 5 to 10 minutes.
- Spin very dry (or towel-dry thoroughly).
- Repack with fresh paper towels.
This works best for romaine, butter lettuce, and sturdy mixes. It is less successful for baby spinach once it is truly wilted.
Food safety and when to toss
Trust your senses. Discard greens that are:
- slimy or sticky to the touch
- strong-smelling (sour, fishy, or fermented)
- moldy (even a small spot means the batch is on its way out)
If you are meal-prepping lunches for the week, I like this rhythm: prep greens for 3 to 4 days at a time, then refresh midweek if needed. Less waste, better texture.
My weekly routine
- Day 1: Wash and dry all greens. Store in a paper towel-lined container.
- Day 2 or 3: Check the towel. Replace if damp.
- As you pack lunches: Keep dressing separate and add juicy toppings in their own container.
- End of week: Use leftover greens in sautéed dishes, soups, omelets, or pesto-style sauces to avoid waste.
FAQ
Should I wash lettuce for meal prep or wait?
Wash and dry up front. The only catch is you must dry thoroughly and store with moisture control (paper towel or a produce towel). Properly dried greens stay fresh longer than muddy, unwashed ones.
Is it better to cut lettuce before storing?
For the crispest results, store leaves whole when possible and chop as needed. That said, chopped romaine holds up well if it is very dry and stored in a rigid container.
Why does my salad get watery even when I dry the greens?
Common culprits are warm add-ins (condensation), salted vegetables sitting too long (they release water), and juicy ingredients like tomatoes and cucumbers. Keep wet items separate and salt right before eating.
Do produce saver containers work?
They can, especially for tender greens, but they are not required. You can get most of the benefit with a sturdy container and the paper towel layering method.