Brown rice is one of those quietly powerful staples. It is affordable, forgiving, and hearty enough to turn “there’s nothing for dinner” into a real meal with whatever vegetables, beans, eggs, or bits of leftover chicken you have hanging out in the fridge.
If your brown rice has ever come out tough, waterlogged, or weirdly crunchy, you are not alone. The good news: once you nail a method you trust, you will cook it on autopilot.
What it is (and why it cooks differently)
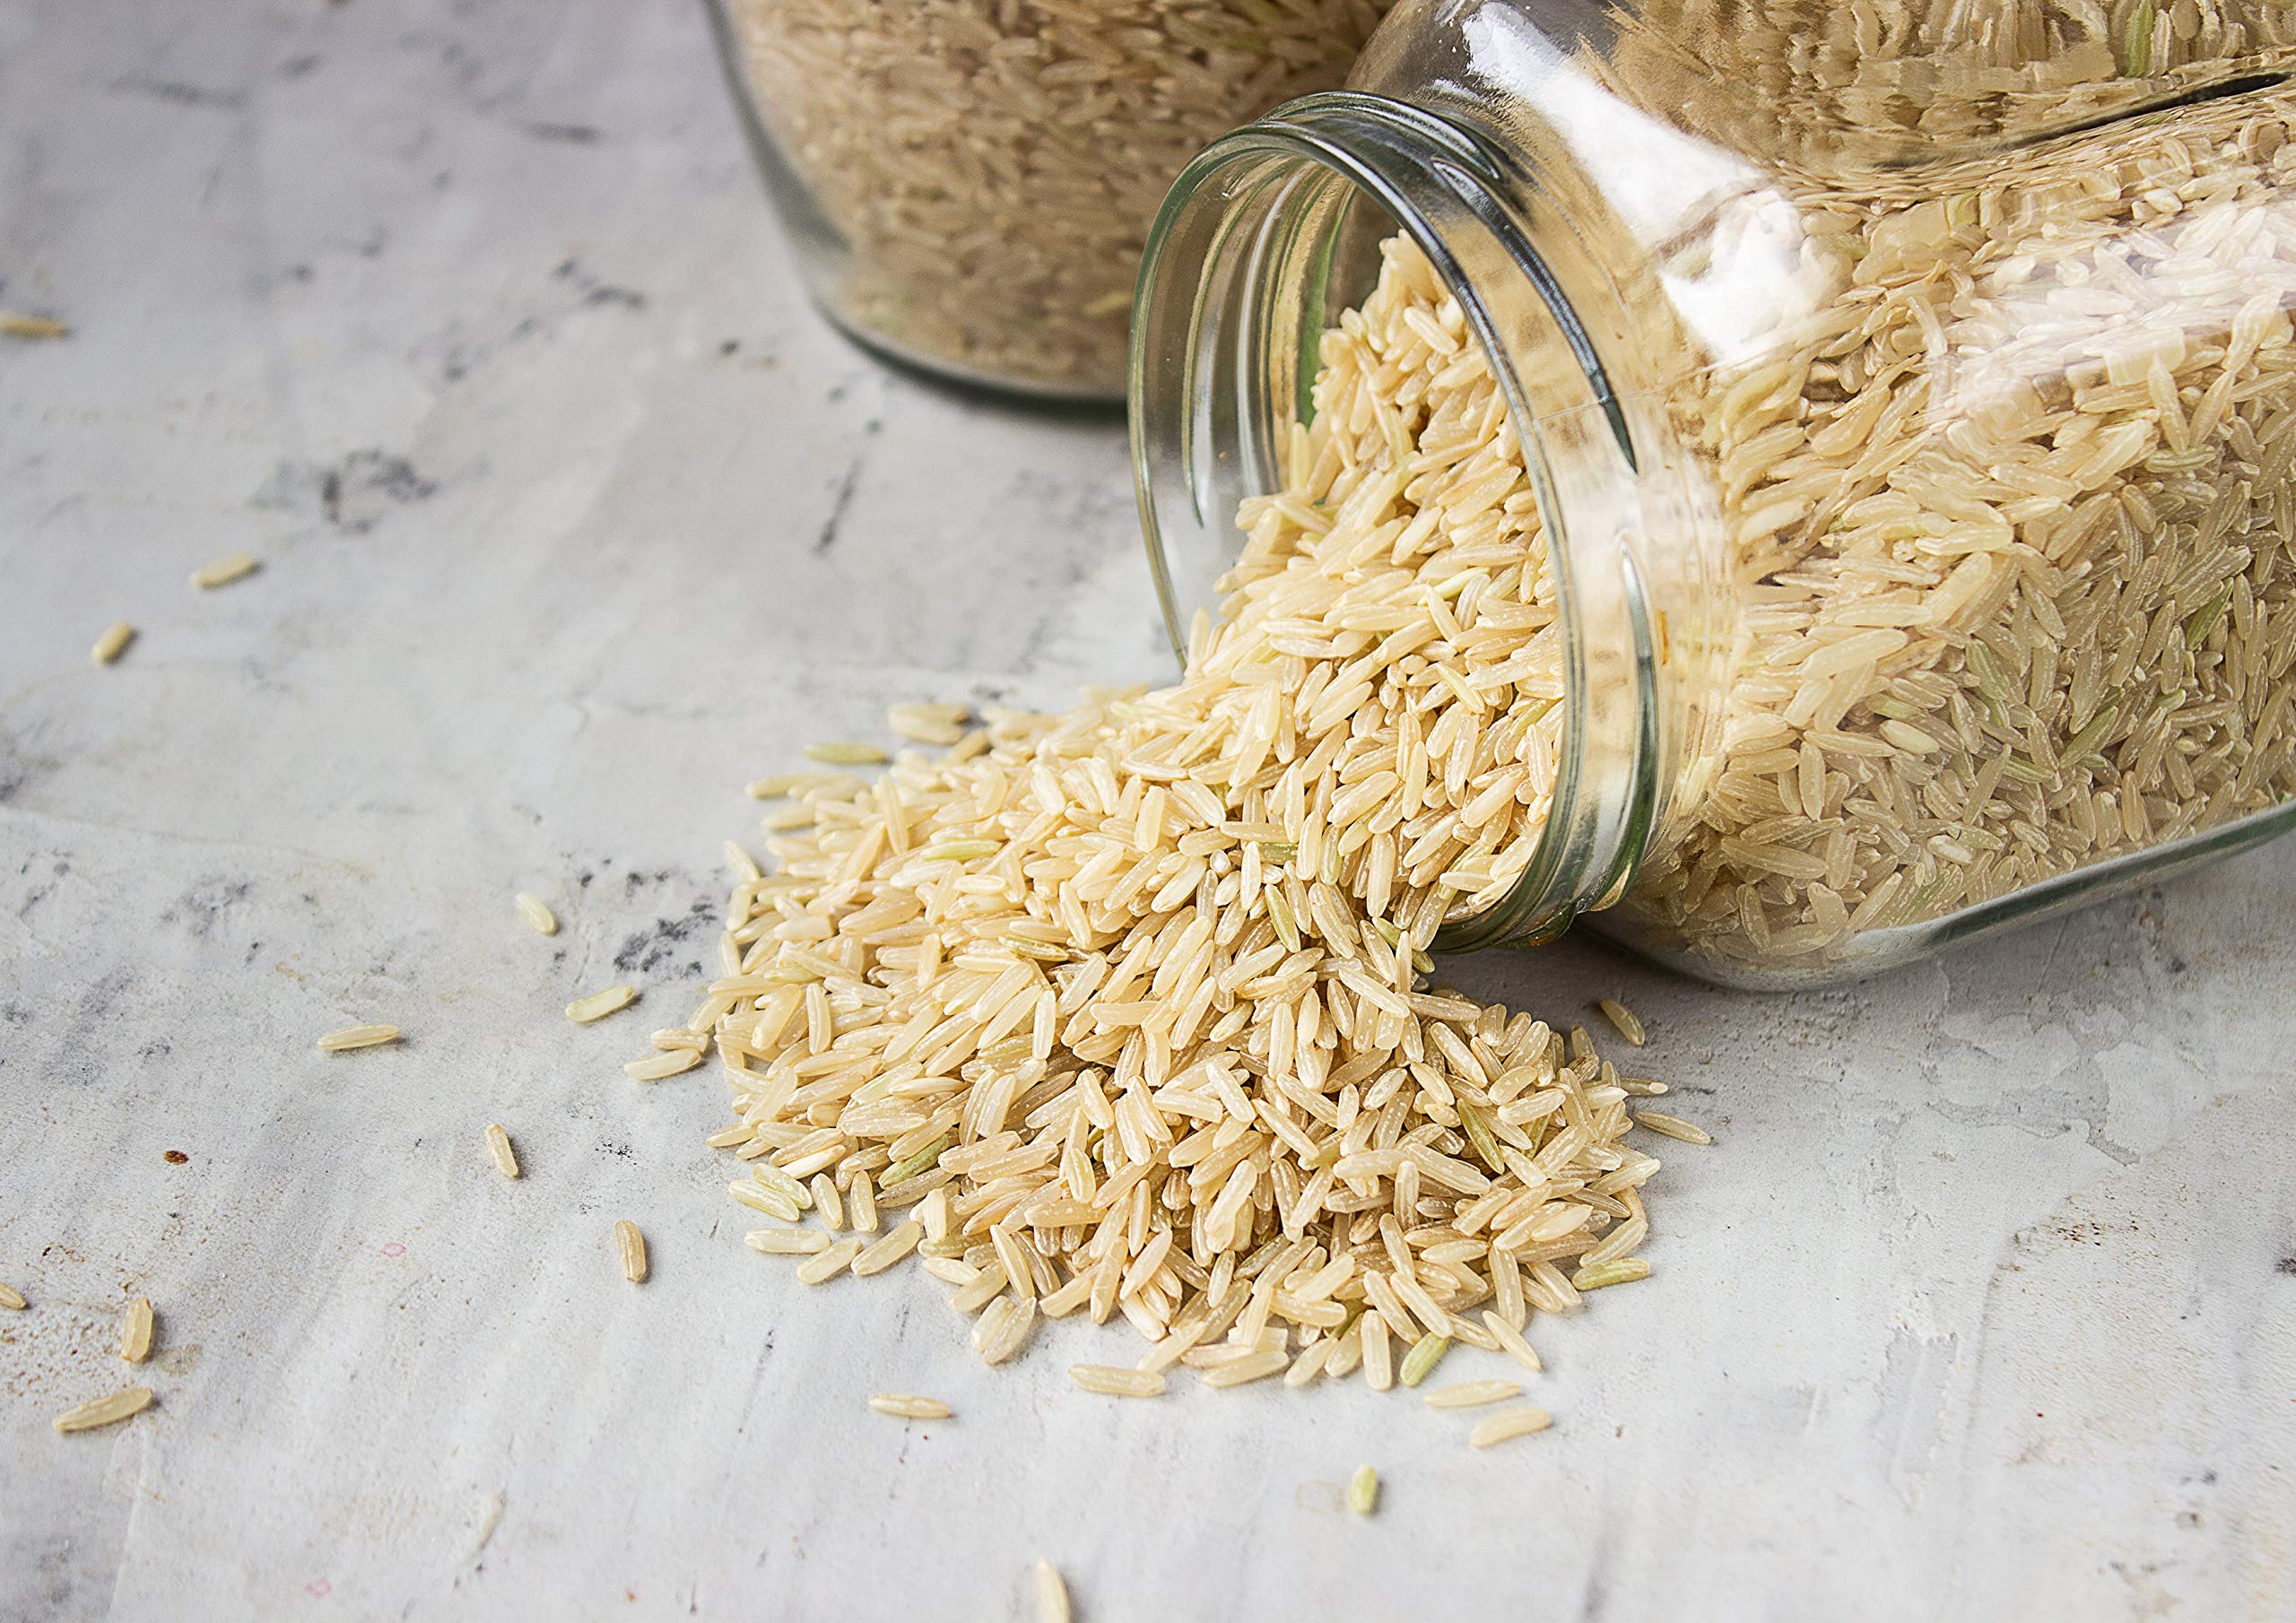
Brown rice is a whole grain. It still has the bran and germ layers, which give it a nutty flavor and chewier bite, plus more fiber and nutrients than white rice. That same outer layer also means it takes longer to cook and usually needs a bit more water.
Think of it like this: white rice is quick and delicate. Brown rice is sturdy and needs time to fully hydrate.
Before you cook
Should you rinse brown rice?
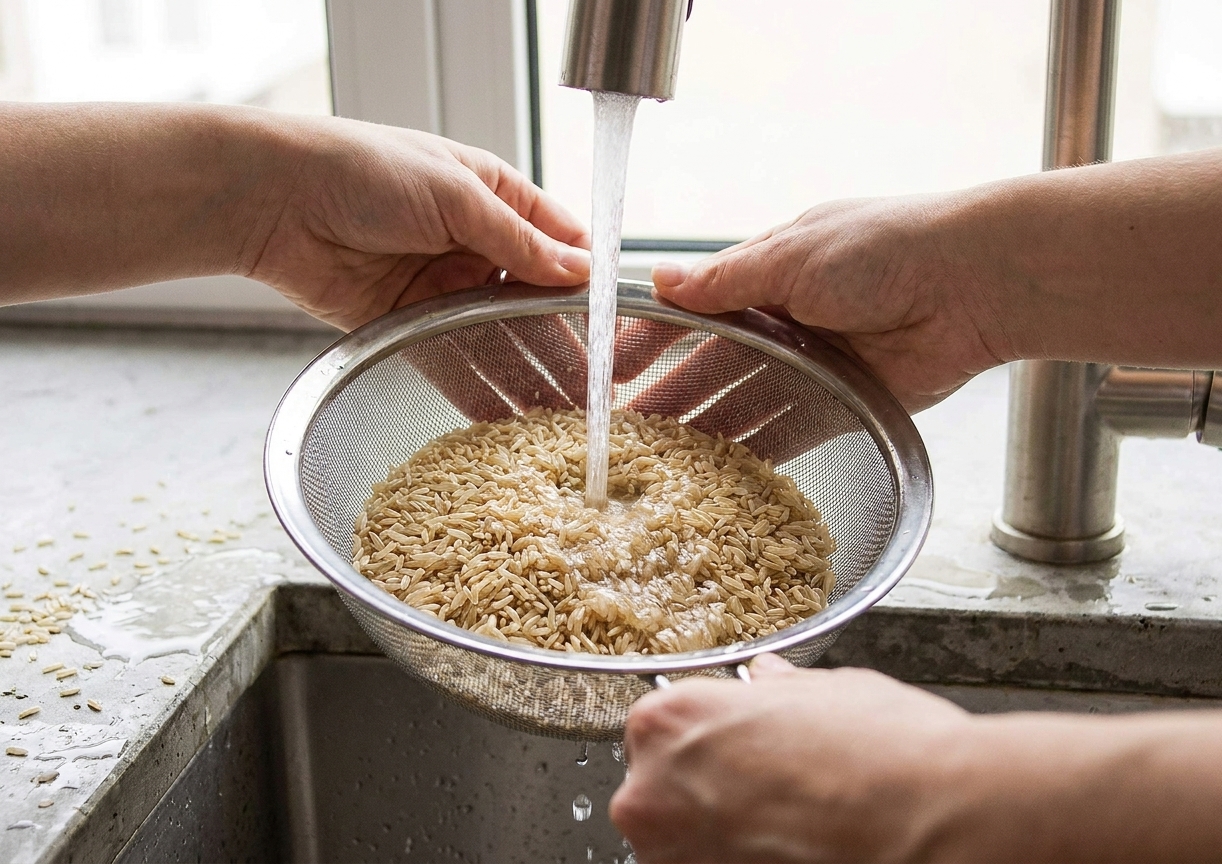
I recommend rinsing most bagged brown rice in a fine-mesh sieve until the water runs mostly clear. This removes surface starch and any dust from processing, which helps reduce gumminess. It is a 30-second habit that pays off.
When I skip rinsing: if I am going for a more cohesive, porridge-like bowl (where a little extra starch is welcome), or if the rice is labeled “pre-rinsed” and I am short on time.
Optional: soak for more even texture
If you can plan ahead, soaking rinsed brown rice in cool water for 30 minutes (or up to overnight in the fridge) helps soften the bran. You will generally get a shorter cook time and a more tender final texture. Drain well before cooking.
How to cook brown rice (3 methods)
Below are my weeknight go-tos. Pick one method and stick with it for a few cooks so you learn the sensory cues in your own kitchen.
Method 1: Stovetop absorption
Best for: everyday brown rice with a fluffy, separate grain.
- 1 cup long-grain brown rice (rinsed and drained)
- 1 3/4 to 2 cups water (or broth)
- 1/2 teaspoon kosher salt (optional, but I like it)
- 1 teaspoon neutral oil or butter (optional, helps reduce foaming and sticking)
Ratio note: 1 3/4 cups water works well for many long-grain brown rices in a pot with a tight lid at a true simmer. Some brands, older rice, or wider pots do better with closer to 2 cups. If your rice regularly finishes a little firm, bump the water up by 2 to 4 tablespoons next time.
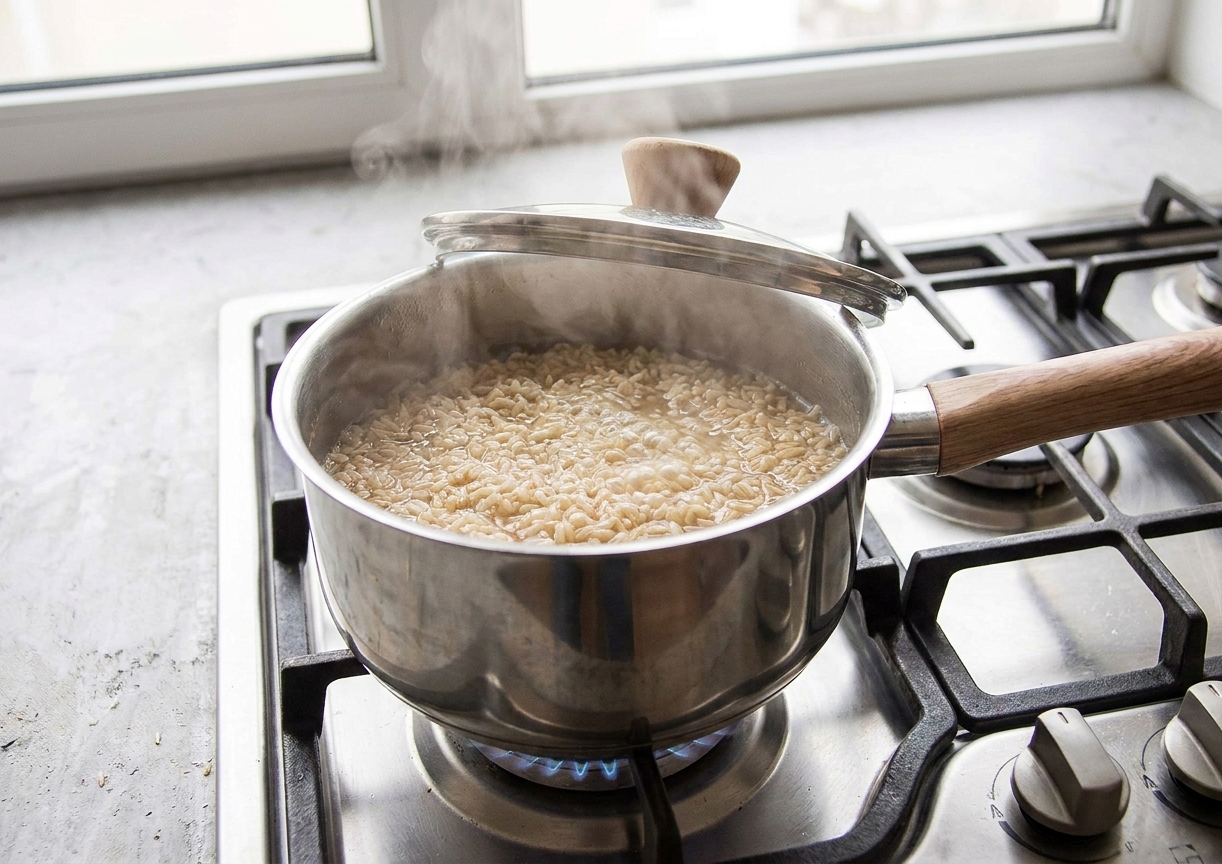
- Combine and bring to a boil. In a saucepan with a tight lid, combine rice, water, and salt. Bring to a boil over medium-high heat.
- Cover and reduce to a gentle simmer. Turn heat to low so you maintain steady, gentle bubbling. Cover.
- Cook 35 to 45 minutes. Start checking at 35 minutes. You are looking for water fully absorbed and grains that are tender with just a pleasant chew.
- Rest off heat 10 minutes. This is where the texture goes from “fine” to “great.” Keep the lid on.
- Fluff and serve. Fluff with a fork. Taste and add a pinch more salt if needed.
Sensory cue: When it is almost done, you will see steam holes on the surface and hear a quieter, gentle crackle rather than active bubbling.
Pot note: A snug lid matters. If your lid vents a lot of steam (or you cook in a wide, shallow pan), you may need a bit more water. If you are consistently getting wet rice, your lid might be too tight for your ratio, or your heat is too low and the rice is simply overcooking before the excess moisture can balance out.
Method 2: Pasta method
Best for: consistently tender brown rice, especially short-grain, and for cooks who hate measuring exact ratios.
- Bring a large pot of water to a boil (like you would for pasta) and salt it lightly.
- Add rinsed rice and boil uncovered 25 to 45 minutes, tasting as you go. (Short-grain and some older rice can take longer.)
- Drain in a fine-mesh sieve.
- Return drained rice to the hot pot, cover, and steam 10 minutes off heat.
This method is incredibly forgiving because excess water is not a problem. The steaming step is what keeps it fluffy instead of wet.
Method 3: Rice cooker
Best for: meal prep and hands-off cooking.
Use your cooker’s brown rice setting if it has one. A good starting point is 1 cup rinsed brown rice to 1 3/4 cups water, plus a pinch of salt. Let it rest on warm for 10 minutes, then fluff.
Ratios and cook times
These vary by brand, age of rice, altitude, and pot shape, so treat them as a starting point and adjust once you learn your favorite texture.
- Long-grain brown rice (stovetop absorption): 1 cup rice : 1 3/4 to 2 cups water, 35 to 45 minutes cook + 10 minutes rest
- Short-grain brown rice: often needs a touch more water and time, think 1 cup rice : 2 cups water, 45 to 55 minutes cook + 10 minutes rest
- Brown basmati: 1 cup rice : 1 3/4 to 2 cups water, 35 to 45 minutes cook + 10 minutes rest
- Parboiled brown rice: usually cooks faster, check package directions
High altitude note: Water boils at a lower temperature, so brown rice can take longer to tenderize. Plan on extra time, and add a splash of hot water if the pot dries out before the grains are tender.
My salt note: A small amount of salt in the cooking water makes brown rice taste like something you actually want to eat on its own. If you plan to use it in a salty sauce later, keep it light.
Troubleshooting
Crunchy or hard in the center
- Cause: not enough time, simmer too low to fully hydrate, or not enough water.
- Fix: add 2 to 4 tablespoons hot water, cover, and cook 5 to 10 more minutes. Rest 10 minutes.
Soggy or mushy
- Cause: too much water, overcooked rice, or a lid that traps too much moisture for your ratio (and keeps the rice steaming past doneness).
- Fix: uncover and cook on low for a few minutes to evaporate. Then cover and rest. Next time, reduce water slightly or start checking a bit earlier.
Gummy or clumpy
- Cause: excess surface starch or too much stirring.
- Fix: rinse well, avoid stirring while it cooks, and fluff after resting.
Tastes flat
- Cause: under-salted cooking water, or no acid in the final dish.
- Fix: season the rice lightly with salt and a squeeze of lemon, a splash of rice vinegar, or a spoon of salsa. Brown rice loves a little acid.
Store, freeze, and reheat
Cool it quickly (for texture and safety)
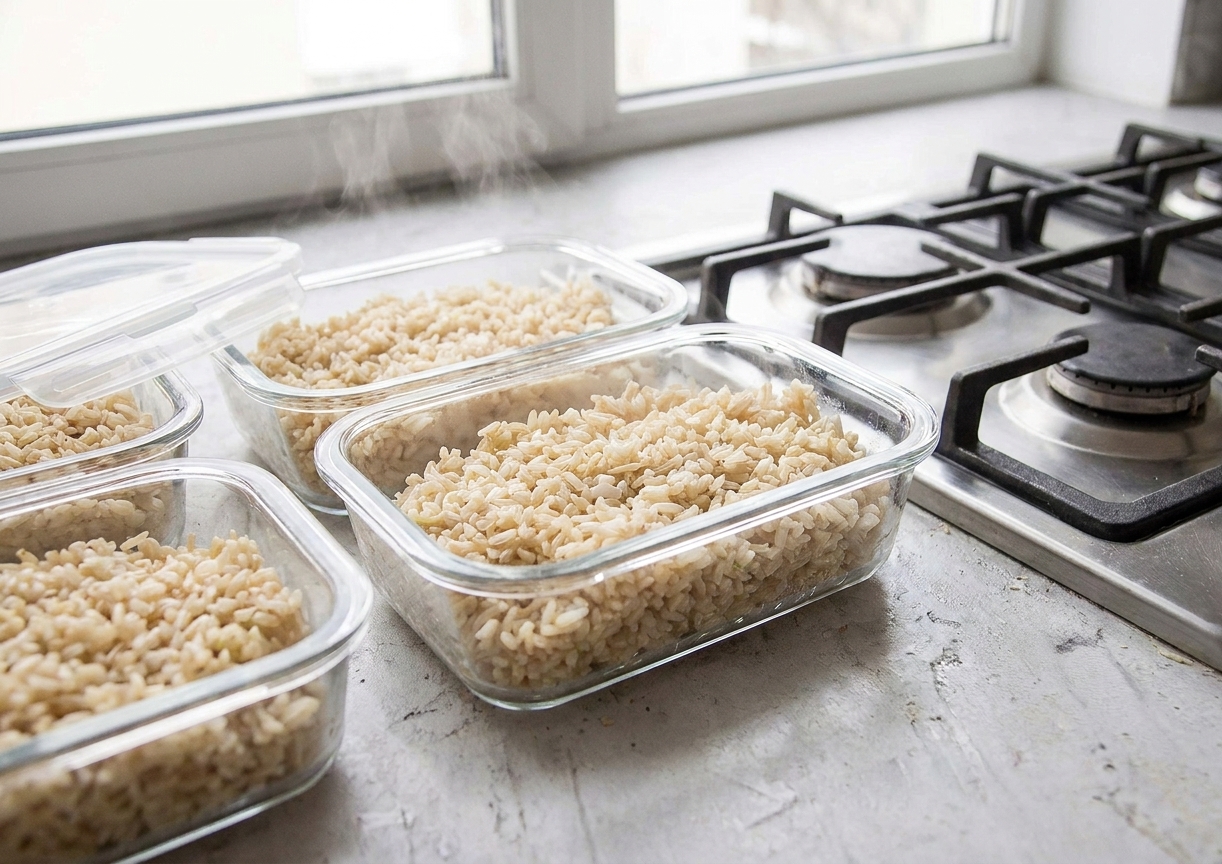
Spread hot rice on a sheet pan or wide plate so it cools quickly, then refrigerate in a shallow container. For best food safety, get it into the fridge within 1 to 2 hours.
Refrigerator
Store in an airtight container for up to 4 days.
Freezer
Brown rice freezes beautifully. Portion it into freezer bags or containers, press flat, and freeze for up to 3 months.
Reheating (my best trick)
Add 1 to 2 teaspoons water per cup of rice, cover, and reheat:
- Microwave: 1 to 2 minutes, then stir and heat in 30-second bursts as needed
- Stovetop: splash of water in a covered skillet over medium-low, stirring occasionally
Reheat until the rice is steaming hot throughout (about 165°F/74°C) for best results and food safety.
Easy ways to use it
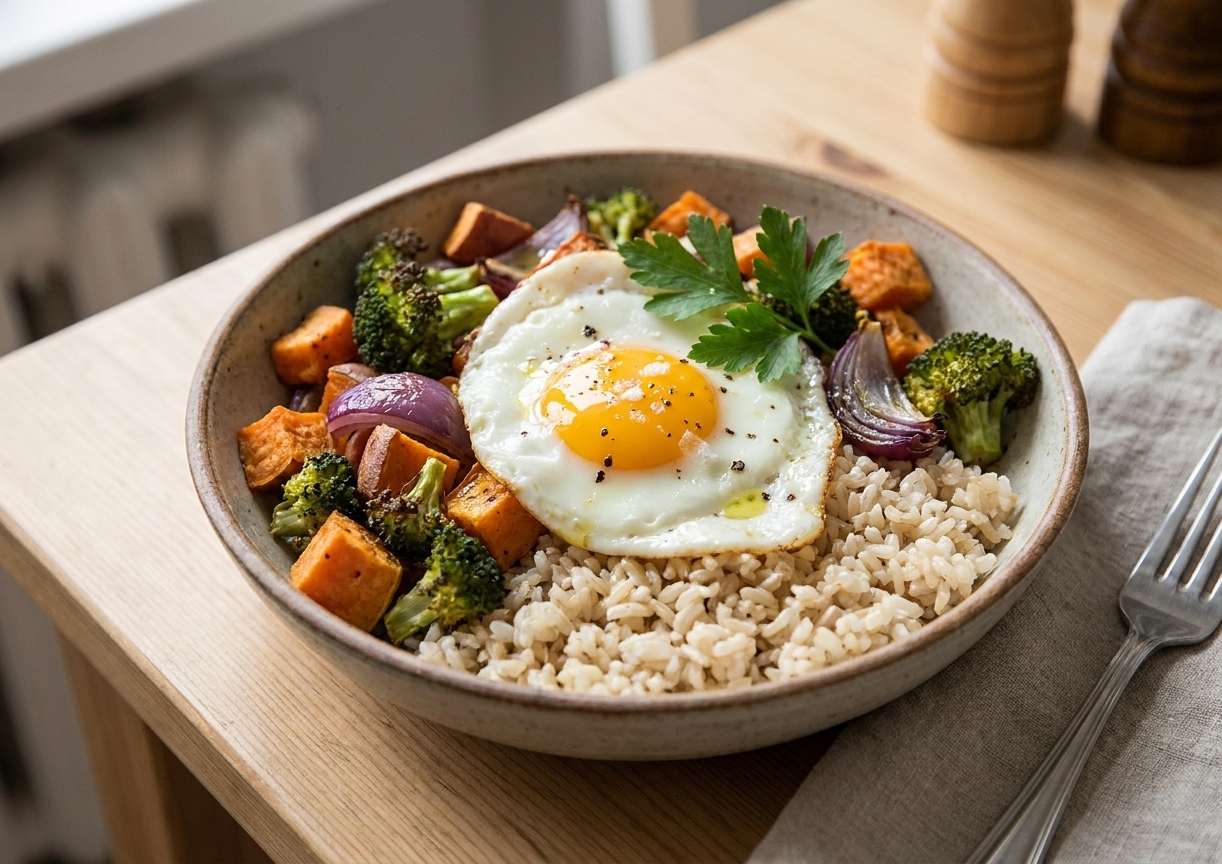
This is where brown rice really shines. Cook a pot once, then give it different personalities throughout the week.
Fast bowl formula
- Warm base: brown rice
- Protein: fried egg, tofu, chickpeas, rotisserie chicken, leftover salmon
- Vegetable: roasted broccoli, sautéed greens, cucumber, shredded carrots
- Sauce: tahini-lemon, salsa, soy-sesame, peanut sauce, yogurt-garlic
- Crunch: toasted nuts, seeds, crispy onions
Brown rice fried rice
Day-old rice is ideal because it is drier. Stir-fry aromatics (garlic, ginger, scallion), add vegetables, then rice, then a simple sauce: soy sauce plus a tiny splash of rice vinegar. Finish with toasted sesame oil off heat for fragrance.
Soup add-in
Spoon cooked brown rice into soup bowls and ladle broth on top. It keeps the rice from overcooking and thickening the whole pot.
Stuffed vegetables
Use it in stuffed peppers or zucchini with beans, tomato sauce, herbs, and cheese. Brown rice holds its texture and does not turn to paste.
Buying tips
Long-grain vs short-grain
- Long-grain: fluffier, more separate grains. Great for bowls, pilafs, and meal prep.
- Short-grain: a bit stickier and more cohesive. Great for rice balls, hearty bowls, and some Japanese or Korean style meals.
Quick-cooking brown rice
This is partially cooked and dried. It is convenient and still tasty, but the texture is a bit softer and the flavor can be less nutty than standard brown rice. Perfect for busy nights.
If it smells stale
Because it contains natural oils, brown rice can go rancid over time. If the dry rice smells paint-like or “off,” toss it. Store unopened rice in a cool pantry, and once opened, keep it sealed tightly. If you buy in bulk, the freezer is your friend.
FAQ
Is brown rice healthier than white rice?
Brown rice has more fiber and micronutrients because it is a whole grain. White rice is easier to digest for some people and cooks faster. In real life, “healthier” usually comes down to what helps you build balanced meals you enjoy and can repeat.
Why does my brown rice take so long?
Some brands and varieties simply take longer, and altitude can stretch cook times. A too-gentle simmer can also prolong cooking without fully tenderizing the grain. Make sure you actually have gentle bubbling, and consider soaking to speed things up.
Can I cook brown rice in broth?
Yes, and it is an easy flavor upgrade. Use low-sodium broth so you can control salt, and taste at the end.
How much cooked rice does 1 cup dry make?
Roughly 3 cups cooked, give or take depending on the variety and method.