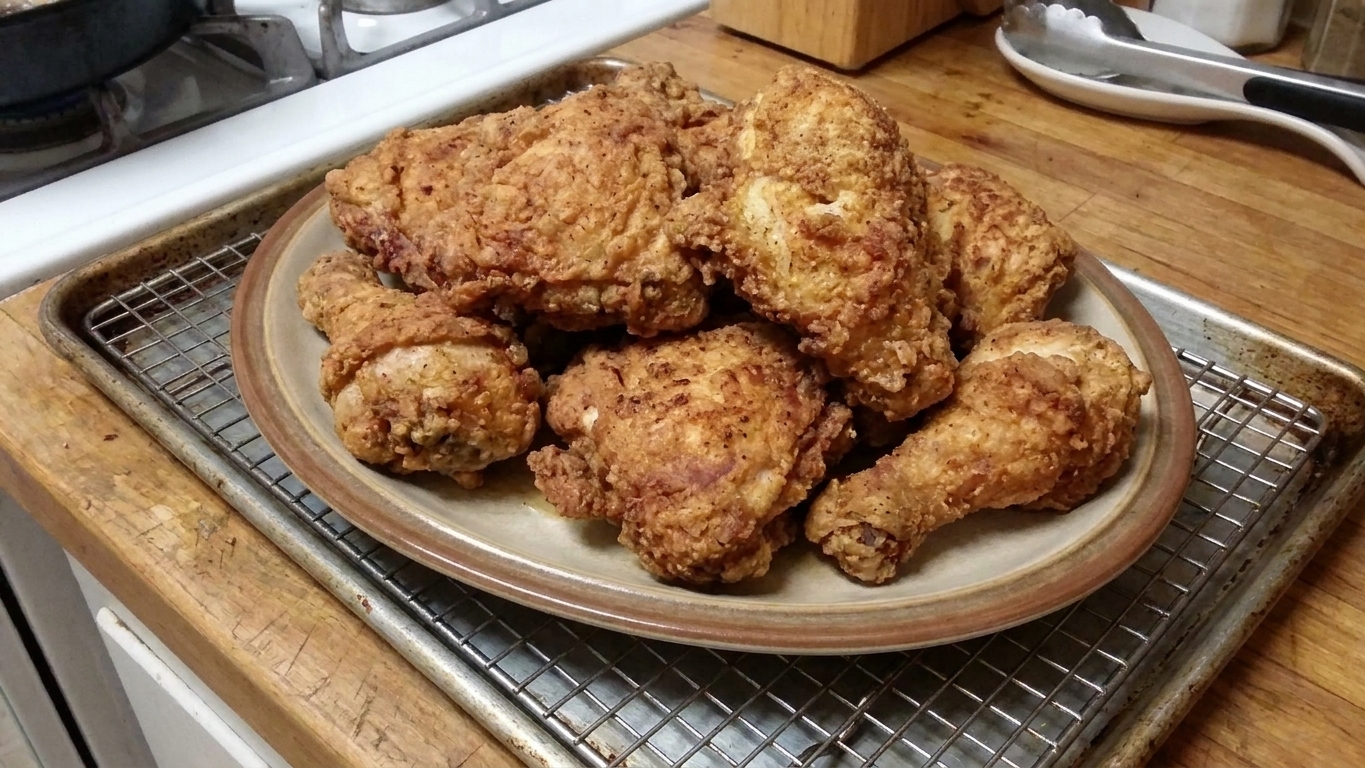


I learned to love fried chicken in the kind of kitchen where someone was always frying something, and someone else was always reminding you to salt it while it was hot. Years later, after my restaurant stint (loud, fast, and frankly exhausting), I started teaching home cooks and realized most fried chicken heartbreak comes down to a few fixable details: oil that is too shallow, coating that never really bonds, and skipping the rack rest.
This buttermilk fried chicken is my weeknight-friendly approach to a true, shatter-crisp crust with juicy, bone-in meat. You soak the chicken in seasoned buttermilk, dredge in a flour blend that builds those crunchy crags, then pan-fry in a steady, controlled oil bath. No deep fryer required.
Here are the three details I want you to lock in before you even turn on the stove.
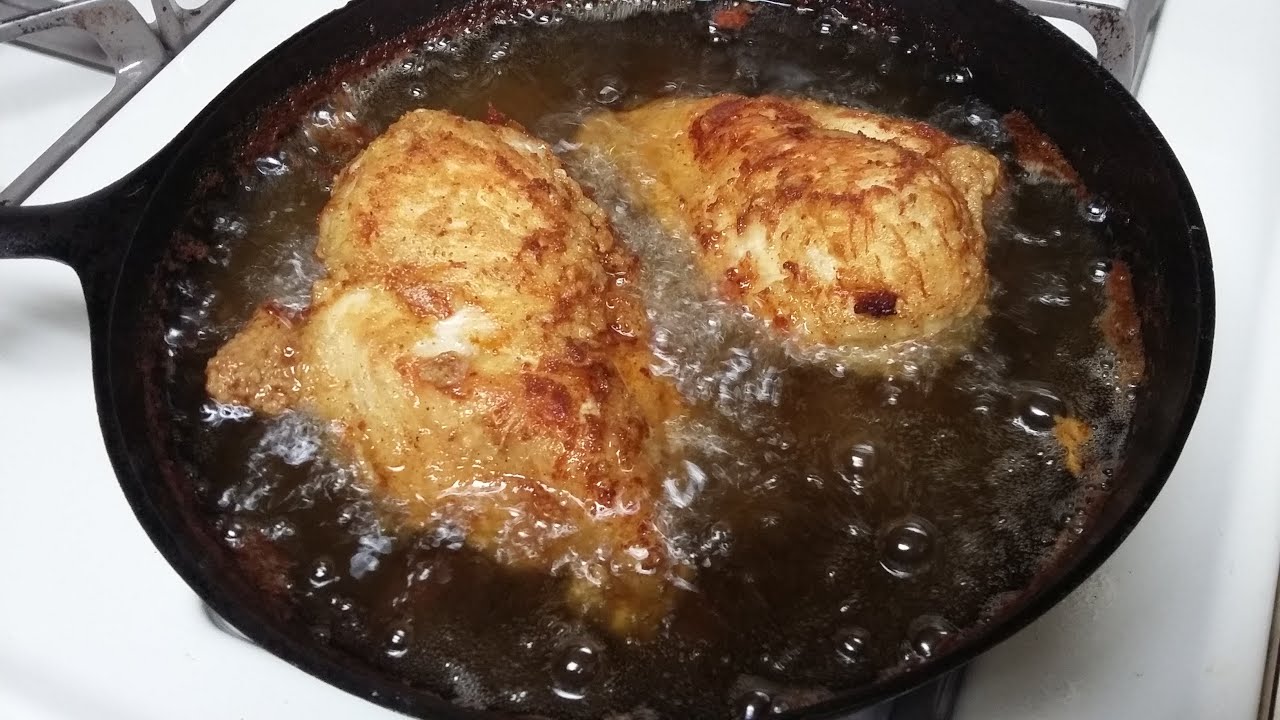
Oil depth: Think of this as shallow frying that behaves like a mini deep fry. If the oil is too shallow, the chicken sits on the pan, the coating sticks, and you get pale patches where the crust never really has a chance to set. I aim for enough oil to come about halfway up the pieces so the crust seals quickly and browns evenly with a couple of calm flips, not constant babysitting.
Batch size: Most people crowd the skillet because they want to get dinner on the table faster, and it backfires. Too many pieces at once drags the oil temperature down and you end up steaming and soaking the coating instead of frying it. A little breathing room around each piece is the difference between crisp and heavy.
The rack rest: I will say it every time because it is the sneaky make or break step. Resting the dredged chicken on a rack for a few minutes gives the coating time to hydrate and cling, so it is less likely to slide off in the oil. Then, after frying, draining on a rack keeps air moving underneath so steam does not soften that hard-earned crust. Paper towels are fine for blotting a spill, but they are not the best landing pad for fried chicken.
Plan for a little patience: the soak gives you tenderness and flavor, and a short rest after dredging helps the coating set so it does not slide off in the pan. The reward is the sound you want when you bite in: a clean crackle, then juicy chicken underneath.
Why this recipe works
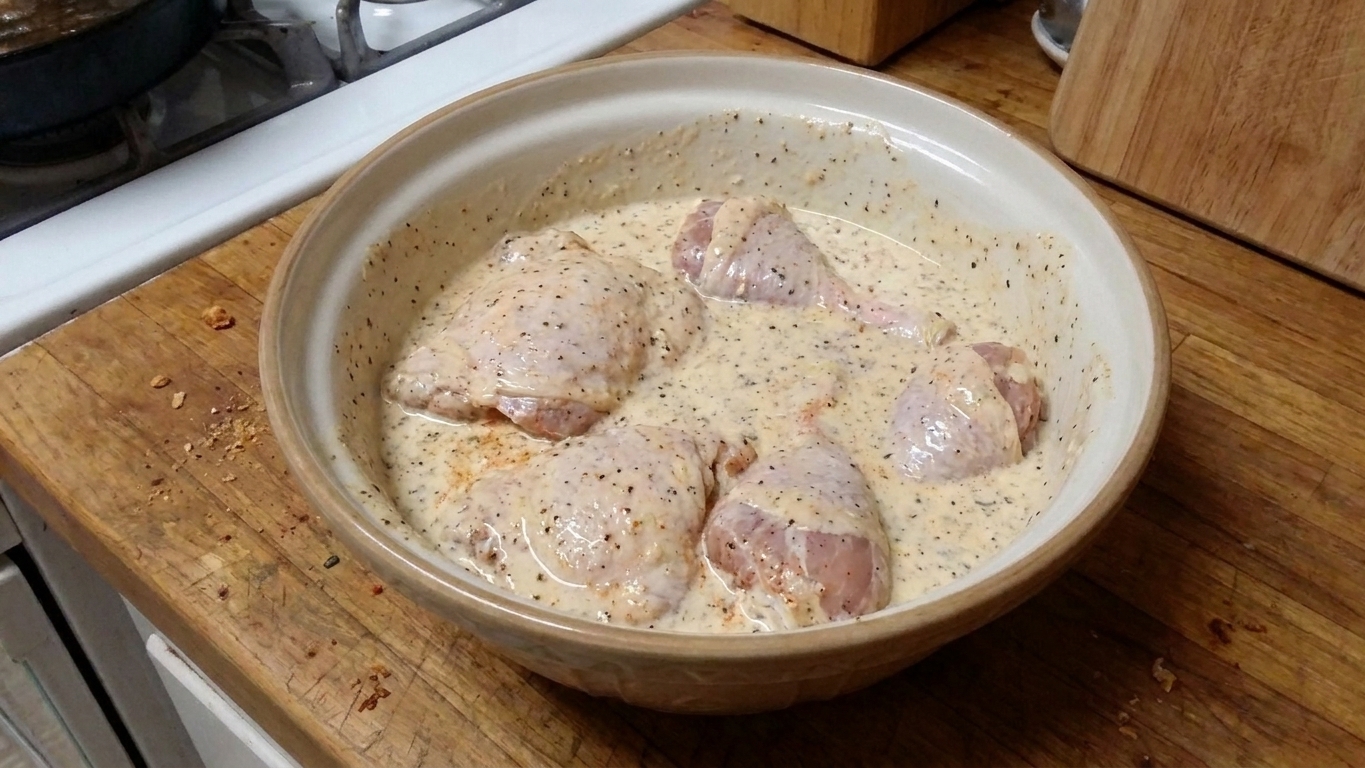
- Seasoned buttermilk does two jobs. The acidity tenderizes while salt and spices penetrate the chicken so the meat tastes seasoned, not just the crust.
- A two-stage coating creates crags. Mixing some of the buttermilk into the flour on purpose makes little clumps that fry into those crunchy, jagged bits.
- Proper oil depth pan-fries like a shallow “mini deep fry.” About 3/4-inch to 1-inch of oil lets the crust set quickly and brown evenly without scorching.
- A rack rest keeps it crisp. Draining on a wire rack prevents steam from softening the crust, and a brief rest after frying lets juices redistribute.
- Temperature control prevents greasy chicken. Holding the oil in the sweet spot cooks the coating and the meat at the same pace.
Ingredient notes
Bone-in chicken: Thighs and drumsticks are the most forgiving. Breasts can work, but they cook faster and dry out more easily. If using mixed pieces, fry dark meat first and keep it warm while you finish the rest.
Buttermilk: Real cultured buttermilk gives the best flavor and cling. In a pinch, you can make a substitute (see Substitutes), but the coating tends to be slightly less complex.
Kosher salt: If you only have fine salt, use a little less. Salt in the soak and in the flour is the difference between “good crust” and “cannot stop eating it.”
Flour and cornstarch: Flour brings structure and color; cornstarch makes the crust lighter and crispier. If you skip cornstarch, the chicken is still great, just a touch less shattery.
Spices: Paprika, garlic powder, onion powder, and a little cayenne build that classic fried chicken profile. Use smoked paprika if you want a faint barbecue aroma, but keep it subtle.
Oil choice: Use a neutral, high smoke point oil like peanut, canola, vegetable, or sunflower. Avoid extra virgin olive oil.
Equipment you will need
- Large, heavy skillet (cast iron is ideal) at least 12 inches wide
- Instant-read thermometer for oil temperature and chicken doneness
- Wire rack set over a sheet pan for draining and resting
- Tongs (and a spider strainer if you have one)
- Mixing bowls for the buttermilk soak and dredge
- Paper towels for quick wipe-downs and safety
Pro tips
- Dial in the oil depth: Aim for 3/4-inch to 1-inch of oil. In most 12-inch skillets, that is enough to come halfway up the chicken. If it is much shallower, you will fight pale spots and sticking.
- Batch size matters: For a 12-inch skillet, fry 3 to 4 pieces at a time (depending on size). Overcrowding drops oil temperature fast and makes the coating absorb oil.
- Let dredged chicken rest before frying: A 10 to 15 minute rest on a rack after dredging helps the coating hydrate and adhere.
- Fry by oil temp, not just time: Keep the oil around 325°F to 350°F. If it climbs, lower heat. If it drops, pause between batches to recover.
- Salt while hot: A light sprinkle right after the chicken comes out is the move. Salt sticks best to hot oil-sheened crust.
- Use internal temp to finish confidently: Dark meat is best at 175°F to 190°F for tenderness, but it is safe at 165°F. Breasts should be pulled right at 165°F.
Substitutes that work
- No buttermilk: Mix 2 cups milk with 2 tablespoons lemon juice or white vinegar. Let stand 5 to 10 minutes before using. It will not be as thick as buttermilk, so give the chicken a little extra drip time before dredging.
- No cornstarch: Use all flour. You can also sub potato starch for cornstarch for a similarly crisp crust.
- Gluten-free: Use a gluten-free all-purpose flour blend plus cornstarch. Fry gently and avoid aggressive flipping, since GF crust can be slightly more delicate.
- Spice level: Skip cayenne for mild, or double it for heat. You can also add black pepper generously for a peppery bite.
Variations
- Extra crunchy double dredge: After the first flour coat, dip back into the buttermilk briefly, then dredge again. Rest before frying so the coating sets.
- Herb-laced: Add dried thyme or oregano to the flour for a subtle savory note.
- Pickle-brine twist: Replace 1/2 cup of the buttermilk with dill pickle juice for a tangy, deli-style vibe. Reduce added salt slightly.
- Oven finish for thick pieces: If your crust is perfect but the center needs time, move chicken to a 375°F oven on a rack to finish gently to temp.
Serving ideas
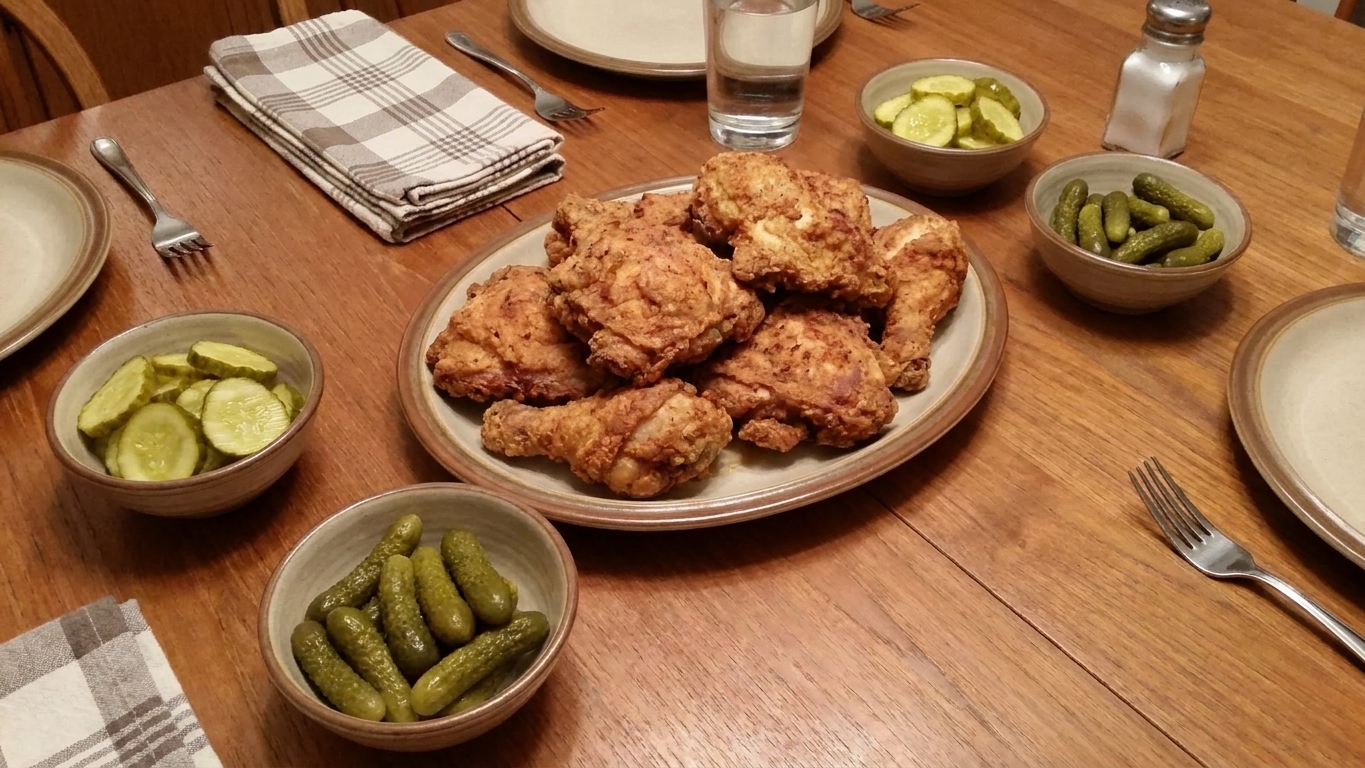
Keep it simple and let the chicken be the main character. I love serving it with lemon wedges (acid is magic here) and something crunchy and cold on the side.
- Hot sauce or a vinegar-based pepper sauce
- Pickles or quick pickled onions
- Simple green salad with a sharp vinaigrette
- Roasted potatoes or oven fries
- Biscuits or cornbread
Storage and reheating
Best day-of: Fried chicken is at its absolute peak within an hour of frying.
Refrigerate: Cool completely, then refrigerate in an airtight container for up to 3 days. For best crust texture, store pieces with a paper towel tucked in to absorb moisture.
Reheat: Reheat on a wire rack over a sheet pan at 400°F until hot and crisp, about 12 to 18 minutes depending on piece size. Avoid the microwave if you care about crunch.
Freeze: Freeze cooled pieces on a sheet pan until solid, then transfer to a freezer bag. Reheat from frozen on a rack at 400°F until hot throughout, typically 25 to 35 minutes.
Common mistakes
- Oil too hot: The crust browns before the chicken cooks through. Watch for oil temp creeping above 350°F and adjust.
- Oil too cool: Greasy chicken and a soft crust. Let the oil come back to temperature between batches.
- Skipping the rack: Draining on paper towels traps steam underneath and softens the bottom crust.
- Flipping too often: Let the crust set. If you move it constantly, you risk tearing the coating.
- Not seasoning enough: Salt in the soak and the flour, plus a final sprinkle after frying, makes the flavor pop.
- Overcrowding the pan: Temperature drops fast and you end up steaming instead of frying.
FAQ
How long should I soak chicken in buttermilk?
At least 4 hours is great, and overnight is ideal. If you only have 30 to 60 minutes, you will still get better browning and some seasoning, but the tenderness and flavor will be lighter.
What oil depth do I need for pan-fried chicken?
3/4-inch to 1-inch is my sweet spot. You want the oil to come about halfway up the chicken so the crust sets quickly and browns evenly.
What internal temperature should fried chicken be?
Chicken is safe at 165°F in the thickest part. Thighs and drumsticks are often juiciest closer to 175°F to 190°F because the connective tissue has time to relax.
Why is my breading falling off?
Common culprits are: not letting excess buttermilk drip off, skipping the rest after dredging, and moving the chicken too soon in the oil. Also make sure the oil is hot enough when the chicken goes in so the coating sets.
Can I use boneless chicken?
You can, but it cooks much faster and the timing changes. If you go boneless, keep the oil closer to 340°F and start checking temperature early to avoid overcooking.
Buttermilk Fried Chicken
Bone-in chicken soaked in seasoned buttermilk, dredged in a craggy flour coating, and pan-fried in 3/4-inch to 1-inch of oil until crisp and juicy. Includes batch sizing, rack resting, and safe internal temps.
- Prep
- 25 minutes (plus soaking and resting)
- Cook
- 25 to 35 minutes
- Total
- 1 hour 10 minutes (plus soaking time)
- Yield
- 4 to 6
Ingredients
- 3 to 4 lb bone-in chicken pieces (drumsticks, thighs, or a mix)
- 2 cups buttermilk
- 2 tsp kosher salt, plus more to finish
- 1 tsp black pepper
- 1 tsp garlic powder
- 1 tsp onion powder
- 1 tsp sweet paprika
- 1/4 to 1/2 tsp cayenne pepper (optional)
- 2 1/2 cups all-purpose flour
- 1/2 cup cornstarch
- 1 1/2 tsp baking powder
- 1 1/2 tsp kosher salt
- 1 tsp black pepper
- 1 tsp paprika
- 1/2 tsp garlic powder
- Neutral frying oil (peanut, canola, vegetable, or sunflower), enough for 3/4-inch to 1-inch depth in a 12-inch skillet (about 2 1/2 to 4 cups depending on the pan)
Instructions
- Season the buttermilk soak. In a large bowl, whisk together the buttermilk, 2 tsp kosher salt, 1 tsp black pepper, 1 tsp garlic powder, 1 tsp onion powder, 1 tsp paprika, and cayenne (if using). Add the chicken pieces and turn to coat. Cover and refrigerate at least 4 hours, ideally overnight.
- Set up your draining and dredging station. Place a wire rack over a sheet pan (this is for resting after dredging and again after frying). In a wide bowl or baking dish, whisk together the flour, cornstarch, baking powder, 1 1/2 tsp kosher salt, 1 tsp black pepper, 1 tsp paprika, and 1/2 tsp garlic powder.
- Make craggy bits on purpose. Lift chicken from the buttermilk, letting excess drip back into the bowl. Spoon 2 to 4 tablespoons of the buttermilk marinade into the flour mixture and toss with your fingers until you get small clumps. These clumps become extra crunchy crags.
- Dredge and rest. Dredge each piece of chicken thoroughly in the flour mixture, pressing firmly so the coating adheres. Place on the rack and repeat with remaining pieces. Let the dredged chicken rest 10 to 15 minutes. This helps the coating set and reduces blow-off in the oil.
- Heat the oil. Pour enough oil into a large, heavy skillet to reach 3/4-inch to 1-inch depth. Heat over medium to medium-high until the oil reaches 325°F to 350°F. Keep an instant-read thermometer clipped or handy so you can monitor the temperature.
- Fry in batches. Carefully add 3 to 4 pieces of chicken to the skillet, leaving space around each piece. The oil temperature will drop. Adjust the heat to keep the oil mostly in the 325°F to 350°F range.
- Cook until deeply golden, flipping once or twice. Fry, turning occasionally with tongs, until the crust is deep golden brown and the chicken reads 165°F in the thickest part not touching bone. For drumsticks and thighs, expect 25 to 35 minutes total depending on size. If the crust is browning too quickly, lower the heat. If it is pale and sluggish, raise the heat slightly and allow the oil to recover.
- Drain on a rack, then rest. Transfer fried chicken to the clean wire rack over the sheet pan. Do not drain on paper towels. Let rest at least 5 to 10 minutes so the crust stays crisp and juices settle. Lightly sprinkle with kosher salt while hot.
- Repeat and manage oil temperature. Let the oil come back to 325°F to 350°F before starting the next batch. Skim out any loose crumbs between batches if they are getting dark. Serve warm.
Notes
Oil depth and batch size: In a 12-inch skillet, 3/4-inch to 1-inch of oil and 3 to 4 pieces per batch is the sweet spot for even browning and steady temperature.
Doneness: Chicken is safe at 165°F. Dark meat is often best closer to 175°F to 190°F for the most tender bite.
Keeping batches warm: If needed, hold fried pieces on a rack in a 200°F oven while you finish the remaining batches.
Reduce waste tip: Let the oil cool completely, then strain through a fine mesh sieve into a jar. Refrigerate and reuse for another frying project if it smells clean and looks clear.