Chicken bone broth is one of those quiet kitchen habits that makes everything else easier. A pot on the back burner turns scraps into liquid gold, and suddenly your Tuesday soup tastes like you planned it. This is my no-fuss, restaurant-informed, home-cook-friendly roadmap to making a broth that is rich, savory, and actually pleasant to sip.
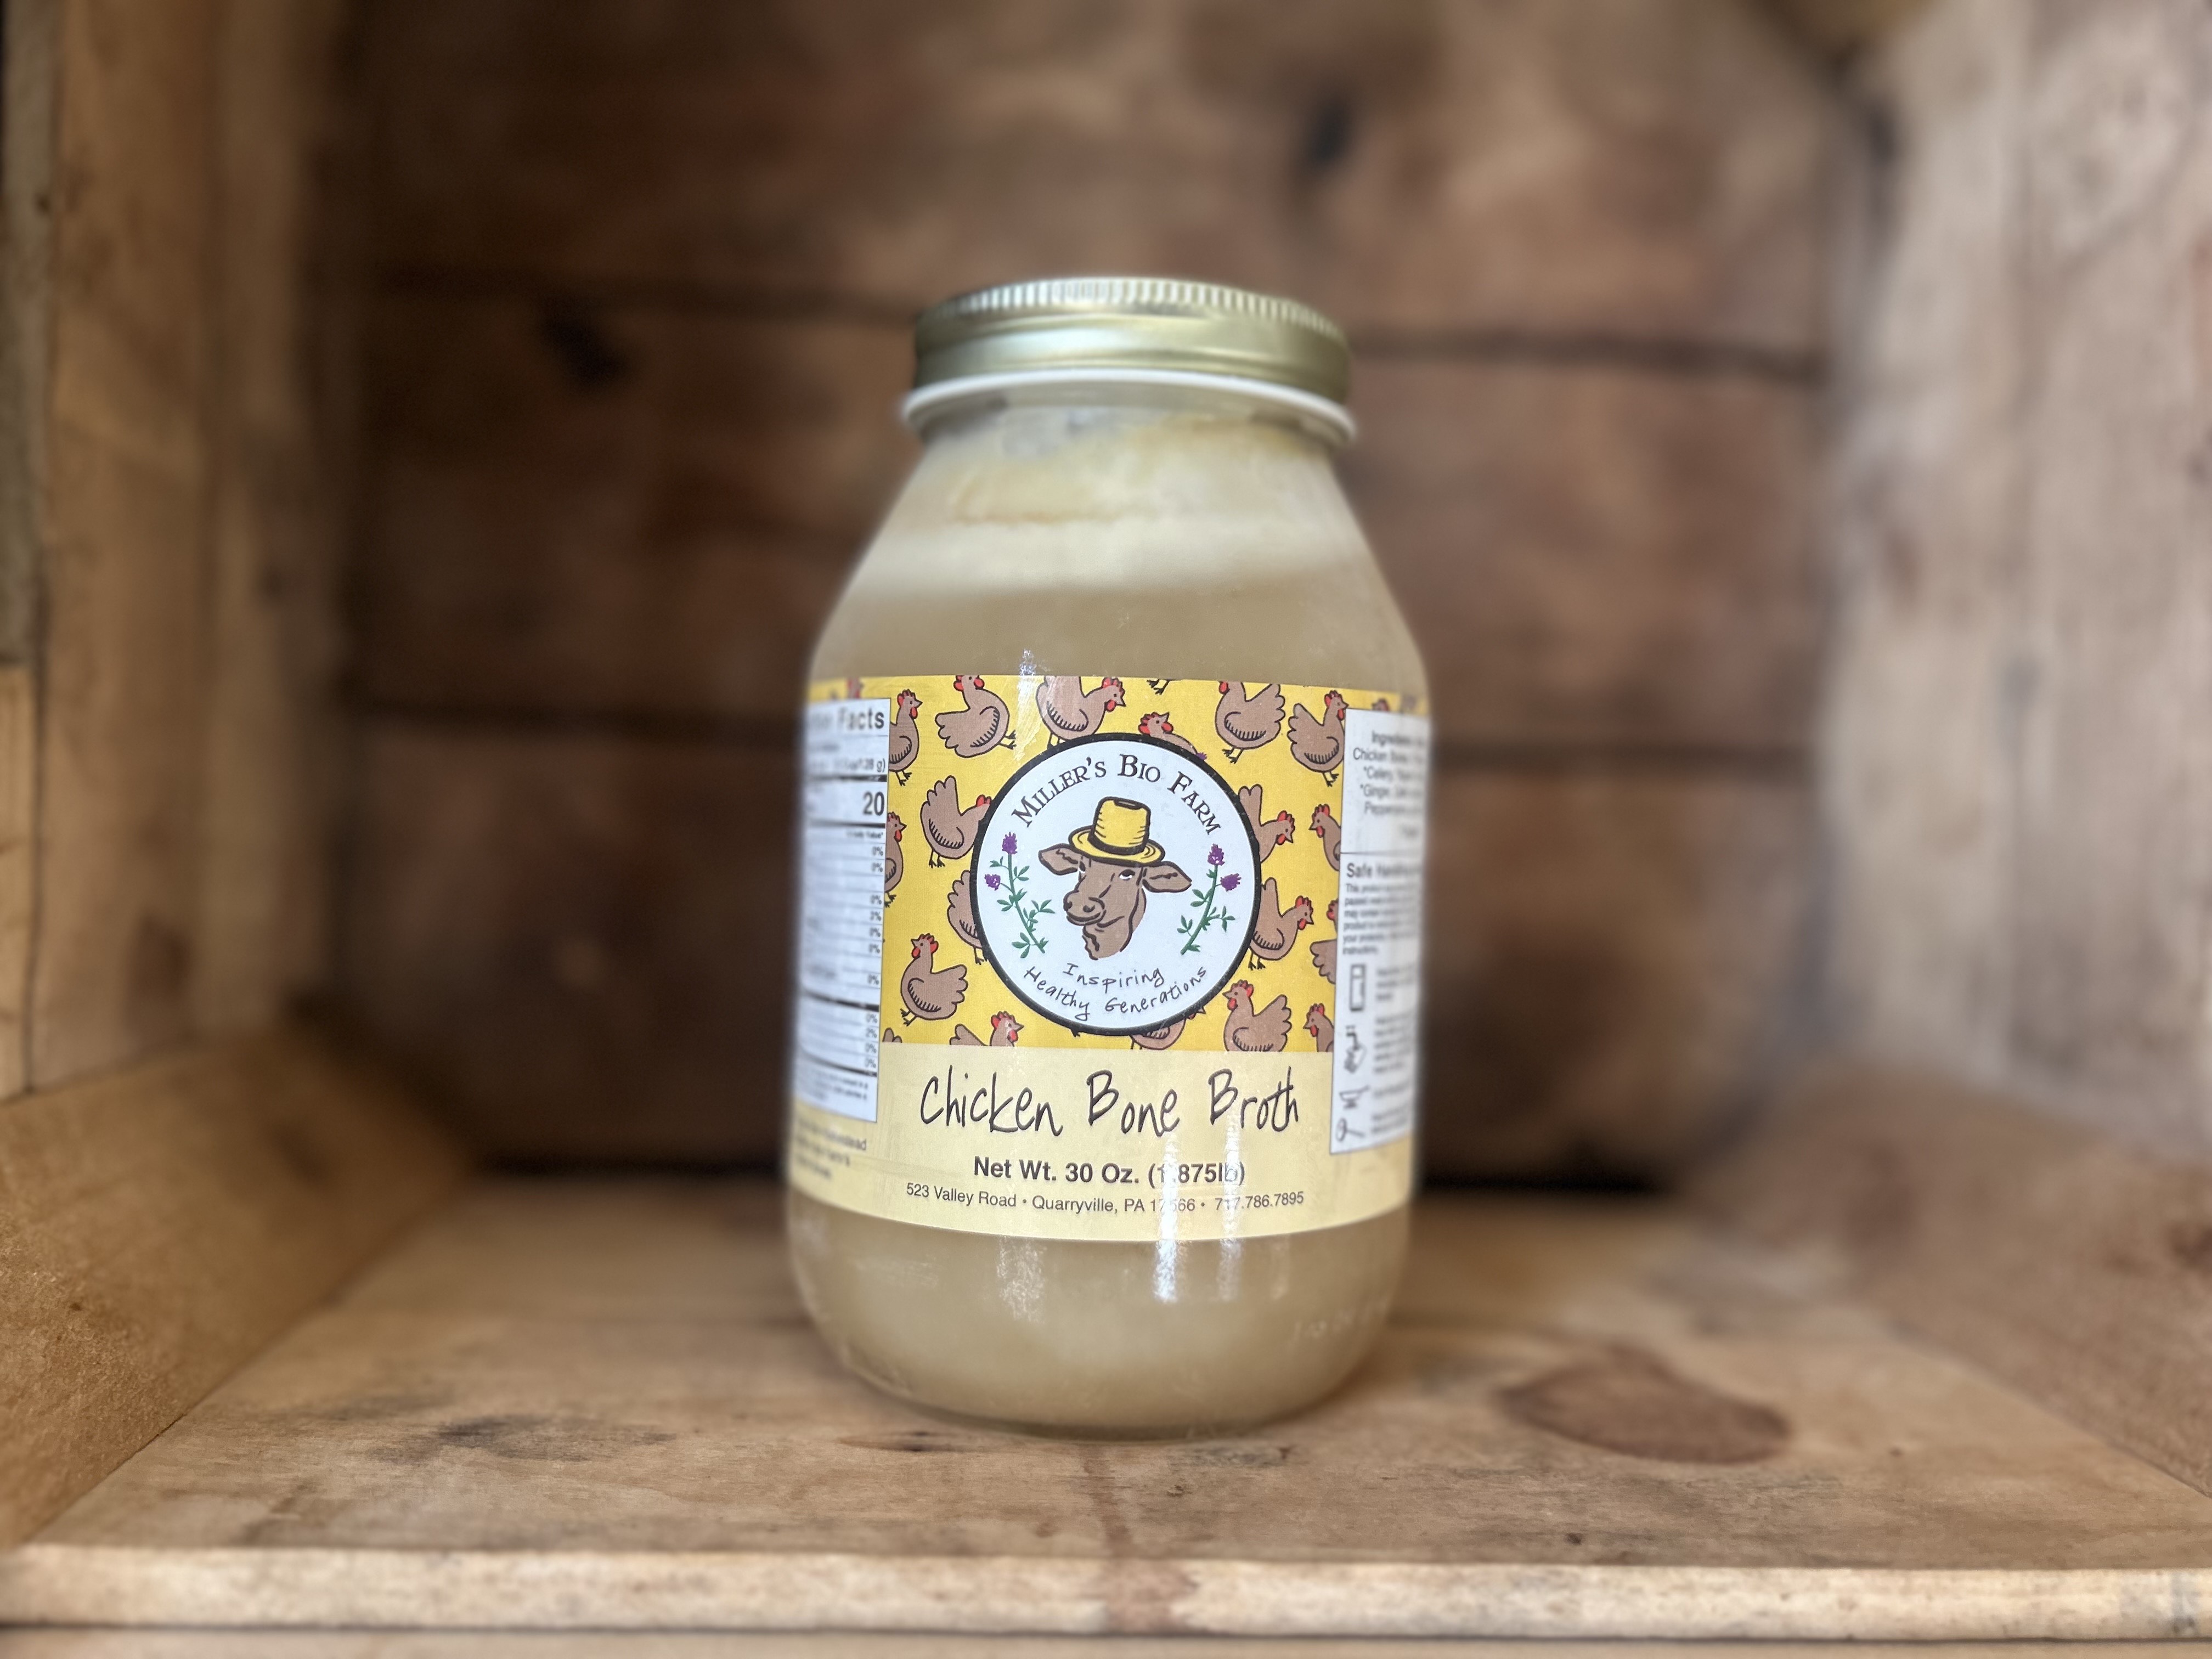
Bone broth vs stock vs broth: People use these words interchangeably, so here is the simple way I explain it in class.
- Broth: made primarily from meat, simmers shorter, usually lighter. Great for quick soups.
- Stock: made primarily from bones, simmers longer, body and gel when chilled. Classic base for sauces and soups.
- Bone broth: essentially stock made with extra bones and a longer, gentler simmer. Many recipes add a splash of vinegar, which may help with extraction and can nudge flavor in a good direction. Many people also like it as a sipping broth.
In real life, if you simmer chicken bones with aromatics long enough to get a deeply flavorful, gelatin-rich liquid, you are doing it right. Call it what you like.
Why this recipe works
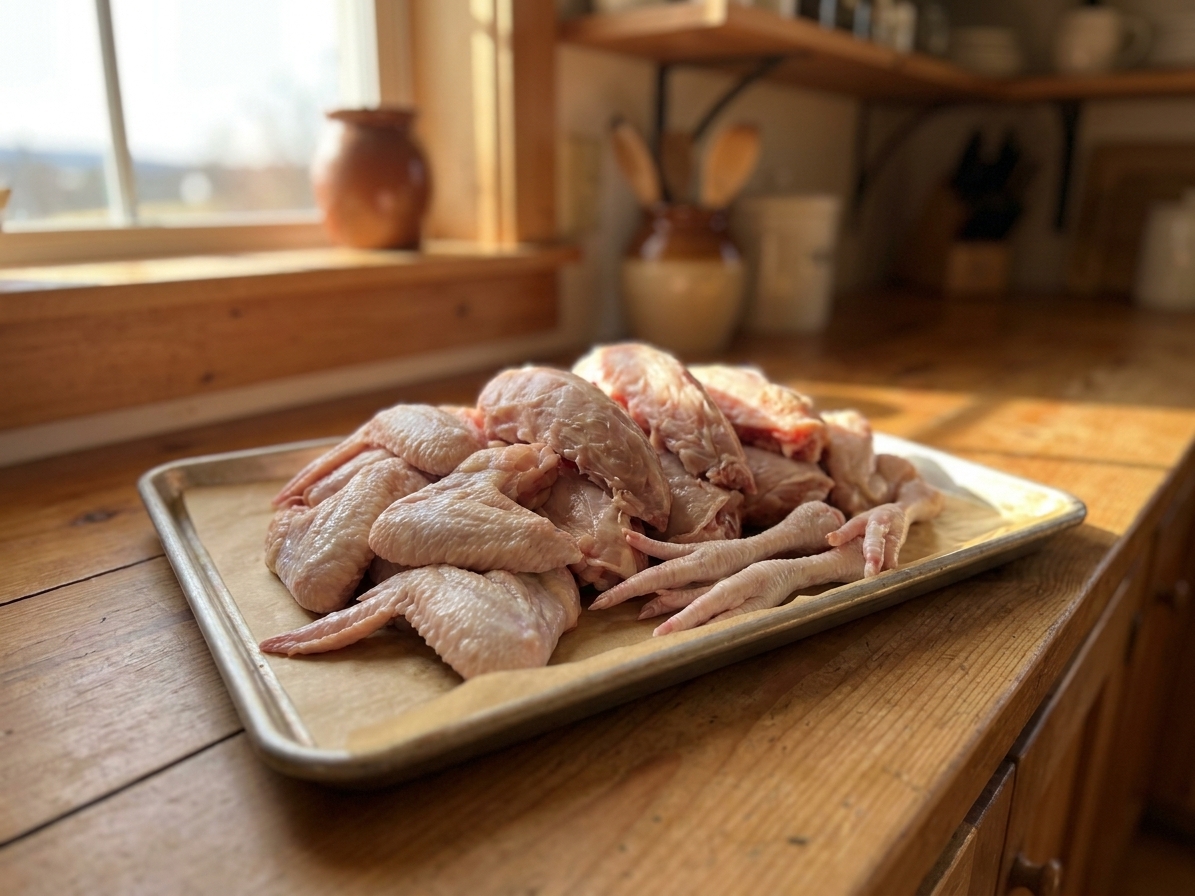
- Collagen-rich parts (feet, wings, backs, carcasses) build that satisfying, silky body.
- Balanced aromatics (carrot, celery, onion) support the chicken flavor without overpowering it. If you prefer a more savory, less sweet broth, go lighter on carrots and do not add extra.
- Gentle heat keeps flavor clean: a bare simmer gives better results than a hard boil.
- Flexible ratios make it scalable: for every 1 pound of bones, plan on about 1 quart (4 cups) water, then adjust slightly to keep bones just covered.
Ingredient notes
Best bones to use (and what to avoid)
Here are my go-to options, from easiest to most collagen-heavy.
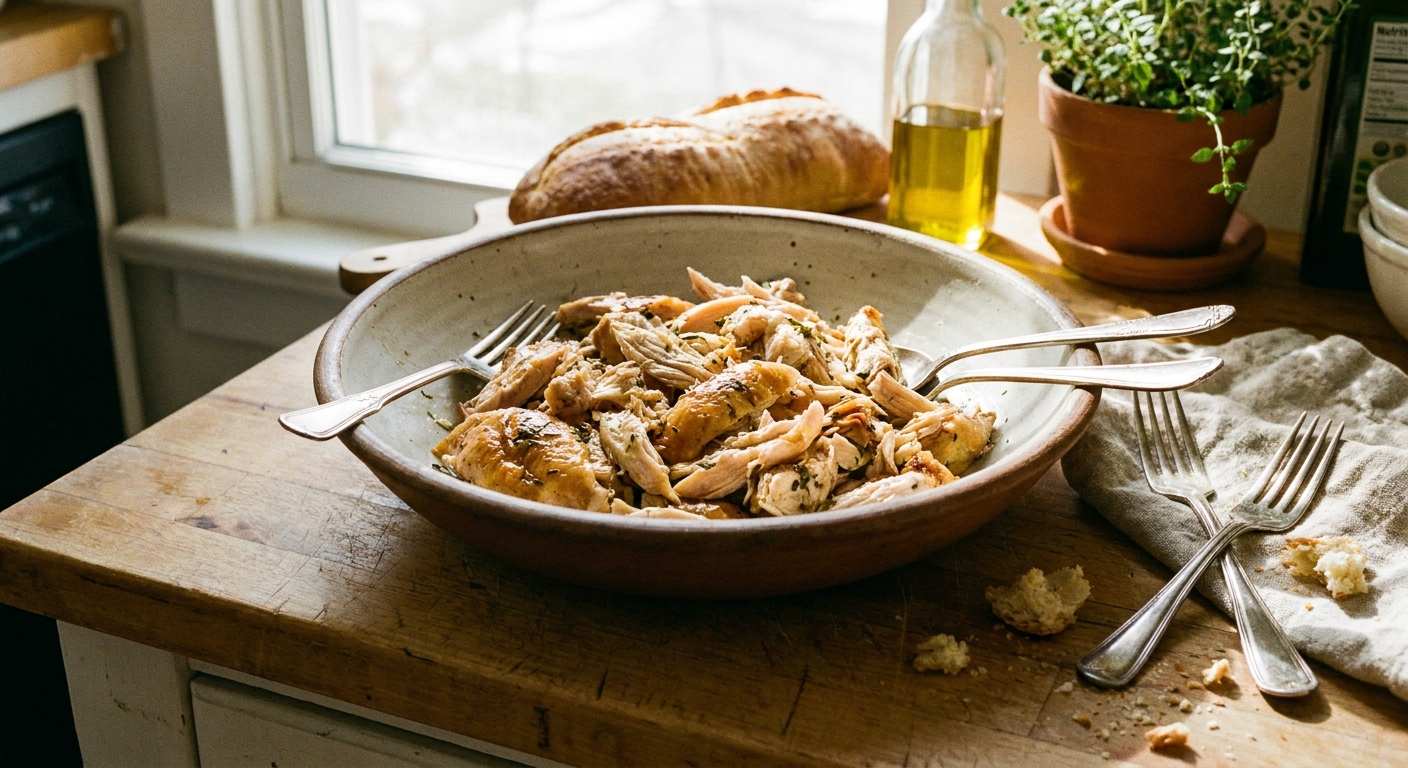
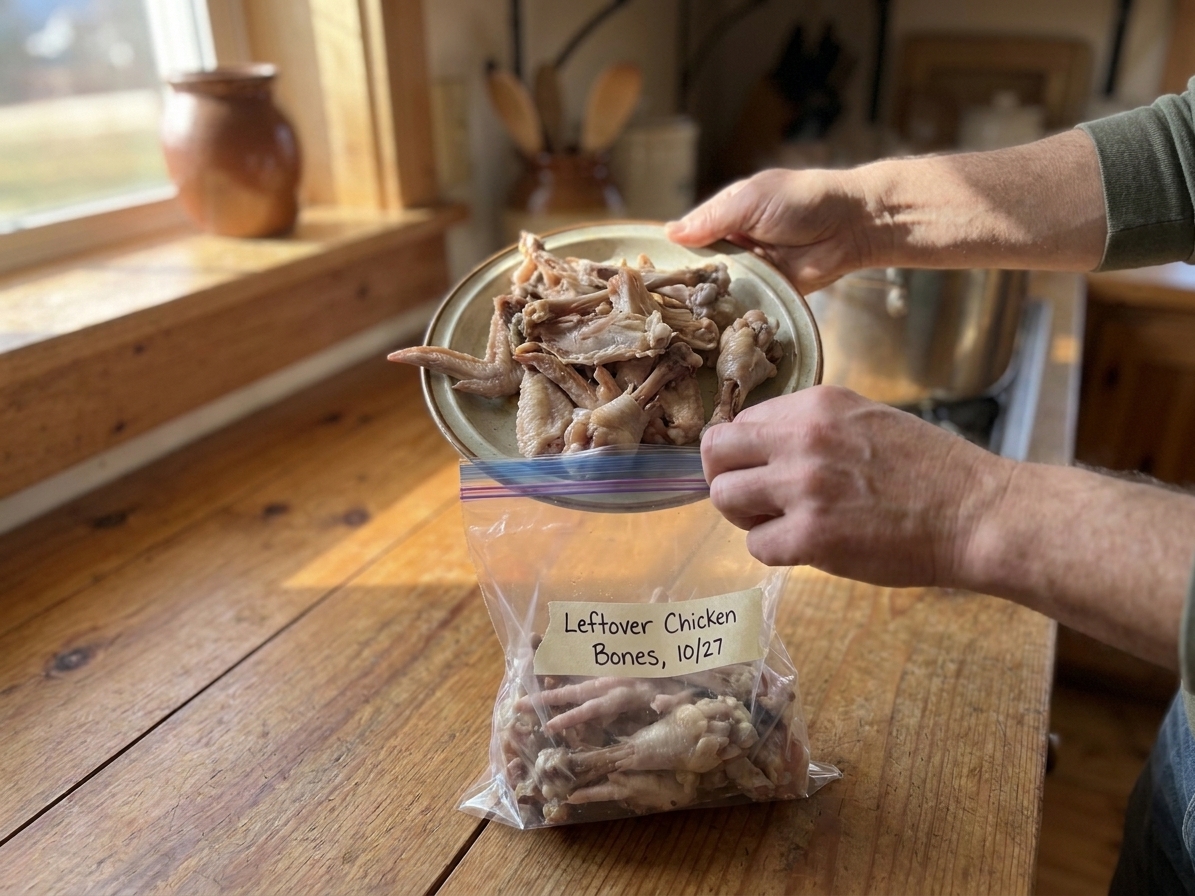
- Rotisserie chicken carcass: easiest weeknight starting point. Pull the meat first, then freeze the bones until broth day.
- Raw chicken backs and necks: affordable, clean chicken flavor.
- Wings: add body fast because of skin and connective tissue.
- Feet: the king of gelatin. A couple goes a long way.
- Leftover roasted bones: great depth, especially if you roasted a whole bird. Just avoid bones that are heavily coated in sugary sauce or very spicy glaze.
Avoid bones that are burned, overly smoked, or drenched in sweet BBQ sauce. Those flavors do not magically mellow, they concentrate.
Aromatics and sweetness
Carrot, celery, and onion are classic for a reason. Keep it simple and let the chicken lead. If you want a more savory, less sweet broth, use 1 carrot instead of 2.
Vinegar
A small splash of vinegar is optional. It may help extraction a bit, and it plays nicely with chicken, but you can skip it if you are sensitive to it.
Water ratio
Baseline ratio: For every 1 pound of bones, plan on about 1 quart (4 cups) water, then adjust slightly to keep bones just covered. In practice, 3 to 4 pounds bones usually takes 12 to 16 cups water in a standard stockpot, plus or minus depending on how you pack the pot.
Equipment you will need
- Large stockpot (stovetop method)
- Sheet pan (if roasting bones and/or vegetables)
- Tongs (to lift out large pieces before straining)
- Fine mesh strainer
- Cheesecloth (optional, for extra clarity)
- Large heatproof bowl or clean pot (for strained broth)
- Sink and ice (ice bath for fast cooling)
- Instant Pot / electric pressure cooker (optional alternative method)
- Slow cooker (optional alternative method)
- Freezer-safe containers and/or ice cube trays (for storage)
Pro tips
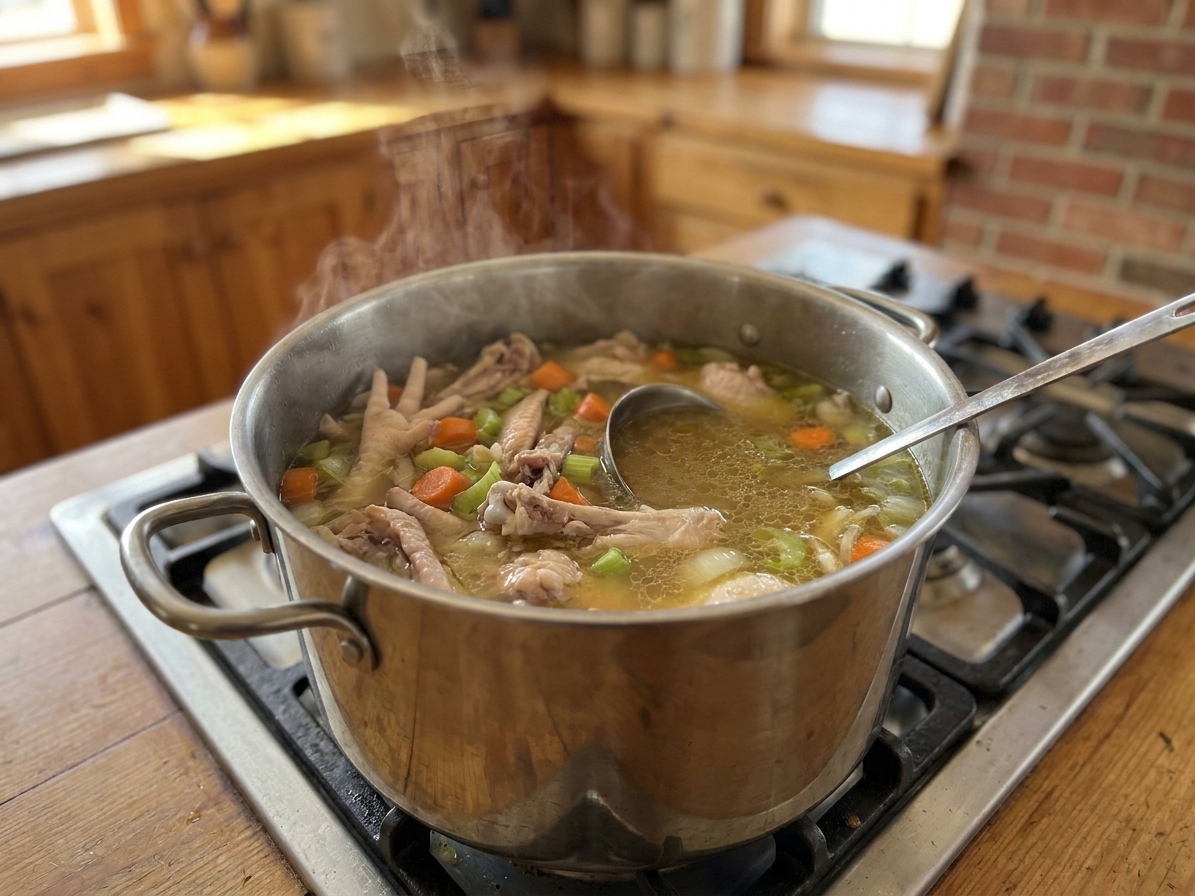
- Aim for a bare simmer: occasional lazy bubbles, not a rolling boil.
- Skim early: foam is most active in the first 20 minutes, but skim as needed if you see more later.
- Do not over-stir: stirring breaks up proteins and can make the broth hazy.
- Control reduction: simmering uncovered reduces and concentrates faster; simmering partially covered slows evaporation and helps prevent over-reducing.
- Keep bones submerged: add a splash of water if bones start peeking out.
- Season later: broth reduces and concentrates, so it is usually best to add salt when using it, not while it cooks.
- Chill for clarity: if you want it clearer, strain again through cheesecloth and let it settle in the fridge, then pour off the clear broth, leaving the last tablespoon of sediment behind.
Substitutes that work
- Vinegar: use apple cider vinegar or white vinegar, or skip it and simmer a little longer.
- Carrots: use 1 carrot instead of 2 if you want it less sweet.
- Garlic: optional; you can omit it.
- Bone options: carcass, backs, necks, wings, feet, or leftover roasted bones all work (avoid burned, overly smoked, or heavily sauced bones).
Variations
- Roasted version (deeper flavor): roast bones at 425°F for 30 to 45 minutes until deeply golden. Optional: roast onion, carrots, and celery on the same pan for the last 15 to 20 minutes for a toastier flavor (watch carrots so they do not get overly sweet or scorched).
- Clean sipping-style version: skip roasting for clearer, cleaner flavor.
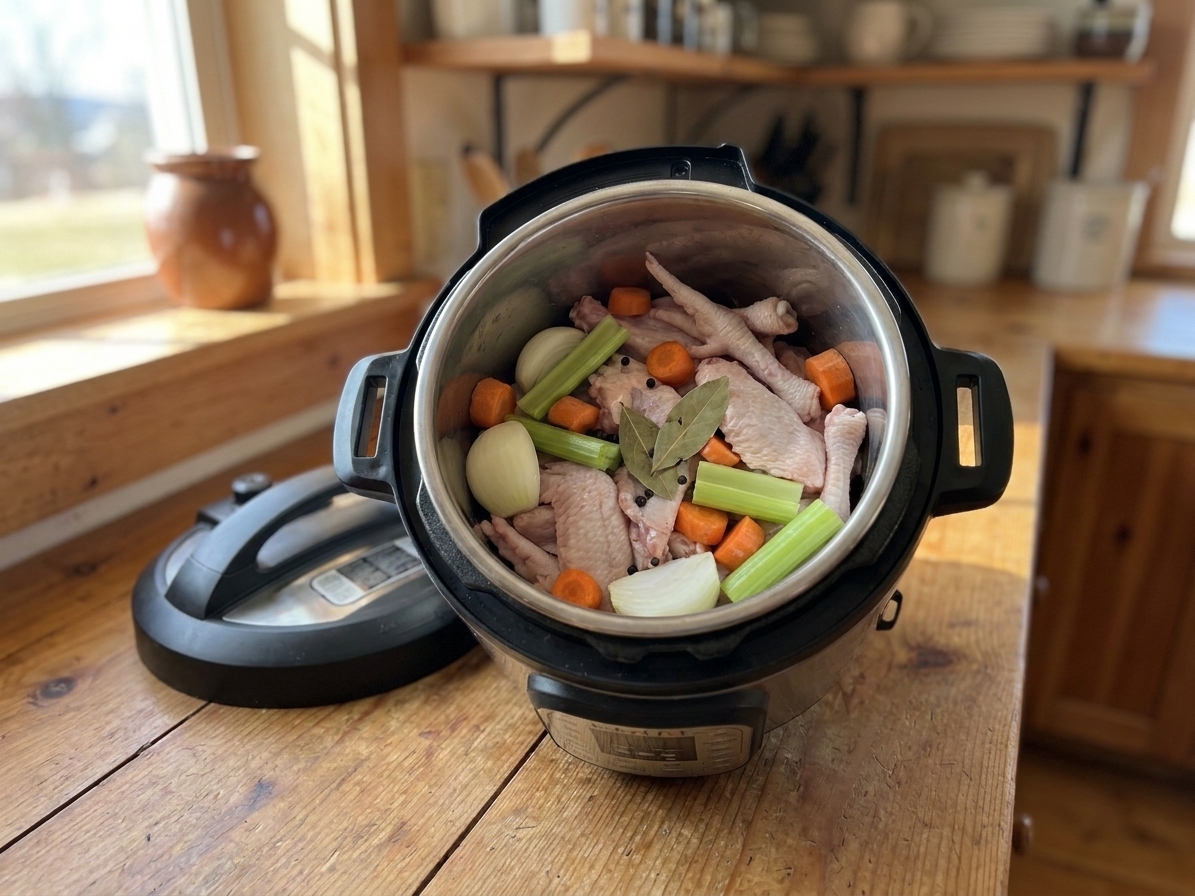
- Instant Pot (pressure cooker): pressure cook on High for 120 minutes for a rich broth, or 90 minutes for a lighter one. For a more standard stock, 45 to 60 minutes is usually plenty. Let pressure release naturally for at least 20 minutes, then release remaining pressure. If it tastes light, simmer it uncovered 10 to 20 minutes after straining to concentrate.
- Slow cooker: cook on Low for 10 to 12 hours or overnight. If your slow cooker runs hot and boils, prop the lid slightly ajar with a wooden spoon handle for the first hour.
Serving ideas
How to use it all week
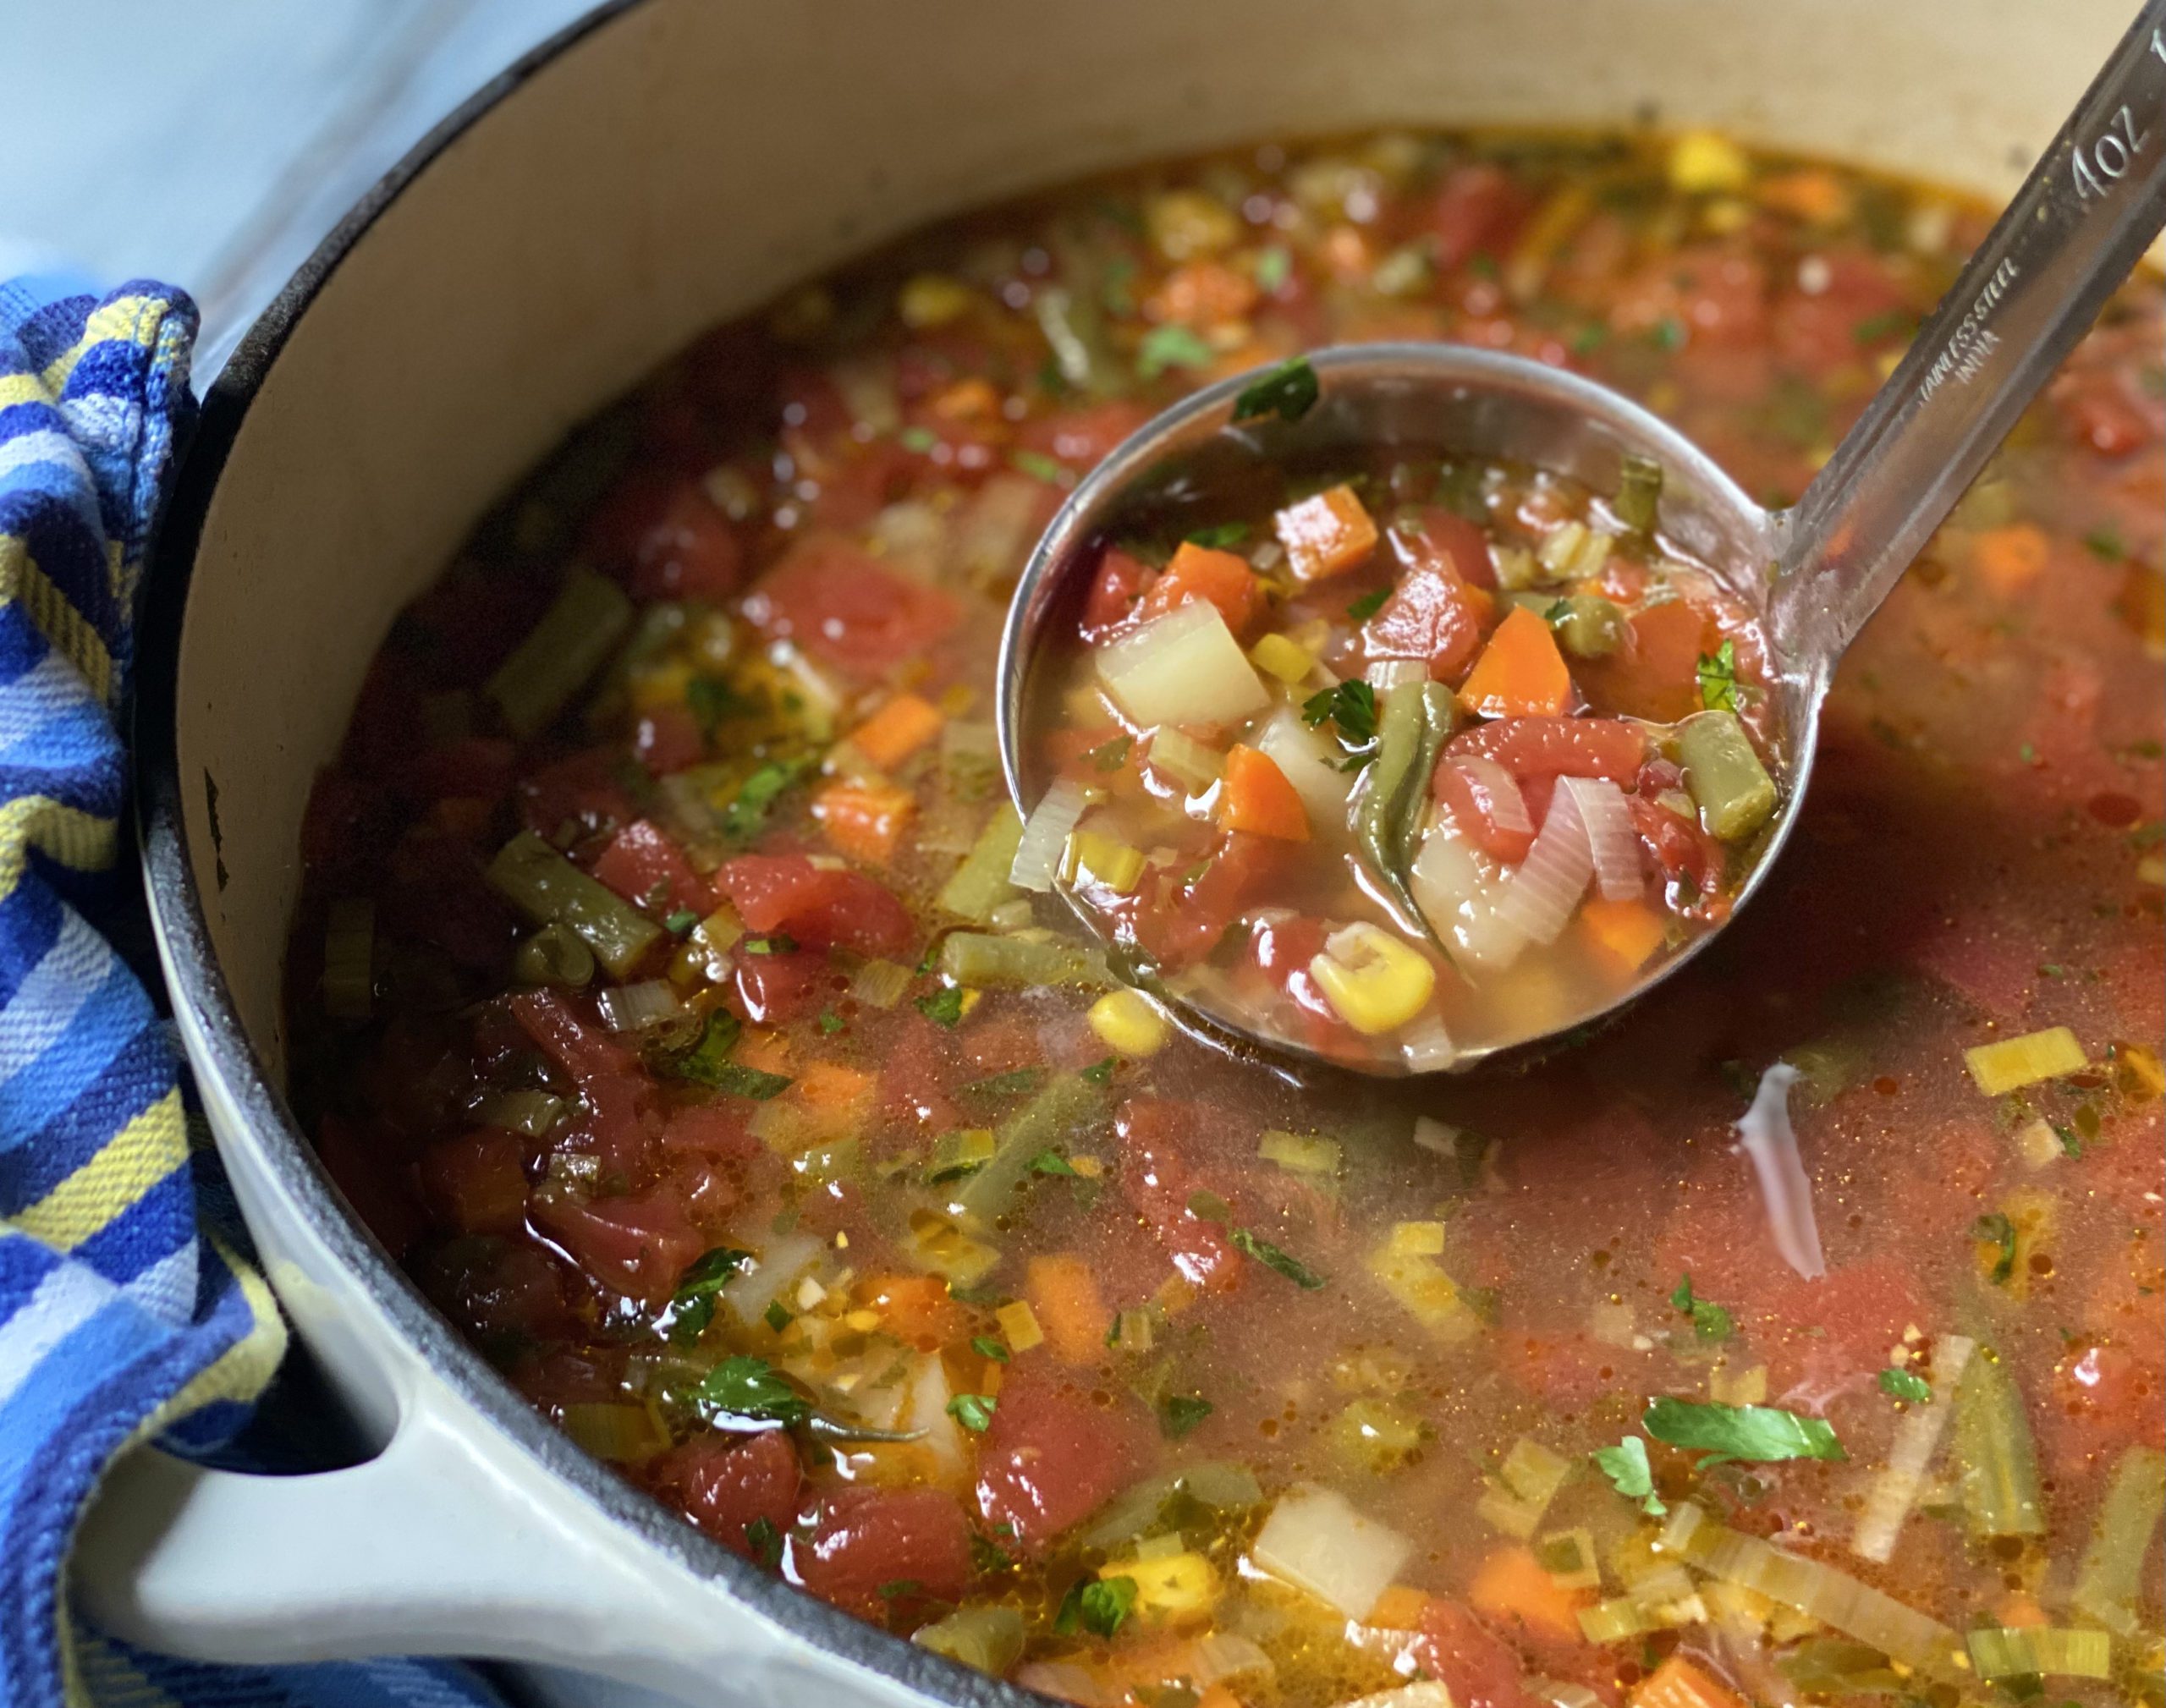
- Soup in 20 minutes: broth + leftover chicken + whatever vegetables are hanging around + noodles or rice.
- Better grains: cook rice, quinoa, or farro in broth instead of water.
- Quick pan sauce: deglaze a skillet with a splash of broth, reduce, swirl in butter or olive oil, finish with lemon.
- Beans and lentils: simmer lentils in broth for instant flavor.
- Mashed potatoes: swap part of the milk for warm broth for savory depth.
Best way to sip it
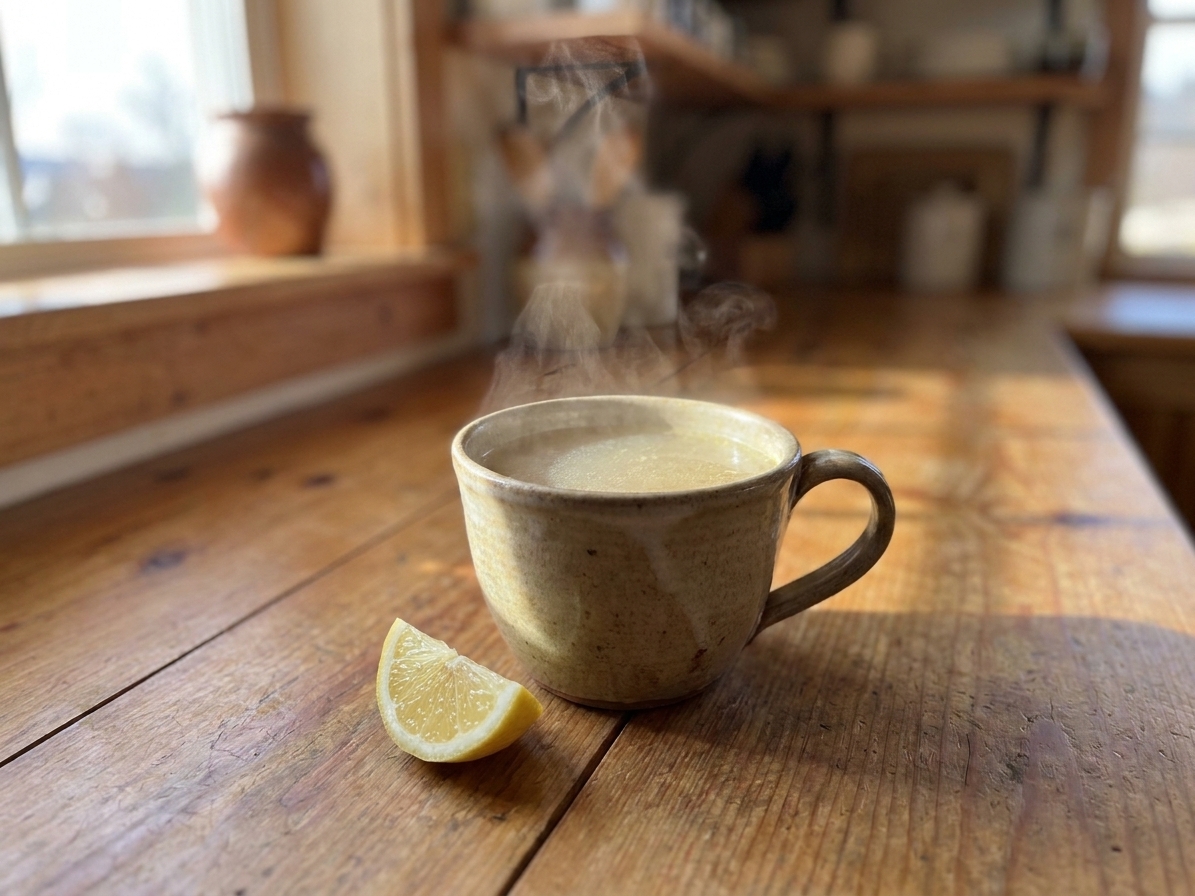
Warm a mug of broth and add:
- a pinch of salt
- a squeeze of lemon
- a tiny splash of soy sauce or fish sauce for savoriness
- black pepper
- optional: a few drops of toasted sesame oil
That little hit of acid plus salt is the difference between health project and cozy.
Storage and reheating
Cool it quickly
Broth is a big pot of warm liquid, so treat cooling seriously. Strain, then set the container in an ice bath and stir for a few minutes to drop the temp fast. Then refrigerate. As a general rule, do not let broth hang around at room temp for more than about 2 hours.
How long it keeps
- Fridge: 4 to 5 days
- Freezer: 4 to 6 months for best flavor
Freezing tips
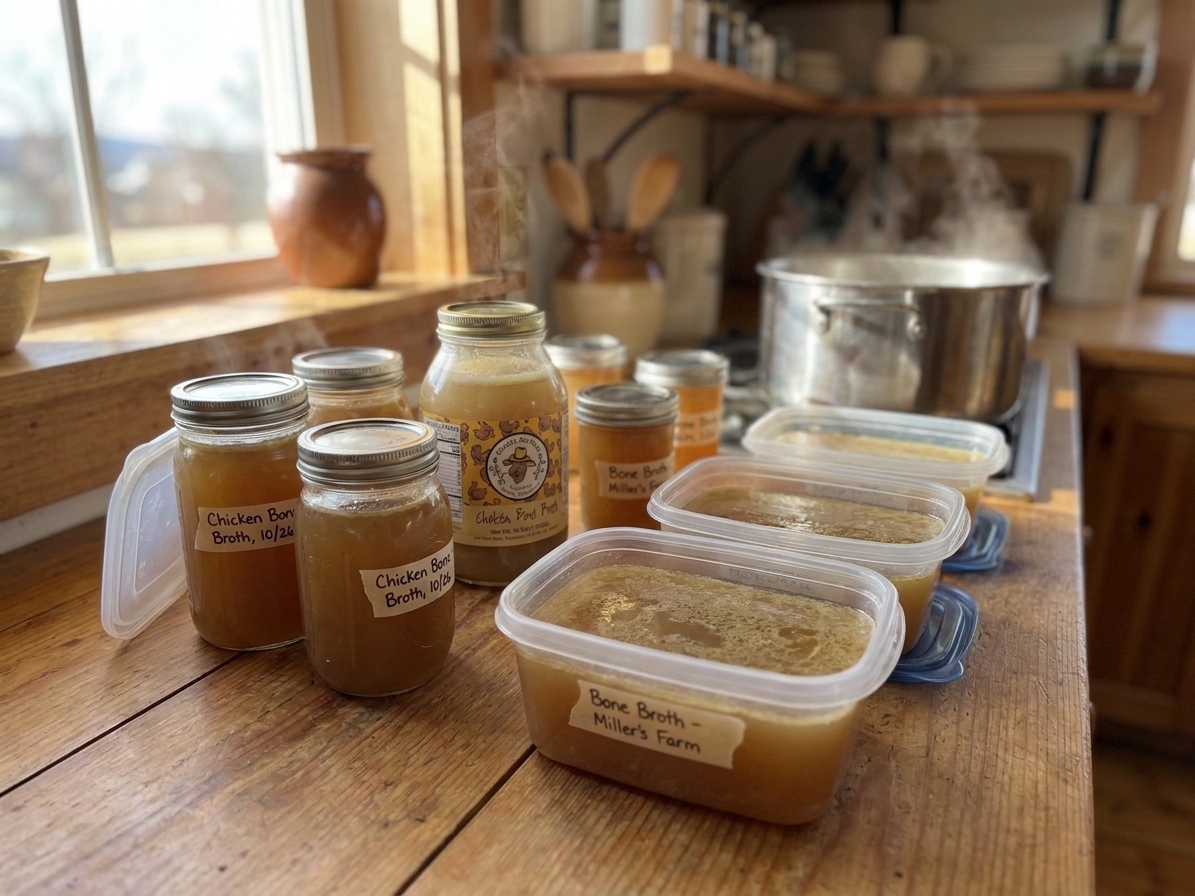
- Freeze in 2-cup containers for soups and grains.
- Freeze in ice cube trays for pan sauces. Pop cubes into a bag once frozen.
- Leave headspace. Broth expands as it freezes.
Common mistakes
- Letting it boil: hard boiling is the fastest way to cloudy broth and muddy flavor. Keep it at a bare simmer.
- Stirring a lot: stirring breaks up proteins and makes broth hazy.
- Pressing solids through the strainer: pushing on solids can force sediment into the liquid.
- Using burned or heavily flavored bones: avoid bones that are burned, overly smoked, or drenched in sweet BBQ sauce, plus bones coated in sugary sauce or very spicy glaze.
- Adding strongly flavored scraps: skip lots of cabbage; avoid cruciferous veg like broccoli or kale stems for long simmers (they can get sulfurous).
- Overdoing herbs: too many herbs (especially rosemary, sage) for too long can make broth taste bitter; use sturdy herbs sparingly.
- Underpacking bones or under-simmering: too much water for the bones, or not enough time, leads to bland broth.
- Cooling too slowly: aim to cool and refrigerate within about 2 hours.
FAQ
Do I have to add vinegar?
No, but I like a small splash. It will not make your broth taste like vinegar. It may help extraction a bit, and it plays nicely with chicken. If you are sensitive to it, skip it and simmer a little longer.
Should I salt the broth while it cooks?
I usually do not salt until the end because broth reduces and concentrates. Unsalted broth is also more flexible for sauces and soups. If you want a sipping broth right away, season your mug, not the whole batch. If you like numbers, start with a pinch, then work up until it tastes lively and not flat.
Is the fat cap a problem?
Not at all. The fat actually protects broth in the fridge. You can scrape it off after chilling. Save it and sauté vegetables in it like you would with schmaltz.
My broth did not gel. Did I fail?
No. Gelling depends on collagen content. Use more wings, feet, backs, or joints next time, and make sure you are not diluting with too much water. Even non-gelling broth can taste fantastic.
Can I reuse the bones for a second batch?
You can, but the second batch will be much weaker. I would only do it if you plan to reduce it into a concentrated cooking liquid or combine it with fresh bones.
Chicken Bone Broth
This stovetop chicken bone broth uses 3 to 4 pounds chicken bones, classic aromatics, and a 6 to 12 hour bare simmer to produce a rich, savory, gelatin-forward broth that is great for soups, grains, sauces, or sipping. Yield: about 2 to 3 quarts, depending on pot size and simmer time.
- Prep
- 20 minutes
- Cook
- 8 hours
- Total
- 8 hours 20 minutes
- Yield
- Makes about 2 to 3 quarts
Ingredients
- 3 to 4 pounds chicken bones (carcass, backs, necks, wings, or a mix)
- 1 large onion, quartered (leave the skin on for deeper color if clean)
- 2 carrots, cut into big chunks (use 1 if you want it less sweet)
- 2 celery ribs, cut into big chunks
- 4 garlic cloves, smashed (optional)
- 1 to 2 bay leaves
- 1 teaspoon black peppercorns
- 1 tablespoon apple cider vinegar (or white vinegar, optional)
- Cold water, about 12 to 16 cups, or enough to cover by 1 inch
- Salt, to taste after cooking (I usually wait)
Instructions
- Optional roast for deeper flavor. Spread bones on a sheet pan and roast at 425°F for 30 to 45 minutes, until deeply golden. If you want clear, clean sipping broth, you can skip roasting. Optional: you can roast the onion, carrots, and celery on the same pan for the last 15 to 20 minutes for a toastier flavor, but keep an eye on the carrots so they do not get overly sweet or scorched.
- Add everything to a large pot. Bones, aromatics, bay, peppercorns, vinegar. Cover with cold water by about 1 inch.
- Bring to a gentle simmer. Heat uncovered until you just see bubbles around the edges, then immediately turn it down.
- Skim the foam. For the first 20 minutes, skim off any gray foam that rises. Foam is most active early, but skim as needed if you see more later.
- Simmer low and slow. Keep it at a bare simmer for 6 to 12 hours. Uncovered reduces and concentrates faster, giving you a richer broth. Partially covered slows evaporation and helps prevent over-reducing. Add a splash of water if bones start peeking out.
- Strain. Use tongs to lift big pieces out, then strain through a fine mesh strainer into a clean pot or heatproof bowl. For extra clarity, strain a second time through damp cheesecloth.
- Cool fast. Set the pot in a sink of ice water and stir occasionally until no longer steaming, then refrigerate. As a practical safety rule, aim to get it cooled and into the fridge within about 2 hours.
- Remove fat and season. Once chilled, scrape off the fat cap (save it for cooking). Season broth with salt when you use it.
Notes
Ratio and scaling: For every 1 pound of bones, plan on about 1 quart (4 cups) water, then adjust slightly to keep bones just covered.
Timing: 4 to 6 hours makes a good weeknight stock with lighter body; 6 to 8 hours is a rich-but-clean sweet spot; 10 to 12 hours is deeper extraction (especially with feet or lots of joints), but watch the water level.
How to tell it is done: The broth should taste fully chicken-forward, not watery. When chilled, it should turn jiggly like very soft Jell-O.
Clarity troubleshooting: Cloudiness usually comes from boiling, stirring, or pressing solids while straining. Cloudy broth still tastes great. For clearer broth, strain again through cheesecloth and let it settle in the fridge, then pour off the clear broth and leave the last tablespoon of sediment behind.
Instant Pot option: Pressure cook on High for 120 minutes for a rich broth or 90 minutes for a lighter one (for standard stock, 45 to 60 minutes is usually plenty). Natural release at least 20 minutes. If needed, simmer strained broth uncovered 10 to 20 minutes to concentrate.
Slow cooker option: Cook on Low for 10 to 12 hours or overnight. If it boils, prop the lid slightly ajar with a wooden spoon handle for the first hour.
Freezer "broth bag" habit: Keep a gallon zip-top bag labeled broth in the freezer and add chicken bones and skin, onion ends and clean skins, carrot peels and ends, celery tops and leaves, and parsley stems. Skip potato peels (muddy), beets (turn everything pink), and strongly flavored scraps like lots of cabbage. When the bag is full, it is broth day.
Nutrition
- Calories: 45
- Fat: 1.5 g
- Carbs: 2 g
- Protein: 7 g
- Fiber: 0 g
- Sugar: 1 g
- Sodium: 120 mg
Nutrition values are approximate and will vary based on the bones used, how much fat is removed, and how much the broth reduces.