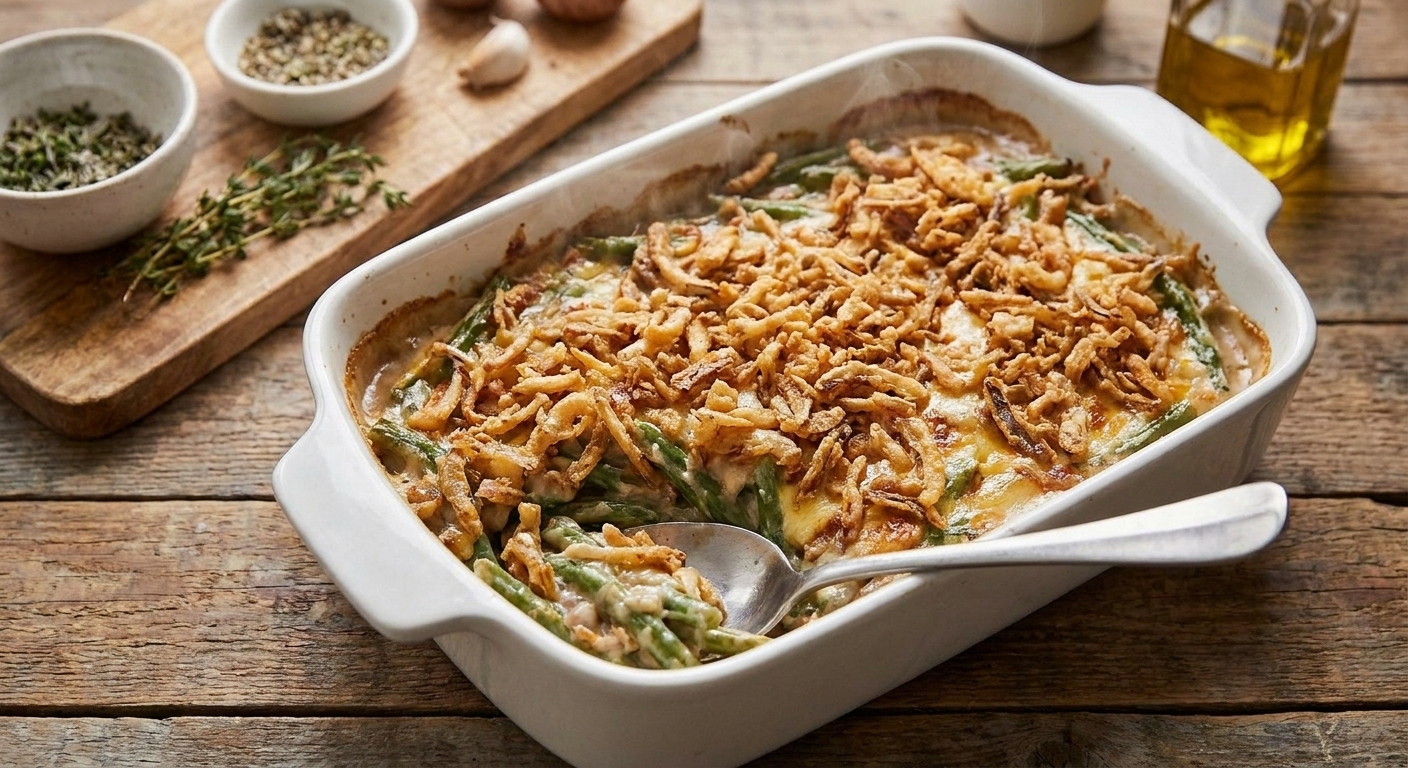

I love a holiday table that feels generous but not fussy, and classic green bean casserole hits that sweet spot every time. You get tender green beans tucked into a savory mushroom sauce, then a salty, crunchy crown of fried onions that makes everyone say “just a little more” on their way back for seconds.

This version is written for real life, meaning you can go fully from-scratch on the mushroom sauce, or you can streamline with a couple smart shortcuts. Either way, the goal is the same: a sauce that is creamy and properly seasoned, beans that stay pleasantly green, and an onion topping that stays crisp instead of steaming itself into softness.
From-scratch sauce or shortcut
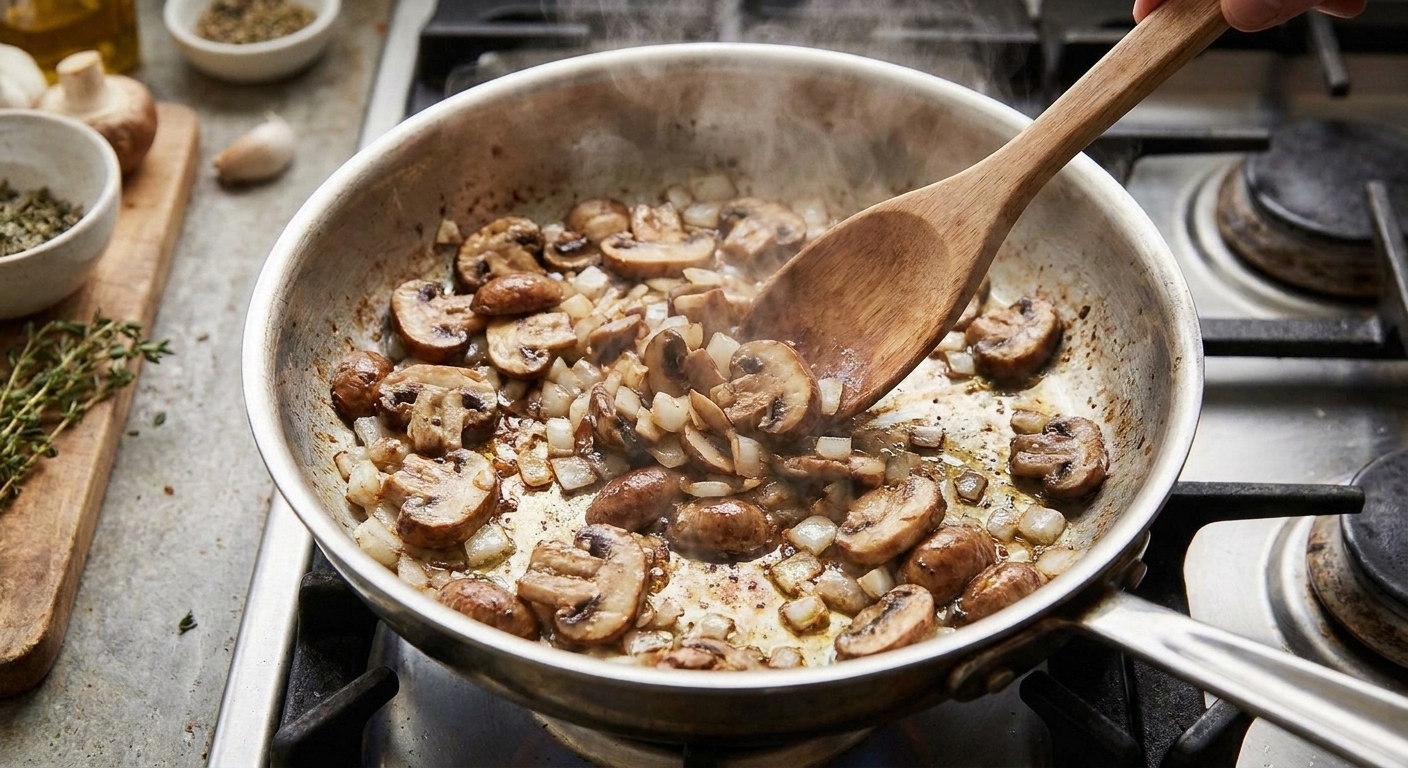
If you have a few extra minutes (think about 10 to 15), a quick homemade mushroom sauce tastes cleaner and more deeply savory than the canned condensed version. It is basically a simple roux-based cream sauce with sautéed mushrooms, a splash of broth, and just enough seasoning to make the whole pan taste like itself, not like “cream of something.”
If you are short on time, the shortcut path works too. The key is to thin condensed soup with a splash of milk, broth, or half-and-half until it becomes spoonable and coats the beans evenly. It should not plop out in one lump, and it should not be so thin it runs straight to the bottom of the dish. Taste it and fix the seasoning before it ever hits the oven.
Keeping the beans green
That gray-green casserole situation is usually an overcooking problem. Beans lose color the longer they sit in heat, especially in an oven where the whole dish bakes through and keeps cooking while it rests. (Older beans, canned beans, and holding the casserole warm for a long time can also dull the color.)
Here is how I keep them vibrant:
- Blanch fresh beans briefly (just until crisp-tender), then cool them fast so they stop cooking.
- Drain like you mean it, whether they are blanched, canned, or thawed. Extra water is the fastest way to a diluted sauce and a watery casserole.
- Keep bake time focused on heating through, not “cooking” the beans into submission.
Canned vs fresh beans
You can make a great casserole with either, as long as you treat them like what they are.
- Fresh green beans: Best texture and color. Trim, cut, blanch, and drain well. They hold up to the bake without turning mushy.
- Canned green beans: Most convenient and very classic. Drain very well. If you are sensitive to canned flavor, you can rinse them, but make sure you drain them extra well afterward so you do not add water back into the casserole.
If you are using frozen green beans, thaw and pat them dry. I also like to let them sit in a colander for a few minutes so any hidden water has a chance to drip off.
Sauce thickness
The sauce should be thick enough to cling to a spoon and leave a clear trail if you drag your finger across the back of that spoon. In the pot, it should look a little thicker than you want the final casserole to be, because the beans will release a bit of moisture as they heat.
If your sauce looks thin and drippy, keep simmering for a few minutes. If it gets too thick, loosen it with a splash of broth or milk until it becomes glossy and creamy again.
When to add the onions
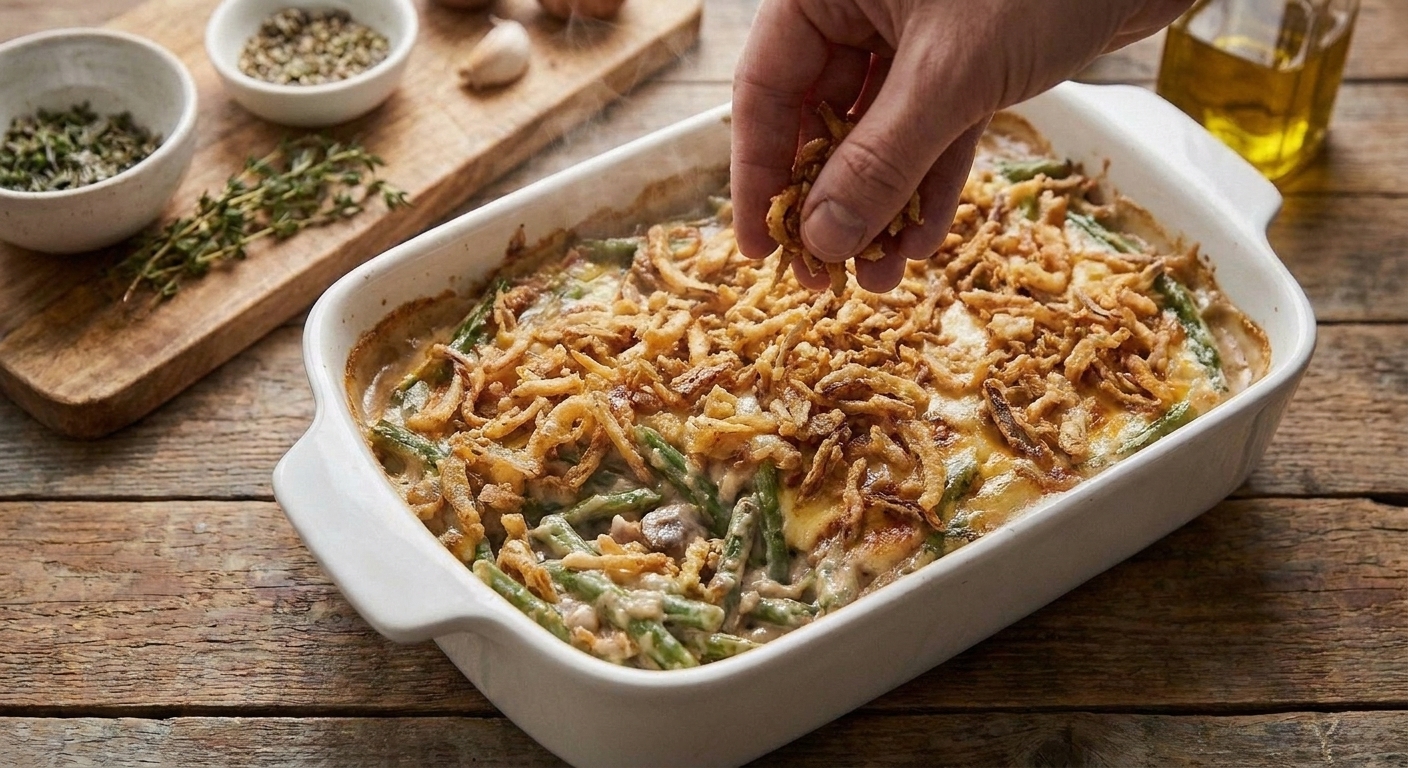
This is the move that changes everything: do not bake the onions for the full casserole bake time. They are already crisp, so long oven time just turns them darker and eventually soft.
I like to stir a small handful of onions inside for onion flavor, then bake the casserole uncovered to heat through. The last 5 to 10 minutes are for the final onion layer, just long enough to toast lightly and glue itself to the creamy surface without steaming.
If you are making it ahead, save the onion topping for the very end and keep the onions in their container until you are ready. Fresh crunch always beats reheated crunch.
Why this recipe works
- Two-stage baking keeps the topping crisp: The fried onions only go on near the end, so they toast instead of steaming.
- Blanching fresh beans helps lock in color: A short boil and quick cool gives you greener beans with a snappy bite.
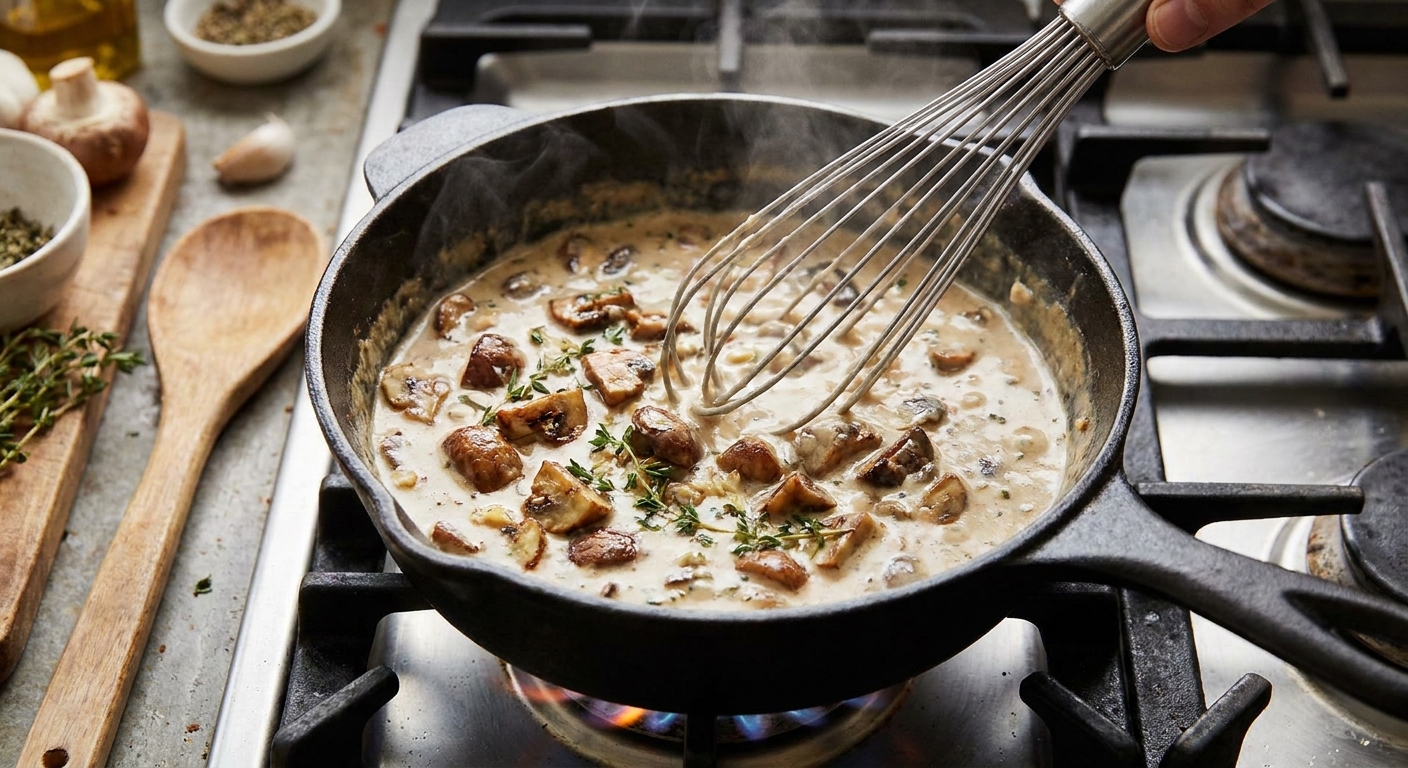
- The sauce is built to cling: A roux thickens the mushroom sauce to a spoon-coating consistency so it hugs the beans instead of pooling at the bottom.
- Seasoning happens before baking: Tasting the sauce in the pan lets you fix salt and balance early, so the finished casserole tastes full and not flat.
Ingredient notes
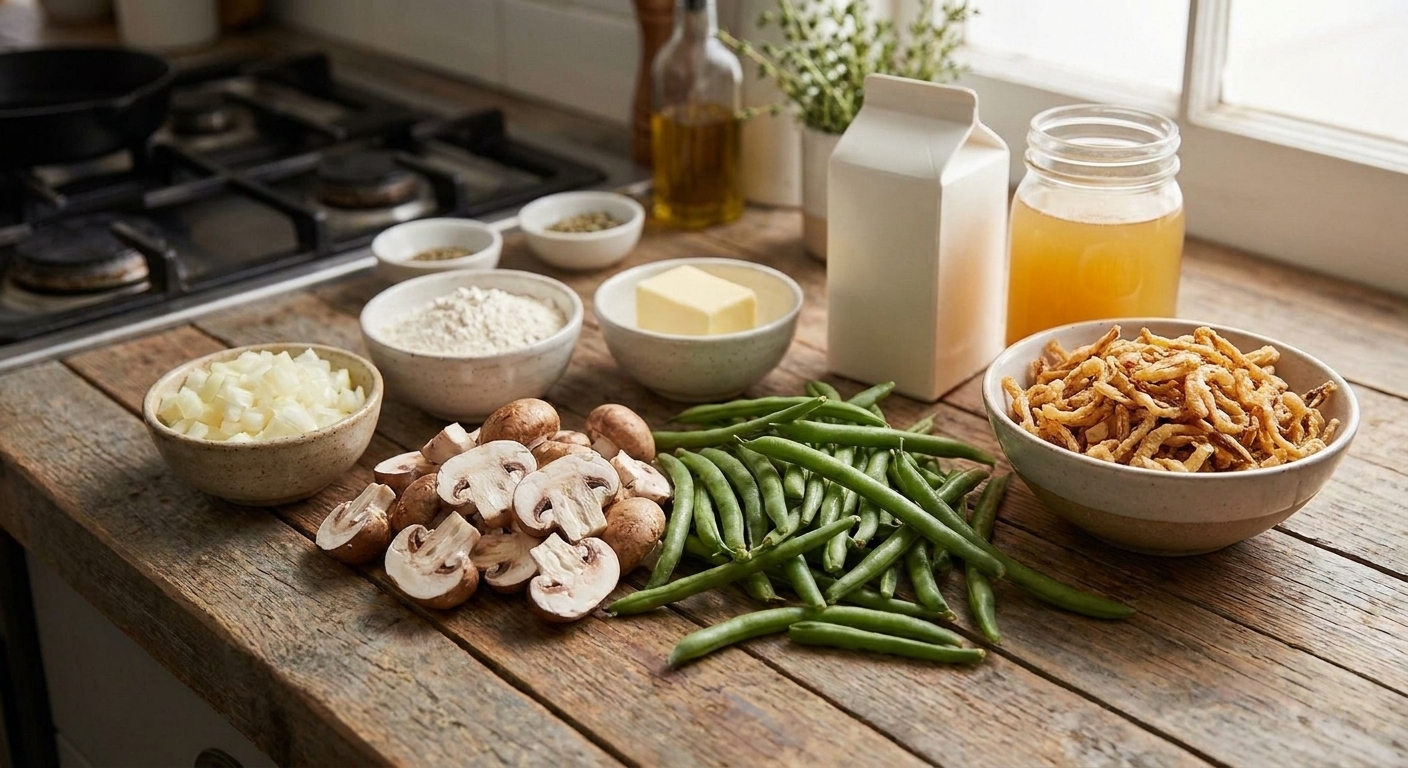
- Green beans: Fresh gives the best texture and color. If using canned, choose cut or French-style and drain very well. If you rinse them, drain extra well afterward. If using frozen, thaw and pat dry.
- Mushrooms: Cremini (baby bella) bring deeper flavor, but white button mushrooms work perfectly. Slice them evenly so they cook at the same rate.
- Broth: Chicken broth adds savoriness; vegetable broth keeps it vegetarian. Use low-sodium if possible so you control salt.
- Milk or half-and-half: Half-and-half makes a richer sauce. Whole milk still gives a classic creamy result.
- Flour and butter: This is your thickener base. Cook the flour in butter for about a minute to avoid a raw flour taste.
- Soy sauce: Optional but powerful. A teaspoon adds umami and makes the mushroom flavor pop without tasting like soy sauce.
- Crispy fried onions: Save the final layer for the end of baking. If you love extra crunch, keep a handful aside for topping right before serving.
Equipment you will need
- Large pot (for blanching fresh beans)
- Colander
- Large skillet or saucepan (for sauce)
- Whisk
- 9x13-inch baking dish or 3-quart casserole dish
- Cutting board and knife
Pro tips
- Dry the beans well: Water clinging to beans turns the casserole loose. Drain thoroughly, then let them sit in the colander for a minute or two.
- Brown the mushrooms: Let mushrooms sit in the pan to develop color before stirring. That browning is where the savory depth comes from.
- Warm sauce, hot oven: Combine warm sauce with beans and bake in a fully preheated oven so the dish heats through quickly instead of lingering and dulling the green.
- Balance with a tiny bit of acid: A teaspoon of lemon juice (or a few drops of vinegar) right at the end can wake up a sauce that tastes heavy.
- Onion timing: Mix a small amount into the casserole if you want, but add the main topping only for the final minutes.
Substitutes that work
- No half-and-half: Use whole milk, or use a mix of milk plus a splash of cream.
- Gluten-free: Use a 1:1 gluten-free flour blend for the roux. Many crispy onion brands contain wheat, so check labels or use a gluten-free crunchy topping you like.
- Dairy-free: Use plant butter, unsweetened plain oat or soy milk, and a flavorful broth. The sauce will be slightly less rich but still creamy.
- No mushrooms: Swap in sautéed onions plus a little extra soy sauce for savory depth, or try finely diced celery and onions for a more old-school flavor.
Variations
- Extra mushroom-forward: Add a pinch of dried thyme and a small spoonful of Dijon mustard to the sauce.
- Cheesy version: Stir in 1 cup shredded sharp cheddar to the finished sauce, then proceed. Keep the onion topping for contrast.
- With bacon: Crisp 4 to 6 slices bacon, crumble, and stir into the casserole before baking. Reduce added salt slightly.
- Spicy crunch: Add a pinch of cayenne to the sauce and finish with a few pickled jalapeño slices right before serving.
Serving ideas
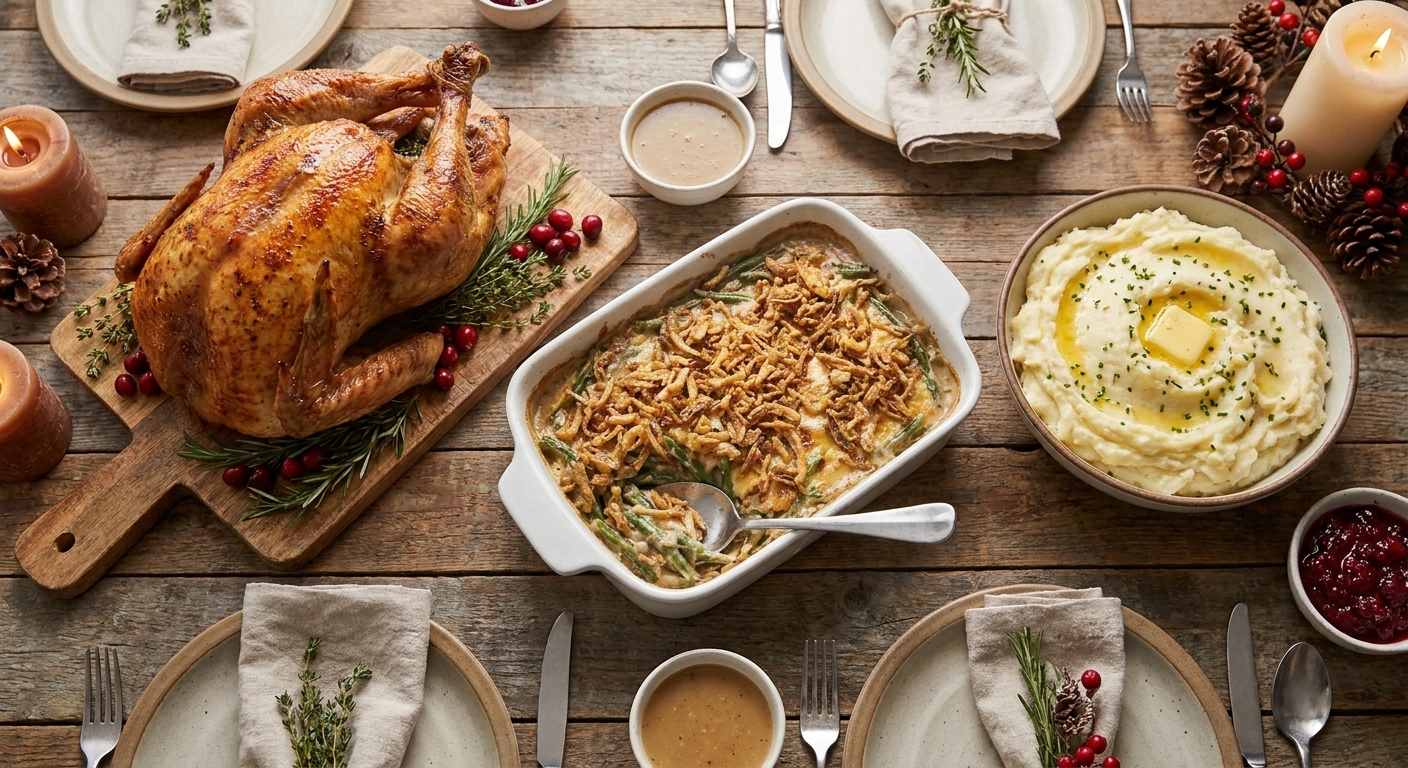
- Serve alongside roast turkey, ham, or a simple roast chicken.
- Pair with mashed potatoes and gravy for a classic comfort plate.
- Add a bright salad or something tangy, like a cranberry relish, to balance the creamy casserole.
- On a weeknight, this is surprisingly good with baked salmon and a squeeze of lemon.
Storage and reheating
Storing
Cool leftovers, then cover and refrigerate for up to 4 days. For best texture, store any extra crispy onions separately if you can.
Reheating
Reheat in a 350 F oven until hot in the center. Add fresh crispy onions during the last few minutes so they stay crunchy. You can microwave individual portions, but the onions will soften.
Common mistakes
- Adding all the onions at the start: They will absorb moisture and lose crunch. Save the main topping for the end.
- Underseasoned sauce: Creamy sauces mute salt. Taste the sauce before combining, and do not be shy with seasoning.
- Sauce too thin: If it looks soupy in the pan, it will be watery after baking. Simmer to thicken until it coats a spoon.
- Overbaking: Long bake times lead to duller green and softer texture. You are heating through, not cooking the beans to death.
- Skipping the drain: Wet beans equal diluted flavor. Drain well, especially canned and frozen.
FAQ
Can I make green bean casserole ahead of time?
Yes. Assemble the casserole without the final fried onion topping, cover, and refrigerate. Bake until hot, then add the onions for the last few minutes so they stay crisp.
Should I use canned soup or make it from scratch?
Both work. From-scratch tastes fresher and lets you control thickness and salt. Canned soup is faster. If you use canned, thin it with milk, broth, or half-and-half until it is spoonable and coats the beans, then taste for seasoning before baking.
How do I keep green beans from turning gray?
Use fresh blanched beans when possible, cool them quickly after blanching, and avoid overbaking. Keep the bake focused on heating through, then finish with the onion topping at the end.
Why is my casserole watery?
Usually it is excess moisture from beans (not drained well) or a sauce that was not thickened enough. Make sure the sauce coats a spoon, cook mushrooms until their liquid cooks off, and drain beans very well before assembling.
When exactly do I add the fried onions?
Stir a small amount into the filling if you like, but add the main topping for the last 5 to 10 minutes of baking. That is the sweet spot for crispness.
Classic Green Bean Casserole
A classic green bean casserole with a savory mushroom sauce and crispy fried onions, written with a from-scratch sauce option and timing that keeps the beans bright and the topping crunchy.
- Prep
- 20 minutes
- Cook
- 25 minutes
- Total
- 45 minutes
- Yield
- 10 servings
Ingredients
- 2 lb fresh green beans, trimmed and cut into 2-inch pieces (or 4 (14.5 oz) cans green beans, drained very well)
- 8 oz cremini or button mushrooms, sliced
- 1 small yellow onion, finely diced
- 3 cloves garlic, minced
- 4 tbsp unsalted butter
- 1/4 cup all-purpose flour
- 1 1/2 cups low-sodium chicken or vegetable broth
- 1 cup whole milk or half-and-half
- 1 tsp soy sauce (optional)
- 1 tsp kosher salt, plus more to taste
- 1/2 tsp black pepper
- Pinch of nutmeg (optional)
- 1 (6 oz) container crispy fried onions, divided
- 1 tsp lemon juice or a few drops of vinegar (optional, to finish)
Instructions
- Heat the oven. Arrange a rack in the middle of the oven and preheat to 400 F. Lightly butter a 9x13-inch (or 3-quart) baking dish.
- If using fresh beans, blanch. Bring a large pot of well-salted water to a boil. Add green beans and cook 3 to 4 minutes, until bright green and crisp-tender. Drain, then run under cold water until cool. Drain very well.
- Sauté the mushrooms and aromatics. In a large skillet over medium-high heat, melt the butter. Add mushrooms and cook 5 to 7 minutes, stirring occasionally, until they release liquid and begin to brown. Add onion and cook 2 to 3 minutes until softened. Add garlic and cook 30 seconds until fragrant.
- Build the roux. Sprinkle flour evenly over the mushroom mixture. Stir constantly for 1 minute, until the flour disappears and smells lightly toasted.
- Make the sauce. Slowly whisk in broth, then whisk in milk or half-and-half. Bring to a gentle simmer, whisking often, and cook 3 to 5 minutes until thickened and glossy. The sauce should coat a spoon. Stir in soy sauce (if using), salt, pepper, and nutmeg (if using). Taste and adjust seasoning.
- Combine. Add the green beans to the skillet and fold to coat. Stir in 1/2 cup crispy fried onions for flavor (optional but recommended). Scrape everything into the prepared baking dish and spread into an even layer.
- Bake to heat through. Bake 15 minutes, until bubbling around the edges and hot in the center.
- Add the topping at the end. Remove from the oven and sprinkle the remaining crispy fried onions evenly over the top. Return to the oven and bake 5 to 8 minutes, until the onions are lightly toasted.
- Finish and serve. Let rest 5 minutes. If the sauce tastes a little heavy, stir 1 teaspoon lemon juice into the casserole or add a few drops over the top right before serving. Serve warm.
Notes
Canned bean option: Skip blanching. Use 4 (14.5 oz) cans green beans, drain very well, and reduce the first bake time to about 10 to 12 minutes since the beans are already cooked.
Make-ahead: Assemble through Step 6 without the final onion topping. Cover and refrigerate up to 24 hours. Bake at 400 F until hot and bubbling, then add onions for the final 5 to 8 minutes.
Sauce thickness cue: If you drag a spatula through the sauce in the skillet, it should leave a path that slowly fills in, not immediately run together like soup.