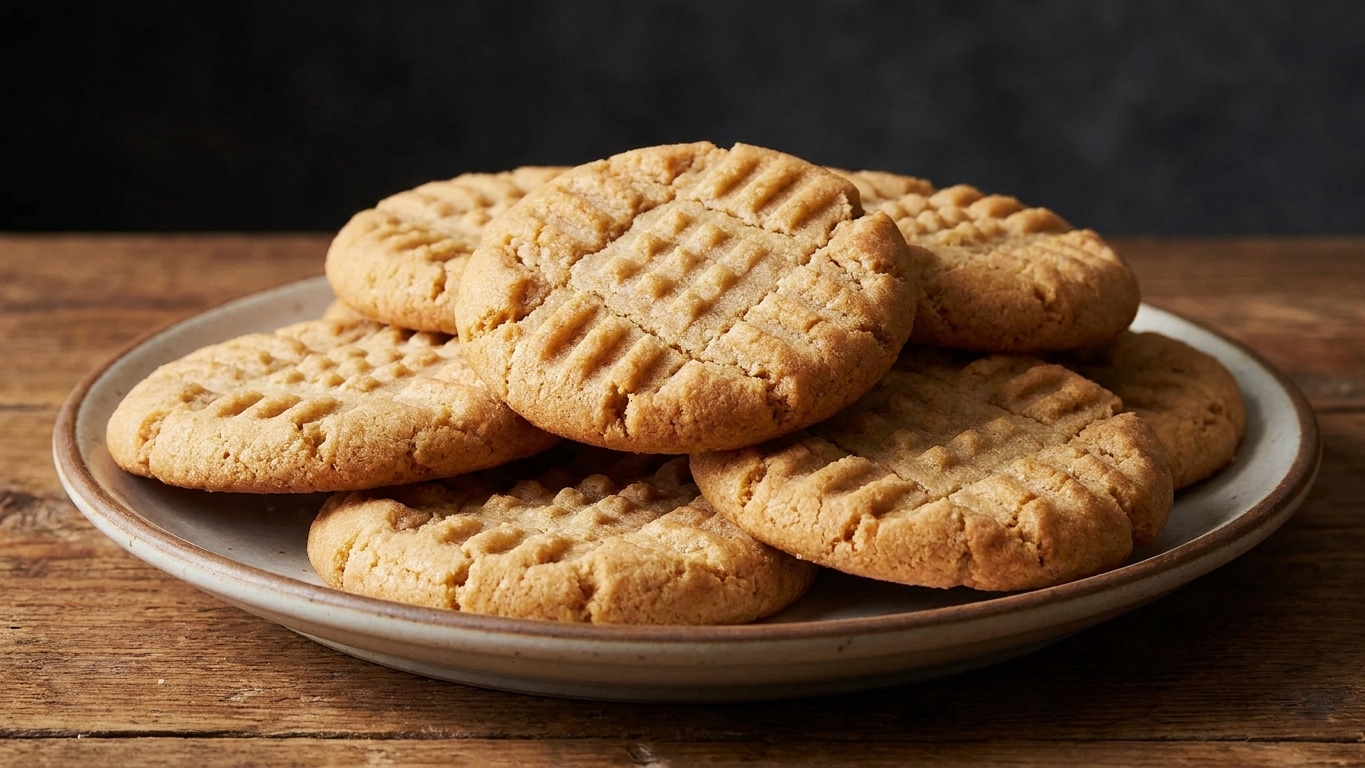

I grew up thinking peanut butter cookies were supposed to be a little unpredictable. Some batches spread into thin, crispy pancakes. Others stayed puffy but tasted dry. Once I started teaching, I realized it often comes down to a few quiet decisions: how much flour you use, what kind of sugar you choose, and whether you give the dough a short chill before baking. (Yes, peanut butter brand and oven accuracy matter too, but these three choices do a lot of the heavy lifting.)

This recipe is my weeknight-friendly, no-fuss version that still gives you that nostalgic crisscross top. You get cookies with edges that set and turn lightly golden while the centers stay soft and slightly underbaked-looking when they come out. If you like a soft center, that is the sweet spot because carryover heat finishes the middle as the cookies cool on the pan.
I also included a flourless option for the nights you are out of flour or just want a more intensely peanut-buttery cookie. It is flourless and gluten-free when made with certified gluten-free ingredients and baked in a kitchen where cross-contact is not an issue. Both versions share the same doneness cue: look for set edges and a center that still looks slightly glossy and puffy.
Why this recipe works
- The flour-to-peanut-butter balance controls spread. Peanut butter behaves like both a fat and a thickener. Too little flour and cookies can over-spread. Too much flour and they get sandy or dry. This dough uses enough flour to hold a crisscross shape without muting the peanut flavor.
- Brown sugar adds moisture and chew. A mix of brown and white sugar helps the cookies stay tender. Brown sugar’s molasses holds onto moisture, while white sugar encourages crisp edges and a clean snap around the rim.
- A short chill prevents pancake cookies. Chilling firms the fat and hydrates the flour so the dough sets faster in the oven. Even 30 minutes helps fork marks stay defined.
- Fork marks do more than look cute. They flatten a naturally dense dough so the cookie bakes evenly. The ridges also create more surface area for toasty, roasty peanut aromas.
Ingredient notes
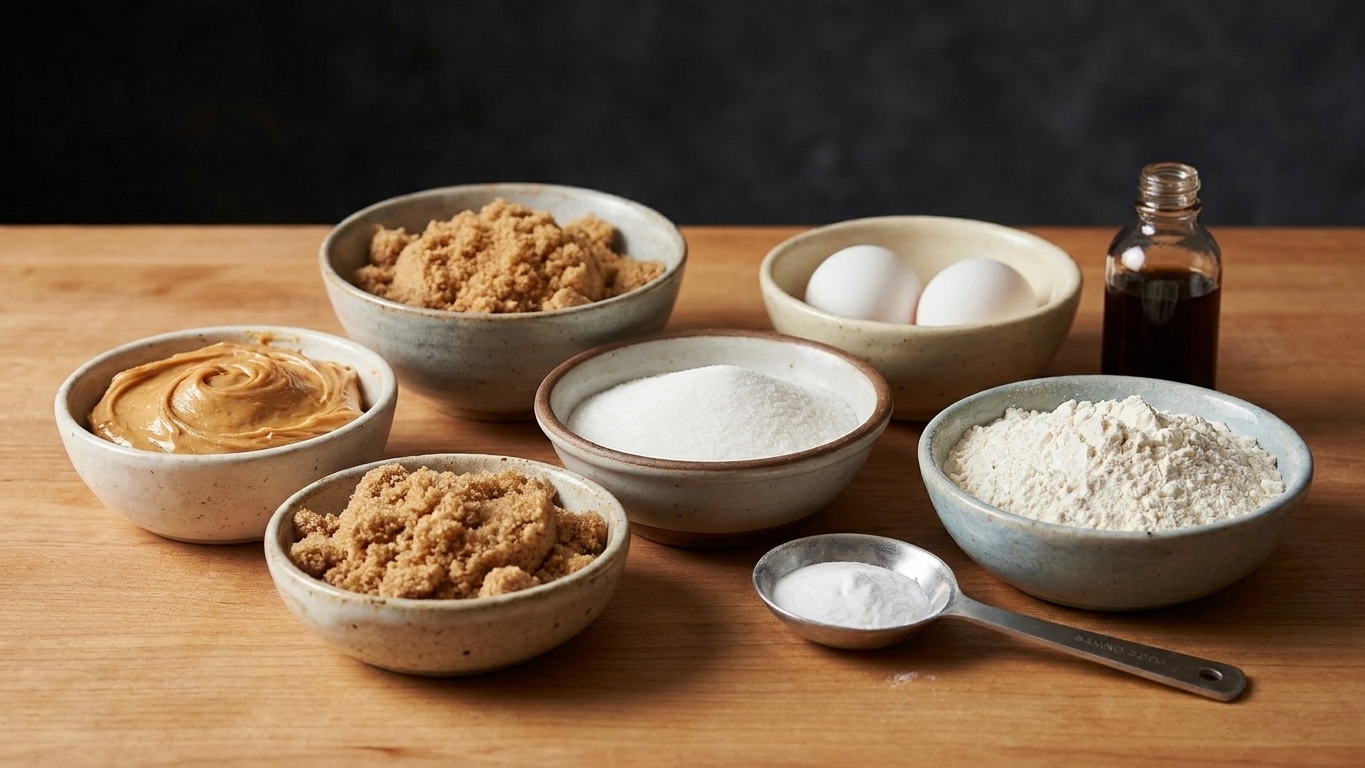
- Peanut butter: Use a conventional creamy peanut butter (like the standard no-stir kind). Natural peanut butter varies widely in oil content and can cause greasy spread or crumbly cookies. If natural is all you have, stir it extremely well and chill the dough longer.
- Flour: All-purpose flour gives structure. If you measure by cups, spoon the flour into the measuring cup and level it. Scooping straight from the bag packs in extra flour and dries the dough.
- Sugars: Light brown sugar keeps these chewy and soft. White sugar helps edges set and encourages spread. If you want thicker cookies, lean slightly more on brown sugar. If you want crisper edges, lean slightly more on white sugar.
- Egg: One large egg binds and adds moisture. If your egg is on the small side, the dough may crack more when you press the fork marks. It will still bake up fine.
- Baking soda: Essential for lift and that classic peanut butter cookie crackle. Make sure it is fresh enough to fizz if you drop a pinch into a little vinegar or lemon juice.
- Salt: Peanut butter needs salt to taste like itself. If your peanut butter is heavily salted, keep the added salt on the lower end.
Equipment you will need
- Mixing bowl
- Whisk and flexible spatula, or a hand mixer
- Sheet pan
- Parchment paper or a silicone baking mat
- Cookie scoop (optional but helpful for even baking)
- Fork for the crisscross pattern
- Wire rack for cooling
Pro tips
- Chill for control: If your kitchen is warm or your dough feels soft, chill 30 to 60 minutes. You will get thicker cookies and sharper fork marks.
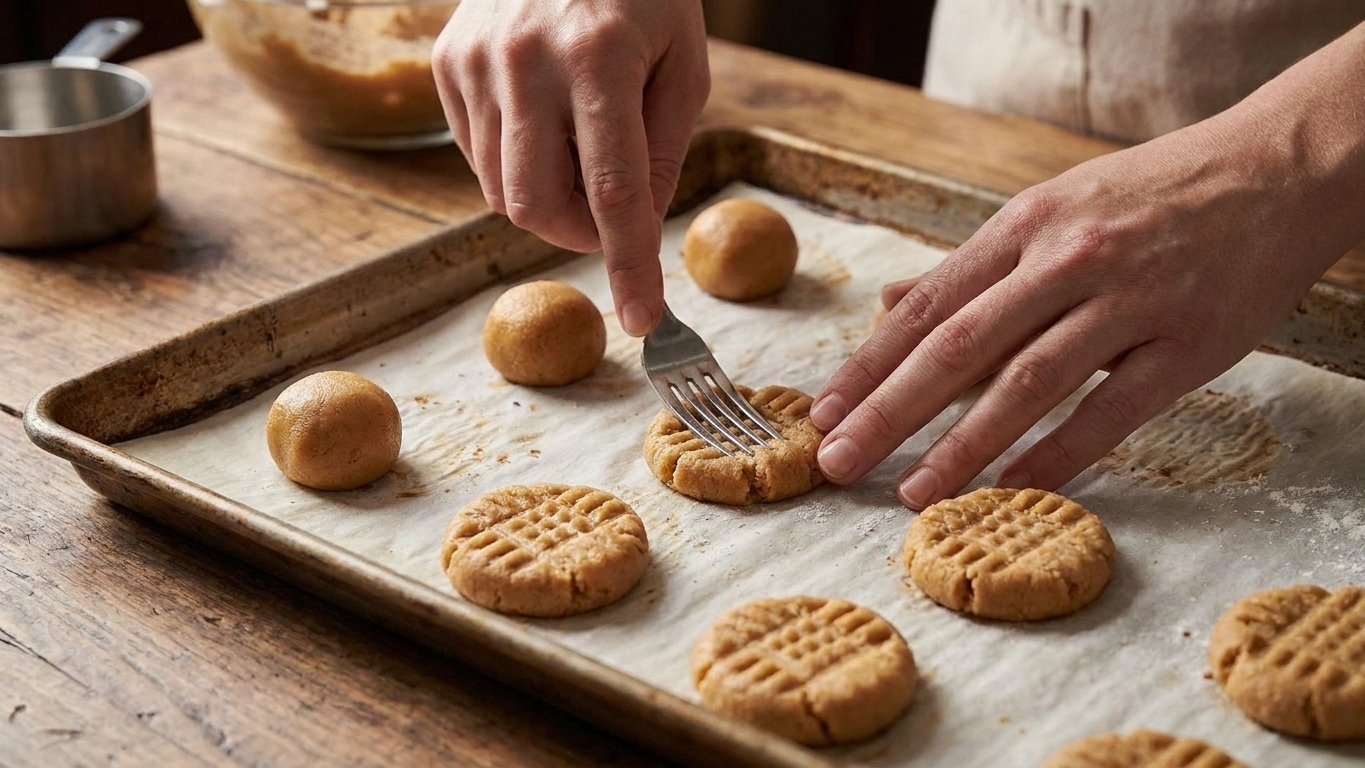
- Sugar your fork: Dip the fork tines in granulated sugar before each press to prevent sticking and add a subtle sparkle.
- Stop mixing early: Once flour is added, mix just until no dry streaks remain. Overmixing can make cookies tough.
- Use the right spacing: Give the cookies room. Crowding traps heat and encourages uneven spread.
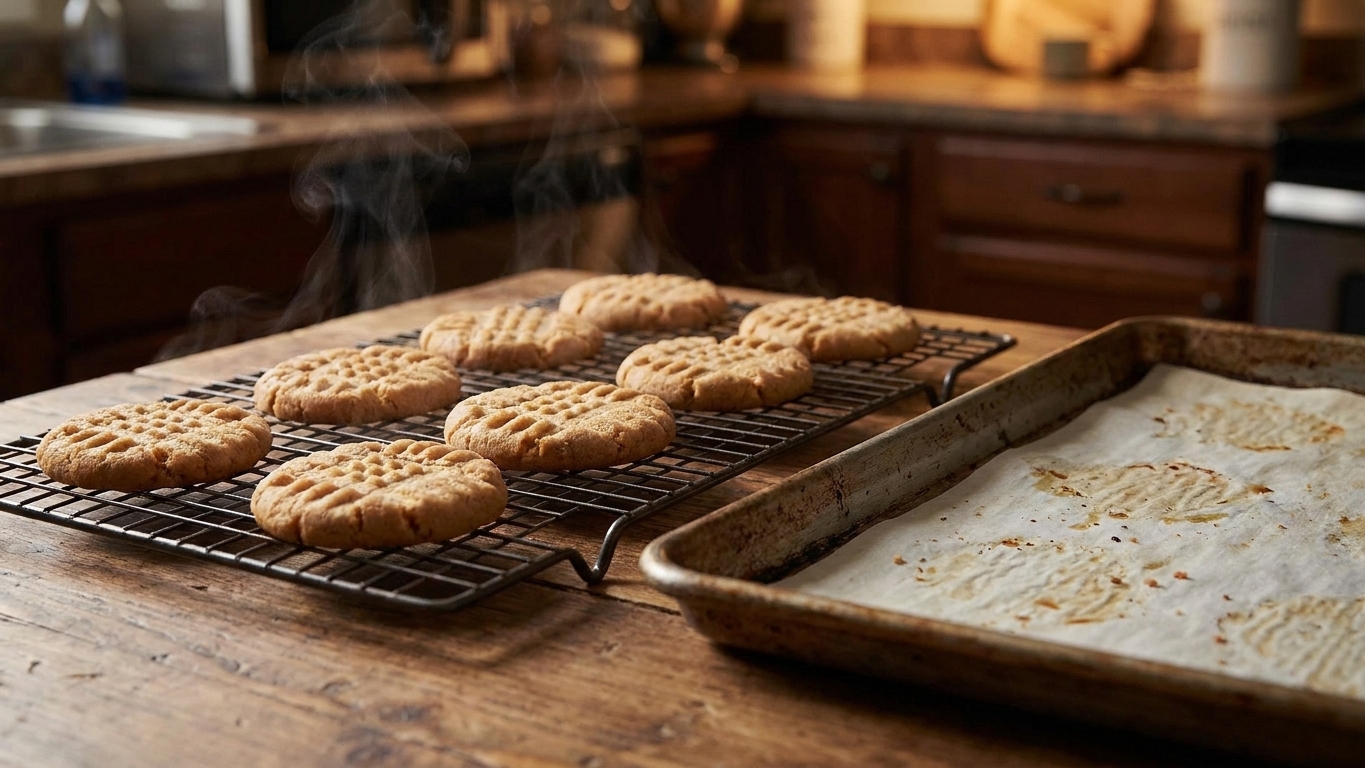
- Doneness cue you can trust: Pull the cookies when the edges look set and faintly golden, and the centers look slightly puffed and still a little soft. They will finish as they cool on the pan.
- For thicker cookies: Make dough balls taller rather than perfectly round, chill, then press with the fork just enough to flatten to about 1/2-inch thick.
Substitutes that work
- Butter: If you prefer a butter-forward peanut butter cookie, you can replace half the peanut butter with softened unsalted butter by weight, but expect more spread and a less intense peanut flavor. Chilling becomes even more important.
- Sugar swaps: Dark brown sugar works and gives a deeper molasses note, but the cookies may spread a touch more. Coconut sugar can work, but it tends to make cookies drier, so avoid overbaking.
- Gluten-free flour (in the classic version): A 1:1 gluten-free baking blend can work in place of all-purpose flour. The dough may be slightly more fragile, so chill before shaping.
- Dairy-free: The classic recipe is naturally dairy-free as written unless you use add-ins that contain dairy.
Variations
- Sugar-coated: Roll dough balls in granulated sugar before the fork press for crisp edges and a glittery top.
- Salty-sweet: Sprinkle a tiny pinch of flaky salt on each cookie right after baking.
- Crunchy peanut butter: Swap creamy for crunchy for more texture. The cookies may crack a bit more when pressed.
- Peanut butter and jam thumbprints: Press a small well in the center after the fork marks and spoon in a tiny dab of jam. Bake as directed, watching for jam bubbling at the edges.
- Flourless option: Use the flourless formula in the recipe notes for an extra peanut-forward, naturally gluten-free cookie.
Serving ideas
- With cold milk, oat milk, or a strong cup of coffee
- Sandwich a scoop of vanilla ice cream between two cookies and freeze 15 minutes to set
- Crumble over yogurt with sliced bananas for a snack-dessert situation
- Serve alongside fresh berries to balance the richness
Storage and reheating
- Room temperature: Store in an airtight container for up to 4 days. Add a slice of sandwich bread to the container if you want to keep them softer. Replace the bread as it dries out.
- Freeze baked cookies: Freeze in a zip-top bag or airtight container for up to 2 months. Thaw at room temperature.
- Freeze dough: Scoop and press the fork marks, then freeze on a tray until solid. Transfer to a bag and bake from frozen, adding about 1 to 3 minutes as needed.
Common mistakes
- Cookies spread too much: Dough was too warm, flour was under-measured, or peanut butter was very oily. Chill the dough 60 minutes and make sure flour is measured correctly. If using natural peanut butter, stir thoroughly and chill longer.
- Dry, crumbly cookies: Too much flour or overbaking. Spoon-and-level flour, and pull cookies when edges are set but centers are still soft.
- Fork sticks to the dough: Dip the fork in sugar (or a little flour) between presses.
- No peanut flavor: Too much flour or not enough salt. Keep the flour in balance and do not skip salt, especially if your peanut butter is low-sodium.
- Cookies crack aggressively when pressed: Dough is too cold or too dry. Let it sit at room temp 5 to 10 minutes before shaping, or mix in 1 teaspoon water if it feels crumbly.
FAQ
Do I really need to chill peanut butter cookie dough?
Not always, but chilling is the easiest way to control spread and keep the crisscross pattern crisp. If your kitchen is warm, your sheet pan is hot, or you are using a very soft peanut butter, chill the dough.
Why do peanut butter cookies get fork marks?
Peanut butter dough is dense and can bake unevenly if left as a tall mound. The fork marks flatten the cookie so it bakes through while still staying tender in the middle.
How do I know when they are done if the centers look soft?
Look at the edges. When the edges are set and lightly golden, pull the tray even if the centers look slightly underdone. Let the cookies cool on the pan for 5 to 10 minutes to finish setting up.
Can I use natural peanut butter?
You can, but it is less predictable. Stir very well, chill the dough longer, and expect slightly more spread and a more rustic texture.
Can I make them flourless?
Yes. The flourless option is included in the recipe notes. It bakes up softer, a bit more delicate, and very peanut-forward.
Crisscross Peanut Butter Cookies
Classic crisscross peanut butter cookies with set edges and soft centers. Includes a short chill to control spread and a flourless option for extra peanut flavor.
- Prep
- 15 minutes
- Cook
- 10 to 12 minutes
- Total
- 55 minutes
- Yield
- 24 cookies
Ingredients
- 1 cup (250 g) creamy peanut butter (conventional no-stir recommended)
- 1/2 cup (100 g) granulated sugar, plus more for dipping the fork
- 1/2 cup (110 g) packed light brown sugar
- 1 large egg
- 1 teaspoon vanilla extract
- 1 1/4 cups (160 g) all-purpose flour
- 1 teaspoon baking soda
- 1/2 teaspoon fine salt (use 1/4 teaspoon if peanut butter is very salty)
Instructions
- Prep the oven and pan: Heat oven to 350°F (175°C). Line 2 sheet pans with parchment paper (or bake in batches using one pan).
- Mix wet ingredients: In a large bowl, whisk peanut butter, granulated sugar, and brown sugar until smooth and glossy, about 30 seconds. Whisk in the egg and vanilla until fully combined.
- Add dry ingredients: Sprinkle flour, baking soda, and salt over the bowl. Switch to a spatula and fold until no dry pockets remain. The dough should be thick and scoopable.
- Chill (recommended): Cover and refrigerate 30 minutes. If your kitchen is cool and the dough already feels firm, you can bake right away, but the fork marks may soften more as the cookies spread.
- Scoop: Scoop into 1 tablespoon portions (about 18 to 20 g each) and roll into balls. Place 2 inches apart on the prepared pan.
- Crisscross: Dip a fork in granulated sugar and press down on each dough ball. Rotate the fork 90 degrees and press again to make a crisscross. Aim for about 1/2-inch thick after pressing.
- Bake: Bake 10 to 12 minutes, until the edges look set and lightly golden and the centers look slightly puffed and still soft. Do not wait for the centers to look fully firm.
- Cool: Let cookies cool on the pan 5 to 10 minutes to set, then transfer to a wire rack to cool completely.
Notes
Flourless option (naturally gluten-free): Omit the flour. Increase baking soda to 1 1/4 teaspoons. Add an extra 2 tablespoons (25 g) packed light brown sugar to help with structure and tenderness. Chill the dough 45 to 60 minutes before shaping, then bake at 350°F (175°C) for 9 to 11 minutes. Doneness cue stays the same: set edges, soft center. These are a bit more delicate, so let them cool on the pan a full 10 minutes before moving.
Spread control: For thicker cookies, chill longer (up to 24 hours), and bake the dough straight from the fridge.
Salt adjustment: If your peanut butter is unsalted, use the full 1/2 teaspoon salt and consider a pinch of flaky salt on top after baking.