
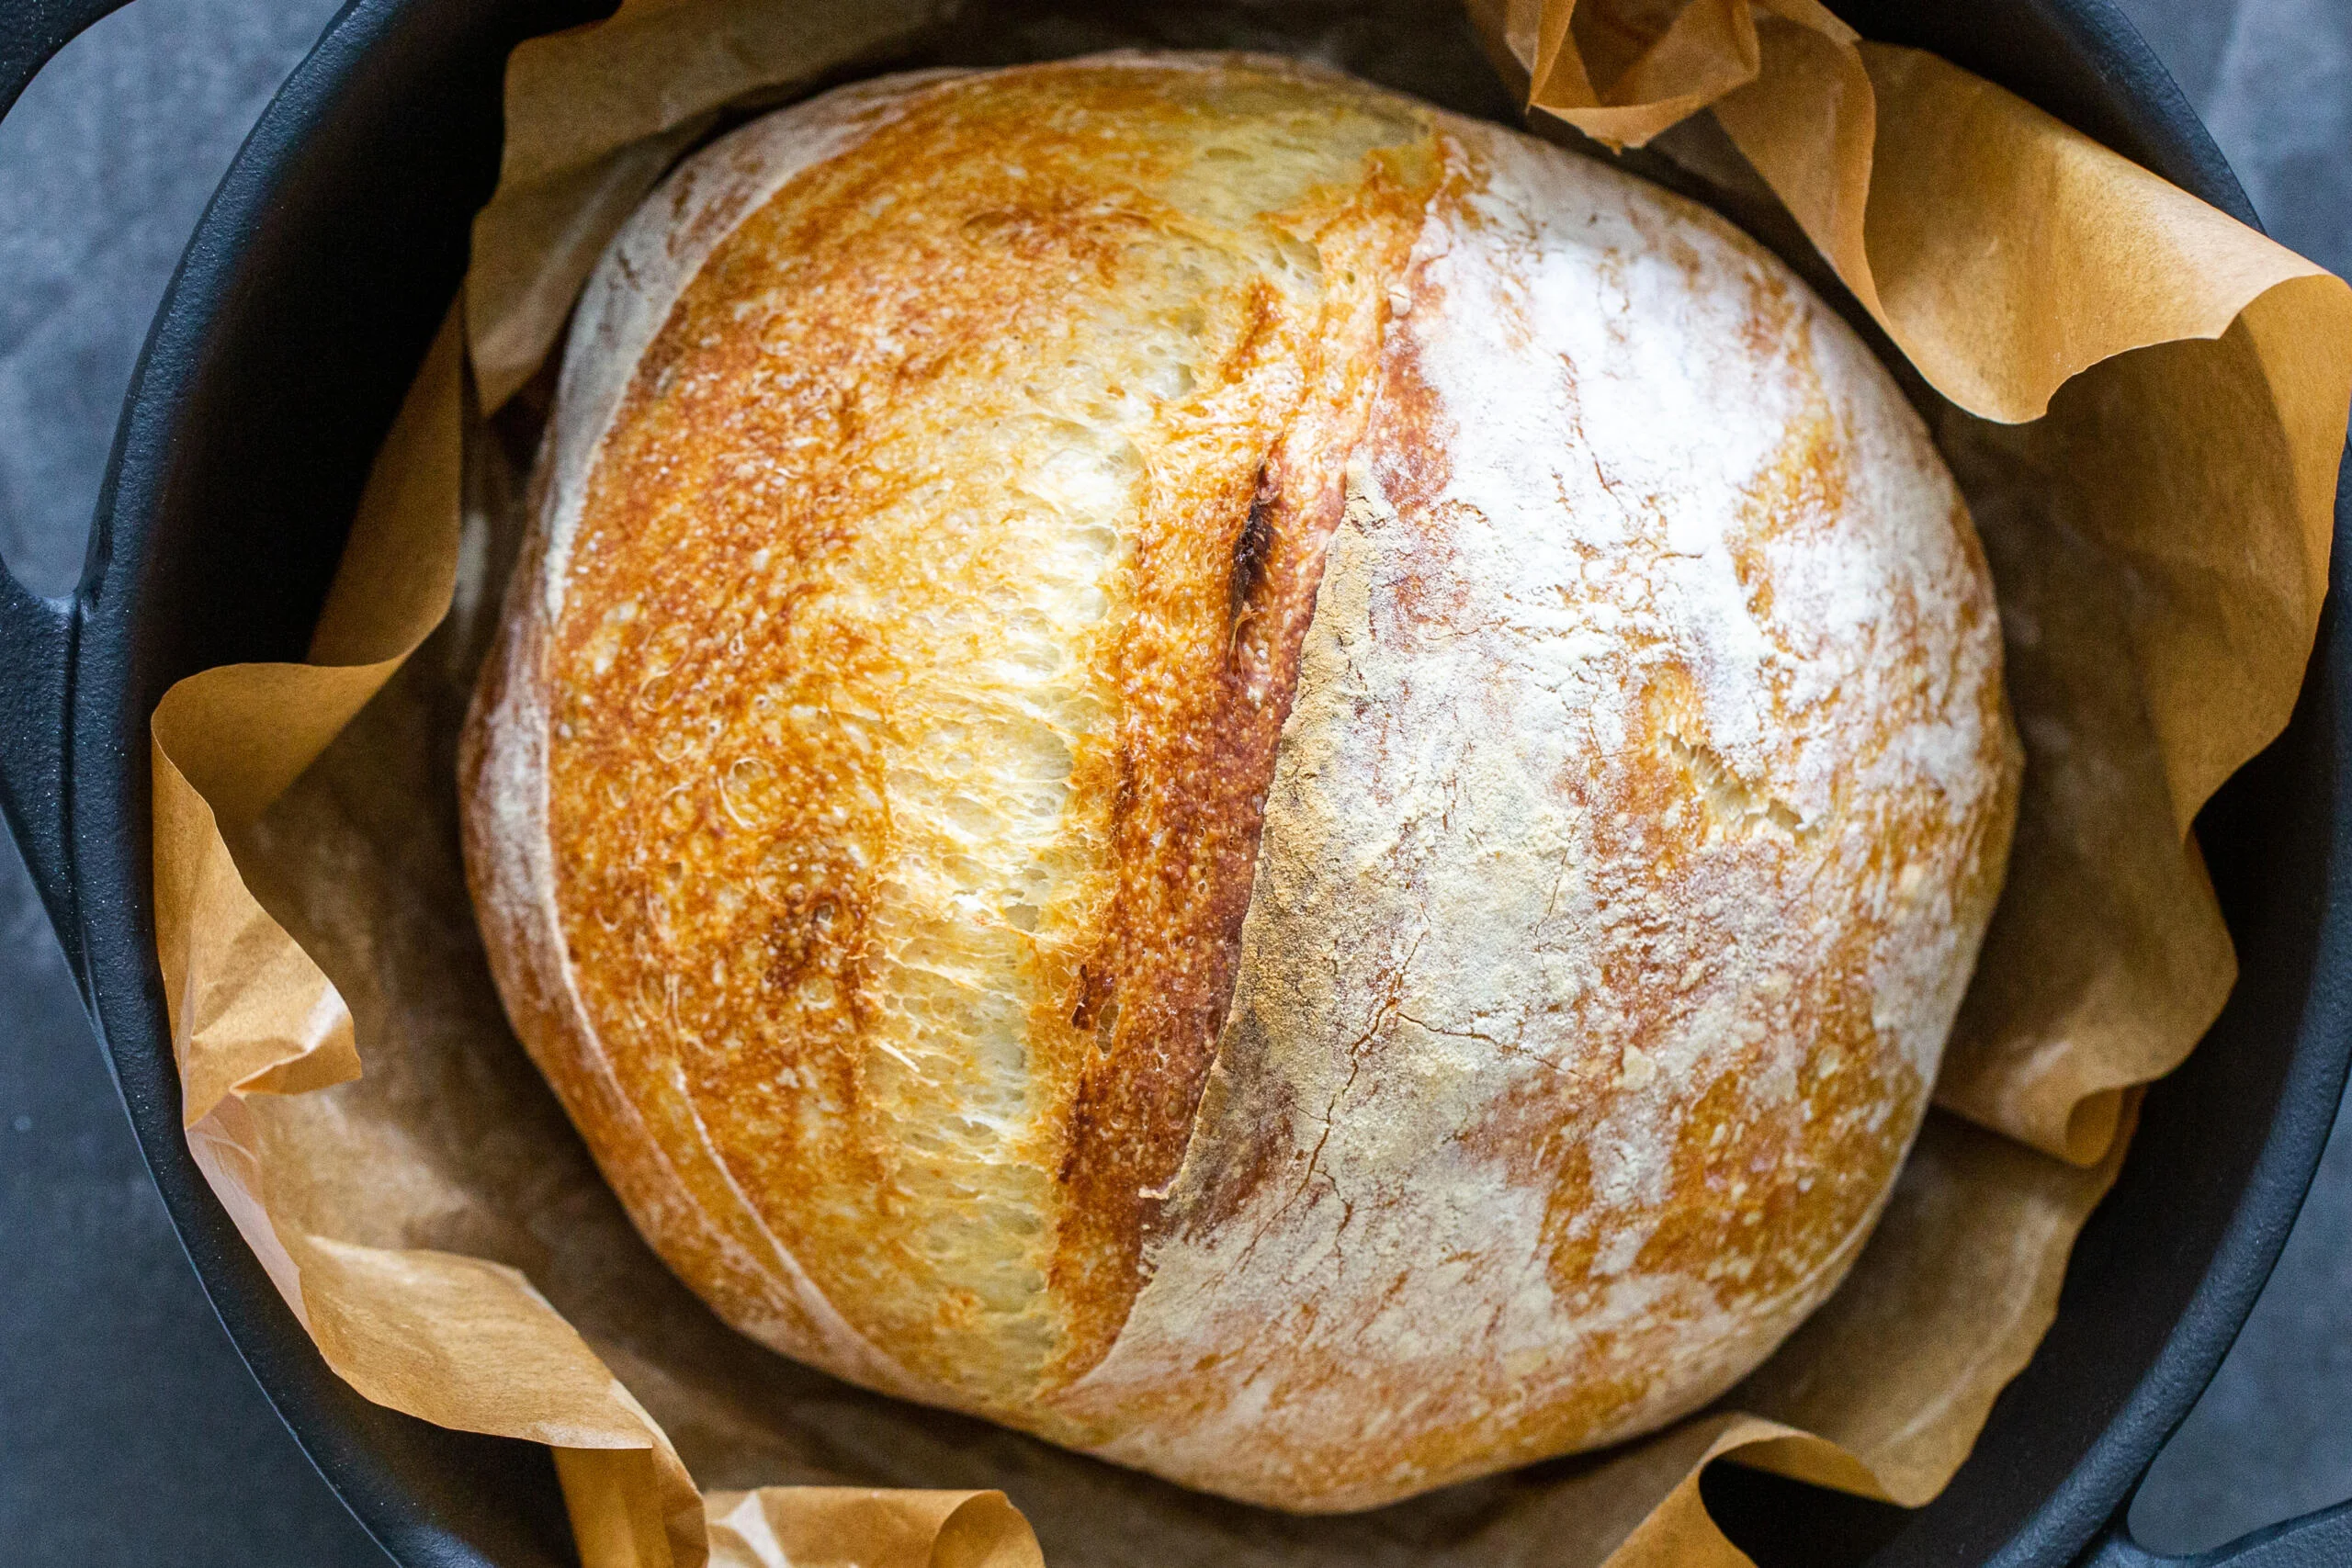
If you have ever wanted that shattery, crackly crust and a chewy, steamy crumb without turning your kitchen into a full-time bakery, this is your loaf. No kneading. No stand mixer. Just a sticky dough, a little patience, and one very hot Dutch oven doing the heavy lifting.
This is the bread I teach when someone says, “I am not a bread person.” Because you do not need special skills. You just need to know what the dough should look like and what to listen for: the hollow knock on the bottom, the singing crackle as it cools, and the smell that makes you cut a slice too soon.
Why this recipe works
Bakery ovens inject steam. At home, we trap it. When you bake the loaf in a preheated Dutch oven, the moisture from the dough creates steam inside the pot. That steam keeps the surface flexible long enough for the loaf to spring up, then the lid comes off so the crust can brown and crisp.
- Covered bake: maximum steam, strong rise, glossy blistered crust.
- Uncovered bake: deep browning and that “tap-tap” crisp shell.
Ingredient notes
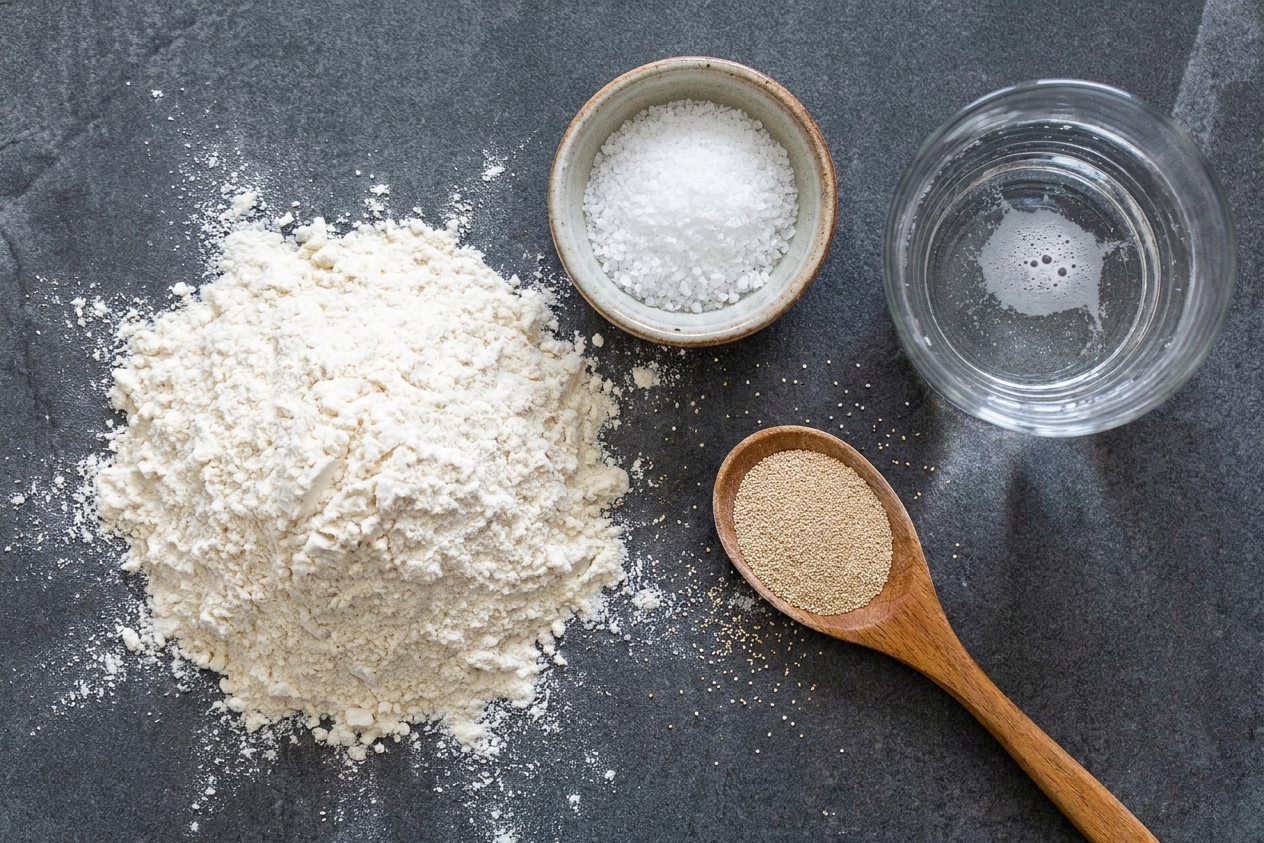
- Flour: Bread flour gives the chewiest crumb, but all-purpose works beautifully.
- Water: Room temperature is fine. If your kitchen is chilly, use slightly warm water.
- Yeast: Instant or active dry.
- Salt: Fine sea salt is most consistent by volume. If you use kosher salt, measure by weight for best results.
About the dough: This recipe is roughly 75% hydration (300 g water to 400 g flour). It will feel wet and sticky on purpose. That looseness is part of what gives you an airy crumb.
Optional, low-effort flavor boosts
- 1 to 2 teaspoons olive oil for a slightly softer crumb
- 1 to 2 tablespoons seeds (sesame, poppy, sunflower) sprinkled on top
- 1 to 2 teaspoons dried herbs, or 1 teaspoon garlic powder
- Up to 100 g whole wheat flour swapped in (add 1 to 2 tablespoons extra water if the dough looks dry)
Equipment you will need
- Large mixing bowl
- Wooden spoon or dough whisk
- Kitchen scale (highly recommended) or measuring cups
- 5 to 7 quart Dutch oven with lid (enameled or cast iron)
- Parchment paper
- Bench scraper (helpful, not required)
Dutch oven note: A 5 to 7 quart pot gives the loaf room to expand. If your pot is smaller, the bread can crowd the sides and rise more upward than outward.
Pro tips
- Preheat matters: Preheat the Dutch oven (with lid) at 450°F for at least 30 minutes. The pot needs to be screaming hot for great oven spring.
- Look for the bubbles: The dough is ready when the surface is domed and laced with bubbles, and it wobbles when you jiggle the bowl.
- Stickiness is normal: Use flour on your hands and (if you have one) a bench scraper. Resist adding lots of extra flour, which can make the loaf dense.
- Parchment safety: Most parchment is rated to about 450°F, but brands vary. Trim excess so it does not touch the sides or lid, and check your package if unsure.
- Cool before slicing: Cool at least 45 minutes so the crumb sets and does not turn gummy.
- Go a little darker: Do not be afraid of a slightly darker crust. Brown equals taste. Baking 5 minutes longer is often better than pulling it early.
A real-life timeline
This dough is forgiving, which is why it is such a good weeknight or weekend bread.
- Option A (overnight): Mix at 9 pm, shape at 8 am, bake at 9 am.
- Option B (same day): Mix at 7 am, shape at 4 pm, bake at 5 pm.
- Option C (slow it down): After 8 to 12 hours at room temp, refrigerate the dough up to 2 days. Shape and bake when you are ready (expect the final rest to take closer to 60 to 90 minutes while it warms up).
Substitutes that work
- Flour: All-purpose flour works. Bread flour gives a slightly chewier crumb and a bit more height.
- Yeast: Instant or active dry both work. Most modern active dry yeast can be mixed right in. If your yeast is older or you are unsure, proof it in a little of the measured warm water for 5 to 10 minutes, then add it with the remaining water.
- Salt: Fine sea salt is most consistent by volume. If using kosher salt, measure by weight for best results (use 8 g and skip the teaspoon measure).
Variations
Seeded crust
Right before baking, lightly mist the top of the dough with water, then sprinkle with sesame or poppy seeds. The water helps them stick.
Whole wheat
Swap in up to 100 g whole wheat flour. If the dough looks stiff or dry, add 1 to 2 tablespoons extra water. Whole wheat drinks more.
Chewy bistro loaf
Use bread flour and push the uncovered bake to the darker end. A deeper brown equals deeper flavor and a stronger crust.
Olive oil loaf (slightly softer)
Add 1 tablespoon olive oil with the water. You will still get a crust, but the crumb stays tender longer.
Serving ideas
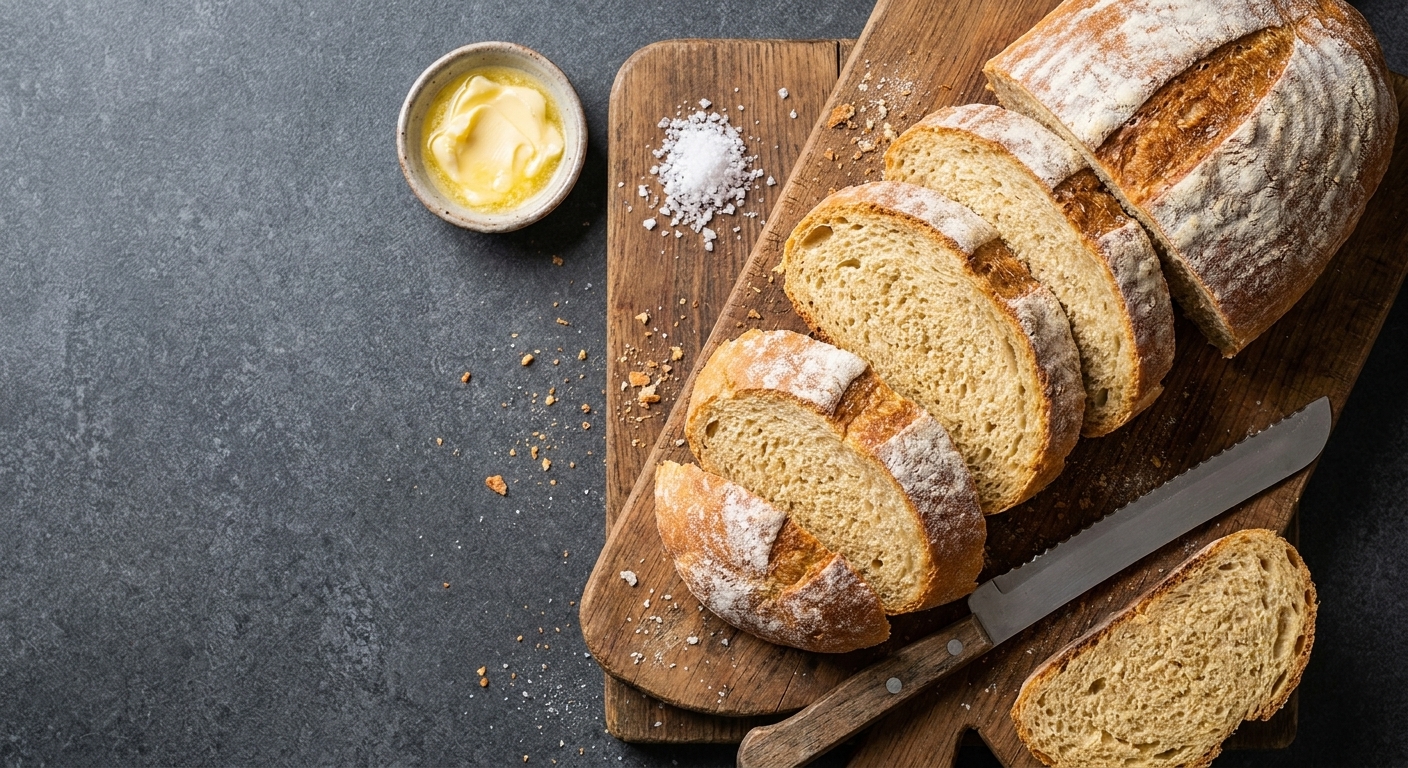
- Warm with salted butter and a pinch of flaky salt
- Alongside soup, stew, or a big lemony salad
- Toasted with olive oil and rubbed with garlic for quick bruschetta
- For the best possible grilled cheese, especially if you let the loaf cool fully first
Storage and reheating
Fresh bread is happiest at room temperature, not in the fridge (the fridge stales bread fast).
- Day 1 to 2: Store cut-side down on a cutting board, or in a paper bag.
- Day 3 and beyond: Slice and freeze in a zip-top bag. Toast slices straight from frozen.
Stale bread rescues
- Croutons: cube, toss with olive oil and salt, bake at 375°F until crisp.
- Breadcrumbs: blitz in a food processor and freeze for future meatballs or crunchy toppings.
- Panzanella or bread salad: stale bread is the whole point.
Common mistakes
My dough is extremely sticky
That is normal for no-knead dough. Use flour on your hands and a bench scraper. Resist adding lots of extra flour, which can make the loaf dense. If it is truly soupy and will not hold any shape, measure your water next time or reduce by 1 to 2 tablespoons.
It did not rise much
- Your kitchen may be cold. Give it more time.
- Yeast might be old. Try a fresh packet or jar, or proof active dry yeast first if you are unsure.
- Salt was accidentally increased. Too much salt slows yeast.
My bread is pale
Remove the lid and bake longer. Pale crust usually means not enough uncovered time. Also confirm your oven temperature, many run cool.
The bottom is too dark
Place a baking sheet on the rack below your Dutch oven to buffer heat. You can also crumple a ring of foil and set it under the parchment inside the pot as a small trivet.
The crumb is gummy
- It needed more bake time. Go for a darker crust.
- You sliced too soon. Cool at least 45 minutes.
- Your loaf is very large for your Dutch oven and steamed too long. Next time, remove the lid earlier.
FAQ
Do I need bread flour?
No. All-purpose flour works. Bread flour gives a slightly chewier crumb and a bit more height, but the method stays the same.
Can I halve the recipe?
Yes. Halve all ingredients by weight. Start checking for doneness 5 minutes earlier during the uncovered bake.
Can I bake this without a Dutch oven?
You can, but the crust will be less dramatic. Bake on a preheated baking stone or sheet at 450°F and place a metal pan on the bottom rack. Pour in hot water right after loading the bread to create steam, then vent the oven after 20 minutes.
Why such a tiny amount of yeast?
Long fermentation does the work. Less yeast plus more time equals better flavor and a more open crumb, with fewer “yeasty” notes.
Homemade Crusty Bread (No-Knead Dutch Oven Loaf)
This no-knead Dutch oven bread is a simple, four-ingredient loaf with a crackly crust and chewy crumb. A long room-temperature rise builds flavor and structure, and baking in a preheated Dutch oven traps steam for maximum oven spring, then finishes uncovered for deep browning.
- Prep
- 10 minutes
- Cook
- 45 minutes
- Total
- 10 to 19 hours
- Yield
- Makes 1 round loaf
Ingredients
- 400 g all-purpose flour or bread flour (about 3 1/3 cups, depending on how you measure)
- 300 g water (about 1 1/4 cups)
- 8 g fine sea salt (about 1 1/4 teaspoons). If using kosher salt, use 8 g and skip the teaspoon measure.
- 1 g instant yeast or active dry yeast (about 1/4 teaspoon)
Instructions
- Mix the dough: In a large bowl, whisk the flour, salt, and yeast. Add the water and stir until no dry flour remains. The dough will look shaggy and feel sticky, like a thick oatmeal that clings to the spoon. Cover the bowl (lid, plate, or plastic wrap) and let rise at room temperature until noticeably expanded and very bubbly, 8 to 18 hours.
- Shape gently: Lightly flour your counter. Scrape the dough out. With floured hands, fold the edges toward the center 6 to 8 times, rotating the dough as you go, until it looks a bit tighter. Tuck the edges under to form a round. Place seam-side down on a sheet of parchment, cover with a towel, and let rest 30 to 60 minutes while the oven heats.
- Preheat the Dutch oven: Put your Dutch oven (with the lid on) in the oven and preheat to 450°F for at least 30 minutes.
- Bake: Carefully remove the hot Dutch oven. Lift the dough by the parchment and lower it into the pot, then cover with the lid. Bake 30 minutes covered. Remove the lid and bake 10 to 20 minutes uncovered until deep golden brown.
- Cool: Cool on a wire rack for at least 45 minutes before slicing.
Notes
- Sensory cue (rise): When ready, the surface will be domed and laced with bubbles. If you jiggle the bowl, the dough will wobble like it is alive.
- Active dry yeast note: Most modern active dry yeast can be mixed right in. If your yeast is older or you are unsure, proof it in a little of the measured warm water for 5 to 10 minutes, then add it with the remaining water.
- Optional scoring: Right before baking, score the top with one confident slash (about 1/2-inch deep) using a sharp knife or lame. It helps the loaf open where you want, but the bread will still bake up beautifully if you skip it.
- Parchment note: Most parchment is rated to about 450°F, but brands vary. Trim any excess so it does not touch the sides or lid, and check your package if you are unsure.
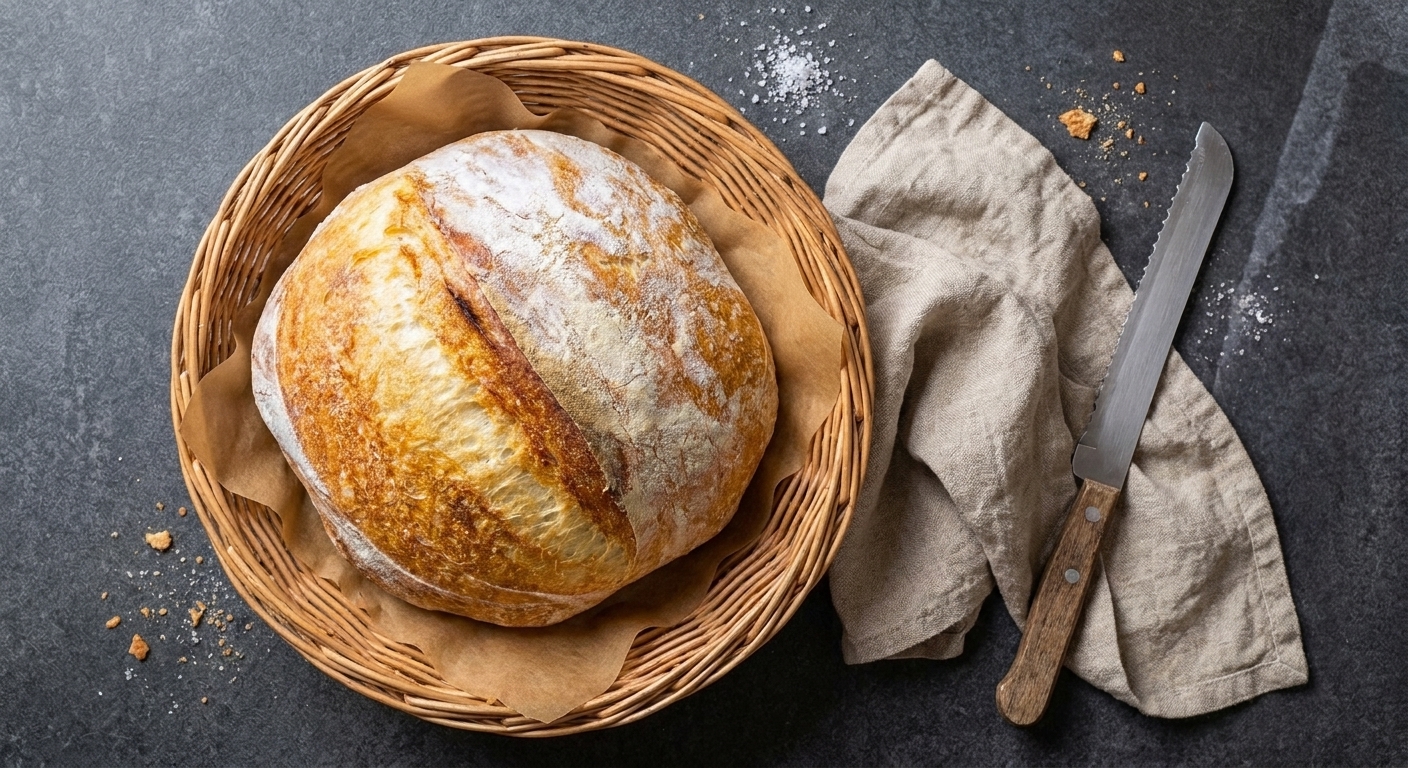
- Doneness cues: The crust should be richly browned, not pale. If you tap the bottom, it should sound hollow. If you have a thermometer, aim for 205°F to 210°F in the center.
- Cooling note: Cutting too early can compress the crumb and make the interior gummy, even if it is baked through.
Nutrition
- Calories: ~170
- Fat: ~0.5 g
- Carbs: ~35 g
- Protein: ~6 g
- Fiber: ~1 g
- Sugar: ~0.2 g
- Sodium: ~310 mg
Nutrition values are approximate and will vary by flour brand and actual slice size.


