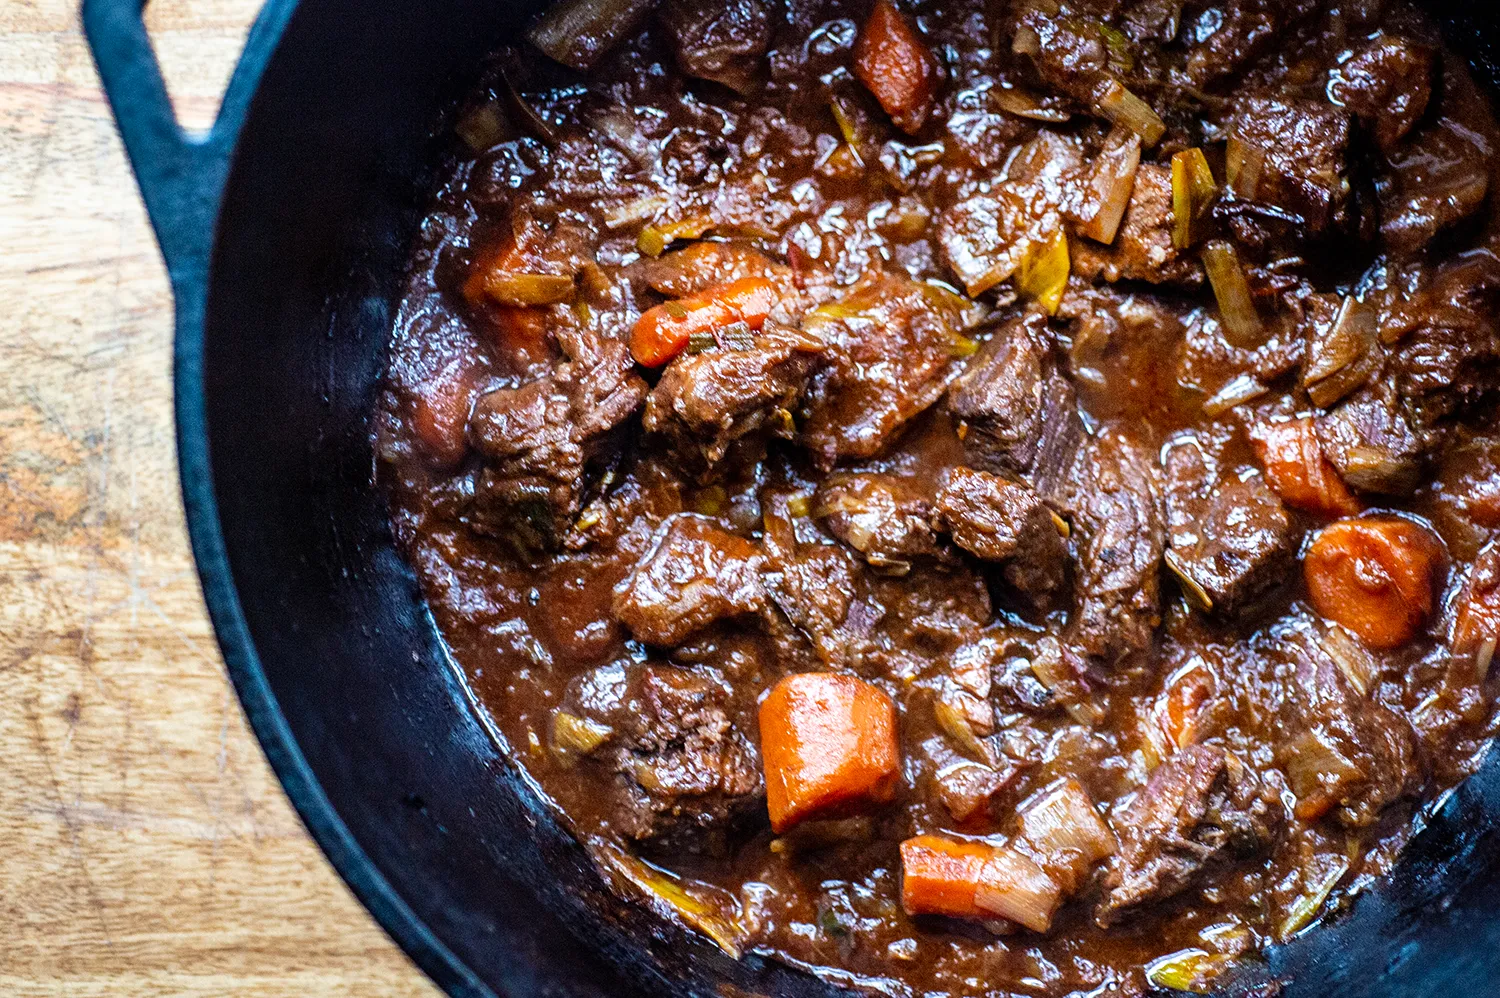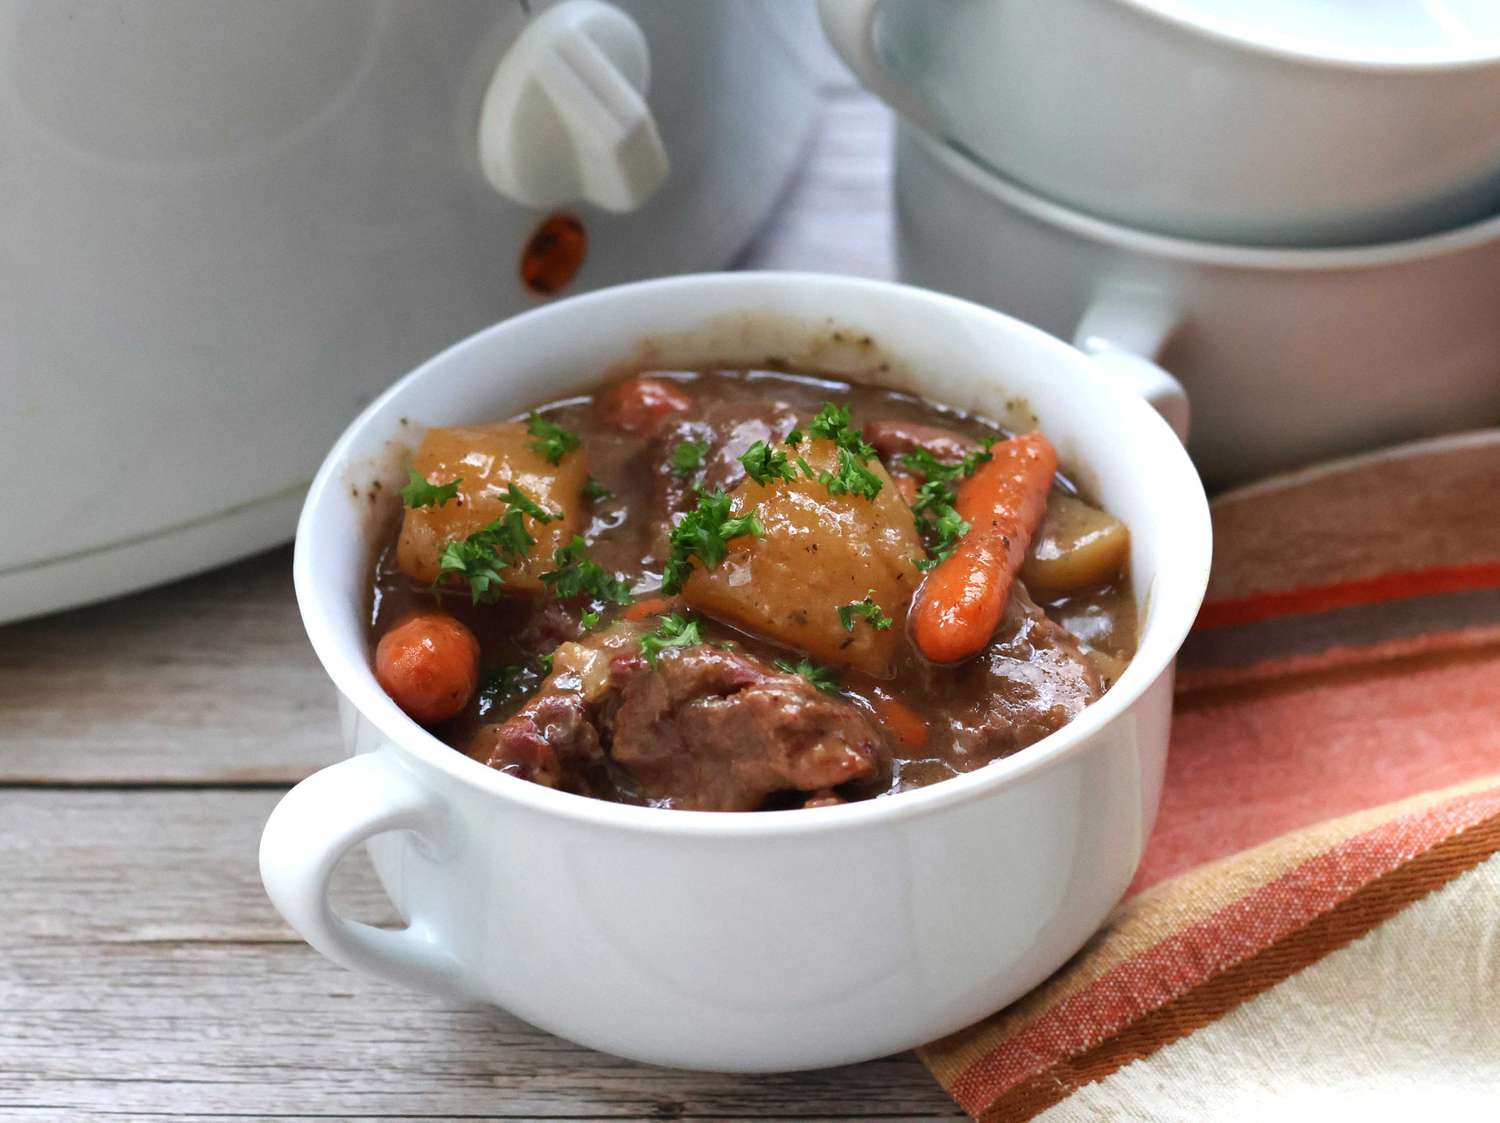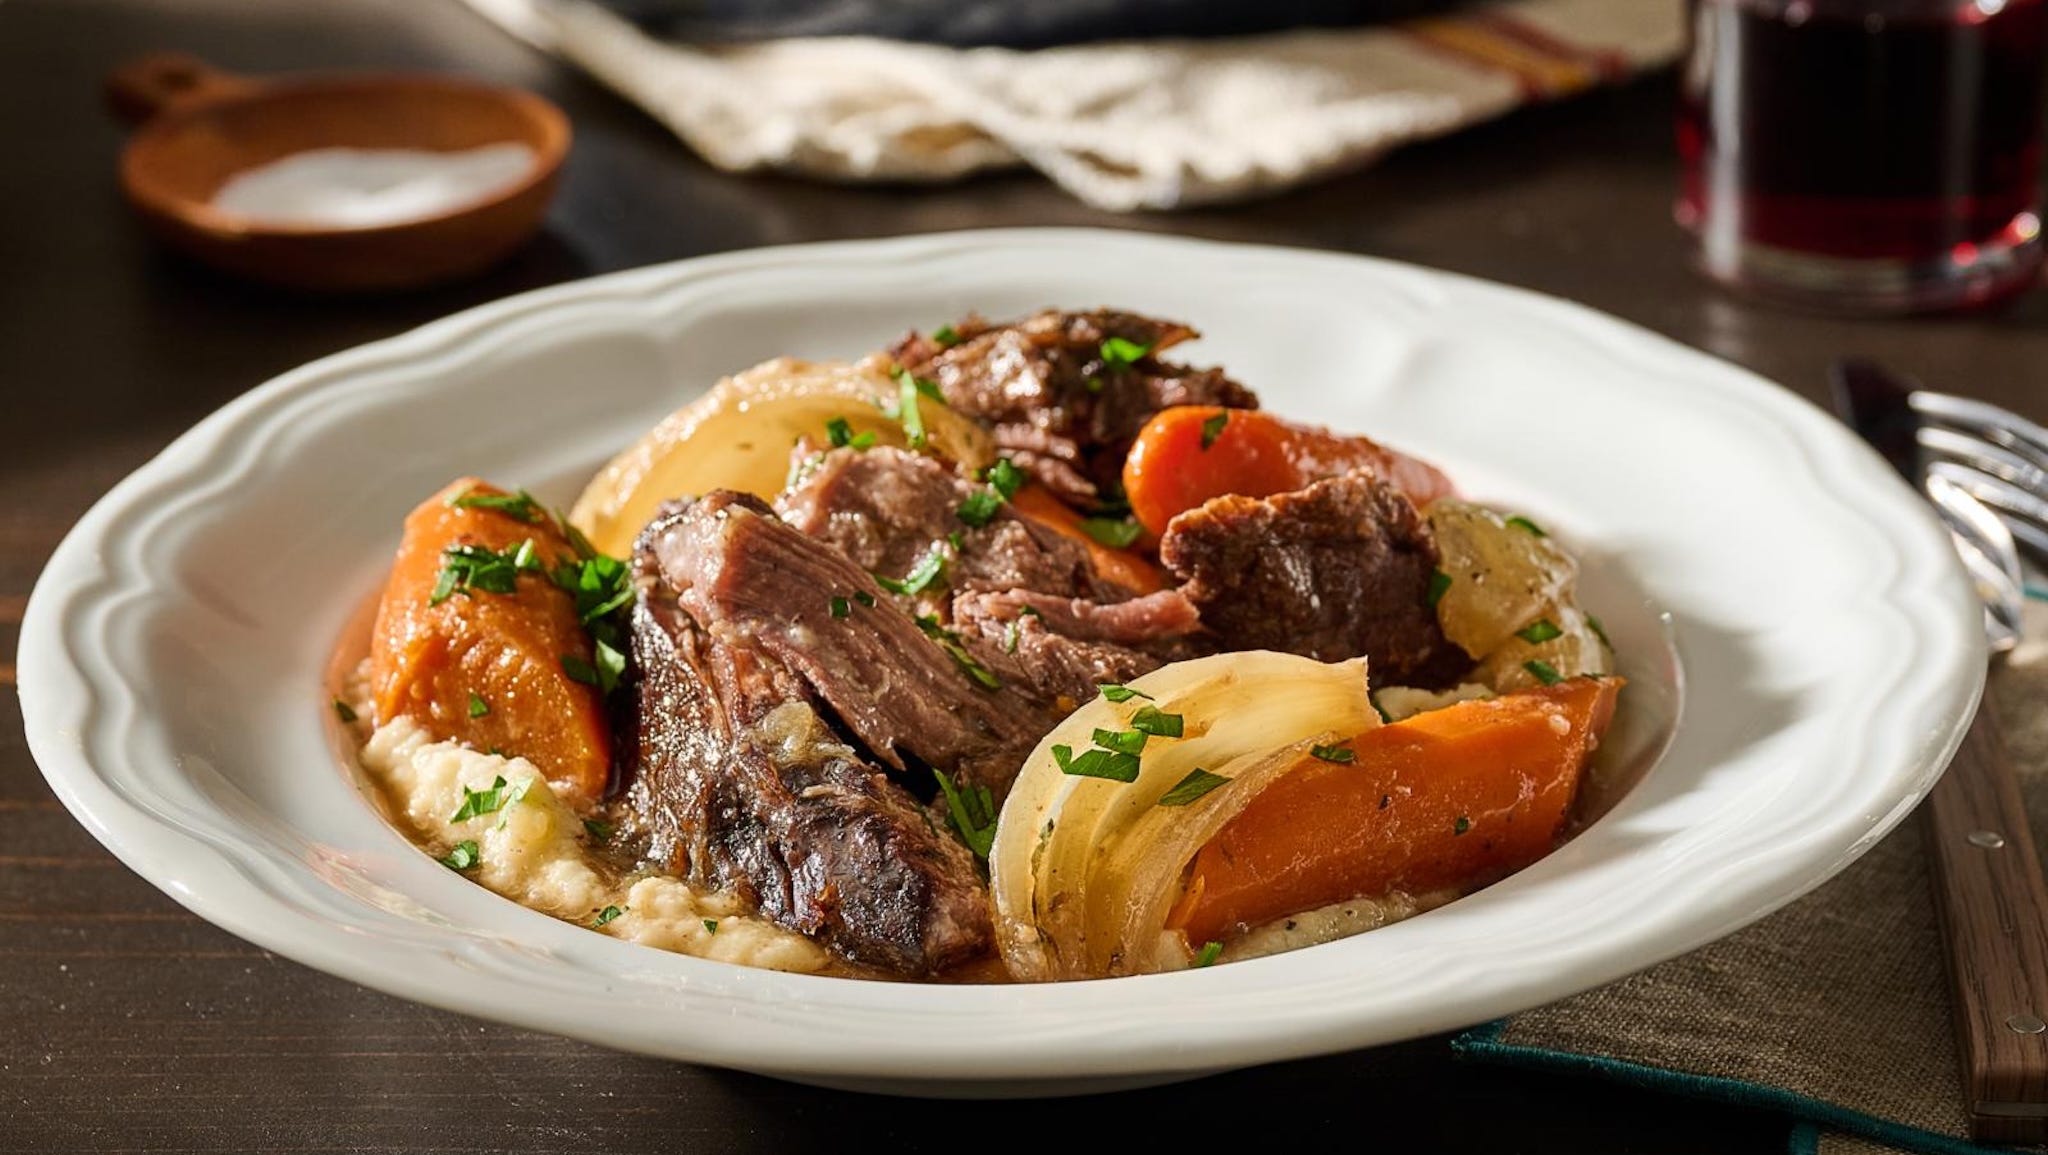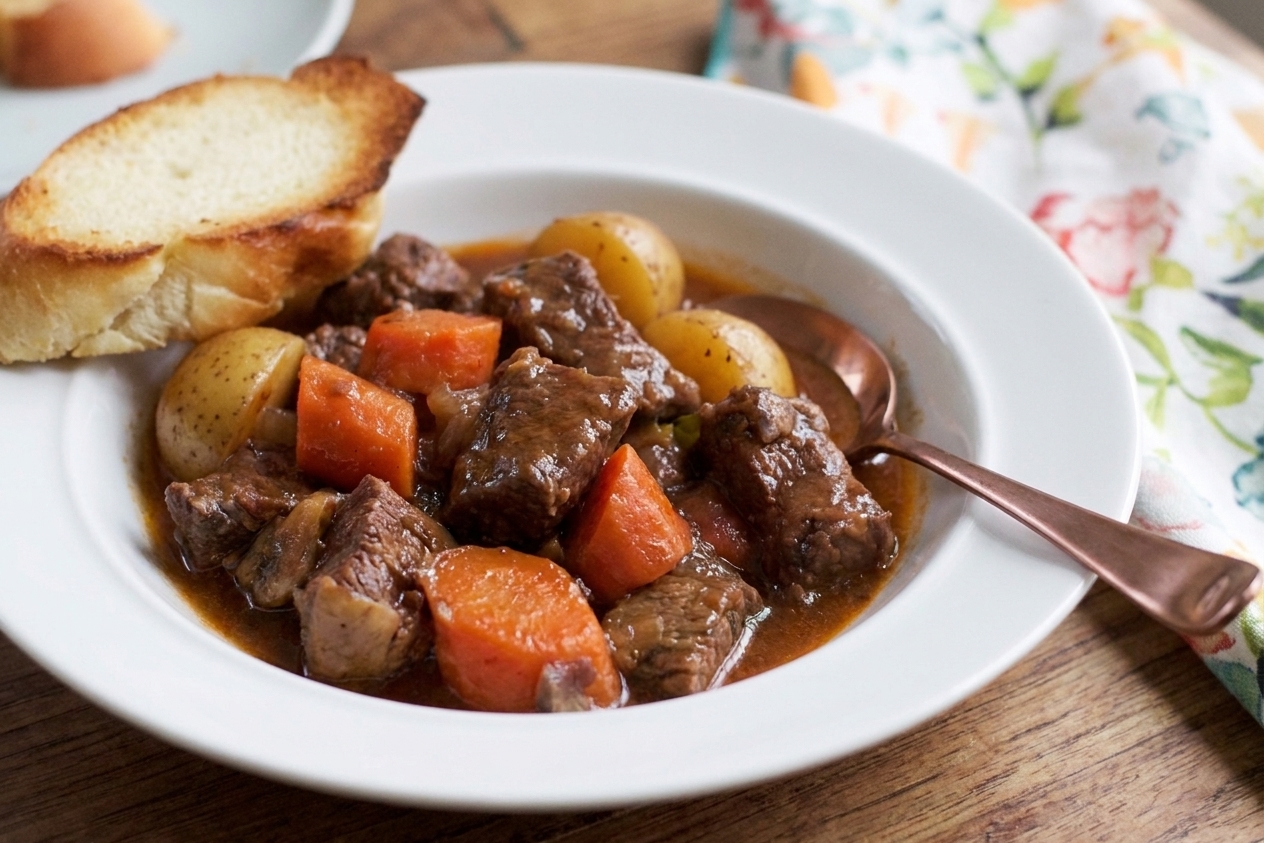

If you have ever made pressure-cooker beef stew and ended up with fall-apart meat in a thin, disappointing broth, this one is for you. In a pressure cooker, the fix is not always piling on more flour at the start, and it is not always “just simmer it longer” either. What consistently gets me to that rich, spoon-coating finish is a simple sequence: sear hard for flavor, start with enough liquid to come to pressure (but not so much you wash out the gravy), then use a natural release to keep the pot from boiling violently and to give the beef a gentler landing. After the lid comes off, we thicken the stew right in the pot so you can dial in that glossy gravy you actually want.

I designed this recipe the way I teach weeknight cooking: clear cues, no fussy steps, and built-in flexibility for whatever vegetables you need to use up. If your crisper drawer is half carrots and a lonely celery heart, congratulations. You are halfway there.
Expect a classic, cozy flavor profile with a Portland pantry twist if you want it: a splash of vinegar at the end for brightness, and enough salt to make everything taste like itself. Serve it with bread, rice, buttered noodles, or just a spoon and a quiet ten minutes.
Why this recipe works
- Searing first builds the base. Browning the beef and briefly toasting the tomato paste creates deep, roasted flavor that pressure alone cannot replicate.
- A set liquid amount keeps it stew, not soup. Pressure cookers need enough thin liquid to come to pressure, but too much dilutes the flavor and leaves you with a brothy result. Measuring the broth keeps you in the sweet spot.
- High pressure plus a natural release supports tender beef. The cook time breaks down collagen, and the slower release helps prevent violent bubbling that can rough up the meat and make the pot messy.
- Thickening after release gives you control. A cornstarch slurry (or flour slurry) thickens the gravy quickly without risking a scorched bottom or gummy flour taste.
- Layering vegetables keeps them intact. Adding potatoes and carrots for the pressure step, then stirring delicate peas at the end, means you get tender vegetables without total mush.
Ingredient notes
Beef
Use chuck roast cut into 1 1/2-inch cubes. Chuck has enough fat and connective tissue to turn buttery under pressure. Lean stew meat can work, but it is a gamble.
Liquid and flavor builders
Beef broth is the main liquid. A little Worcestershire and tomato paste add savory depth. If you have red wine open, you can swap part of the broth for wine (details below).
Potatoes
Yukon Golds hold their shape and go creamy at the edges. Russets break down more, which can naturally thicken the stew a bit. Either is fine, just cut them large.
Carrots and celery
Cut carrots thick so they do not disappear. Celery is optional but adds that classic stew aroma.
Acid at the end
Do not skip the final splash of red wine vinegar (or lemon). Stew needs brightness to taste finished, not flat.
Equipment you will need
- 6-quart (or larger) Instant Pot or electric pressure cooker
- Tongs for turning the beef
- Wooden spoon or sturdy silicone spatula for scraping browned bits
- Measuring cup for broth (the liquid level matters here)
- Small bowl and fork for the thickening slurry
Pro tips
- Pat the beef dry. Moisture is the enemy of browning. Dry beef sears faster, which means more flavor and less steaming.
- Sear in batches and do not crowd. If the pot looks packed, do two rounds. Crowding drops the temperature and you lose that caramelized crust.
- Scrape the bottom before pressure cooking. After you add broth, scrape up every browned bit. This prevents the Burn warning and also puts the best flavor into the gravy.
- Cut everything big. Pressure cooking is intense. 1 1/2-inch beef cubes and chunky vegetables hold up best.
- Natural release means hands-off tenderness. Let the pressure drop on its own. Quick release can tighten the meat and can also make the stew bubble violently.
- Thicken gradually. Add half the slurry, simmer, then decide. It is easy to thicken more and annoying to thin it back out.
Substitutes that work
- No Worcestershire: Use 1 teaspoon soy sauce plus a pinch of brown sugar, or just skip it and taste for salt at the end.
- No red wine vinegar: Lemon juice works, or a small splash of apple cider vinegar for a softer tang.
- Cornstarch thickener alternative: Use flour slurry instead (flour mixed with cold water). It takes a few minutes longer to lose the raw flour taste.
- Gluten-free: Use cornstarch (naturally gluten-free) and confirm your Worcestershire is gluten-free.
- Lower sodium: Choose low-sodium broth and salt at the end. Pressure cooking concentrates flavors.
Variations
- Mushroom boost: Add 8 ounces cremini mushrooms (halved) with the onions, or stir in sautéed mushrooms at the end for deeper flavor.
- Peas or green beans: Stir in frozen peas after thickening, or add trimmed green beans and pressure cook for 2 minutes with a quick release (only if you do not mind softer beef).
- Smoky stew: Add 1/2 teaspoon smoked paprika with the garlic.
- Herb swap: Rosemary is classic, thyme is cozier. Use what you have, but keep it restrained.
- Spicy edge: Add a pinch of red pepper flakes with the onions.
Serving ideas
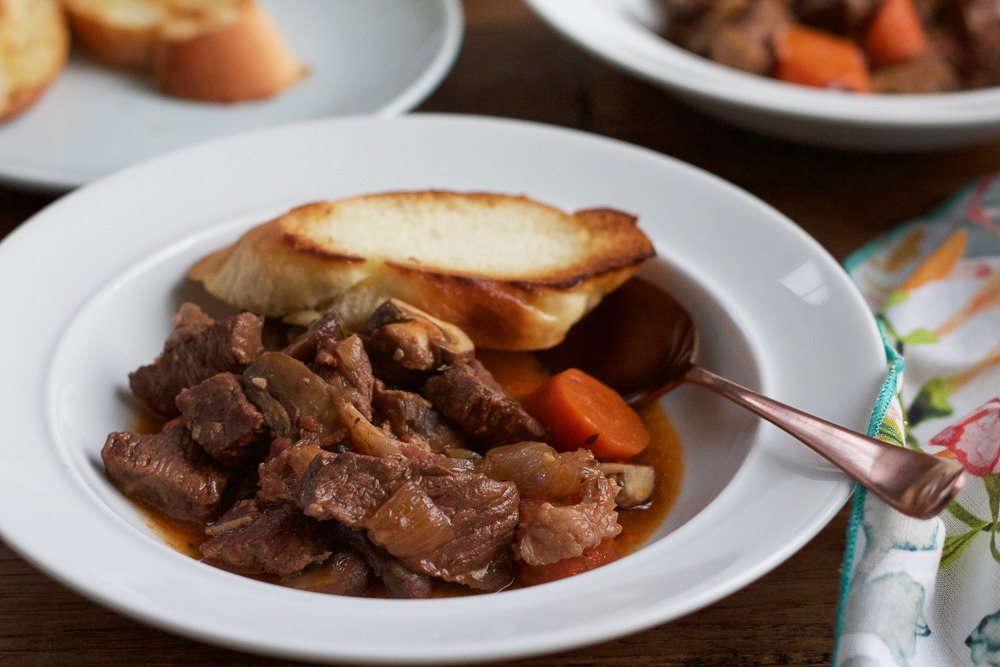
- Crusty bread or garlic bread for dipping
- Buttered egg noodles or mashed potatoes for extra comfort
- Steamed rice if you love a gravy moment
- A simple green salad with a sharp vinaigrette to balance the richness
- Finish each bowl with chopped parsley and a tiny splash of vinegar for brightness
Storage and reheating
- Refrigerate: Cool, then store airtight for up to 4 days. The gravy thickens as it sits.
- Reheat: Warm gently on sauté in the Instant Pot (or microwave in a covered bowl), adding a splash of broth or water if it is too thick.
- Freeze: Freeze up to 3 months. Potatoes can turn slightly grainy after thawing, but the flavor is still great. Thaw overnight in the fridge before reheating.
Common mistakes
- Skipping the scrape: If you do not deglaze and scrape up the browned bits, you risk a Burn warning and you lose flavor.
- Too much liquid: More broth does not mean more flavor. It often means thin stew. Measure it.
- Quick release: It can make beef tougher and the stew foam and splatter. Natural release is part of the tenderness equation.
- Undersalting: Stew needs enough salt to taste rich and beefy. Taste after thickening and adjust.
- Thickening too early: Flour or starch added before pressure can scorch. Thicken after you open the lid.
FAQ
What cut of beef is best for Instant Pot beef stew?
Chuck roast is my top pick. It has the connective tissue that turns silky under pressure. Round or sirloin can work, but they are leaner and can end up dry.
Why is my Instant Pot stew watery?
Usually it is one of two things: too much broth, or no thickening step after pressure cooking. Pressure cooking does not reduce liquid like a long simmer, so you need a post-release thickener if you want gravy.
Can I put the potatoes in at the beginning?
Yes. Cut them large and keep the cook time reasonable, and they will hold. If you prefer firmer potatoes, you can cook the beef first, then add potatoes and cook again, but that adds time and extra pressure cycles.
Do I have to sear the beef?
You do not have to, but you will taste the difference. Searing is where the stew gets its deep, roasty backbone.
How do I avoid the Burn warning?
Sauté, then deglaze thoroughly with broth, scraping the bottom clean. Also avoid adding thickening agents before pressure cooking.
Instant Pot Beef Stew
A classic, weeknight-friendly Instant Pot beef stew with seared chuck, tender vegetables, and a rich gravy. High pressure plus a natural release keeps the beef juicy, and a quick post-release thickener makes sure the stew is never thin.
- Prep
- 20 minutes
- Cook
- 55 minutes
- Total
- 1 hour 30 minutes
- Yield
- 6 servings
Ingredients
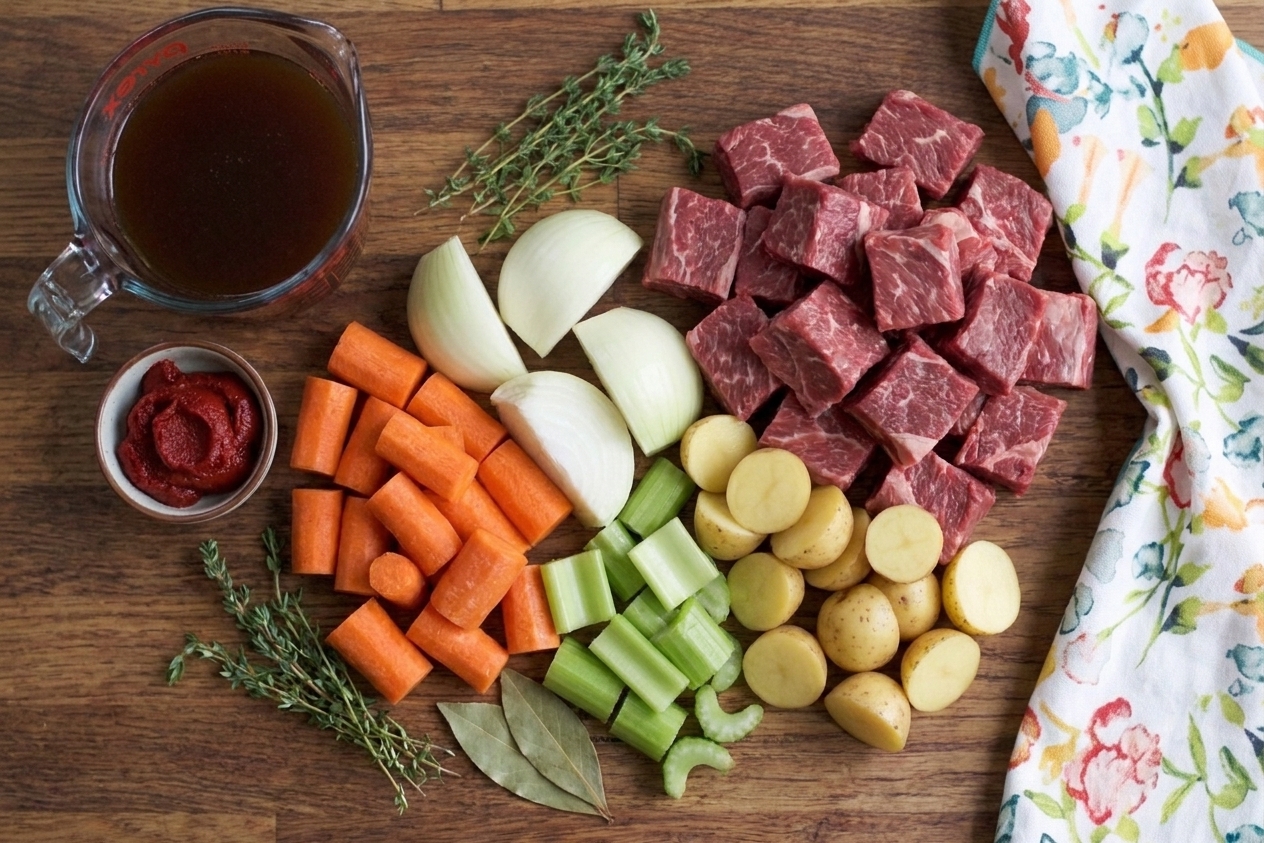
- 2 1/2 lb beef chuck roast, cut into 1 1/2-inch cubes
- 1 1/2 tsp kosher salt, plus more to taste
- 3/4 tsp black pepper
- 2 tbsp all-purpose flour (for dusting the beef, optional but helps browning)
- 2 tbsp neutral oil (avocado, canola, or grapeseed), plus more as needed
- 1 large yellow onion, diced
- 2 celery ribs, diced
- 4 cloves garlic, minced
- 2 tbsp tomato paste
- 1 tbsp Worcestershire sauce
- 3 cups beef broth (see note before adding more)
- 1 tbsp soy sauce (optional, for deeper savory flavor)
- 1 1/2 lb Yukon Gold potatoes, cut into 1 1/2-inch chunks
- 4 large carrots, cut into thick 1-inch pieces
- 2 bay leaves
- 1 tsp dried thyme (or 1 tbsp chopped fresh thyme)
- 1 small sprig rosemary (optional)
- 1 cup frozen peas (optional)
- 1 1/2 tbsp cornstarch
- 2 tbsp cold water
- 1 to 2 tsp red wine vinegar (or lemon juice), to finish
- Chopped parsley, for serving (optional)
Instructions
- Season and dry the beef. Pat the beef cubes very dry with paper towels. Season with 1 1/2 teaspoons kosher salt and the pepper. If using, toss with the 2 tablespoons flour to lightly coat (shake off excess).
- Sear the beef. Set the Instant Pot to Sauté (high, if your model allows). Add 2 tablespoons oil. When the oil shimmers, add beef in a single layer (work in 2 batches if needed). Sear 3 to 5 minutes per side until deeply browned. Transfer browned beef to a bowl.
- Sauté aromatics. Add the onion and celery to the pot. Cook 3 to 5 minutes, stirring and scraping up browned bits, until the onion softens. Add the garlic and cook 30 seconds.
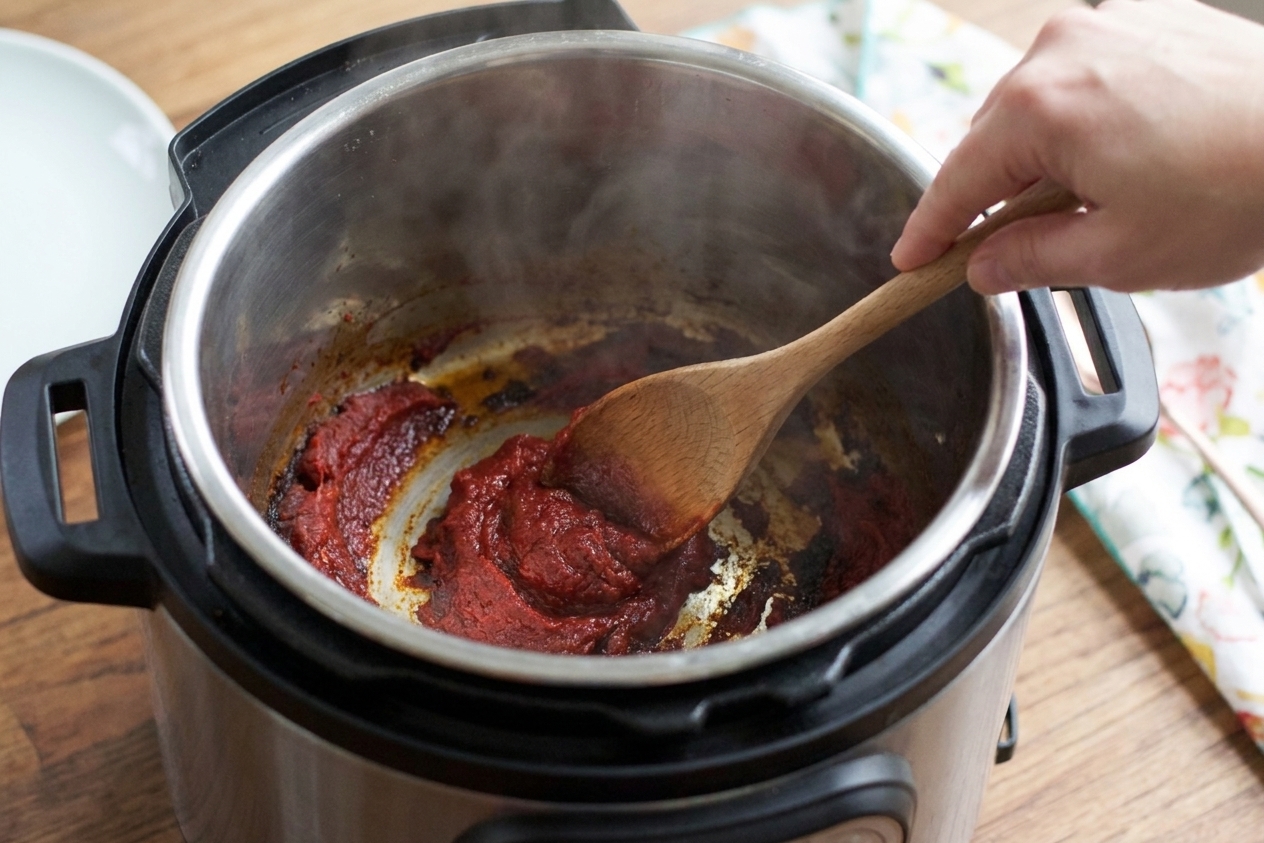
- Toast the tomato paste. Add tomato paste and stir constantly for 1 minute until it darkens slightly and smells roasty.
- Deglaze thoroughly and set the liquid level. Add Worcestershire, then pour in the beef broth. Use a wooden spoon to scrape the bottom of the pot very well until you feel no stuck-on bits. Stir in soy sauce, if using. This recipe is designed for 3 cups broth so the stew finishes thick after the slurry. Do not add more liquid unless you need it after cooking.
- Pressure cook. Return the beef and any accumulated juices to the pot. Add potatoes, carrots, bay leaves, thyme, and rosemary (if using). Stir once. Lock the lid, set the valve to Sealing, and cook on High Pressure for 35 minutes.
- Natural release. When the cook time ends, let the pressure release naturally for 15 minutes. Then carefully turn the valve to Venting to release any remaining pressure. Open the lid.
- Skim and check tenderness. Skim off excess fat if desired. The beef should be tender when pierced with a fork. If it is still chewy, lock the lid and cook on High Pressure for 5 more minutes, then do a 10-minute natural release.
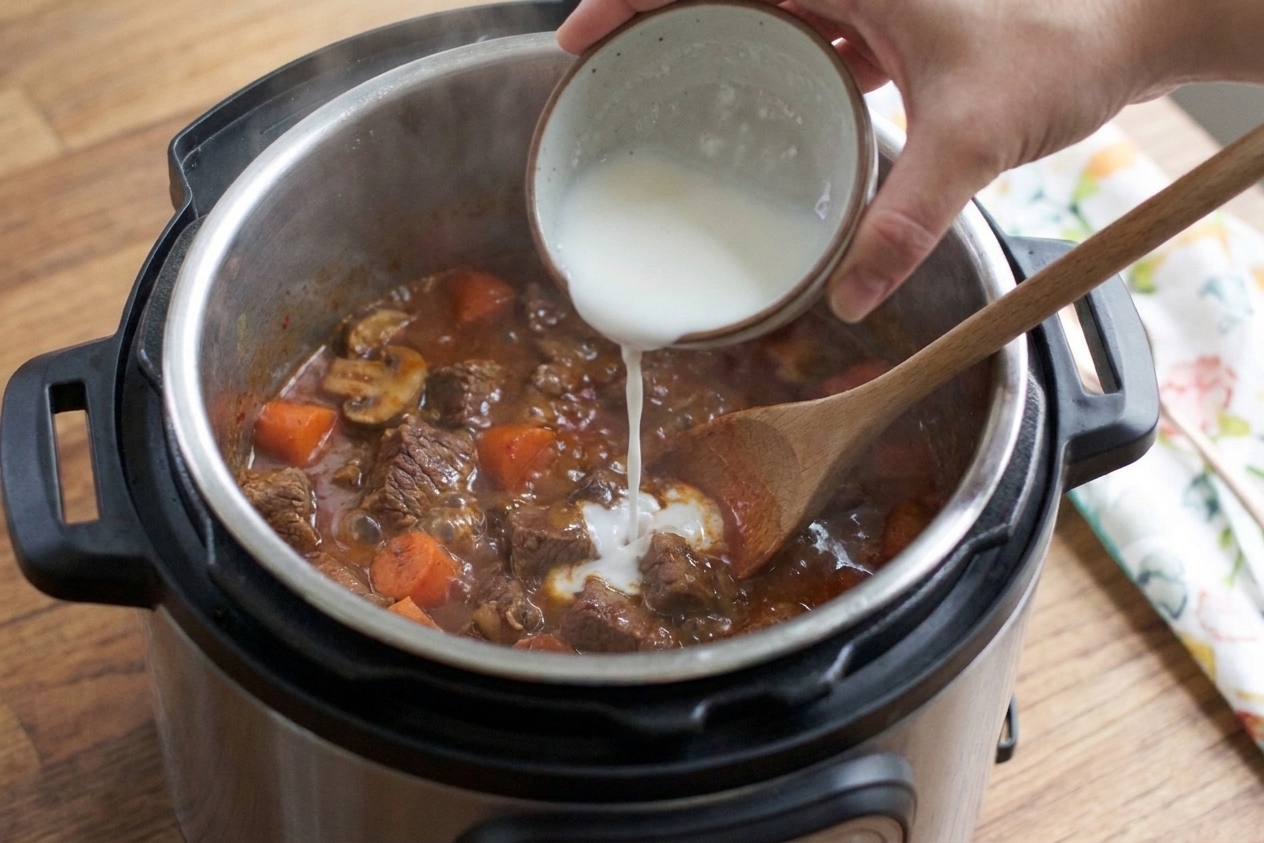
- Thicken after release. Set the pot to Sauté. In a small bowl, whisk cornstarch with cold water until smooth. When the stew is gently bubbling, stir in half the slurry. Simmer 2 to 3 minutes, stirring, until the gravy thickens. Add the remaining slurry as needed to reach your desired thickness.
- Finish and season. If using peas, stir them in and warm for 1 minute. Turn off the heat. Stir in 1 to 2 teaspoons red wine vinegar. Taste and add more salt, pepper, or vinegar until the flavor pops. Serve hot, finished with parsley if you like.
Notes
Liquid note: Instant Pot stews do not reduce much during cooking, so adding extra broth up front usually leads to thin stew. Start with the amount listed. If you want it looser after thickening, add broth a splash at a time.
Flour dusting is optional: It helps browning and gives a tiny head start on body, but the primary thickening happens after pressure cooking, which is more reliable.
Make-ahead flavor: Like most stews, this tastes even better the next day. Reheat gently and brighten with an extra drop of vinegar right before serving.