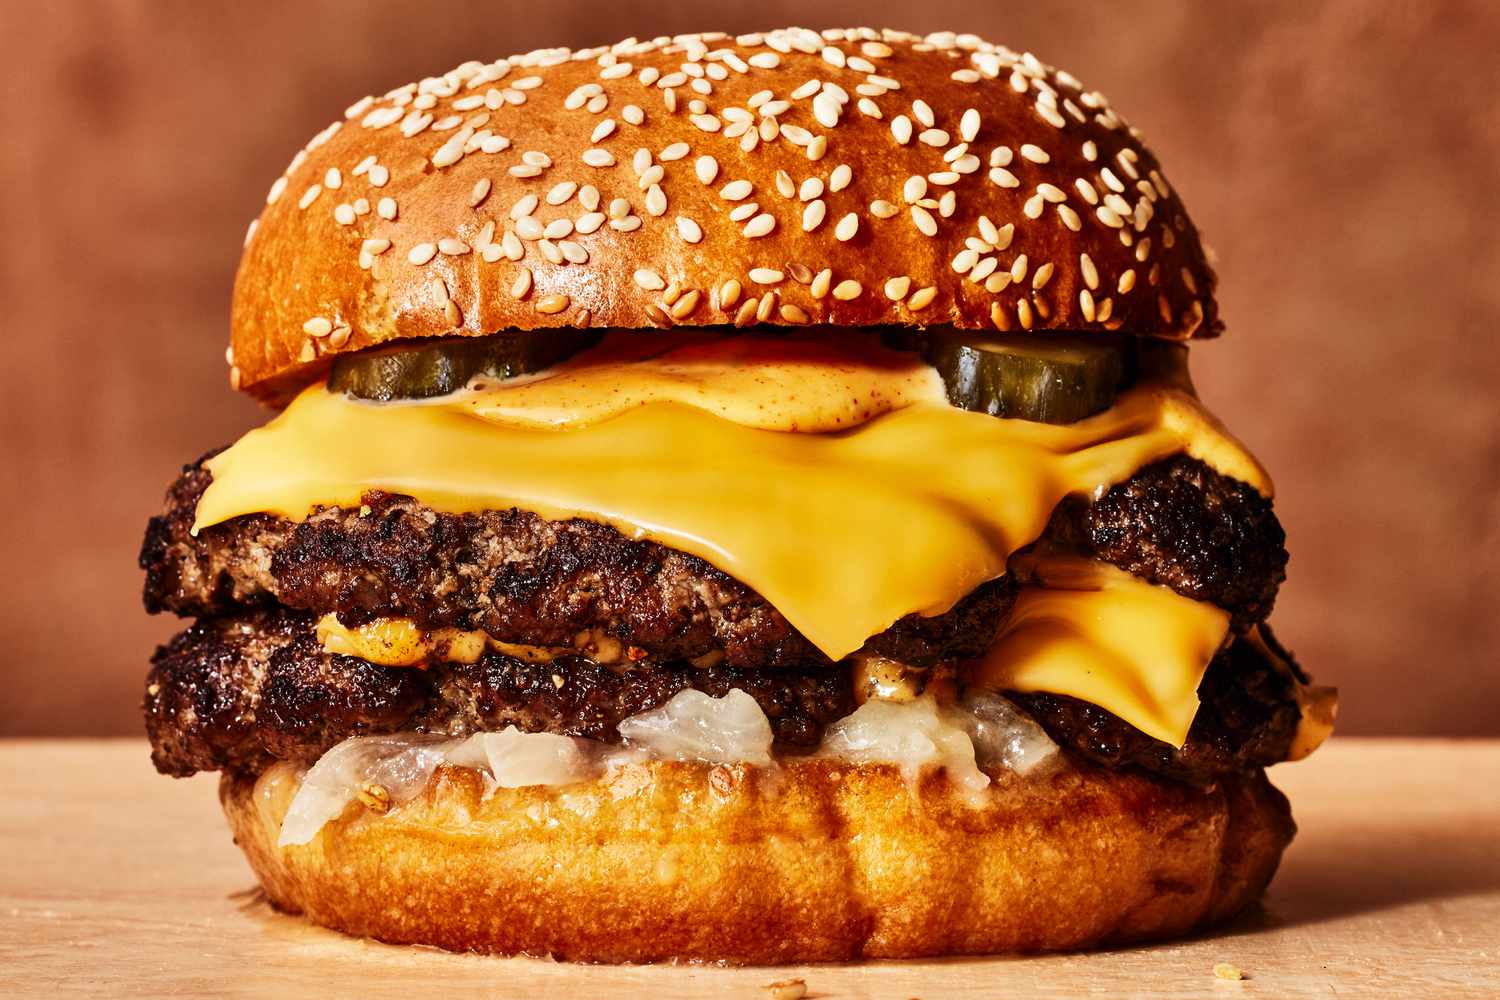
To me, a rustic homestyle burger is less about fancy toppings and more about texture and balance. You want deep browning on the outside, a juicy center, and a bun that can handle the mess. The flavors are classic: beef, salt, pepper, sharp cheese, a little tang from pickles or onions, and a sauce with just enough acid to wake everything up.
It’s the kind of burger you can pull off on a Tuesday, even if your kitchen’s a little chaotic and you’re hungry now.
Why this recipe works
- 80/20 beef keeps the patties juicy and rich, which matters for thick, rustic burgers.
- Craggy, uneven edges create more surface area for deep browning and crisp, flavorful bits.
- Season right before cooking to avoid tightening the texture.
- A hot skillet or grill builds a reliable crust without overcooking the center.
- Acid in the sauce (pickle brine or vinegar) keeps the burger from tasting heavy.
- Toasted buns help prevent sogginess and hold up to juicy burgers and sauce.
Ingredient notes
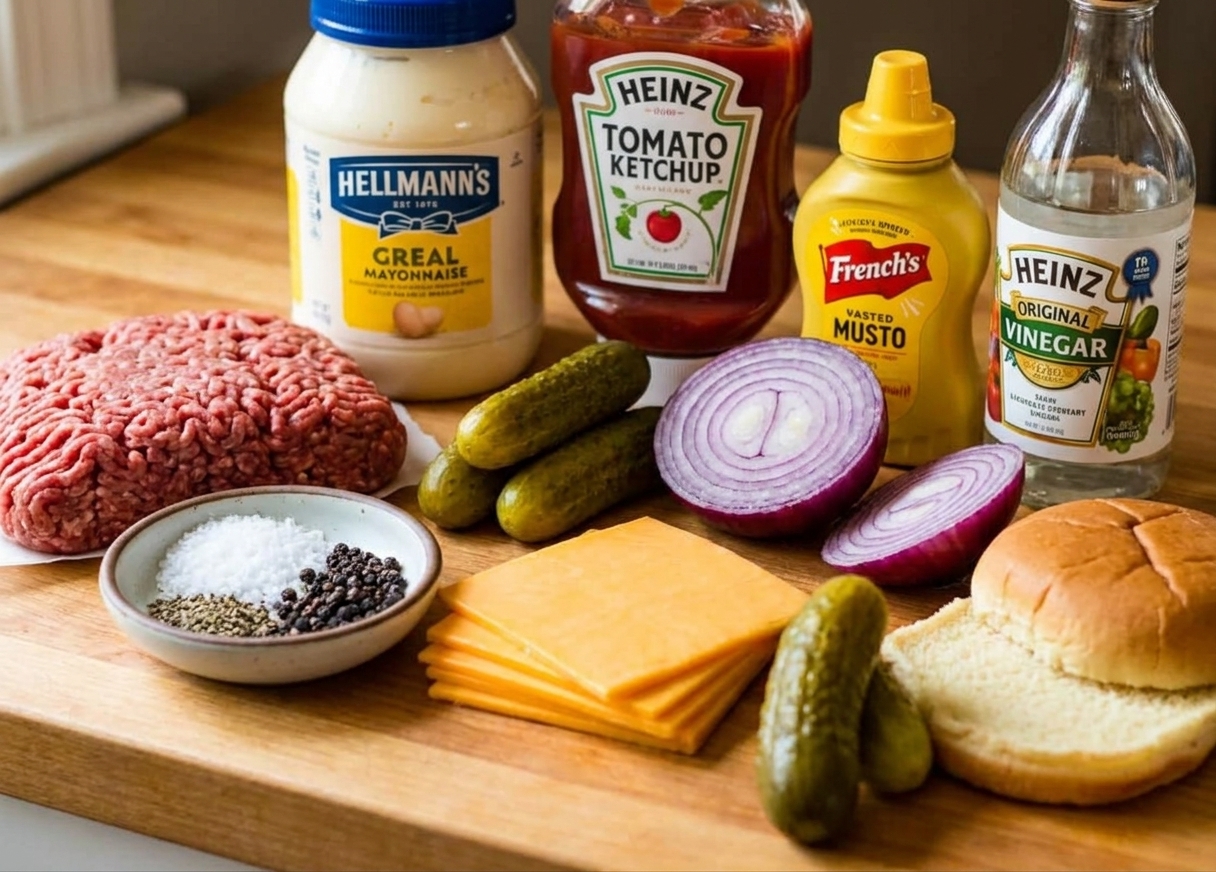
- Ground beef: Aim for 80/20. Ideal grind: chuck, or a chuck and brisket blend if your butcher’s got it. What to avoid: extra-lean beef for this style (it tends to cook up dry and crumbly).
- Keep it cold: colder beef is easier to shape without overworking it, so you get a better texture.
- Cheese: cheddar is classic; American melts very smoothly; Swiss is great with onions; pepper jack brings heat.
- Pickle brine: the key acid in the rustic “house sauce” that keeps the burger tasting balanced, not heavy.
- Buns: choose sturdy buns (potato rolls or sesame buns) that can handle juices and sauce.
Equipment you will need
- Cast iron skillet (most reliable for diner-style crust at home)
- Metal spatula (for confident flipping; use a firm edge to help release)
- Grill (optional; set up two zones if possible)
- Instant-read thermometer (optional; insert from the side into the center)
- Small bowl + spoon (for mixing the sauce)
Pro tips
- Preheat properly: for skillet cooking, preheat over medium-high for 3 to 5 minutes so the pan is truly hot.
- Don’t press the patties: pressing forces out juices and can make thick patties dry (smashburgers are different).
- Flip when it releases: the burger is ready to flip when it releases easily from the pan with a firm spatula; if it sticks, give it another 30 to 60 seconds.
- Rest after cooking: rest patties for 2 minutes to reduce juice runoff into the bun and allow a bit of carryover cooking.
- Toast the buns: cut-side down until golden for “anti-soggy insurance.” If you cooked in a skillet, toast the buns in that same pan.
- Use acid for balance: if the sauce tastes flat, add another tiny splash of pickle brine or a pinch more salt.
Substitutes that work
- No pickle brine? Use a splash of apple cider vinegar or lemon juice.
- No mayo? Greek yogurt works, but add a little extra salt and a drizzle of olive oil to round it out.
- No cheddar? American melts the smoothest, Swiss is great with onions, pepper jack brings heat.
- No buns? Toasted sandwich bread in a pinch, or wrap in lettuce for a lighter option.
Variations
- Skillet method: cast iron for a diner-style crust.
- Grill method: use medium-high heat and consider a two-zone setup (hotter side for searing, cooler side for finishing thicker patties).
- Hands-off finish: sear in a hot skillet for 1 to 2 minutes per side, then finish in a 400°F oven until done (note: you’ll miss some of the signature crust).
- Waste-friendly add-ons: shred “sad” lettuce and toss with salt and lemon; quick-pickle onion in vinegar, water, sugar, and salt while you cook; warm chopped leftover roasted veggies as a topping; chop the last few pickles into the sauce for extra tang.
Serving ideas
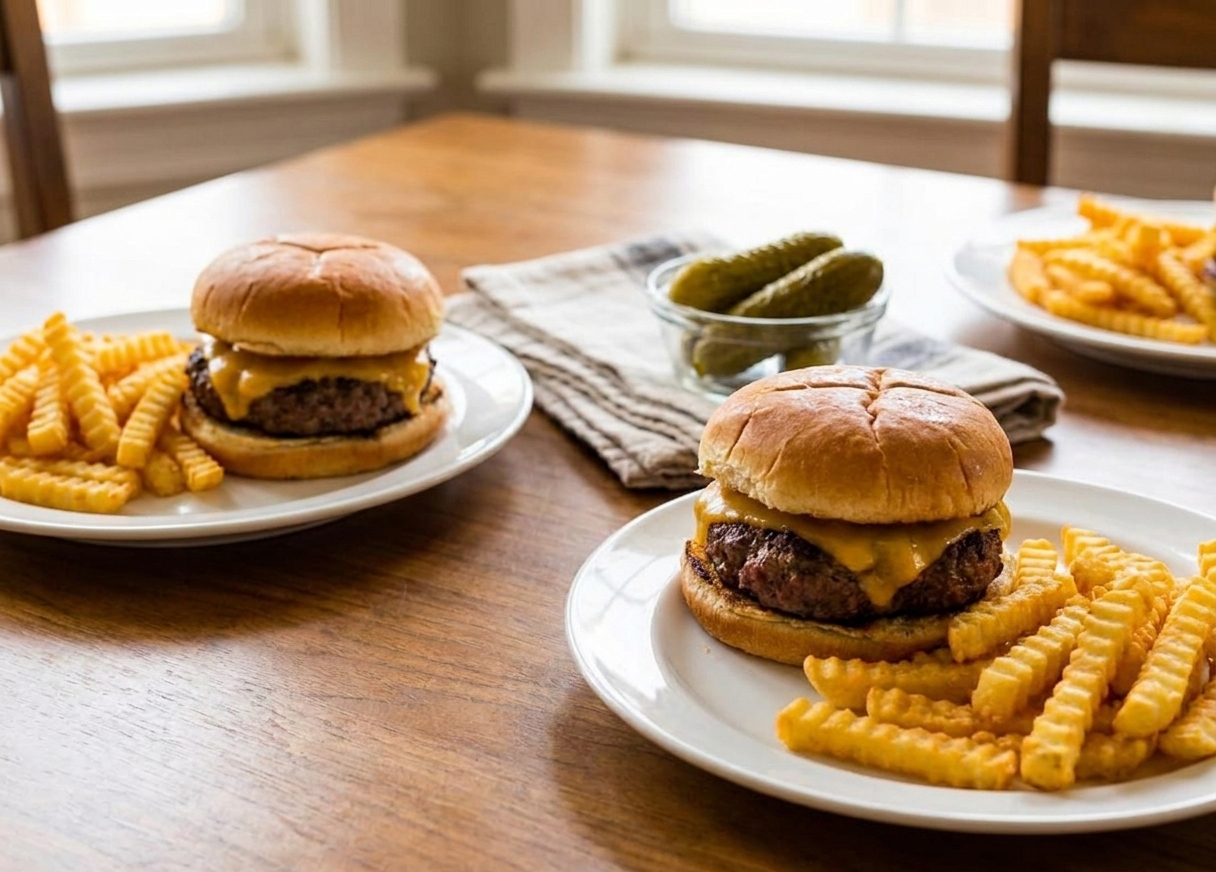
- Classic rustic build: bottom bun + sauce, then pickles and onions (they add crunch and create a little barrier), then burger + melted cheese, then more sauce on the top bun if you want it messy.
- Optional toppings: lettuce and tomato.
- Side idea: serve with fries and extra pickles on the side.
Storage and reheating
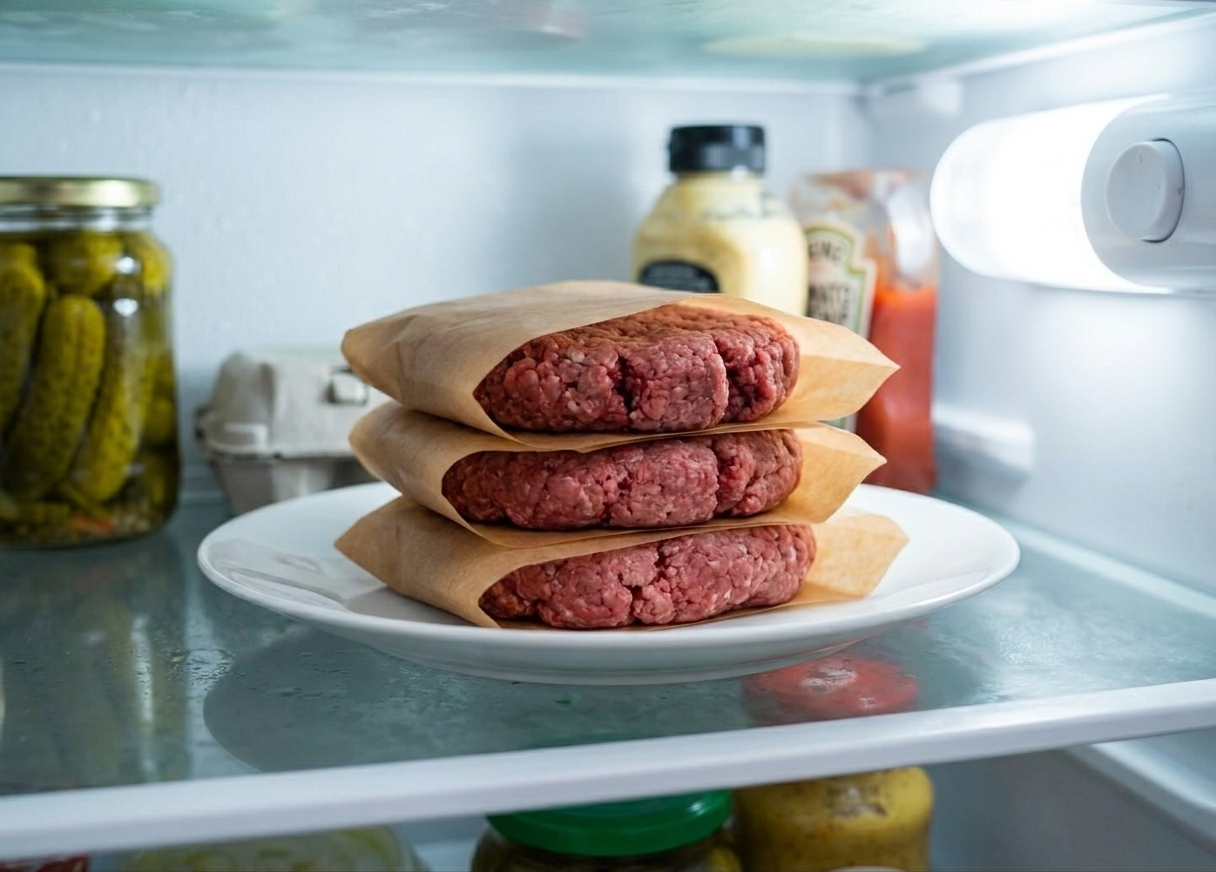
- Shape ahead: form patties up to 24 hours ahead. Keep covered in the fridge and season right before cooking.
- Sauce ahead: sauce keeps 5 to 7 days in the fridge.
- Cooked leftovers: store patties separately from buns and toppings. Reheat gently in a skillet with a splash of water and a lid to avoid drying out.
Common mistakes
- Dry burger: use 80/20, don’t press, and pull it a little earlier than you think. Resting helps, too.
- Burger falls apart: beef was too warm or handled too much. Keep it cold and shape gently.
- No crust: pan wasn’t hot enough or you overcrowded it. Give the skillet time to preheat and cook in batches if needed.
- Tastes bland: salt the exterior generously and add acidity with pickles, brine, or a sharper cheese.
FAQ
Should I add egg or breadcrumbs?
For this rustic homestyle style, I skip them. Binders can make the texture more meatloaf-like. If your beef is very lean, a binder can help, but you’ll get better results by choosing a fattier grind.
How do I keep burgers from shrinking?
Make the patties a little wider than the bun and press a shallow dimple in the center. Shrinkage happens, but the dimple helps the patty stay more even.
Can I cook these in the oven?
You can, but you’ll miss the signature crust. If you need a hands-off method, sear in a hot skillet for 1 to 2 minutes per side, then finish in a 400°F oven until done.
Rustic Homestyle Burger
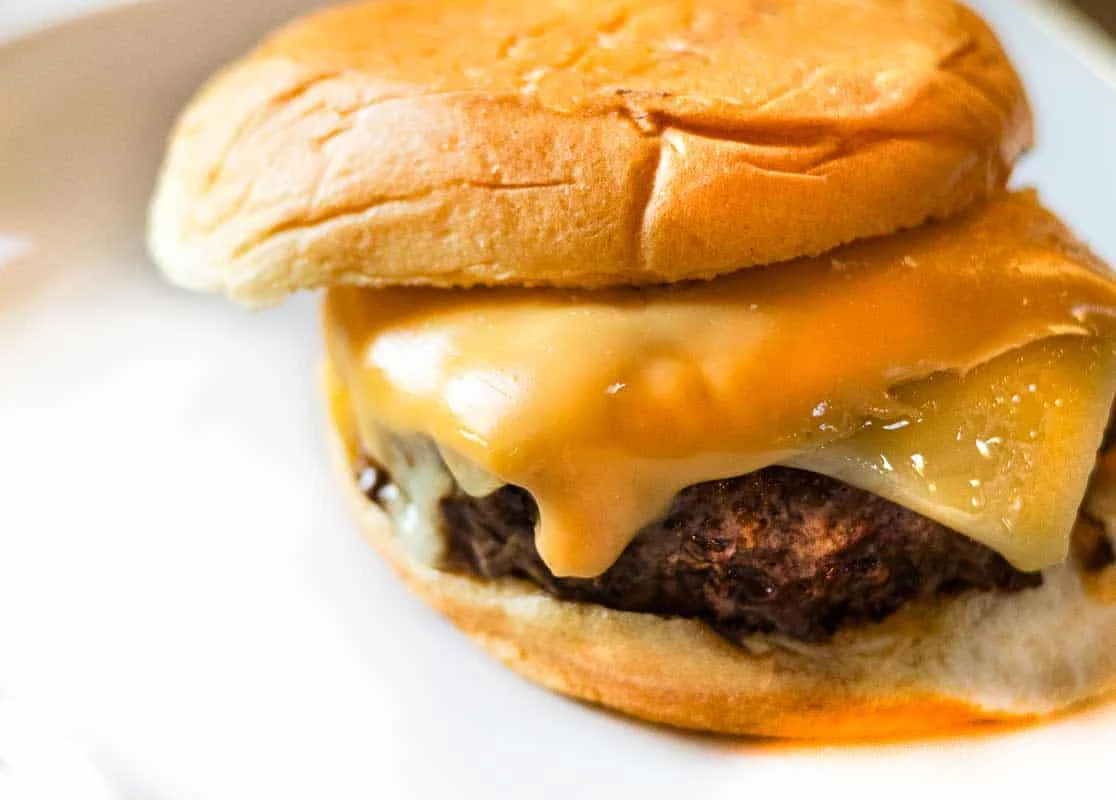
A rustic homestyle cheeseburger built around deep browning, a juicy center, and a simple “house sauce” with a splash of pickle brine for brightness. Make thick, craggy-edged patties, cook in a cast iron skillet or on the grill, melt the cheese, then stack on toasted buns with pickles and onion.
- Prep
- 15 minutes
- Cook
- 10 minutes
- Total
- 25 minutes
- Yield
- Serves 4 (4 thick patties, about 6 ounces each)
Ingredients
- 1 1/2 pounds ground beef (80/20)
- 1 1/4 teaspoons kosher salt (plus more to taste)
- 1 teaspoon freshly ground black pepper
- 1 tablespoon neutral oil (for pan-searing) or a well-oiled grill grate
- 4 slices cheddar, American, or pepper jack
- 1/3 cup mayonnaise
- 2 tablespoons ketchup
- 1 tablespoon yellow mustard
- 1 teaspoon pickle brine (or a splash of vinegar)
- 1 teaspoon grated onion (optional, but very good)
- Pinch of smoked paprika or chili powder (optional)
- 4 sturdy buns (potato rolls or sesame buns)
- Dill pickle chips
- Thin-sliced onion (raw or quick-pickled)
- Lettuce and tomato (optional)
Instructions
- Make the rustic house sauce: Stir together the mayonnaise, ketchup, mustard, pickle brine (or vinegar), grated onion (if using), and smoked paprika or chili powder (if using). Taste and adjust with another tiny splash of pickle brine or a pinch more salt if it feels flat.
- Shape the patties: Divide beef into 4 equal portions (about 6 ounces each). Gently shape into patties about 3/4-inch thick without over-packing. Make a dimple in the center with your thumb. Season right before cooking with kosher salt and black pepper.
- Cook (Option 1, cast iron skillet): Preheat a cast iron skillet over medium-high for 3 to 5 minutes. Add neutral oil, swirl, then place patties in the pan (you should hear a confident sizzle). Cook 3 to 4 minutes on the first side, until a deep brown crust creeps up the edges. Flip once, cook 2 to 4 minutes more (depending on thickness and doneness), then add cheese for the last minute to melt. Transfer to a plate and rest 2 minutes.
- Cook (Option 2, grill): Preheat grill to medium-high; clean and oil the grates. If possible, use a two-zone setup (hotter side for searing, cooler side for finishing). Grill patties over direct heat 3 to 5 minutes per side, flipping once, keeping the lid down most of the time. If they brown fast but are not done inside, move to the cooler side, close the lid, and cook another minute or two. Add cheese in the last minute and close the lid to melt.
- Toast the buns: Toast buns cut-side down until golden (dry-toast, or add a little butter for extra flavor). If you cooked in a skillet, toast the buns in that same pan.
- Build: Bottom bun + sauce, then pickles and onions, then burger + melted cheese. Add more sauce on the top bun if desired. Add lettuce and tomato if using.
Notes
- Do not press the patties: pressing forces out juices and can make thick patties dry.
- Flip cue: the burger is ready to flip when it releases easily from the pan with a firm spatula. If it sticks, it likely needs another 30 to 60 seconds.
- Doneness: Medium-rare is a warm red center (not recommended for all ground beef sources). Medium is a warm pink center. Medium-well is a faint blush. If using a thermometer, some cooks pull thick burgers around 145°F for medium, but the commonly recommended safe temperature for ground beef is 160°F. Insert the thermometer from the side into the center of the patty.
- Make-ahead: patties can be formed up to 24 hours ahead (keep covered; season right before cooking). Sauce keeps 5 to 7 days in the fridge.
- Final tip: focus on real browning and a little acid (like pickle brine in the sauce) for that “local spot” flavor.
Nutrition
- Calories: ~730
- Fat: ~47 g
- Carbs: ~33 g
- Protein: ~41 g
- Fiber: ~2 g
- Sugar: ~7 g
- Sodium: ~1050 mg
Approximate values per serving; nutrition will vary by bun size, beef fat level, and how much sauce and toppings you use.