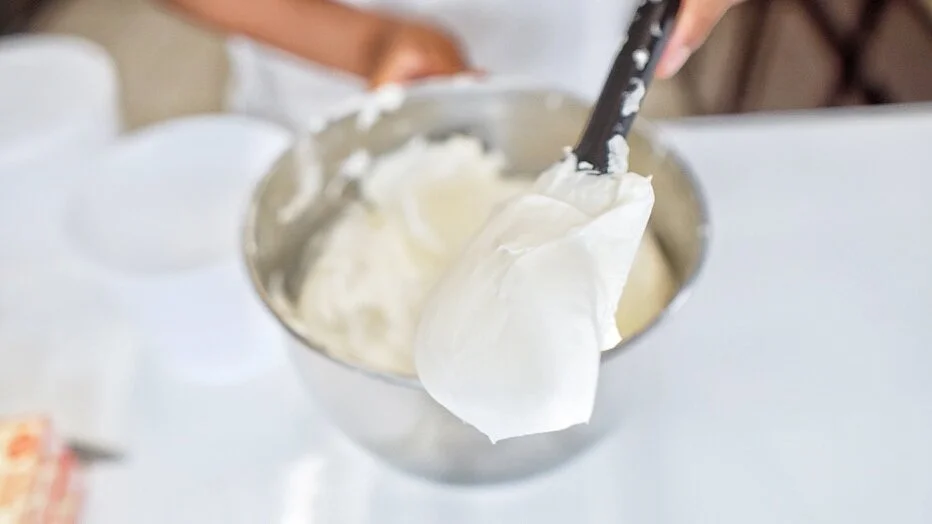
What “bakery” buttercream means
When people say bakery buttercream, they usually mean three things: it’s silky (no powdered sugar grit), stable (holds a sharp piping edge), and bright (sweet, but balanced so it doesn’t taste flat). The secret is not a mysterious ingredient. It’s temperature control, mixing order, and a couple of small, very fixable details that keep the frosting from turning airy, curdled, or grainy.
This is an American-style buttercream made smooth on purpose, with two pro moves: hydrating and softening the sugar with a short rest and de-bubbling at the end so your cakes look clean and your piping doesn’t spit air pockets. Powdered sugar does not truly “dissolve” the way granulated sugar does, but it can absolutely lose that gritty edge when given time and enough moisture.
Ingredients (and why they matter)
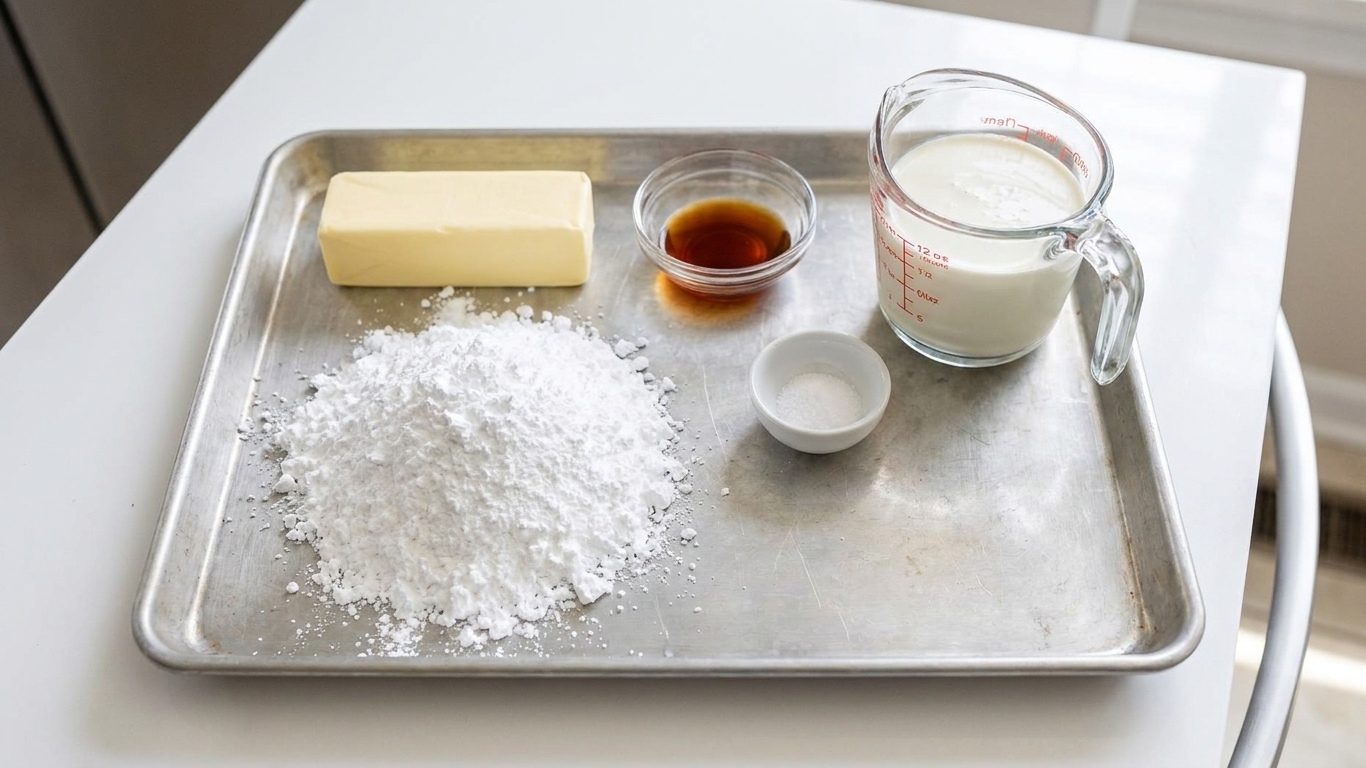
- Unsalted butter: This is the body. Use butter that’s cool room temperature, pliable but not greasy.
- Powdered sugar: Sweetness plus structure. Sift if yours is lumpy.
- Heavy cream or whole milk: Controls texture and helps the sugar hydrate so it feels smoother.
- Vanilla: Bakery flavor. Use extract, paste, or a mix.
- Fine salt: Makes it taste like something, not just sweet. If you take one tip from me, make it this one.
- Optional balance: A few drops of lemon juice adds a tiny bit of acidity. A spoonful of cream cheese adds a little tang and body. You are not trying to make it tangy, just balanced.
Smooth Buttercream Frosting
Yield and timing
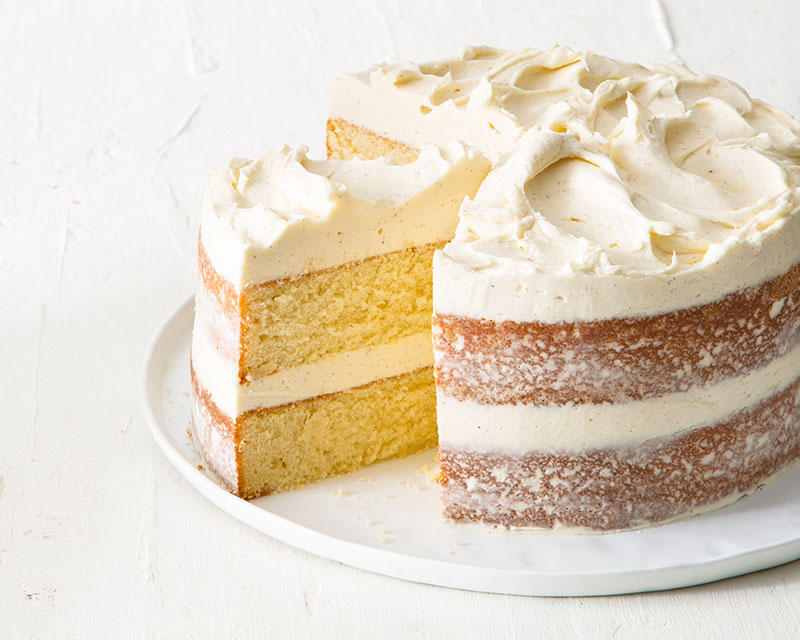
Makes: about 3 1/2 to 4 cups, enough to frost and fill one 8-inch or 9-inch two-layer cake, or frost 24 cupcakes generously.
Time: 10 minutes active, plus a 10-minute rest (for smoother texture).
Ingredients
- 1 cup (226 g) unsalted butter, cool room temperature (about 65 to 72°F, but go by feel: pliable, not shiny or greasy)
- 3 1/2 cups (420 g) powdered sugar, sifted if lumpy
- 1/4 cup (60 ml) heavy cream, plus 1 to 2 tablespoons more as needed
- 2 teaspoons vanilla extract (or 1 teaspoon vanilla paste)
- 1/2 teaspoon fine salt (start here, adjust to taste)
- Optional: 1/2 teaspoon lemon juice for balance
- Optional: 1 to 2 teaspoons cream cheese, softened (for a hint of tang and a slightly fuller texture)
Instructions
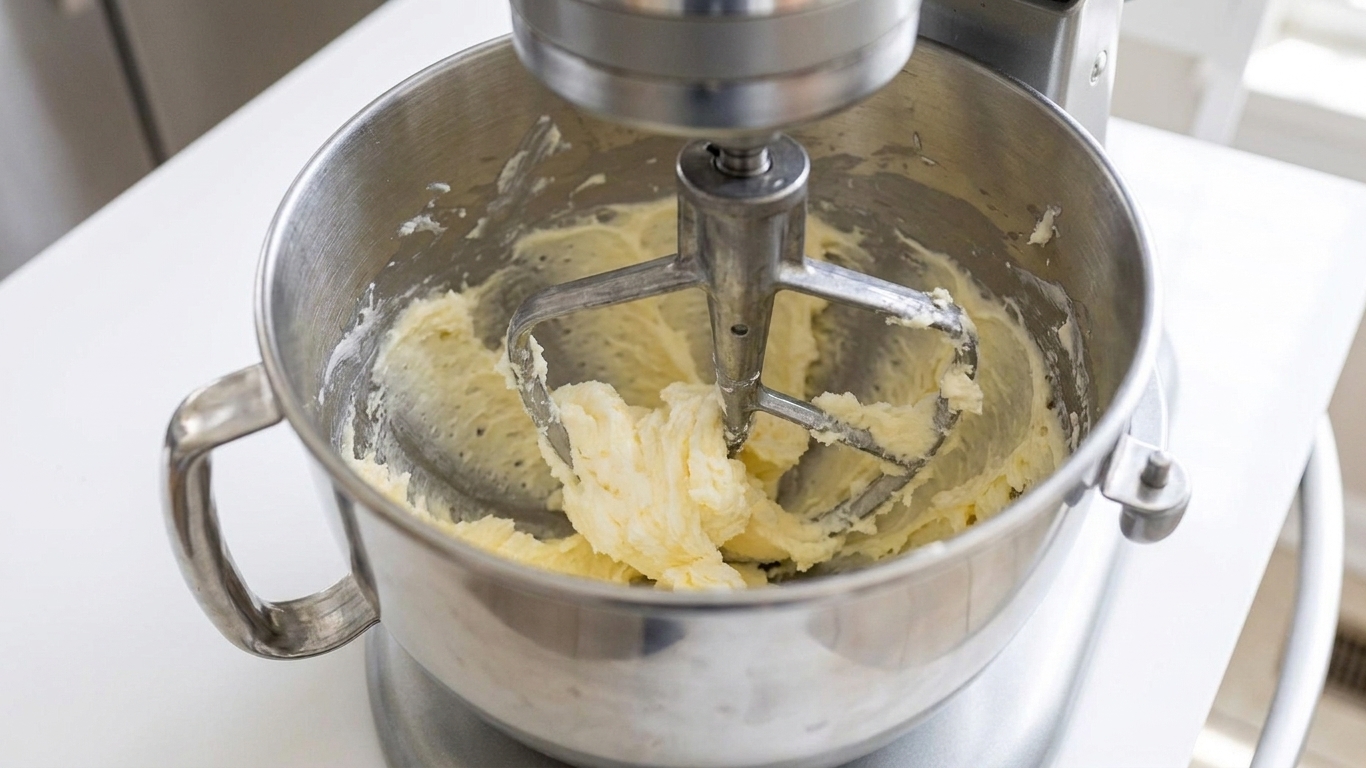
- Cream the butter well. Beat the butter with a paddle attachment on medium speed for 3 to 4 minutes, scraping the bowl halfway through. You want it lighter in color and creamy, not melted or shiny.
- Add powdered sugar gradually. Reduce speed to low. Add powdered sugar in 3 to 4 additions, alternating with the cream (a few tablespoons at a time). This prevents a sugar storm and helps the sugar hydrate evenly.
- Flavor and balance. Add vanilla and salt (plus lemon juice or cream cheese, if using). Mix on low just until combined, then scrape the bowl and paddle.
- Rest for smoothness. Let the buttercream sit in the bowl for 10 minutes. This short rest helps the powdered sugar hydrate and soften, which reduces that gritty feel.
- Finish on low to remove bubbles. Mix on the lowest speed for 2 to 3 minutes. This step is the difference between “fluffy” and “bakery smooth.”
- Adjust texture. For spreading, aim for soft and creamy. For piping, it should hold a peak that gently bends over. Add 1 tablespoon cream at a time if it’s too stiff. Add 2 to 3 tablespoons powdered sugar if it’s too loose.
- Optional: polish it. For ultra-smooth buttercream, press it against the side of the bowl with a flexible spatula for 30 to 60 seconds to knock out any last air pockets.
Sensory cues
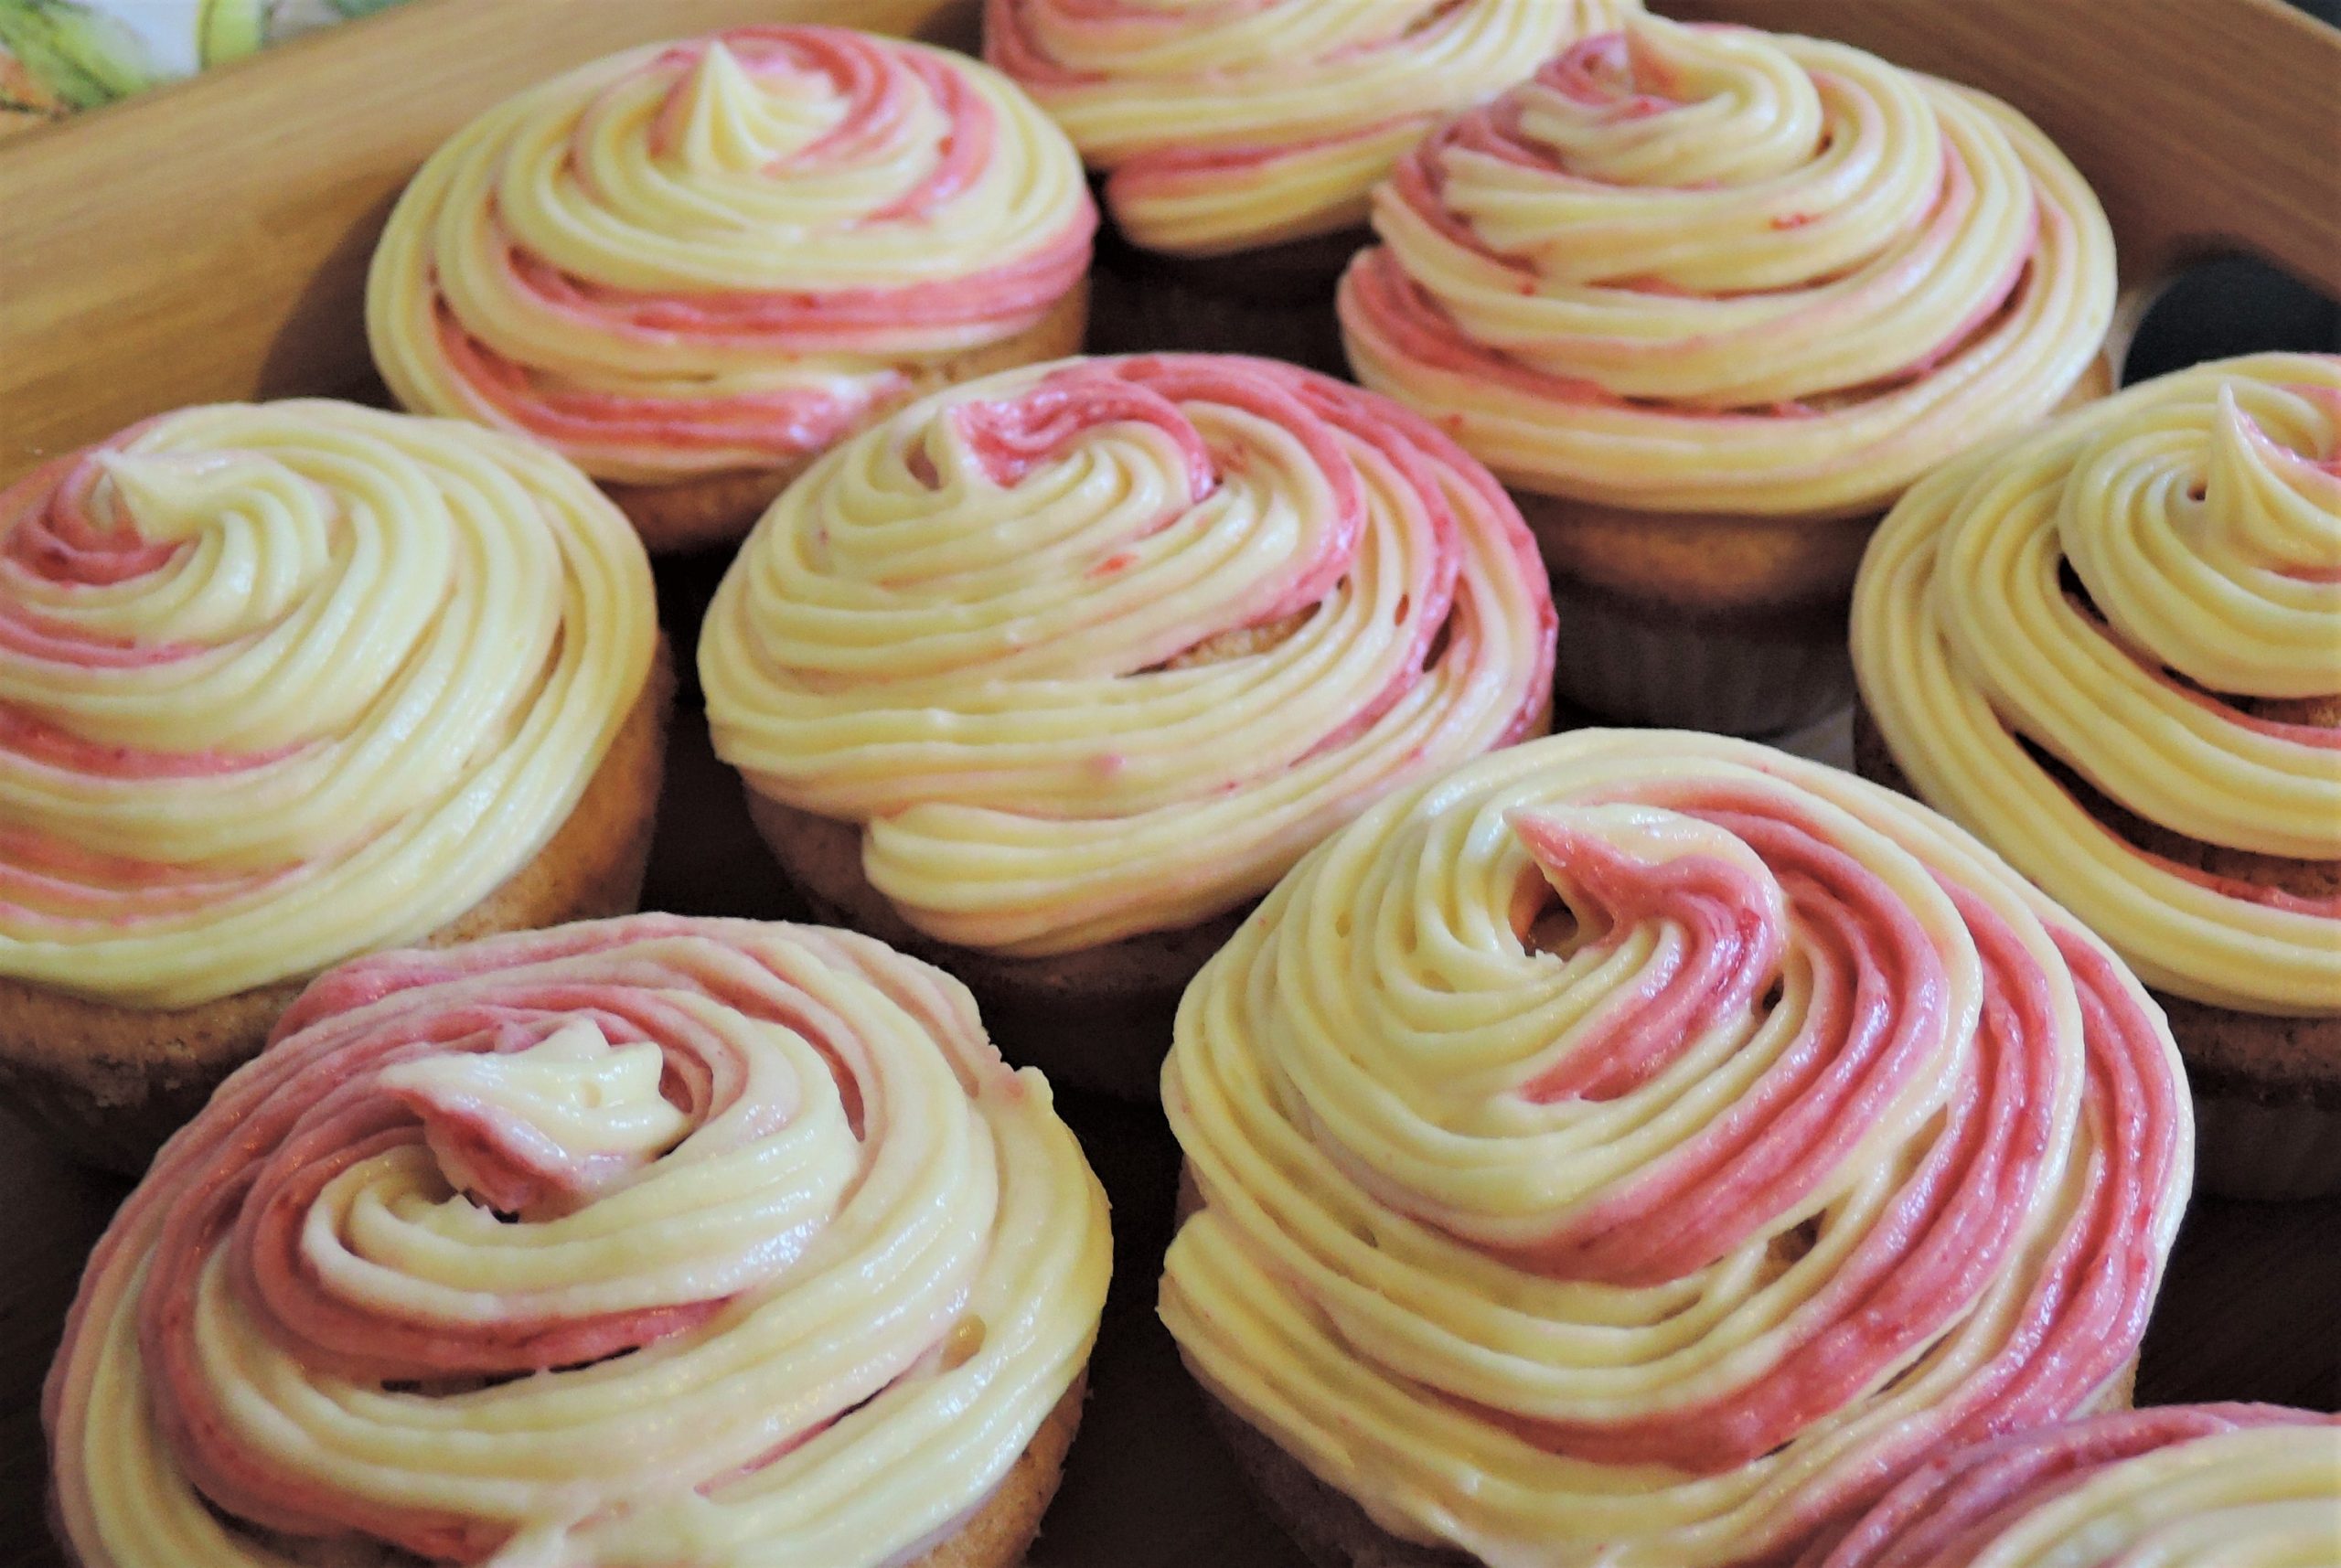
Your buttercream is ready when it looks satiny and glossy, not dull. When you drag a spoon through it, the groove should look clean, not pocked with tiny bubbles. Taste it. If it tastes flat, add a pinch more salt. If it tastes overly sweet, add 2 to 3 drops lemon juice and mix again.
Temperature matters
Many buttercream problems are temperature problems pretending to be ingredient problems. The rest are usually ratio or over-aeration.
- Butter too warm: frosting goes loose, shiny, and can separate. Chill the bowl for 10 minutes, then mix on low.
- Butter too cool: frosting looks chunky or curdled. Warm the bowl gently by wrapping it with a warm towel for a minute, then beat again.
- Hot kitchen: if your hands are warming the piping bag fast, work in shorter bursts and stash the bag in the fridge for a few minutes between rounds.
Less air bubbles, cleaner piping
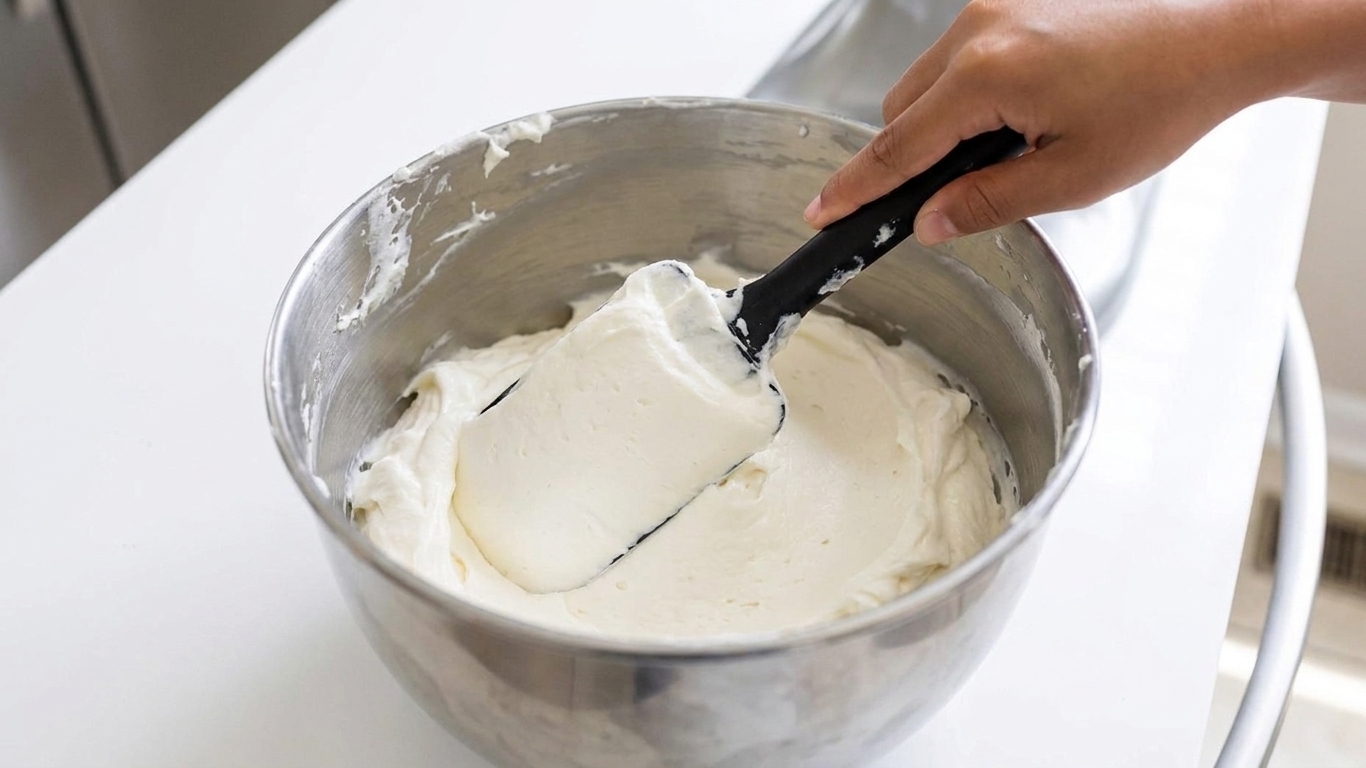
If you’ve ever piped a gorgeous swirl and it suddenly burps air, you’re not alone. Here’s my routine:
- Use the paddle, not the whisk. The whisk makes fluffier frosting, but it also whips in more air.
- Finish on the lowest speed. This “defoams” the buttercream.
- Spatula polish. Smash and smear the buttercream against the bowl for a minute to push bubbles out.
- Load the piping bag like a pro. Twist the top tight and squeeze the frosting down toward the tip, then push out a little frosting before you start piping to purge air.
Hand mixer note: it’s harder to truly “defoam” with a hand mixer because even low speeds pull in air. If that’s what you’re using, keep the mixing as low and brief as you can, then do the final smoothing by hand with the spatula polish step.
Coloring and flavoring
Gel colors
Use gel food coloring for bold shades without thinning. Start with a toothpick amount. Mix on low. Let the color sit for 10 minutes. It deepens as it hydrates.
Chocolate
Add 3/4 cup melted and cooled semisweet chocolate, or 1/2 cup cocoa powder plus 2 to 4 tablespoons extra cream. If using melted chocolate, it should feel cool to the touch so it doesn’t melt the butter.
Citrus, espresso, and more
- Espresso: 1 to 2 teaspoons instant espresso dissolved in 1 tablespoon cream.
- Citrus: zest for aroma, plus a few drops of juice for balance. Too much juice can thin it.
- Freeze-dried fruit: powder it and add 2 to 4 tablespoons. Big flavor, no extra liquid.
Troubleshooting
It’s gritty
- Let it rest 10 minutes, then mix on low again.
- Add 1 tablespoon cream, mix, rest 5 minutes.
- If your powdered sugar is very coarse, sift next time and choose a different brand if needed.
It looks curdled or separated
- Usually temperature. If it’s cold and chunky, warm the bowl slightly and beat.
- If it’s warm and greasy, chill the bowl 10 minutes, then mix on low.
It’s too sweet
- Add more salt, a pinch at a time.
- Add a few drops of lemon juice.
- Use a deeper flavor: espresso, cocoa, or toasted sugar notes like brown butter (cooled until solid but pliable).
- Or slightly reduce the sugar next time: you can cut 1/4 to 1/2 cup powdered sugar, but expect a softer frosting with less stiffness for sharp piping. If you want noticeably less sweet and very stable, a Swiss or Italian meringue buttercream is often a better fit.
It’s too stiff or too loose
- Too stiff: add cream 1 tablespoon at a time.
- Too loose: add powdered sugar 2 tablespoons at a time, or chill briefly.
Make-ahead and storage
Buttercream is a gift to future you. It also keeps random leftover cake scraps from turning into sadness in the back of the fridge.
- Room temperature: 1 to 2 days if stored airtight in a cool room (about 70°F/21°C or below). If your kitchen runs warm, or if you added cream cheese, refrigerate.
- Refrigerator: up to 1 week in an airtight container. Bring to room temp, then re-mix on low to restore smoothness.
- Freezer: up to 3 months. Thaw overnight in the fridge, then bring to room temp and re-mix.
Waste-saving tip: freeze leftover buttercream in 1/2-cup portions. It’s enough to frost a few cupcakes, sandwich cookies, or patch a cake later without remaking a full batch.
How much do you need?
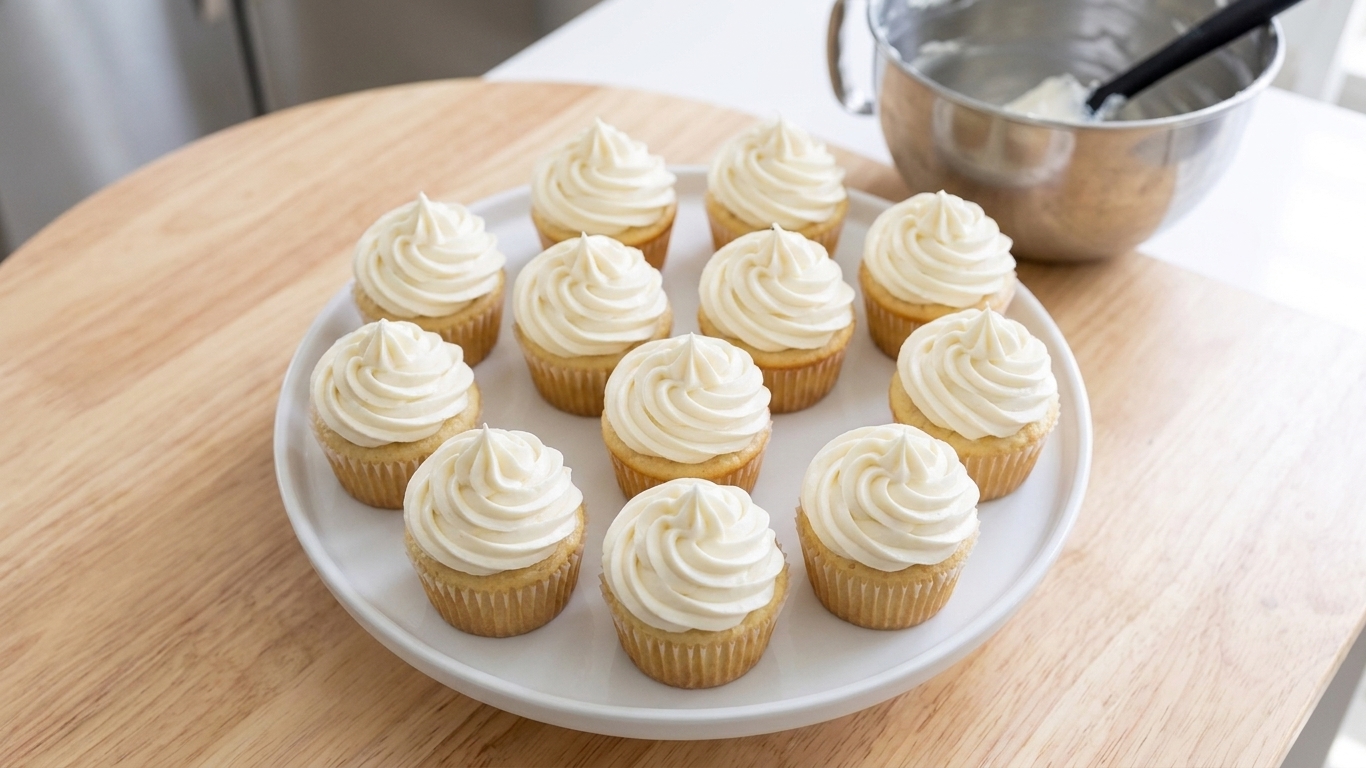
- 12 cupcakes: about 2 cups (generous swirls)
- 24 cupcakes: 3 1/2 to 4 cups
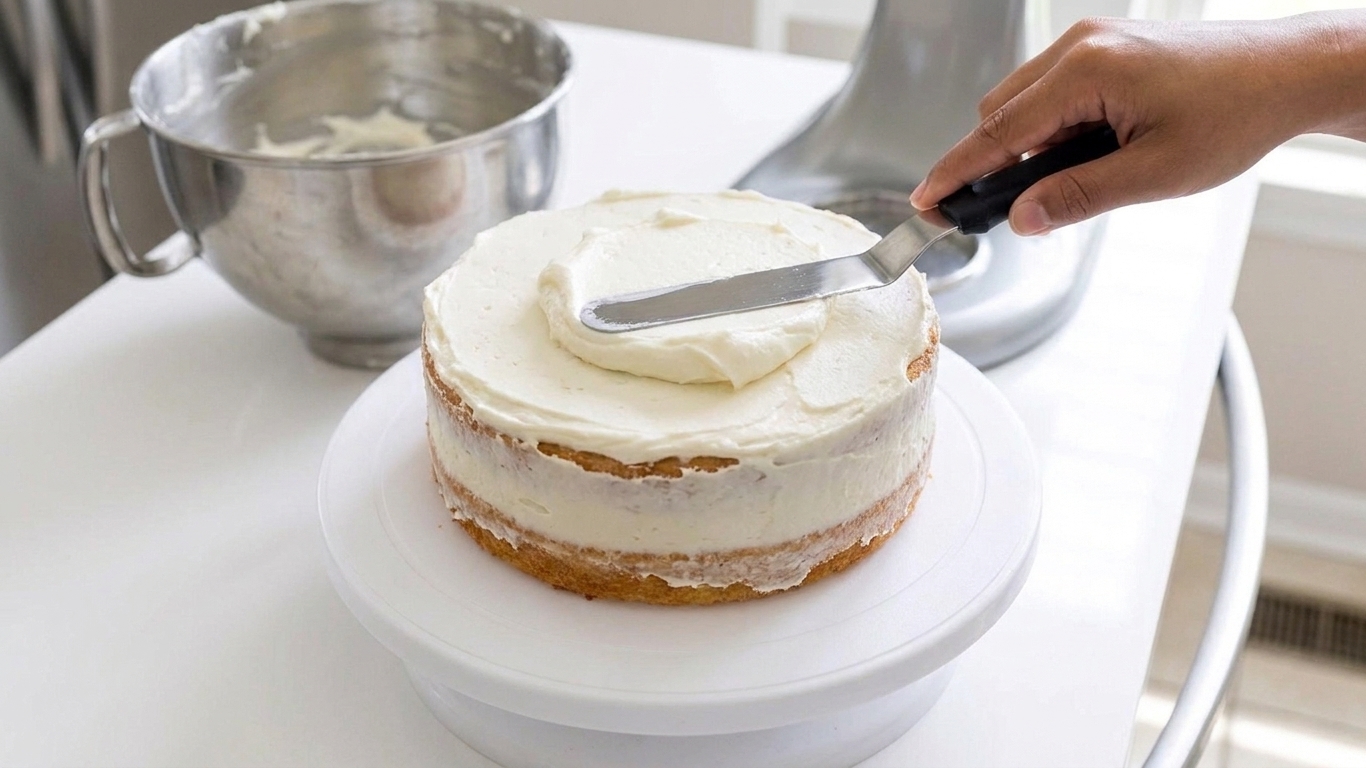
- 8-inch or 9-inch 2-layer cake: 3 1/2 to 4 cups (fill + frost)
- Thin crumb coat only: about 1 to 1 1/2 cups
These are intentionally flexible because piping style changes everything. If you love tall swirls, go bigger. If you’re doing a smooth, minimalist finish, you can use less.
FAQ
Can I make this with salted butter?
Yes. Skip the added salt at first, then taste and adjust. Salted butter varies a lot brand to brand, so tasting is your best tool.
How do I make it pure white?
Start with butter that is naturally pale, beat it well to lighten, and use clear vanilla if you want the brightest color. If you add color, gels work best. For a brighter white without extra sweetness, a tiny dot of violet gel can neutralize yellow, but go slowly.
Can I use this under fondant?
It can work, especially for a thin, even layer. Chill your frosted cake until firm, then smooth again before covering. In warm or humid conditions, keep the cake cool and work quickly. If you need maximum stability, ganache or a crusting buttercream is often easier.
Why does my buttercream taste like powdered sugar?
Usually it needs more salt, more vanilla, or a touch of lemon juice. Also, beating the butter properly first gives you a richer base so the sugar doesn’t shout.
One last gentle nudge
If your buttercream is close but not perfect, don’t toss it. Most issues are fixable in under five minutes with a temperature tweak, a pinch of salt, or a slower final mix. Bakery-style smoothness is less about fancy tools and more about letting the frosting do what it wants to do: hydrate, settle, and turn satin-smooth.