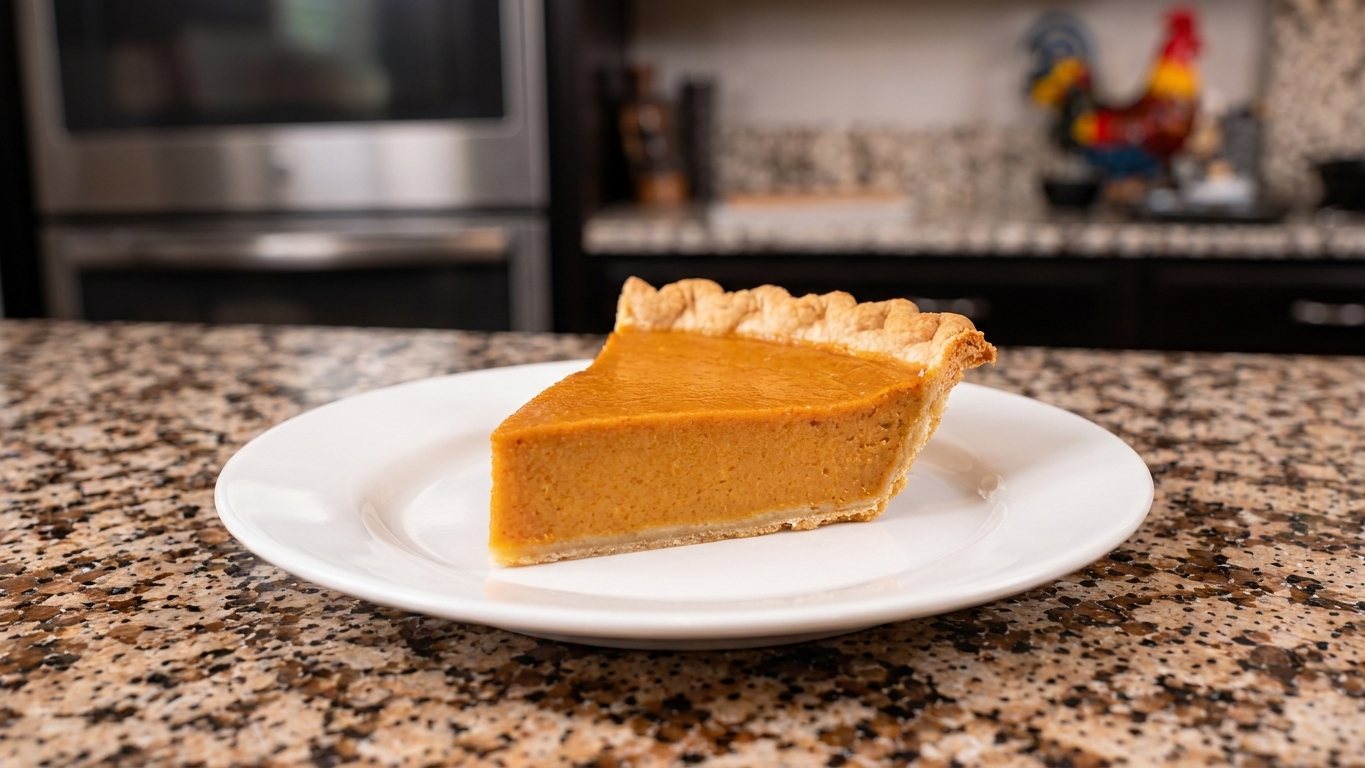

I love a showy dessert as much as anyone, but Thanksgiving dessert is where I want classic comfort and zero surprises. This is my forever pumpkin pie: a smooth, gently spiced custard baked in a fully cooked crust that greatly reduces the risk of that dreaded soggy bottom.

The secret is simple: fully blind-bake your crust, then build a custard with the right pumpkin-to-egg-and-dairy balance so it sets silky instead of heavy. For one standard 9-inch pie, I use 1 (15-ounce) can pumpkin puree, 3 eggs, and about 1 1/2 cups dairy (cream plus milk) for that classic, sliceable texture.
You will also get a doneness cue you can trust. Pumpkin pie is done when the edges look set and slightly puffed, but the center still has a gentle jiggle, kind of like Jell-O that has mostly set. Think of the wobble happening in the inner few inches, not across the whole pie. If the center looks dry and puffy or starts cracking, it has gone a bit too far. It finishes firming as it cools, which is exactly how you get slices that hold.
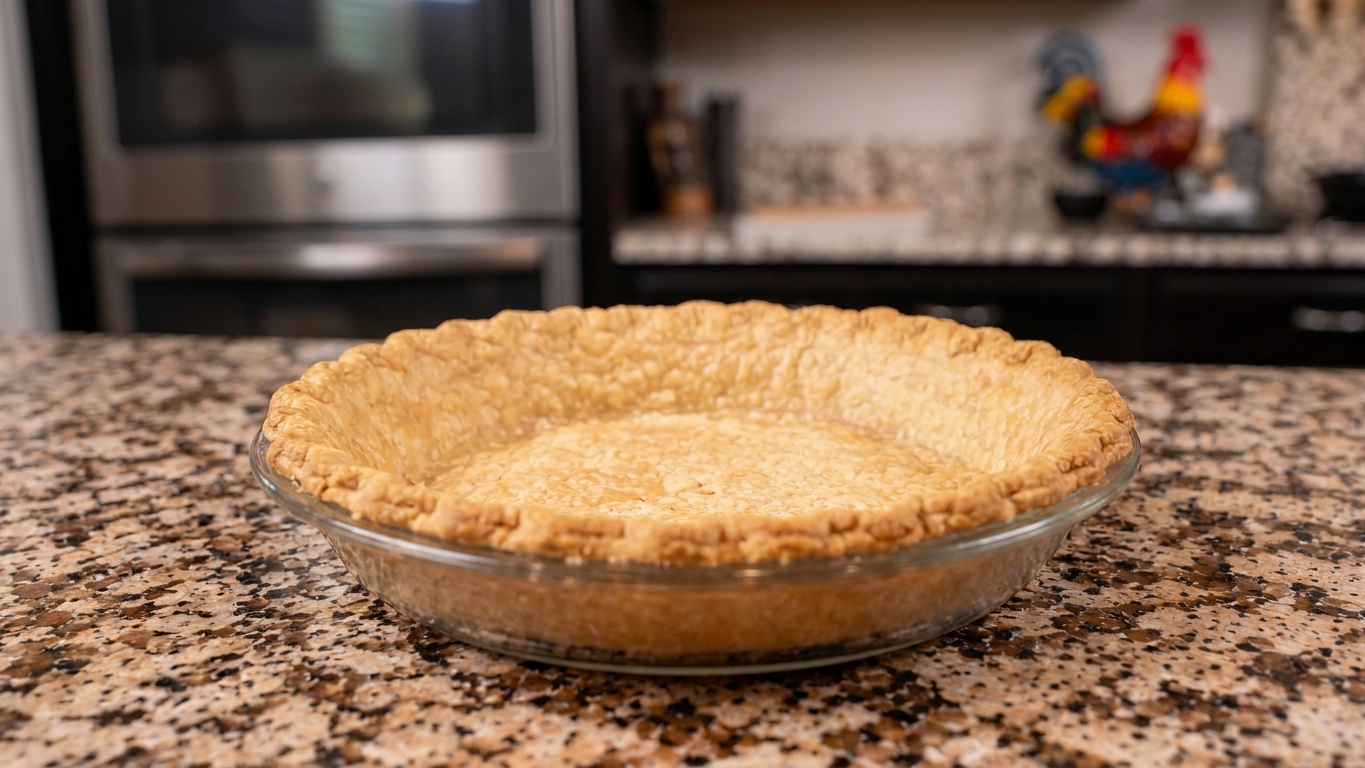
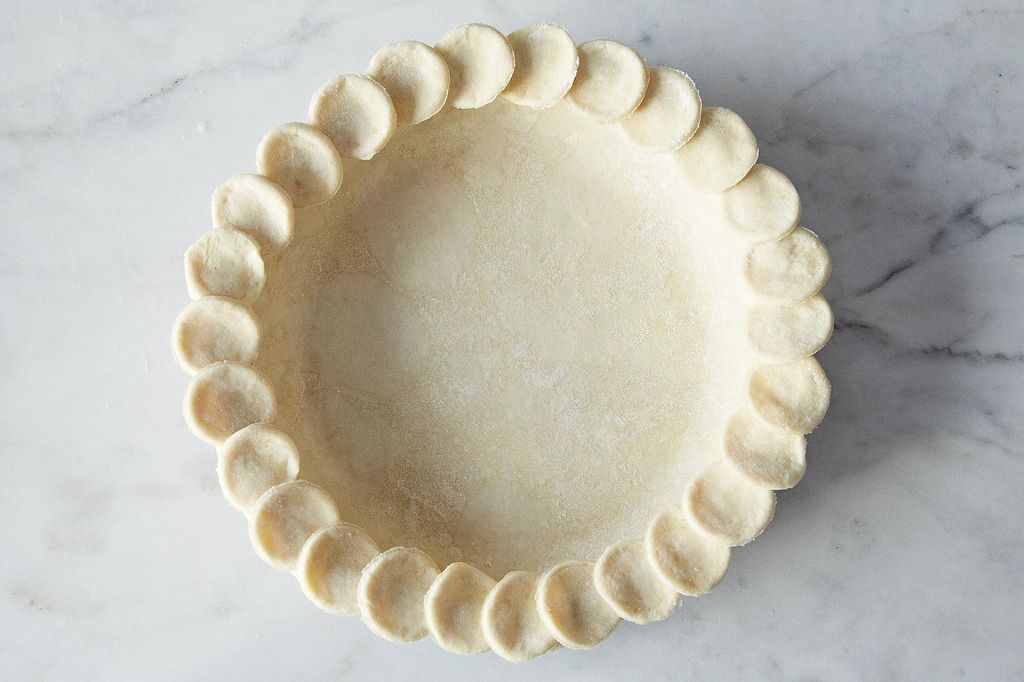
Crust note: I recommend using our Nomora Food all-butter pie crust method because it holds its shape and bakes up sturdy, which matters when you are blind baking. If you already have a crust you love, just make sure you truly blind bake it all the way: weights first, then a second bake so the bottom looks dry and lightly golden before you add the filling.
Why this recipe works
- It is real custard, not pumpkin sludge. The ratio of canned pumpkin to eggs and dairy is balanced so the pie sets creamy and sliceable.
- Blind baking helps prevent a soggy bottom. Baking the crust until it is golden and dry means the pumpkin custard has far less chance of soaking in.
- Gentle heat keeps it silky. Baking at a higher temp briefly, then lowering it, sets the custard without curdling the eggs.
- The jiggle test helps you avoid overbaking. Pulling the pie when the center still wobbles slightly keeps the texture smooth.
- Cooling time is part of the recipe. Letting it cool fully, then chilling, gives you clean slices that hold their shape.
Ingredient notes
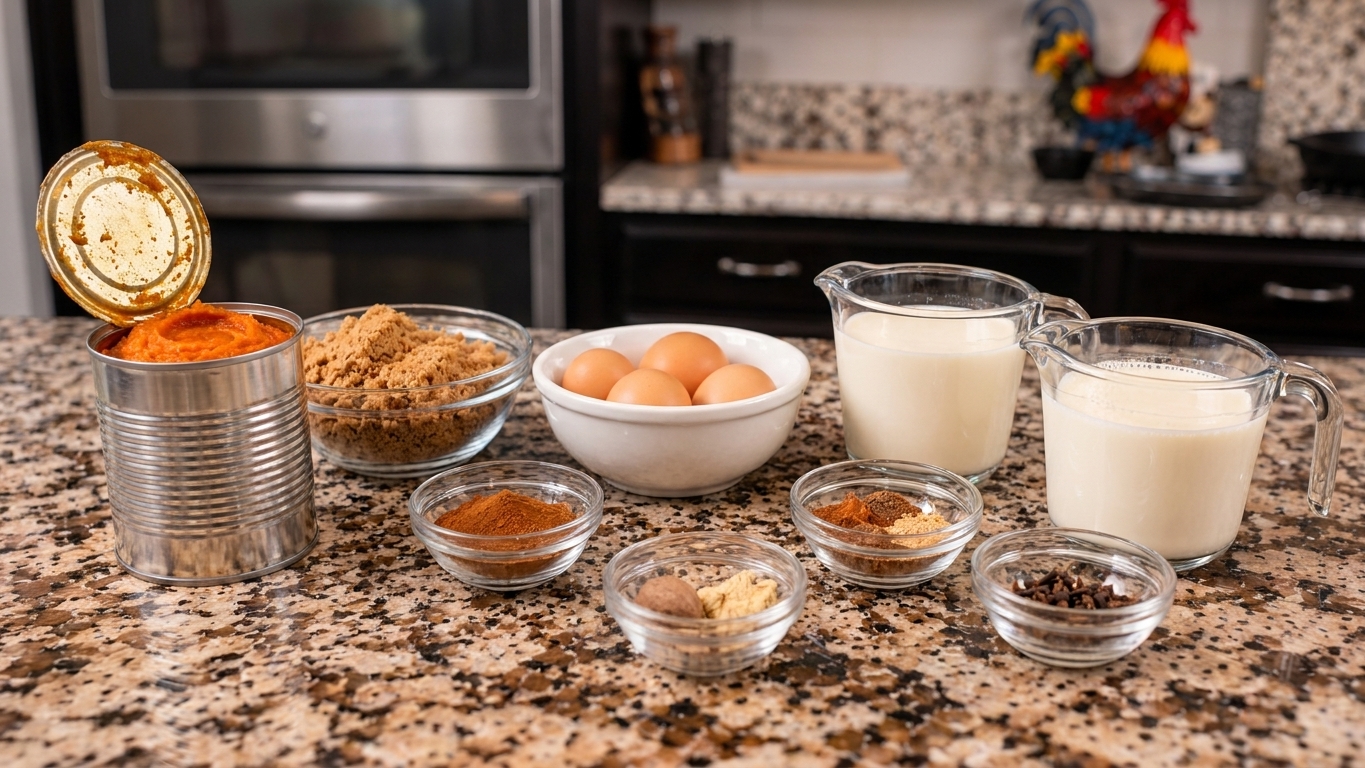
Canned pumpkin: Use plain pumpkin puree, not pumpkin pie filling. The easiest, reliable ratio for a classic 9-inch pie is 1 (15-ounce) can pumpkin to 3 large eggs plus about 1 1/2 cups dairy (here, heavy cream plus milk) and sugar. That combination gives you a custard that is rich but not dense.
Dairy: Heavy cream makes the texture plush. A little whole milk loosens it so it bakes up smooth instead of thick. If you use all cream, the filling can feel heavier. If you use all milk, it can be a bit less luxurious, but it still works.
Sugar: I like a mix of brown sugar (for caramel notes) and granulated sugar (for clean sweetness). Brown sugar alone can make the flavor darker and slightly molasses-forward.
Spices: Cinnamon, ginger, and nutmeg are the classic trio. I add clove sparingly because it can take over fast.
Salt and vanilla: Do not skip them. Salt makes the pumpkin taste more pumpkin-y, and vanilla rounds out the spice.
Equipment you will need
- 9-inch pie dish (glass or metal both work)
- Rolling pin (if making your own crust)
- Pie weights or dried beans for blind baking
- Parchment paper or heavy-duty foil
- Whisk and large mixing bowl
- Fine-mesh strainer (optional, but great for ultra-smooth custard)
- Sheet pan (bake the pie on it for easy handling and a crisper bottom)
Pro tips
- Blind-bake cue: Your crust is ready for filling when the bottom looks dry and lightly golden, and the edges are a deeper golden brown. If it still looks pale or damp in the center, keep going.
- Warm crust, warm filling: Pour the pumpkin custard into a crust that is still warm from blind baking. It helps the custard start setting quickly, which supports a crisp crust.
- Strain for silk: If you want bakery-level smoothness, strain the mixed filling through a fine-mesh strainer into a pitcher, then pour.
- Tap out bubbles: After filling, gently tap the pie dish on the counter a few times to pop air bubbles so the top bakes smooth.
- Doneness jiggle: When you nudge the pie, the outer 2 to 3 inches should look set and the center should wobble like a soft gel, not ripple like liquid.
- Cooling for clean slices: Cool at room temp until no longer warm, then chill. Cutting warm pie is the fastest way to get a slump.
Substitutes that work
- No heavy cream: Use half-and-half in place of both the cream and milk. The pie will be slightly lighter in texture.
- Dairy-free: Use full-fat canned coconut milk in place of the cream and milk. Expect a faint coconut note.
- Brown sugar: Swap with the same amount of granulated sugar. You will lose a little depth, but the pie still tastes classic.
- Spice blend: You can use pumpkin pie spice. For this recipe, use 2 to 2 1/2 teaspoons total pumpkin pie spice in place of the individual spices.
- Gluten-free crust: Use your favorite gluten-free pie crust and still blind bake it fully.
Variations
- Extra-spicy: Add an additional 1/4 teaspoon ground ginger and a pinch of black pepper for warmth.
- Maple pumpkin pie: Replace 1/4 cup of the sugar with 1/4 cup pure maple syrup and reduce the milk by 2 tablespoons.
- Orange-scented: Add 1 teaspoon finely grated orange zest to the filling.
- Salted caramel topping: Drizzle cooled pie with caramel sauce and finish with flaky salt right before serving.
Serving ideas
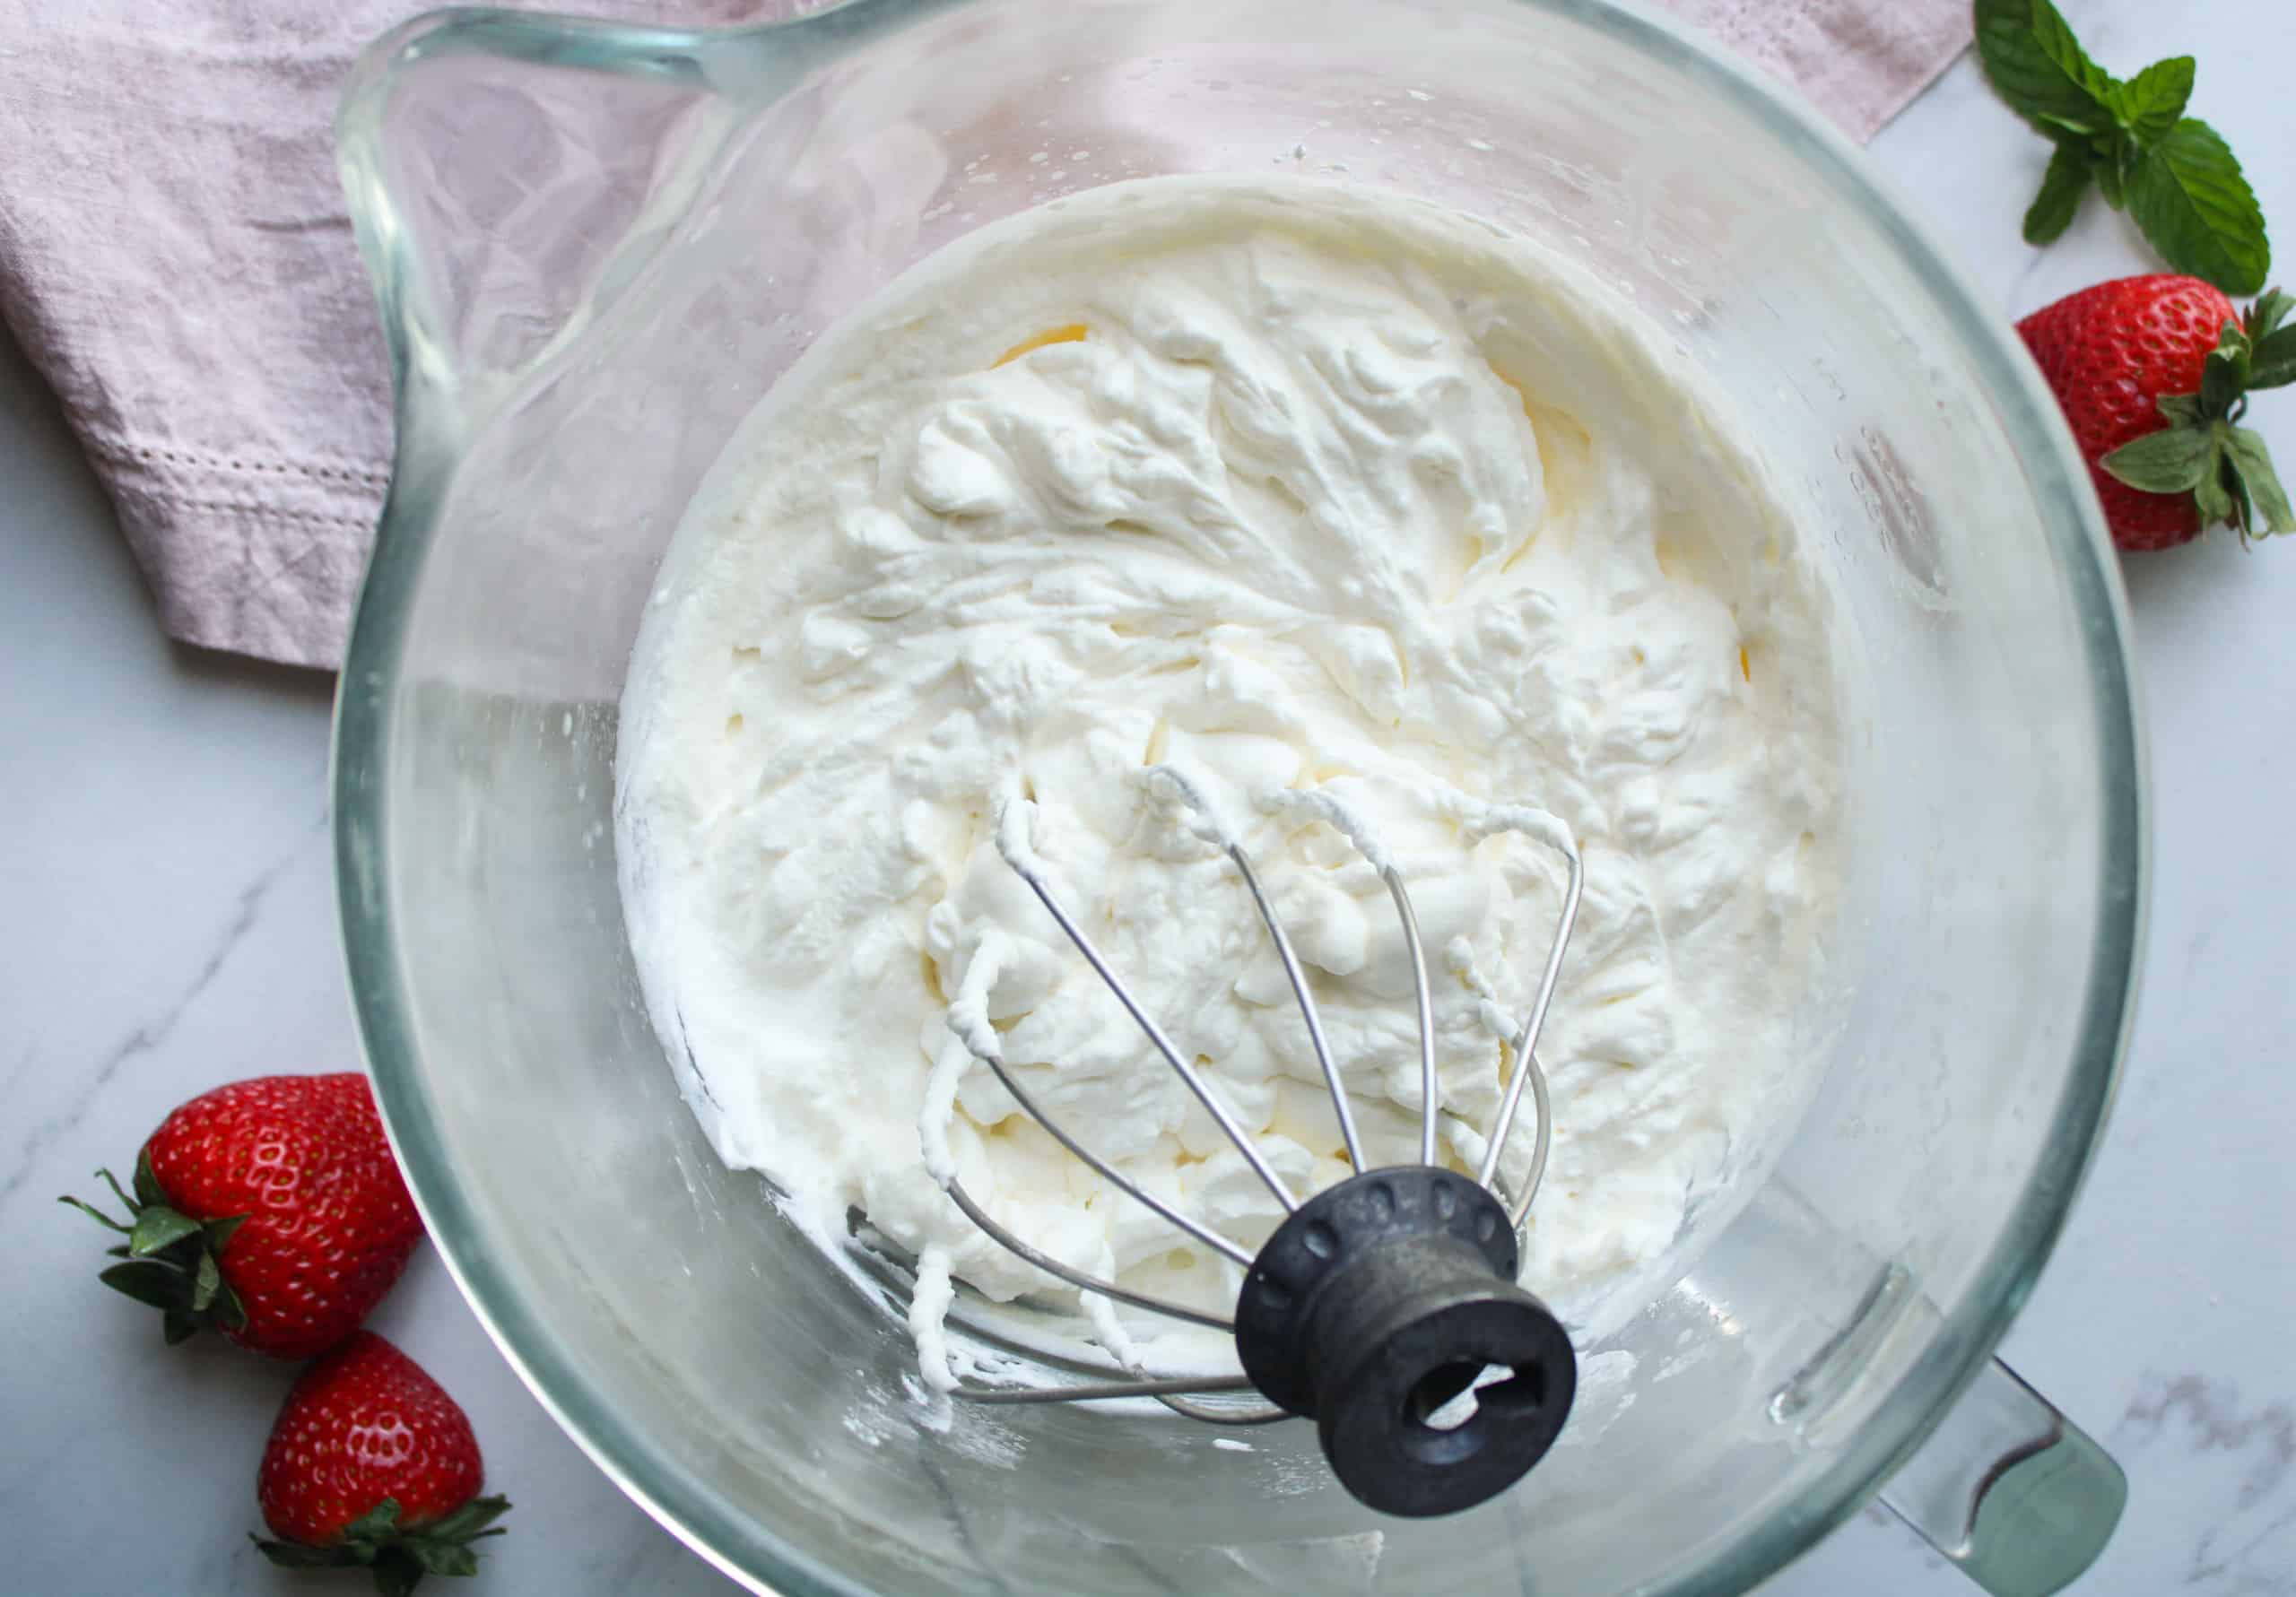
- Classic: A big spoonful of lightly sweetened whipped cream.
- Tangy: Crème fraîche or Greek yogurt whipped with a little powdered sugar.
- Crunchy: Toasted pecans or pepitas sprinkled over whipped cream.
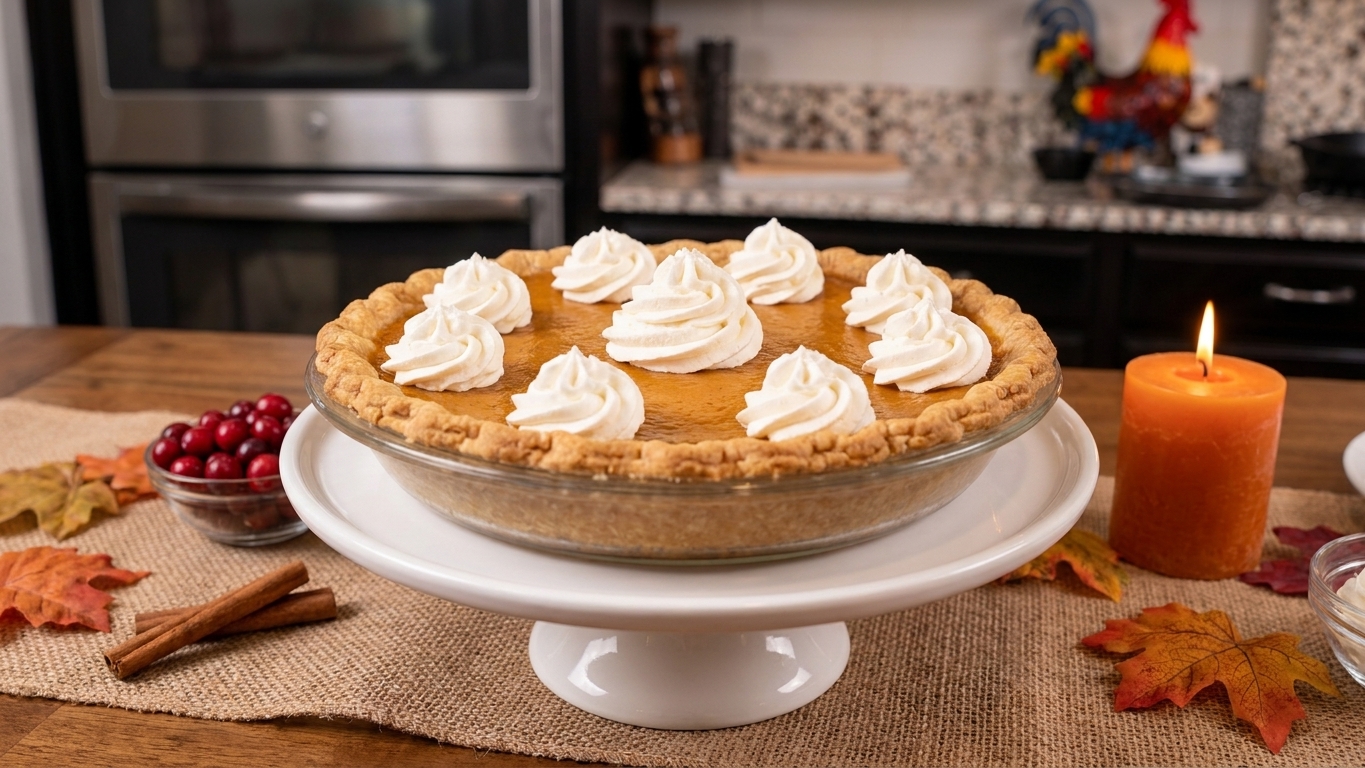
- Pretty platter moment: Serve on a cake stand with extra whipped cream on the side and a small bowl of cinnamon sugar for dusting.
Storage and reheating
- Refrigerate: Pumpkin pie is an egg custard. Cover and refrigerate within 2 hours. It keeps well for 3 to 4 days.
- For best slices: Chill at least 4 hours, ideally overnight, before slicing.
- Freezing: You can freeze baked pumpkin pie. Chill completely, wrap tightly, and freeze up to 1 month. Thaw overnight in the fridge.
- Serving cold vs room temp: I like it slightly cool. Let slices sit out 10 to 15 minutes if you prefer a softer texture.
Common mistakes
- Underbaking the crust: If the bottom looks pale, it will turn soggy once the custard goes in. Keep blind baking until dry and lightly golden.
- Overbaking the custard: A fully set, no-jiggle center in the oven often means the eggs tightened too much. That is when you get cracks and a grainy texture.
- Skipping the cool-down: Cutting while warm makes the filling look loose even if it is baked correctly. Cooling is part of setting.
- Using pumpkin pie filling by accident: It contains sugar and spices already, which throws off sweetness and texture.
- Too much spice: Clove and nutmeg are powerful. Measure them, especially if you tend to free-pour.
FAQ
How do I know when pumpkin pie is done?
Look for set edges and a gentle jiggle in the center. If you tap the pie dish, the center should wobble as one piece, not slosh like liquid. It will keep setting from residual heat and firm up as it cools.
Why did my pumpkin pie crack?
Cracks are almost always from overbaking or baking at too high a temperature for too long. Pull it when the center still jiggles slightly, and cool it away from drafts.
Do I have to blind bake the crust?
For a crisp bottom, yes. Pumpkin pie filling is wet and will soak into an unbaked crust before it has time to set.
Can I make pumpkin pie ahead?
Absolutely. Pumpkin pie is actually better after an overnight chill, which gives it time to fully set and lets the spices bloom.
Should pumpkin pie be refrigerated?
Yes. It is a dairy and egg custard, so it should be stored covered in the refrigerator.
Classic Pumpkin Pie
Silky, warmly spiced classic pumpkin pie with a fully blind-baked crust for a crisp bottom. Includes the ideal canned pumpkin ratio, a reliable jiggle test, and cooling steps for clean slices.
- Prep
- 25 minutes
- Cook
- 1 hour 10 minutes
- Total
- 6 hours
- Yield
- 1 (9-inch) pie, about 8 slices
Ingredients
- 1 (9-inch) all-butter pie crust, shaped in a pie dish and chilled (see Nomora Food all-butter crust method)
- Parchment paper or heavy-duty foil, for lining
- Pie weights or dried beans, for blind baking
- 1 (15-ounce) can pumpkin puree (about 1 3/4 cups), not pumpkin pie filling
- 3 large eggs
- 3/4 cup packed light brown sugar
- 1/4 cup granulated sugar
- 1 1/4 teaspoons ground cinnamon
- 1 teaspoon ground ginger
- 1/4 teaspoon freshly grated nutmeg (or ground nutmeg)
- 1/8 teaspoon ground cloves
- 1 teaspoon fine salt
- 1 cup heavy cream
- 1/2 cup whole milk
- 2 teaspoons vanilla extract
- Optional, for serving: whipped cream
Instructions
- Heat the oven and prep a pan. Arrange a rack in the lower third of the oven. Heat to 425°F. Place a rimmed sheet pan in the oven to preheat.
- Blind bake the crust. Line the chilled pie crust with parchment or foil, pressing it snugly into the corners. Fill completely with pie weights or dried beans. Bake on the hot sheet pan for 18 to 20 minutes, until the edges look set.
- Remove weights and fully bake. Carefully lift out the parchment or foil with the weights. Prick the bottom lightly all over with a fork. Return to the oven and bake 10 to 14 minutes more, until the bottom looks dry and lightly golden. If bubbles form, gently press them down with the back of a spoon. Reduce oven temperature to 350°F.
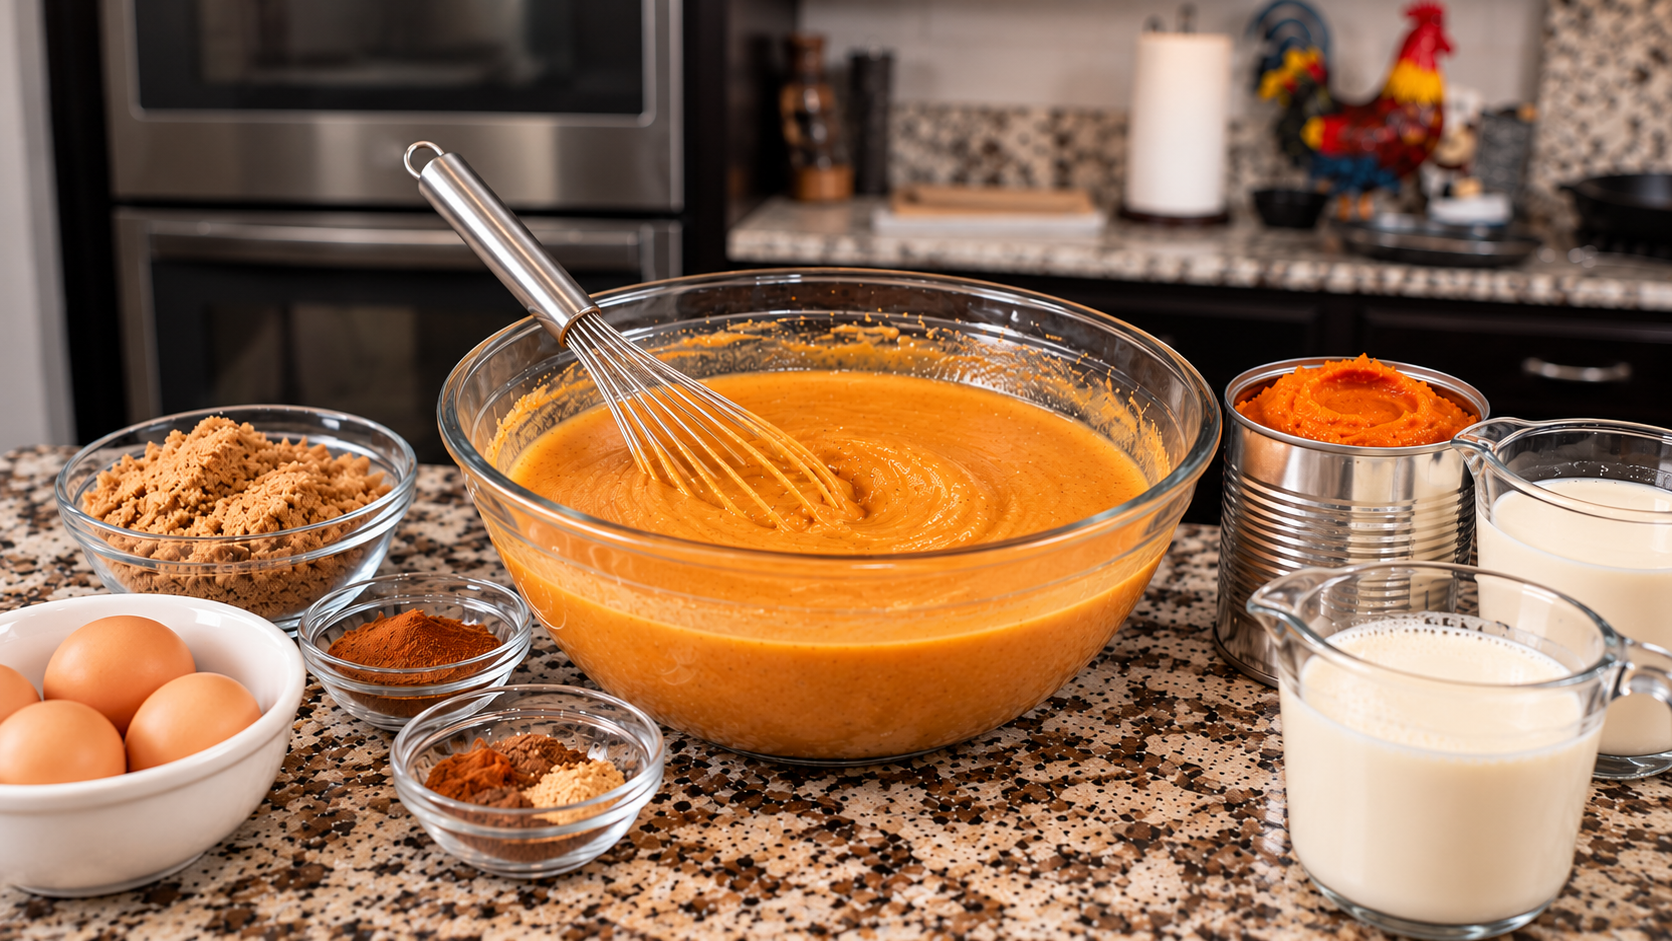
- Mix the filling. In a large bowl, whisk together the pumpkin puree, eggs, brown sugar, granulated sugar, cinnamon, ginger, nutmeg, cloves, and salt until very smooth. Whisk in the heavy cream, milk, and vanilla until fully combined.
- Optional strain for extra smooth custard. For the silkiest texture, pour the filling through a fine-mesh strainer into a pitcher or bowl, then whisk briefly.
- Fill the crust. With the crust still warm, place the pie dish on the sheet pan. Pour in the filling. Gently tap the pie dish on the counter a couple of times to pop any air bubbles.
- Bake. Bake at 350°F for 45 to 55 minutes, until the edges are set and the center has a gentle jiggle when you nudge the pan. The center should wobble like a soft gel, not ripple like liquid.
- Cool completely, then chill for clean slices. Cool the pie on a rack at room temperature until no longer warm, about 2 to 3 hours. Cover and refrigerate at least 4 hours, ideally overnight, before slicing.
- Slice and serve. For neat slices, use a sharp knife and wipe it clean between cuts. Serve chilled or let slices sit out for 10 to 15 minutes for a softer custard. Top with whipped cream if you like.
Notes
Canned pumpkin ratio, explained: For a classic 9-inch pie, the reliable baseline is 1 (15-ounce) can pumpkin plus 3 eggs and about 1 1/2 cups dairy. This recipe uses 1 cup cream and 1/2 cup milk for a custard that sets smooth and slices clean.
Blind-bake cue: Do not stop at “edges lightly browned.” You want the bottom of the crust to look dry and lightly golden before filling.
Jiggle cue: If the center does not jiggle at all in the oven, it is likely overbaked. If the center sloshes, keep baking and check every 5 minutes. Overbaking is also the most common reason for cracks.
Make ahead: This pie is best made the day before serving so it has plenty of time to chill and set.