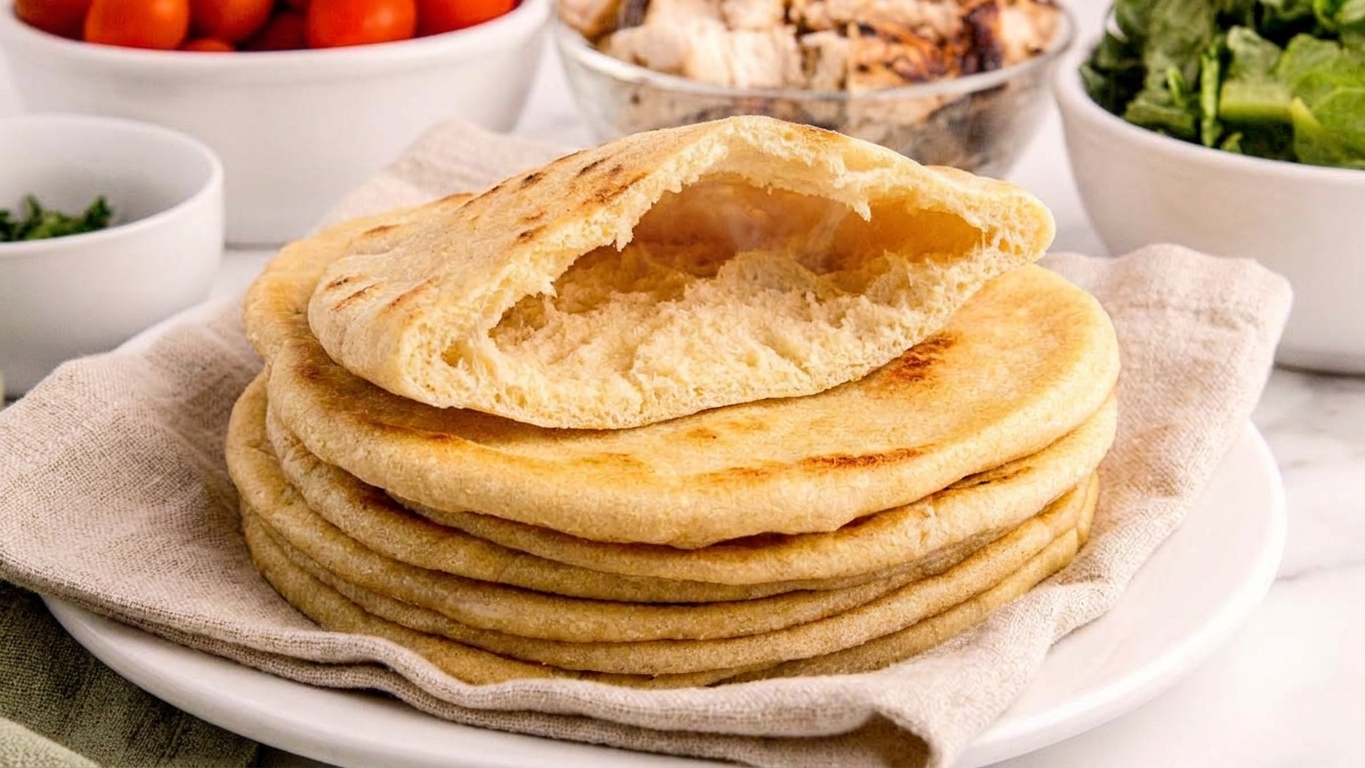

There are a few kitchen “magic tricks” I never get tired of, and watching pita balloon into a perfect pocket is near the top of the list. The good news is that you do not need a pizza stone the size of a manhole cover or a professional deck oven to make it happen. You need three things: a well-hydrated dough, a proper rest so the gluten relaxes, and seriously high heat.
This yeast pita is designed to puff reliably in a skillet or in a hot oven. I am going to walk you through what the dough should feel like, how thin to roll it, and the small timing details that keep the bread soft enough to split and stuff. I will also tell you exactly what to do when one stubborn round refuses to inflate, because it happens to all of us.

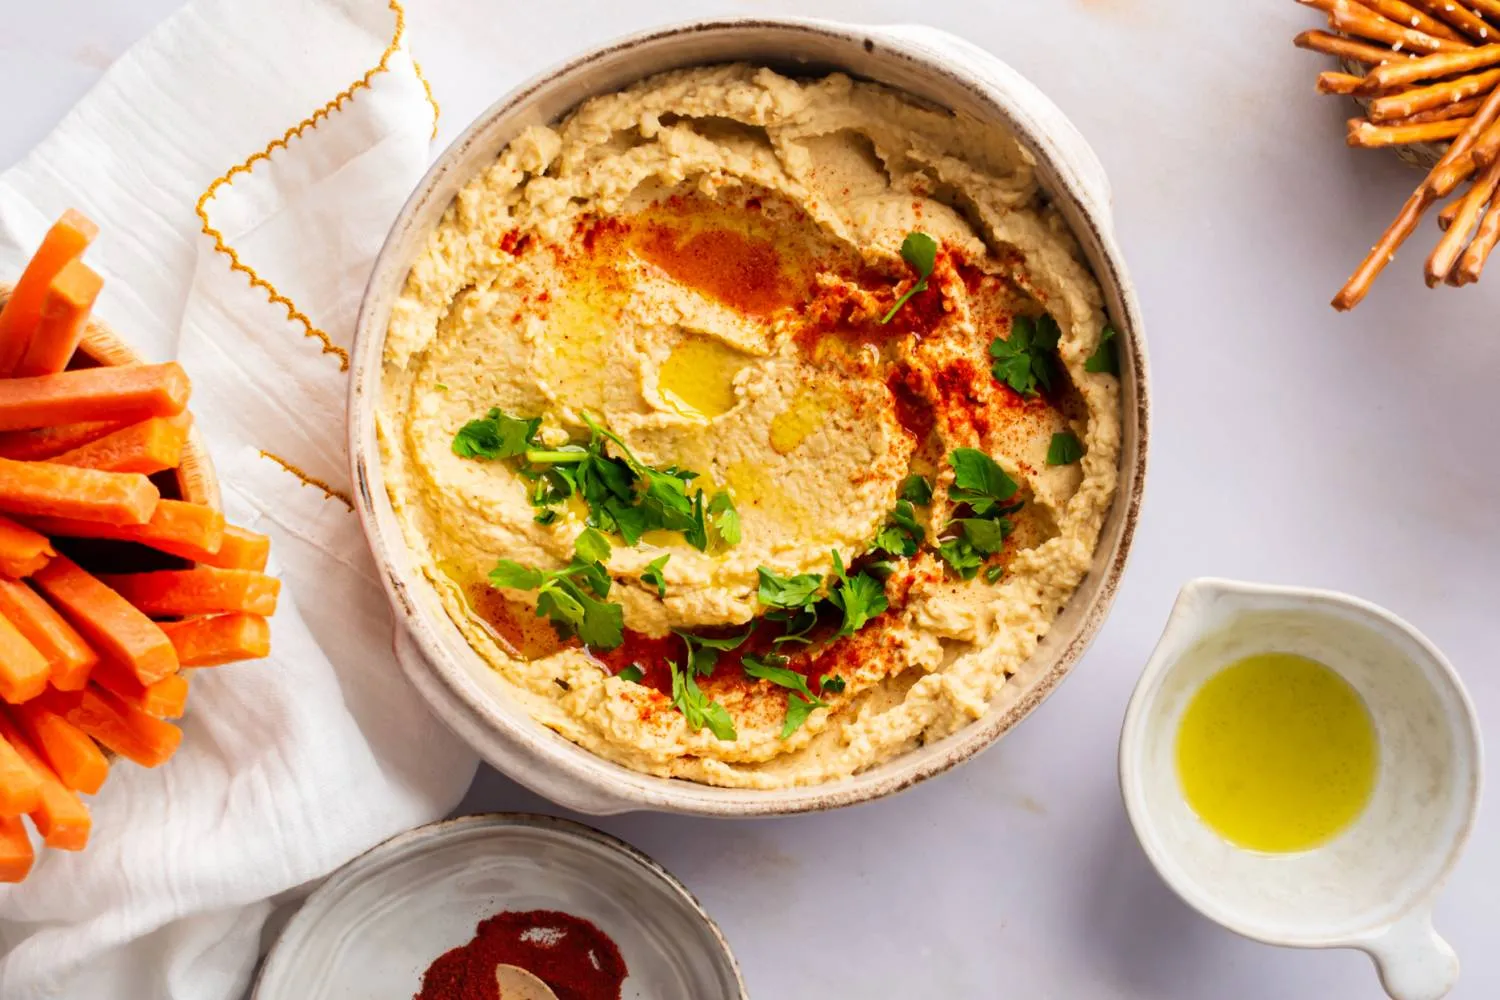
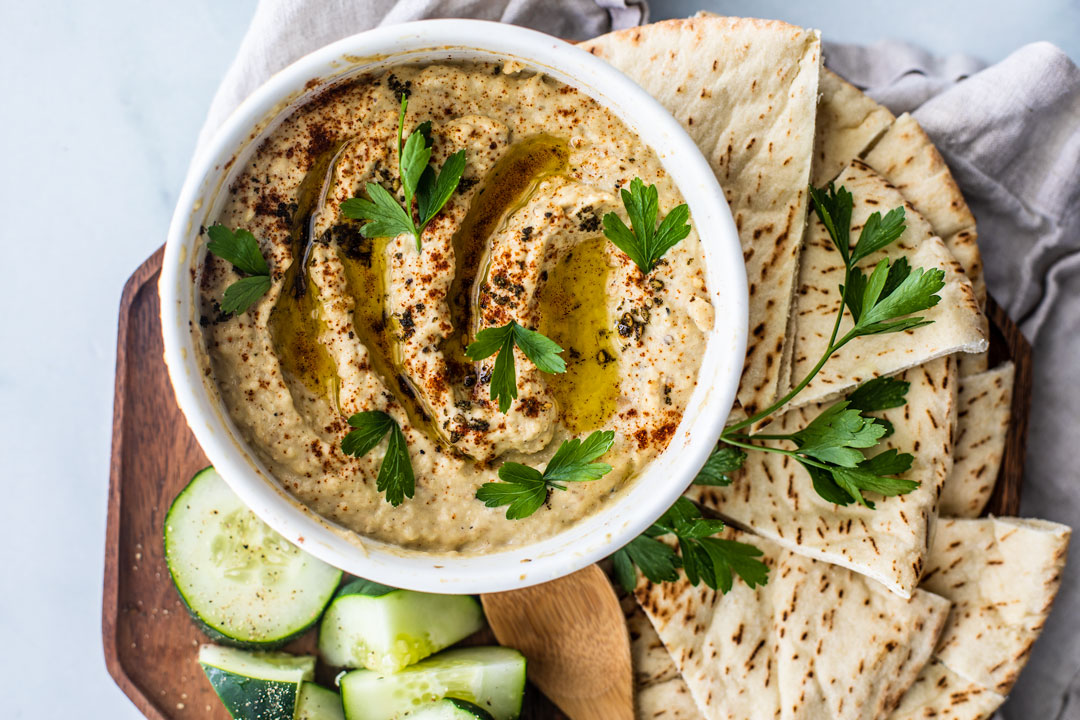
If you are making a dip like hummus, pita is the most useful kind of bread: sturdy enough to scoop, but still tender and bendy. Once the dough is risen, you can cook a batch quickly, and the freezer does the rest of the work for future weeknights.
What the dough should feel like
Pita dough should feel soft, supple, and just a little tacky. If it feels tight and dry, it usually needs a touch more water. If it feels tight but not dry, it may just need a few more minutes of kneading, or a short rest, to relax. If it feels sticky in a way that glues itself to everything, dust the counter lightly with flour and keep going. A slightly tacky dough is not a problem. A dry dough is.
One more real-world note: in very dry climates, or at higher altitude, dough can lose moisture faster than you expect. Trust your hands. If it feels stiffer than it should, add water a little at a time during mixing next time.
How thin to roll pita
For pocket pita, thickness matters. I aim for an even round in the 1/8-inch neighborhood, but I treat it as a range instead of a law. Somewhere around 1/8 to 3/16 inch (about 3 to 5 mm) tends to puff well in home kitchens. The bigger issue is not the number, it is the evenness. A thick spot becomes the last place to heat through, which is exactly where steam escapes instead of inflating the pocket.
Also, do not go wild with flour while rolling. Too much bench flour can dry the surface and interfere with good contact in the pan. Use just enough to prevent sticking, and brush off any excess before the dough hits the heat.
One more detail that helps more than people think: after rolling, let the rounds rest briefly, covered. If the dough keeps shrinking back when you roll it, it is telling you the gluten is still wound up and needs a few more minutes to relax.
Why pita puffs
Pita is basically a steam balloon. When the dough hits a ripping hot surface, the outside sets quickly while the inside moisture turns to steam. If your top and bottom set fast enough, that steam gets trapped and separates the bread into two layers.
This is also why pita can be fussy about heat. A lukewarm pan gives steam time to leak out before the crust seals. Then you get delicious flatbread, but not a pocket.
Handling tips for soft pita
- Cover as you go: As each pita comes off the heat, stack it immediately and cover with a clean towel or tuck it into a lidded container. That trapped steam is what keeps the bread pliable instead of crackly.
- Wait before splitting: Give the stack a few minutes to finish steaming and softening. Cutting too soon can tear the interior before the pocket has a chance to loosen.
- Keep the raw rounds covered: While you cook, keep the rolled rounds lightly covered so they do not dry out. Dry patches can seal weirdly and fight puffing.
Troubleshooting a no-puff pita
First, do not panic and do not toss it. A no-puff pita is still great for dipping, wrapping, or turning into a quick flatbread sandwich.
If a round refuses to inflate in the skillet, the best fix is usually the simplest: give it one more flip and let it cook a few seconds longer. If you are seeing bubbles and one area seems to be lifting away from the pan, you can use the spatula trick, gently. Press very lightly for 2 to 3 seconds on the spot that is not making contact, then release. You are not flattening the whole pita. You are just helping a stubborn patch touch the hot surface so steam can build and spread. If you press hard or press everywhere, you can force steam out instead of trapping it.
If several pitas in a row stay flat, it is almost always one of these: the pan cooled down, the oven surface was not preheated long enough, the rounds were rolled unevenly, the dough was a bit dry, or there is too much flour clinging to the outside. Fix the heat first, then look at thickness and hydration.
Finally, a practical storage trick if you want that soft, bendy texture later: let pitas cool until just barely warm, then seal them in a bag or container. To revive, a quick warm-up in a hot, dry skillet brings back that fresh-cooked flexibility fast.
Why this recipe works
- A two-stage rise (bulk fermentation plus a short rest after dividing) builds flavor and gives the yeast time to create the gases that help the dough expand quickly.
- The rest after shaping relaxes gluten so the rolled rounds can inflate instead of shrinking or tearing.
- High heat sets the top and bottom surfaces fast, trapping steam inside to create a pocket.
- Immediate steaming after cooking (stacking and covering) keeps the pita soft and flexible so it opens cleanly for stuffing.
Ingredient notes
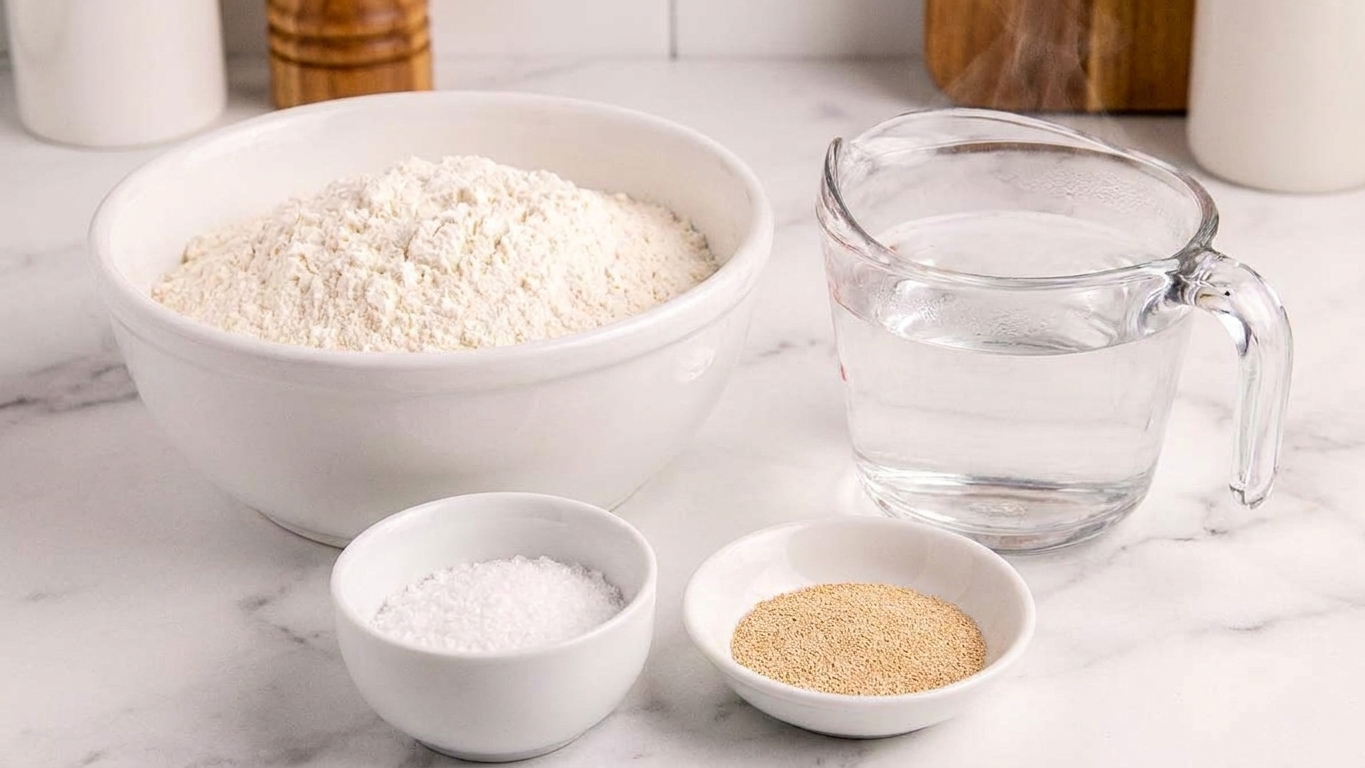
Flour: All-purpose flour makes a tender, pliable pita. Bread flour also works and can be a touch chewier. If you want a little whole grain flavor, swap in whole wheat flour for part of the flour (see Substitutes).
Yeast: Instant yeast is the most convenient. Active dry yeast works too, it just benefits from dissolving in the warm water first.
Water temperature: Think warm bath water, not hot. If it feels hot on your wrist, it is too hot for yeast.
Olive oil: A small amount makes the dough easier to handle and helps the pita stay soft after cooking.
Salt: Do not skimp. Salt strengthens gluten and makes the bread taste like something you actually want to eat.
Equipment you will need
- Large mixing bowl
- Kitchen scale (optional but very helpful for equal portions)
- Rolling pin
- Bench scraper (optional)
- Cast iron skillet, heavy stainless skillet, or griddle for stovetop method
- Sheet pan plus an inverted sheet pan (or a baking steel or stone) for oven method
- Clean kitchen towel or a lidded container for covering cooked pita
Pro tips
Preheat well
For skillet pita, preheat the pan over medium-high heat until a drop of water skitters and evaporates quickly. For oven pita, preheat the oven with your baking surface inside for at least 30 minutes. Pita is allergic to a lukewarm surface.
Roll evenly
Uneven thickness is the number one reason for lopsided pockets. Aim for an even round about 1/8 inch (around 3 mm) thick as a starting point, then adjust slightly based on your pan and how your dough behaves. If you see a thick hill in the center, keep rolling.
Use less flour
Just enough flour keeps things moving. Too much can dry the dough’s surface and dull the heat transfer that helps pockets form. A quick brush of excess flour before cooking is a small step with a big payoff.
Do not rush the rest
After rolling, give the rounds 10 to 15 minutes, lightly covered. If your circles keep shrinking back when you roll them, that is your cue to rest a little longer.
Cover for softness
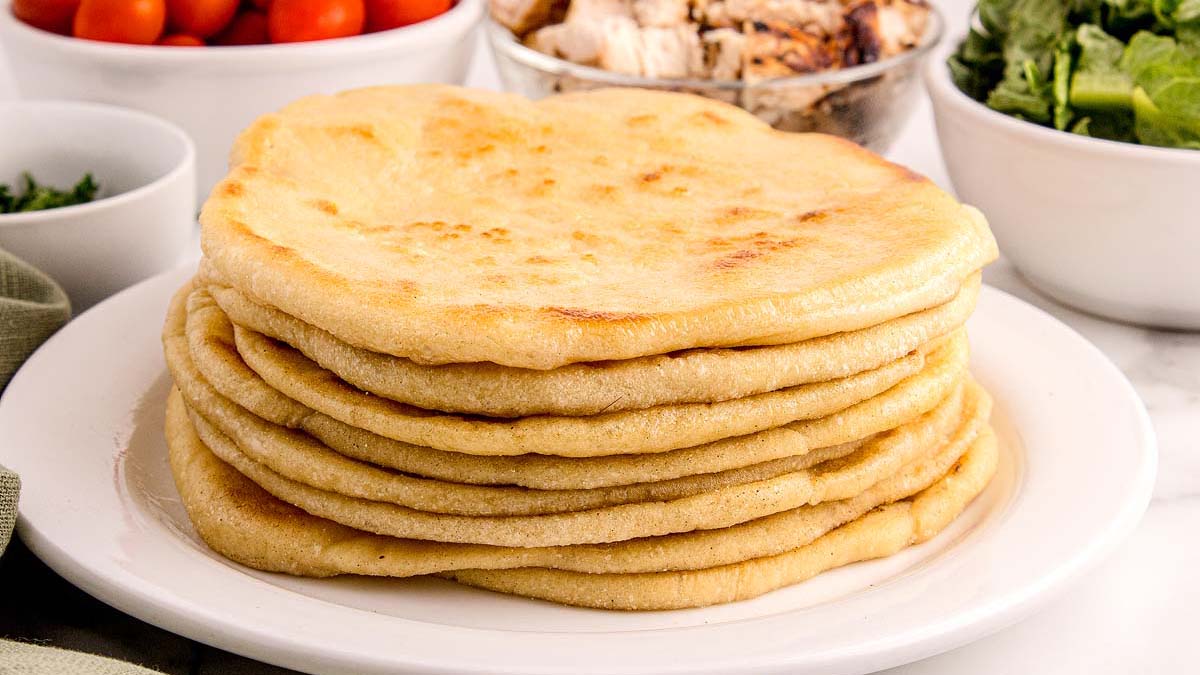
As each pita comes off the heat, stack it and cover immediately with a towel or lid. Give it a few minutes like this before you start splitting. That trapped steam keeps the crust supple and helps the pocket stay open instead of tearing.
Substitutes that work
- Whole wheat flour: Swap in up to 25 percent whole wheat flour for a nuttier pita. You may need 1 to 2 tablespoons extra water if the dough feels stiff.
- Neutral oil: Use avocado, grapeseed, or another neutral oil in place of olive oil.
- Active dry yeast: Use the same amount as instant. Dissolve it in the warm water and let it sit for 5 minutes until foamy before mixing.
Variations
- Sesame pita: Brush the rolled rounds lightly with water and sprinkle with sesame seeds before the final rest. Cook as directed.
- Za'atar pita: After cooking, brush warm pita with olive oil and dust lightly with za'atar. Keep it light so the pocket still opens cleanly.
- Mini pitas: Divide dough into 12 pieces and roll smaller rounds. Cook time will be slightly shorter, so watch for fast puffing.
Serving ideas
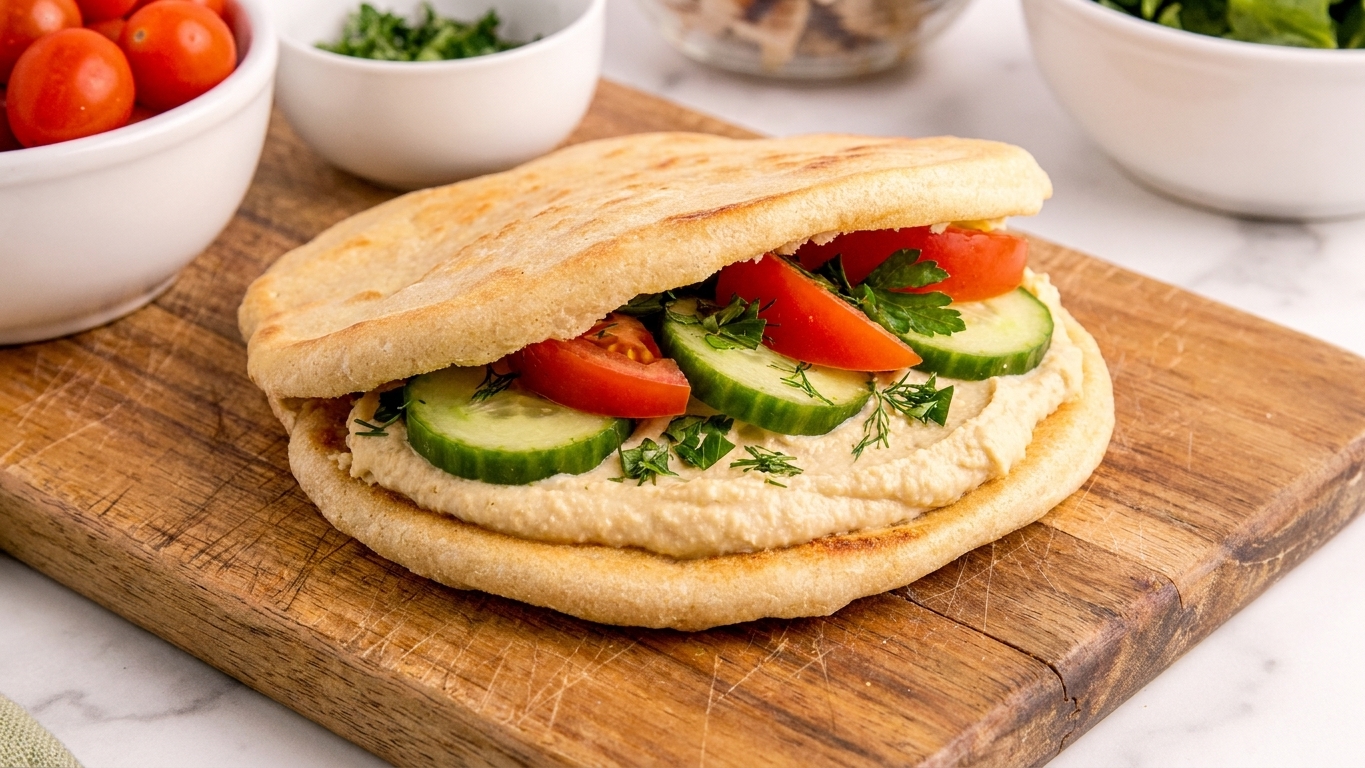
- Stuff with hummus, chopped cucumbers, tomatoes, and a squeeze of lemon.
- Make a quick sandwich with leftover roast chicken, crunchy greens, and a bright yogurt sauce.
- Cut into wedges and warm briefly for scooping dips and stews.
- Toast split pita pockets lightly, then fill with scrambled eggs and herbs for an easy breakfast.
Storage and reheating
Room temperature: Store cooled pita in a sealed bag or container for up to 2 days. For the softest texture, seal them once they are fully cool or just barely warm, not steaming hot.
Freezer: Freeze in a zip-top bag with parchment between pitas for up to 2 months. This is my favorite way to avoid waste, you can pull exactly what you need.
Reheating: For soft pita, warm in a dry skillet for 20 to 40 seconds per side or wrap in foil and warm in a 350°F oven for about 8 minutes. From frozen, thaw for a few minutes at room temp first, then warm. Avoid microwaving too long, it can turn pita tough and rubbery.
Common mistakes
My pita did not puff. What happened?
- Pan or oven not hot enough: The top and bottom surfaces need to set quickly so steam is trapped inside. Preheat longer and cook over slightly higher heat.
- Rolled too thick: Aim for about 1/8 inch (around 3 mm). Thick dough tends to bake like a bun, not a pocket.
- Dough too dry: A stiff dough will not generate enough steam. Next time, add a splash more water during mixing. The dough should feel soft and slightly tacky.
- Not enough rest after rolling: Tight gluten fights expansion. Rest the rounds 10 to 15 minutes, covered.
- Too much flour on the outside: Excess bench flour can dry the surface and reduce good contact with the hot pan. Use just enough to prevent sticking and brush off excess before cooking.
How to save a no-puff pita
If a round stays flat, do not toss it. It is still delicious. Let it cool, then slice it like you would a sandwich roll or cut into wedges for dipping. You can also toast it and use it as a base for quick bites, but it will not have the same hollow pocket.
FAQ
Do I need a baking stone or steel?
No. They help, but you can get great puff on an inverted sheet pan that has preheated in the oven. For the stove, a cast iron skillet or heavy stainless pan is perfect.
Why do my pitas puff sometimes but not others?
Usually it is uneven rolling or cooking on a surface that cooled down between batches. Roll to an even thickness and let the pan reheat for 30 to 60 seconds if puffing starts to lag.
Can I make the dough ahead?
Yes. After the first rise, cover and refrigerate for up to 24 hours. Bring the dough back to room temperature for about 45 to 60 minutes before dividing and rolling.
How do I keep pita soft enough to stuff later?
Steam is your friend. Stack hot pitas and cover them right away. Let them sit covered for several minutes, then cool until just barely warm and seal them in a bag or container. Rewarm briefly in a hot, dry skillet before stuffing for the softest texture.
Homemade Pita Bread
A reliable yeast pita that puffs into a real pocket on the stove or in a hot oven. The method includes key resting times and a simple steaming step so the bread stays soft and easy to stuff.
- Prep
- 25 minutes
- Cook
- 20 minutes
- Total
- 1 hour 45 minutes
- Yield
- 8 pitas
Ingredients
- 2 1/4 tsp instant yeast (1 packet)
- 1 tsp sugar
- 3/4 cup warm water (about 105°F)
- 2 3/4 cups all-purpose flour, plus more for rolling
- 1 1/2 tsp fine salt
- 2 tbsp olive oil, plus a little for the bowl
- 1/2 cup lukewarm water, as needed (start with 1/4 cup and add only if the dough feels dry)
Instructions
- Mix the dough. In a large bowl, whisk the yeast, sugar, and 3/4 cup warm water. Add the flour and salt, then drizzle in the olive oil. Stir with a spoon until a shaggy dough forms. If there is dry flour in the bowl, add lukewarm water a tablespoon at a time just until everything comes together. The dough should feel soft and slightly tacky, not stiff.
- Knead until smooth. Turn the dough onto a lightly floured counter and knead for 8 to 10 minutes, until smooth and elastic. It should spring back slowly when you poke it. If it is sticking badly, dust with a little flour. If it feels tight or dry, wet your hands and keep kneading to work in a touch more moisture.
- First rise. Lightly oil the bowl, return the dough, and cover. Let rise at room temperature until doubled, 60 to 75 minutes (a little longer is fine if your kitchen is cool).
- Divide and rest. Turn the dough out and gently press to deflate. Divide into 8 equal pieces (about 85 to 90 g each if you are using a scale). Shape each into a smooth ball by tucking the edges underneath. Cover with a towel and rest 10 minutes so the gluten relaxes.
- Roll into rounds. On a lightly floured surface, roll each ball into a 6 to 7-inch round about 1/8-inch thick. Keep the thickness as even as possible all the way to the edges. Set the rounds on a lightly floured surface and cover. Rest 10 to 15 minutes.
- Choose your cooking method and preheat.
- Skillet method: Preheat a cast iron or heavy skillet over medium-high heat for 3 to 5 minutes. The pan should be very hot.
- Oven method: Place an inverted sheet pan (or baking stone or steel) in the oven and preheat to 500°F for at least 30 minutes.
- Cook the pita (skillet method). Place one round in the hot dry skillet. Cook 30 to 45 seconds until you see bubbles forming. Flip and cook 45 to 60 seconds. Flip again and cook 30 to 60 seconds. This is usually when it fully balloons. If it is browning too fast before puffing, lower the heat slightly. If it is pale and slow, raise the heat. Repeat with remaining rounds, letting the pan reheat briefly if puffing slows down.
- Cook the pita (oven method). Working quickly, place 2 to 4 rounds on the hot surface (as many as fit without overlapping). Bake 2 to 3 minutes, until puffed. If needed, bake 1 minute more. Remove immediately and repeat with remaining rounds.
- Steam to keep soft. As each pita finishes, stack it and cover with a clean towel or place in a lidded container. Let steam for at least 10 minutes before serving. This is the secret to pita that stays soft enough to stuff.
Notes
If a round will not puff: Give it one more flip and press very lightly with a spatula for 2 to 3 seconds, but only after you see bubbles and the first side has started to set. You are not trying to squash it, just helping a stubborn spot make contact with the hot pan so steam builds quickly. If it still will not inflate, it is still great bread. Keep going with the rest of the batch. Often the next one puffs beautifully once the pan is fully back up to heat.
Make-ahead: After the first rise, refrigerate the dough (covered) up to 24 hours. Let it sit at room temperature 45 to 60 minutes before dividing and rolling.