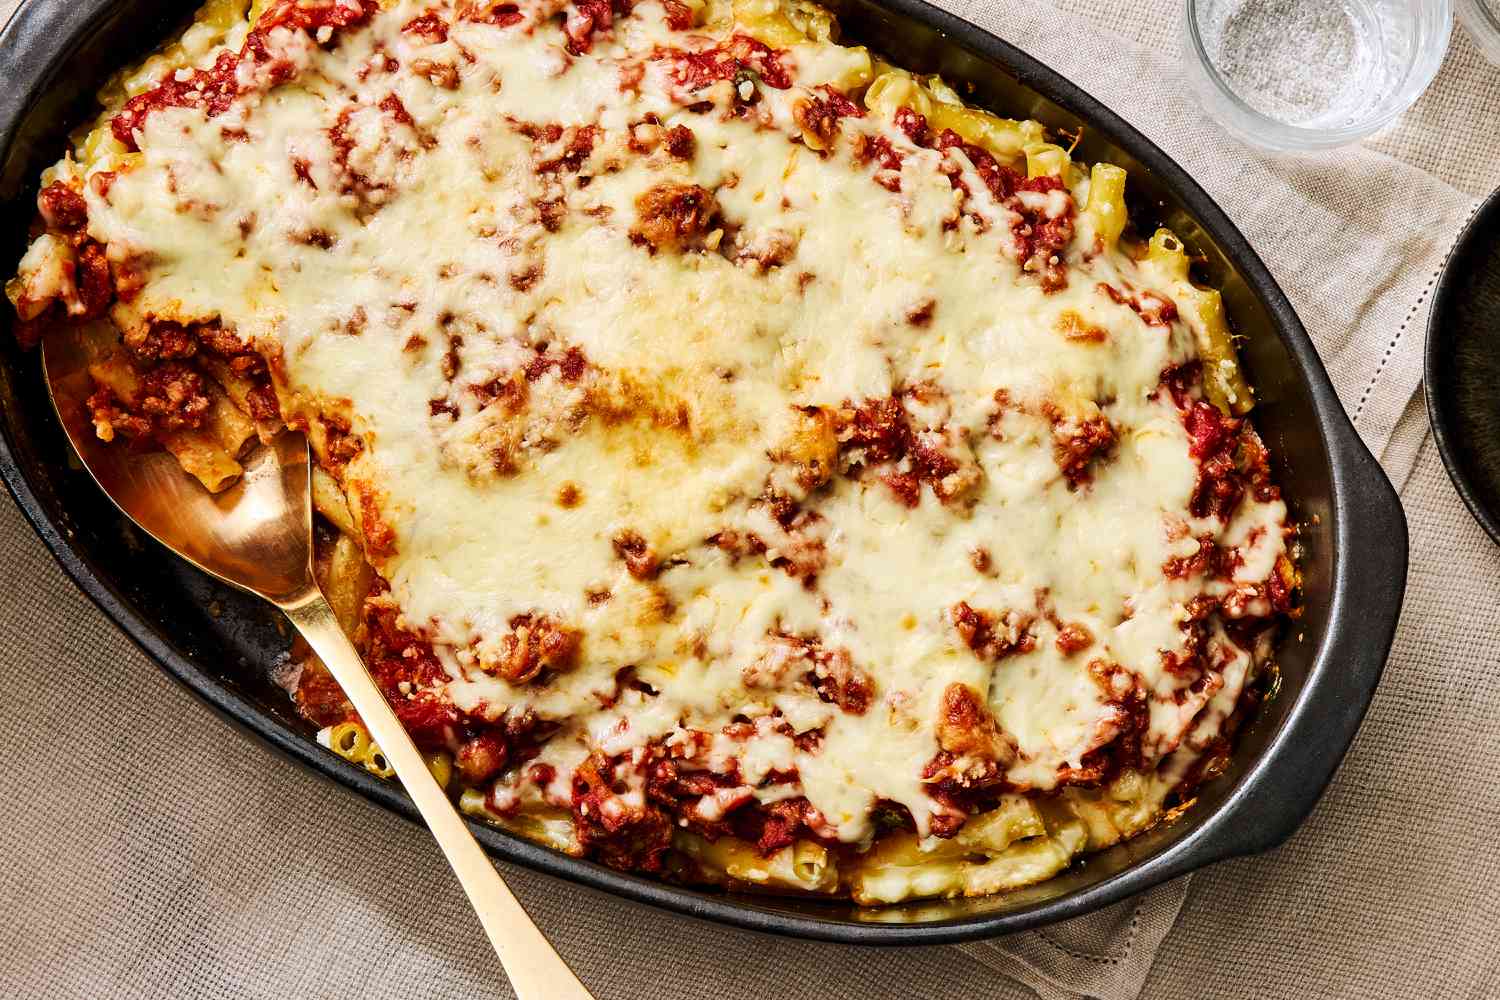
Lasagna is one of the best gifts you can give your future self. The trick is freezing it in a way that protects the sauce, keeps the cheese creamy, and helps the whole thing bake up in neat, sliceable layers instead of a soupy slide.
Below is my weeknight-tested method for assembling, freezing, thawing, and baking lasagna so it comes out structured, bubbly, and properly cheesy.
The best lasagna to freeze
Most lasagnas freeze well, but some are more forgiving than others. If your goal is a sturdy slice on a Tuesday night, here are the easiest winners:
- Meat sauce (bolognese-style) + ricotta or béchamel: The fat and protein help prevent watery layers.
- Classic red sauce + mozzarella + ricotta: Familiar, reliable, and reheats beautifully.
- Vegetable lasagna (best with sautéed veg): Works great if you cook off moisture first.
What I avoid freezing: lasagnas loaded with raw watery vegetables (zucchini, mushrooms, spinach) unless they are cooked down first, and very delicate cream-only sauces without a stabilizer (they can split). If you love a white lasagna, use a thicker béchamel and cool it fully before assembling.
Pan size basics
Picking the right pan affects bake time, freezing time, and whether the middle heats through before the top overbrowns.
- 9x13-inch (standard family dinner): Feeds 6 to 8. Best if you want leftovers.
- 8x8-inch (small household): Feeds 3 to 4. My favorite “actually finishes in a weeknight” size.
- Loaf pan (meal-train sized): Feeds 2 to 3. Great for gifting or splitting into multiple freezer meals.
Freezer tip: If you are short on freezer space, disposable foil pans are fantastic. If using glass or ceramic, make sure it is freezer-safe and avoid temperature shock (more on that below).
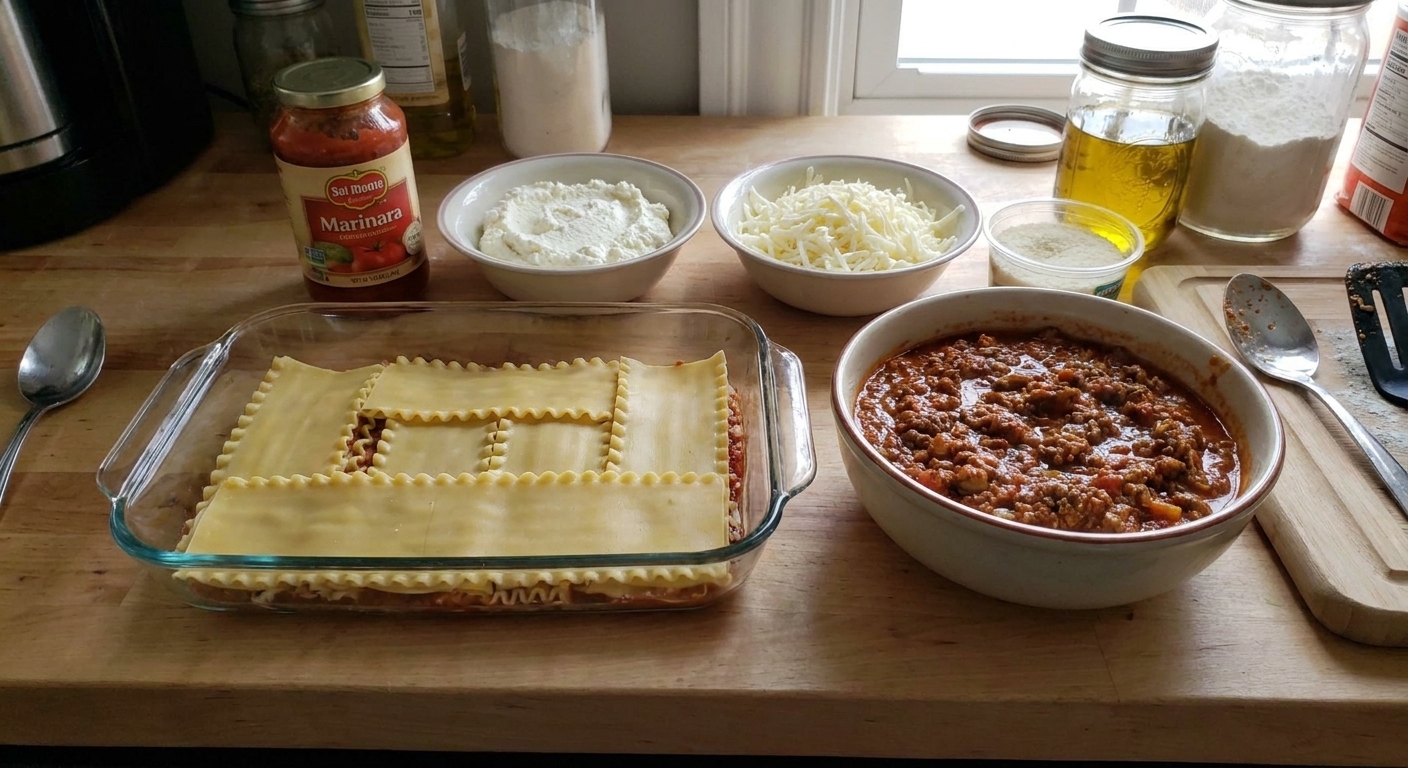
Assemble for freezing
1) Cool components first
Warm sauce creates steam, and steam becomes ice crystals, and ice crystals become watery pockets. Let sauce and cooked fillings cool until just slightly warm or room temp.
2) Start with a sauce buffer
Spread 1/2 to 3/4 cup sauce in the pan before the first noodle layer. This prevents sticking and helps the corners stay tender.
3) Manage moisture
- Vegetables: Sauté until you see liquid evaporate and the pan looks mostly dry.
- Spinach: Squeeze it like you mean it (a clean towel is perfect).
- Ricotta layer: Mix ricotta with egg (1 egg per 15 ounces ricotta) and a pinch of salt. This helps it set and slice cleanly after baking.
4) Do not over-sauce
This surprises people, but freezer lasagna should be a touch less wet than an “eat tonight” lasagna. You can always serve extra warmed sauce at the table.
5) Finish with a cheese cap
Top layer: noodles (or a thin smear of sauce), then sauce, then mozzarella and parmesan. That cheese layer helps seal in moisture and browns beautifully.
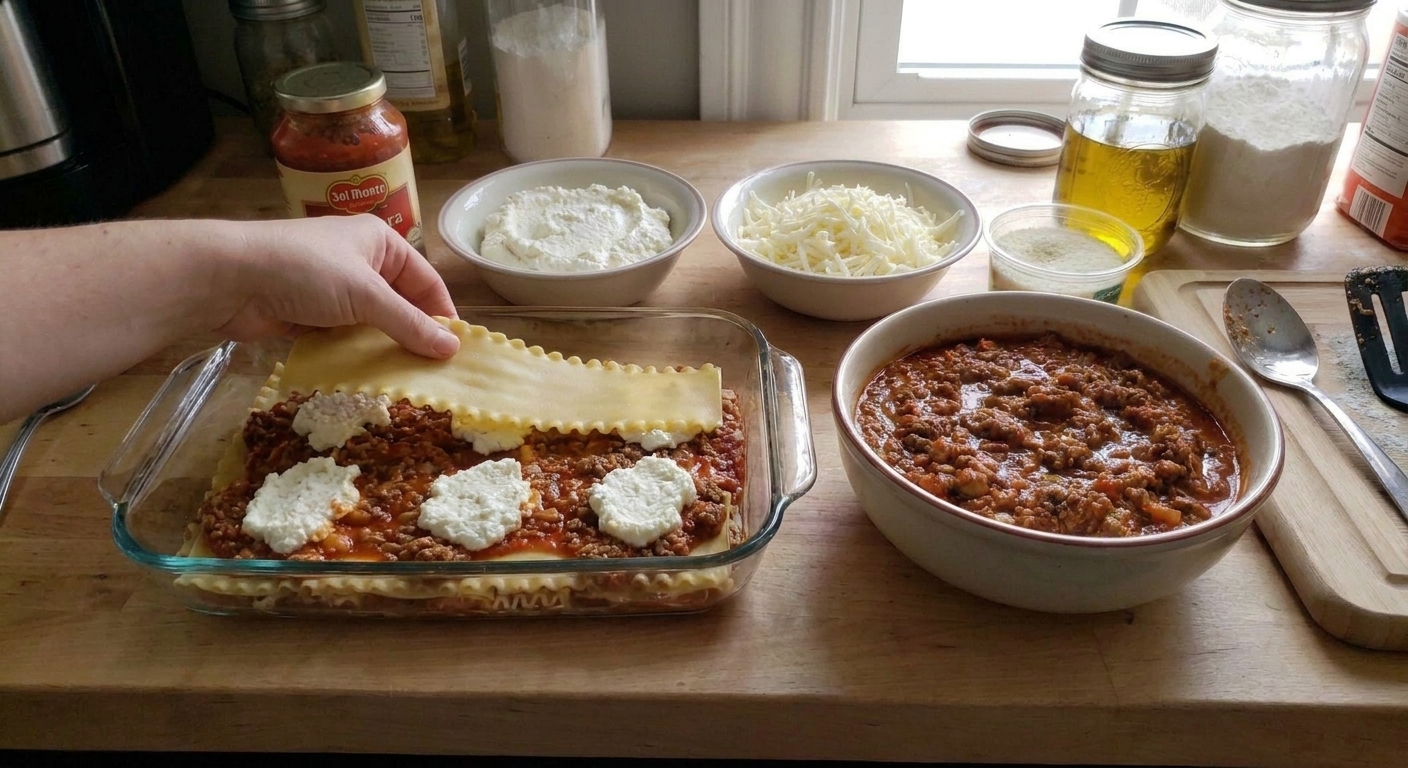
Wrap and freeze
Freezer burn is just dehydration. Your job is to stop air from touching the surface.
Best wrapping method
- Chill first (optional but helpful): Refrigerate the assembled lasagna for 2 to 4 hours so it firms up. This makes wrapping easier and reduces condensation.
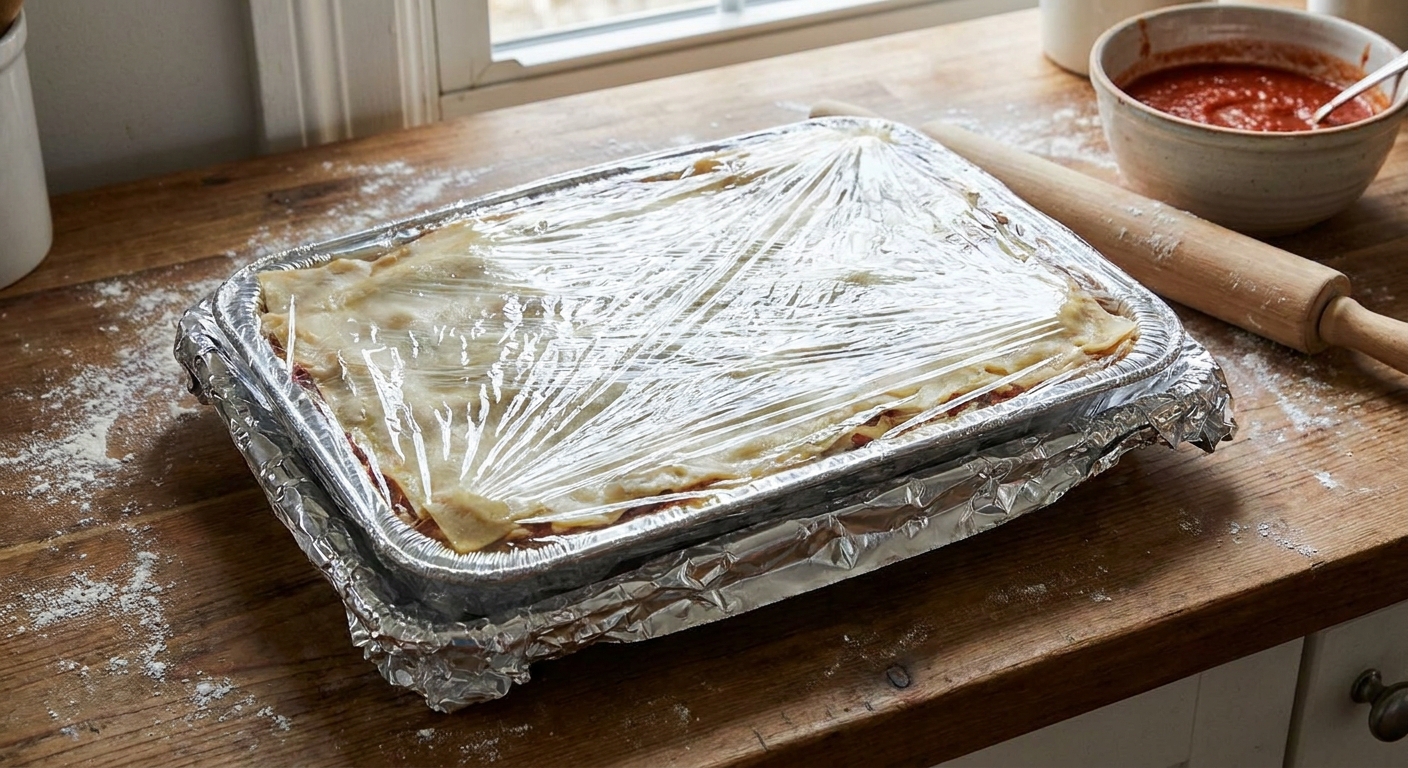
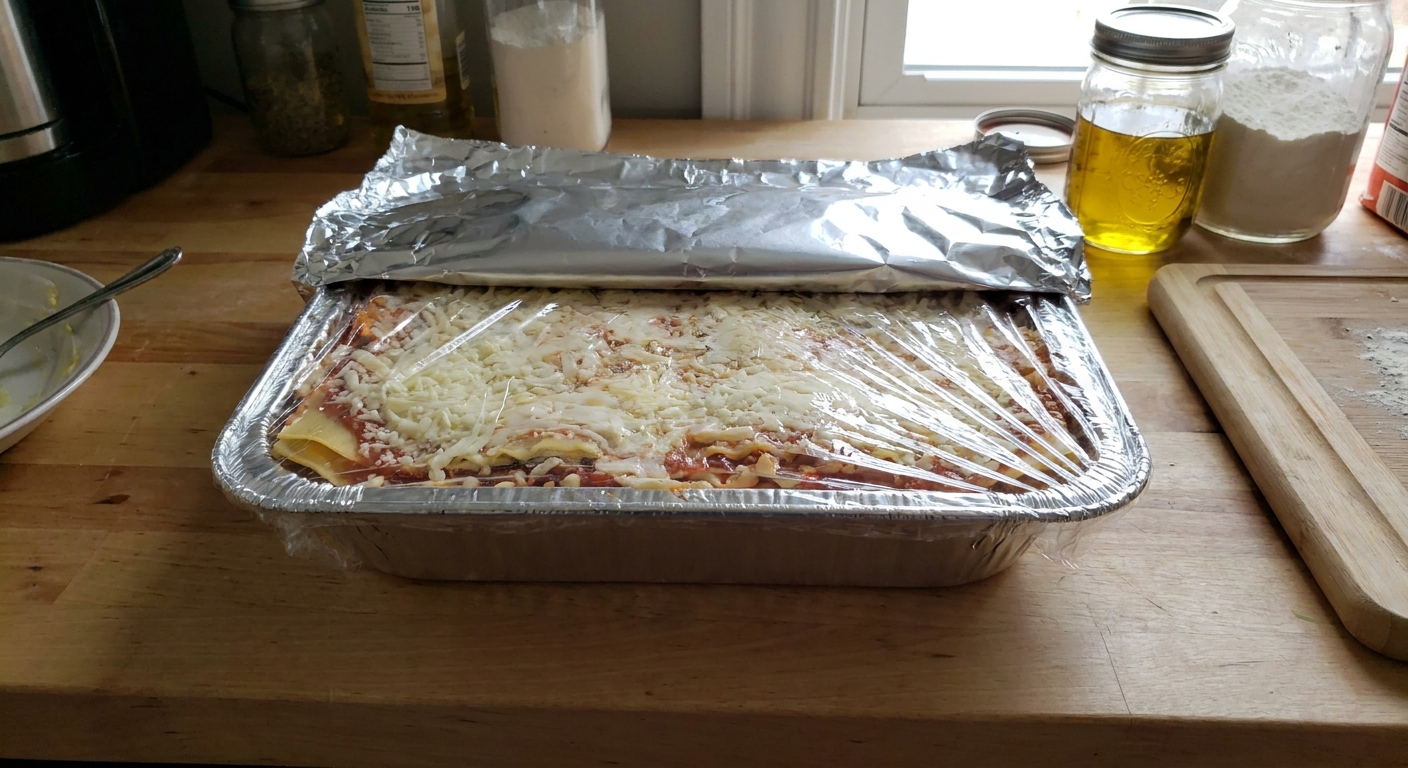
- Wrap tight in plastic wrap: Press it directly onto the surface and around the rim.
- Add a foil layer: Wrap the whole pan in heavy-duty foil.
- Label it: Write the date, baking instructions, and whether it is thaw-to-bake or bake-from-frozen.
Important safety note: Plastic wrap is for freezing only. Before baking, remove and discard all plastic wrap, then re-cover the pan with foil.
How long can you freeze it? For best texture, use within 2 to 3 months. It is safe longer, but the noodles and cheese start to dull and dry out.
A move for cleaner slices
If you have room, freeze the wrapped pan flat for 8 to 12 hours. Once solid, you can stack it more confidently without crushing the top.
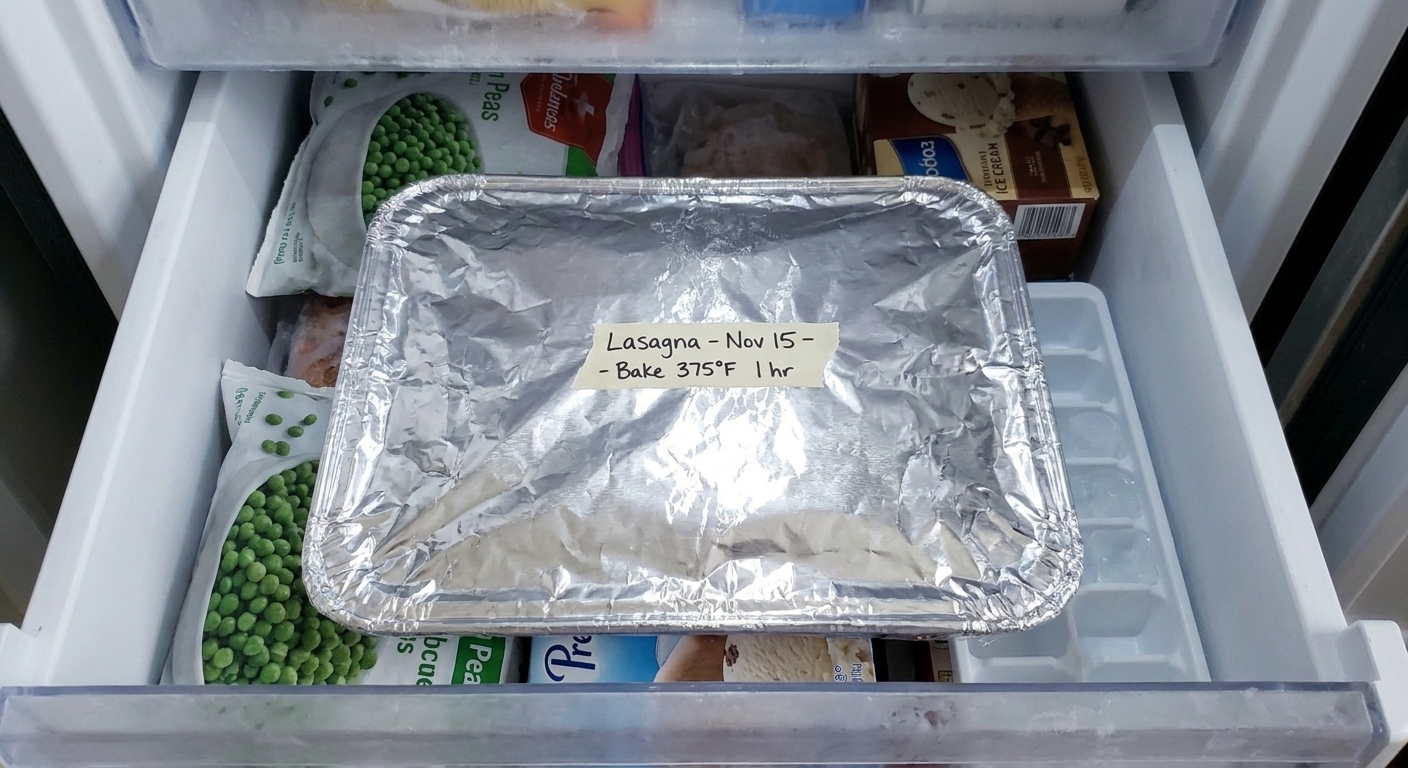
Thawing options
Option A: Fridge thaw (best texture)
Move lasagna from freezer to fridge 24 to 48 hours before baking. This gives you the most even bake and the least chance of a cold center.
Option B: Cold water thaw (foil pans)
If your lasagna is in a leak-proof foil pan and tightly wrapped, you can set it in a clean sink or large container of cold water for 1.5 to 2.5 hours, changing the water every 30 minutes. Then bake right away.
Keep the water level below the rim of the pan so it cannot creep under the foil or into the wrap.
Skip this for glass dishes to avoid cracking.
Option C: Bake from frozen
Totally doable. It just takes longer and you must keep it covered for most of the bake so the top does not burn before the middle heats through.
How to bake
Oven temperatures vary, but these timings are reliable starting points for a standard 9x13-inch lasagna.
First, unwrap it
Take the pan out of the freezer or fridge. Remove and discard the foil and all plastic wrap. Then cover the pan again with foil for baking. If foil tends to stick to your cheese, tent it slightly or add a layer of parchment between the lasagna and the foil.
If thawed (recommended)
- Oven: 375°F
- Covered with foil: 35 to 45 minutes
- Uncovered: 10 to 15 minutes, until browned and bubbly
Doneness cue: The edges should be actively bubbling, and the center should feel hot when you insert a knife for a few seconds.
If baking from frozen
- Oven: 375°F
- Covered with foil: 75 to 90 minutes
- Uncovered: 10 to 20 minutes, until browned and bubbly
Important: Keep it covered tightly for the first hour. If the foil is touching cheese, lightly tent it so it does not stick and pull off your top layer.
Rest before slicing
Rest the baked lasagna 20 to 30 minutes. That pause lets the cheese and sauce set so you get clean slices instead of lava soup. If you want it extra structured, rest 40 minutes and serve warm, not piping hot.
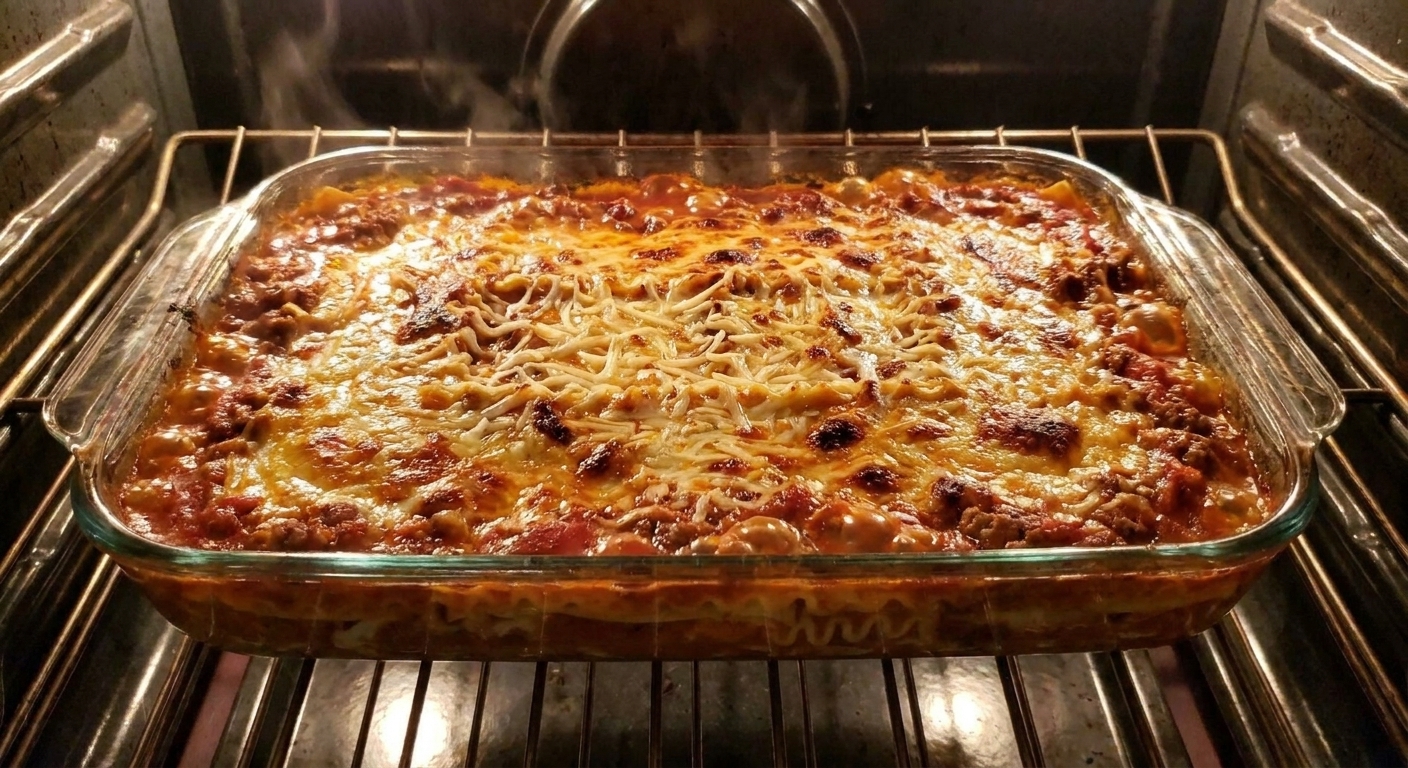
Make-ahead timing
- Up to 24 hours ahead: Assemble, cover, and refrigerate. Bake the next day (add 5 to 10 minutes since it is cold).
- Up to 3 months ahead: Assemble and freeze. Thaw 24 to 48 hours, then bake.
- Same day: Assemble in the morning, chill, then bake at dinner. Chilling helps it hold its shape.
If you are meal prepping, I love doing two smaller pans instead of one huge one. One for tonight, one for the freezer, and you only make the mess once.
Fixes for common issues
Problem: Watery lasagna
- Cook down sauce and veggies. No simmer, no structure.
- Cool fillings before assembling.
- Use a bit less sauce than you think, then serve extra on the side.
Problem: Mushy noodles
- Use regular lasagna noodles and cook to just shy of al dente.
- If using no-boil noodles, make sure your sauce is not overly thick so they hydrate evenly.
Problem: Dry edges
- Make sure sauce reaches the corners.
- Cover tightly with foil for most of the bake.
- Consider a thin extra layer of sauce before freezing, especially in foil pans.
Problem: Grainy cheese
- Ricotta sets better when mixed with egg and seasoned well.
- Thaw in the fridge when possible for gentler reheating.
- Avoid very low-fat cheeses for freezer lasagna. They tend to weep.
Freezer-friendly variations
- Swap proteins: Ground turkey, Italian sausage, or lentils all freeze well in a tomato sauce base.
- Use up odds and ends: Stir chopped roasted veggies into the sauce, or tuck in that half-bag of spinach after squeezing it dry.
- Boost brightness: A little lemon zest in the ricotta layer or a splash of red wine vinegar in the sauce helps keep flavors lively after freezing.
That last point is my Portland habit showing, but it is true: freezing can mute flavor slightly, and a nudge of acid wakes everything up.
FAQ
Is it better to freeze lasagna baked or unbaked?
Unbaked usually gives you a better final texture because it bakes fresh. That said, baked lasagna freezes well too, especially if you want quick single servings. Cool completely, portion, wrap, and freeze.
Can I freeze lasagna in a glass dish?
Only if the dish is labeled freezer-safe and you avoid temperature shock. Let the assembled lasagna cool fully, freeze, and thaw in the fridge before baking. If you might bake from frozen, I recommend a foil pan instead.
How do I keep the top from sticking to foil?
Either tent the foil so it does not touch the cheese, or place a piece of parchment on top of the lasagna first, then foil over that.
How do I know the center is hot?
The most reliable cue is temperature: the center should hit 165°F on an instant-read thermometer. If you do not have one, insert a knife into the center for 5 seconds, then carefully touch the blade. It should feel very hot.