Roux is one of those quiet kitchen skills that makes everything feel more restaurant-quality without adding stress. It is simply flour cooked in fat, and it thickens soups and sauces with a silky body you cannot quite fake with cornstarch alone. Once you understand ratios and heat, you can make it on autopilot on a Tuesday night.
What roux does
Roux thickens because flour contains starch. When you cook flour in fat first, you coat the starch granules and toast off raw flour taste. When you later add liquid and bring it to a simmer, those starches hydrate and swell, creating a smooth thickened sauce or soup base.
Two practical takeaways:
- More cooking time means less thickening power. A darker roux tastes deeper and nuttier, but it thickens a bit less than a pale roux.
- Heat control matters more than speed. A rushed roux is how you get scorching, clumps, and that “why does this taste like burnt popcorn?” moment.
Roux ratio and amounts
Classic ratio
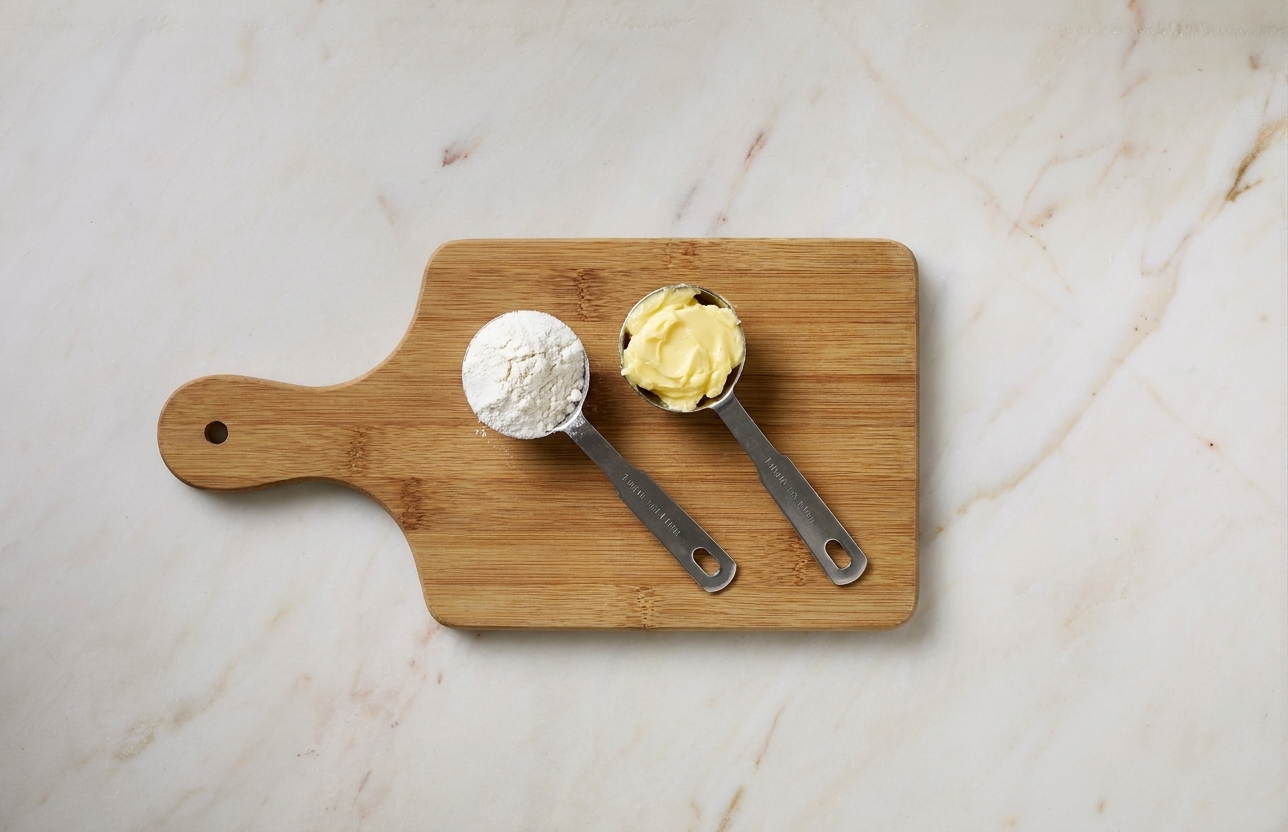
The standard roux is equal parts fat and flour by weight. For home cooking, measuring by volume works well too: 1 tablespoon fat + 1 tablespoon flour makes a small roux.
A useful starting point
Thickness depends on your flour, your liquid, and how long you simmer, so treat this as a starting point and adjust.
- Light to medium thickness: about 1 tablespoon butter (or other fat) + 1 tablespoon flour per 1 cup liquid
- Thicker, gravy-like: about 1 1/2 tablespoons fat + 1 1/2 tablespoons flour per 1 cup liquid
For a typical weeknight pot of soup, I often start with 3 tablespoons butter + 3 tablespoons flour, then add about 3 cups broth or milk and see where it lands.
Choosing your fat
You have options, and each one nudges the flavor a little.
- Butter: Classic for béchamel, mac and cheese, creamy soups. Rich flavor. Watch heat so the milk solids do not burn.
- Neutral oil (canola, avocado): Great for higher heat and longer cooking, especially for brown roux.
- Animal fat (bacon drippings, chicken fat, duck fat): Adds savory depth to chowders, gravies, and hearty soups. Strain first if it has browned bits that may burn.
Heat level
Most roux problems come from heat that is too high. Aim for medium-low to medium heat until you know your stove.
- White roux: medium-low is plenty
- Blond roux: medium, adjusting down as needed
- Brown roux: medium to medium-low, and be patient
Use a heavy-bottomed saucepan or Dutch oven. Thin pans create hot spots, which is a fancy way of saying “burnt in one corner.”
How to make roux
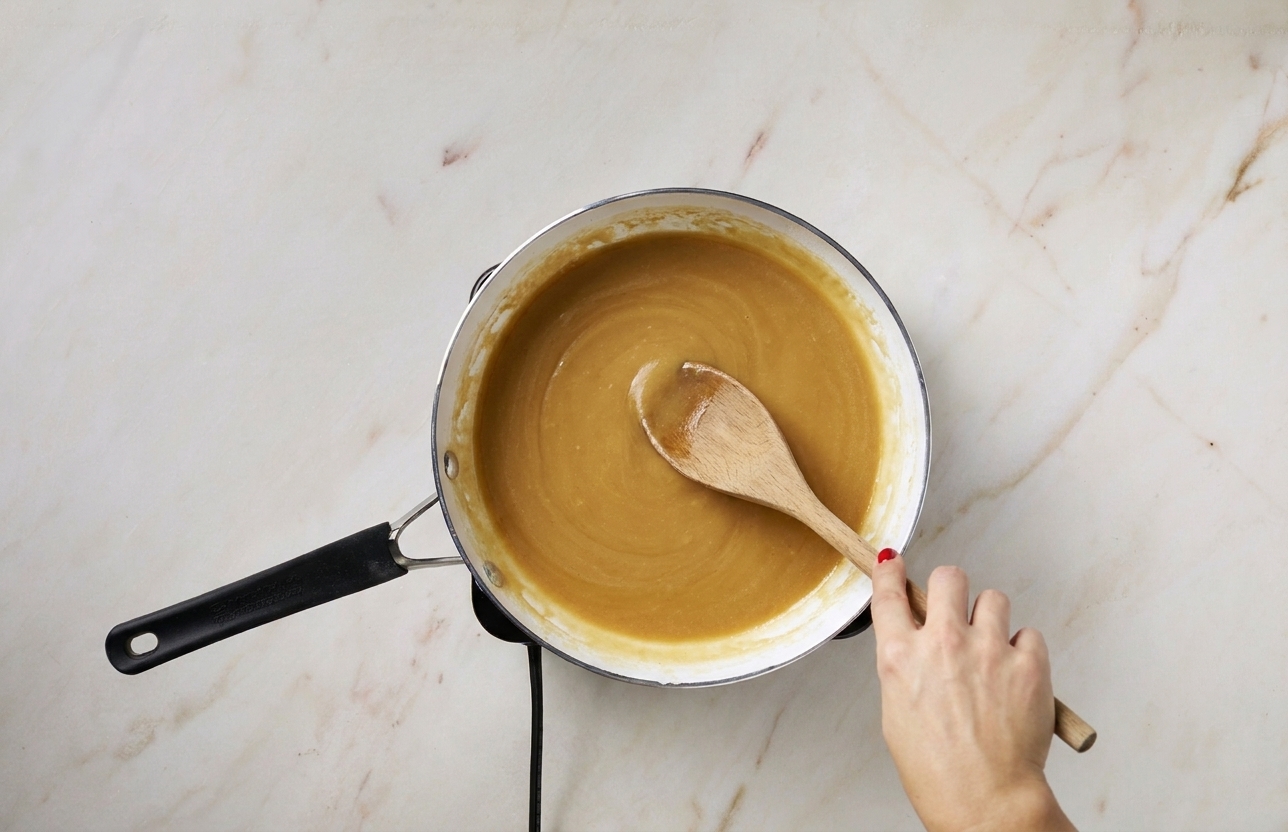
- Melt (or heat) the fat. Add butter or oil to your pan over medium-low heat. If using butter, let it fully melt and wait until the foaming subsides.
- Whisk in flour. Sprinkle flour in while whisking. You want a smooth paste with no dry pockets.
- Cook, stirring often. Switch between a whisk and a flat-edged wooden spoon or silicone spatula. Scrape corners and the bottom of the pan.
- Stop at your target color. White, blond, or brown, then move directly into adding your liquid (details below).
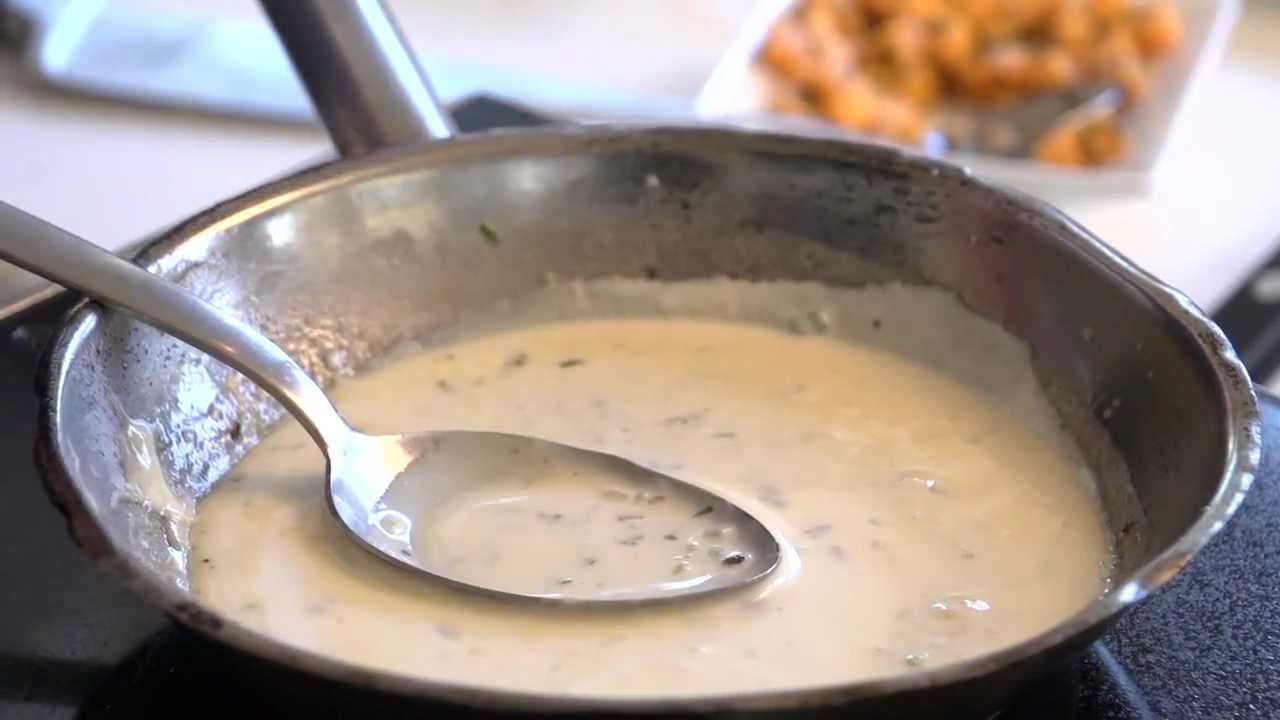
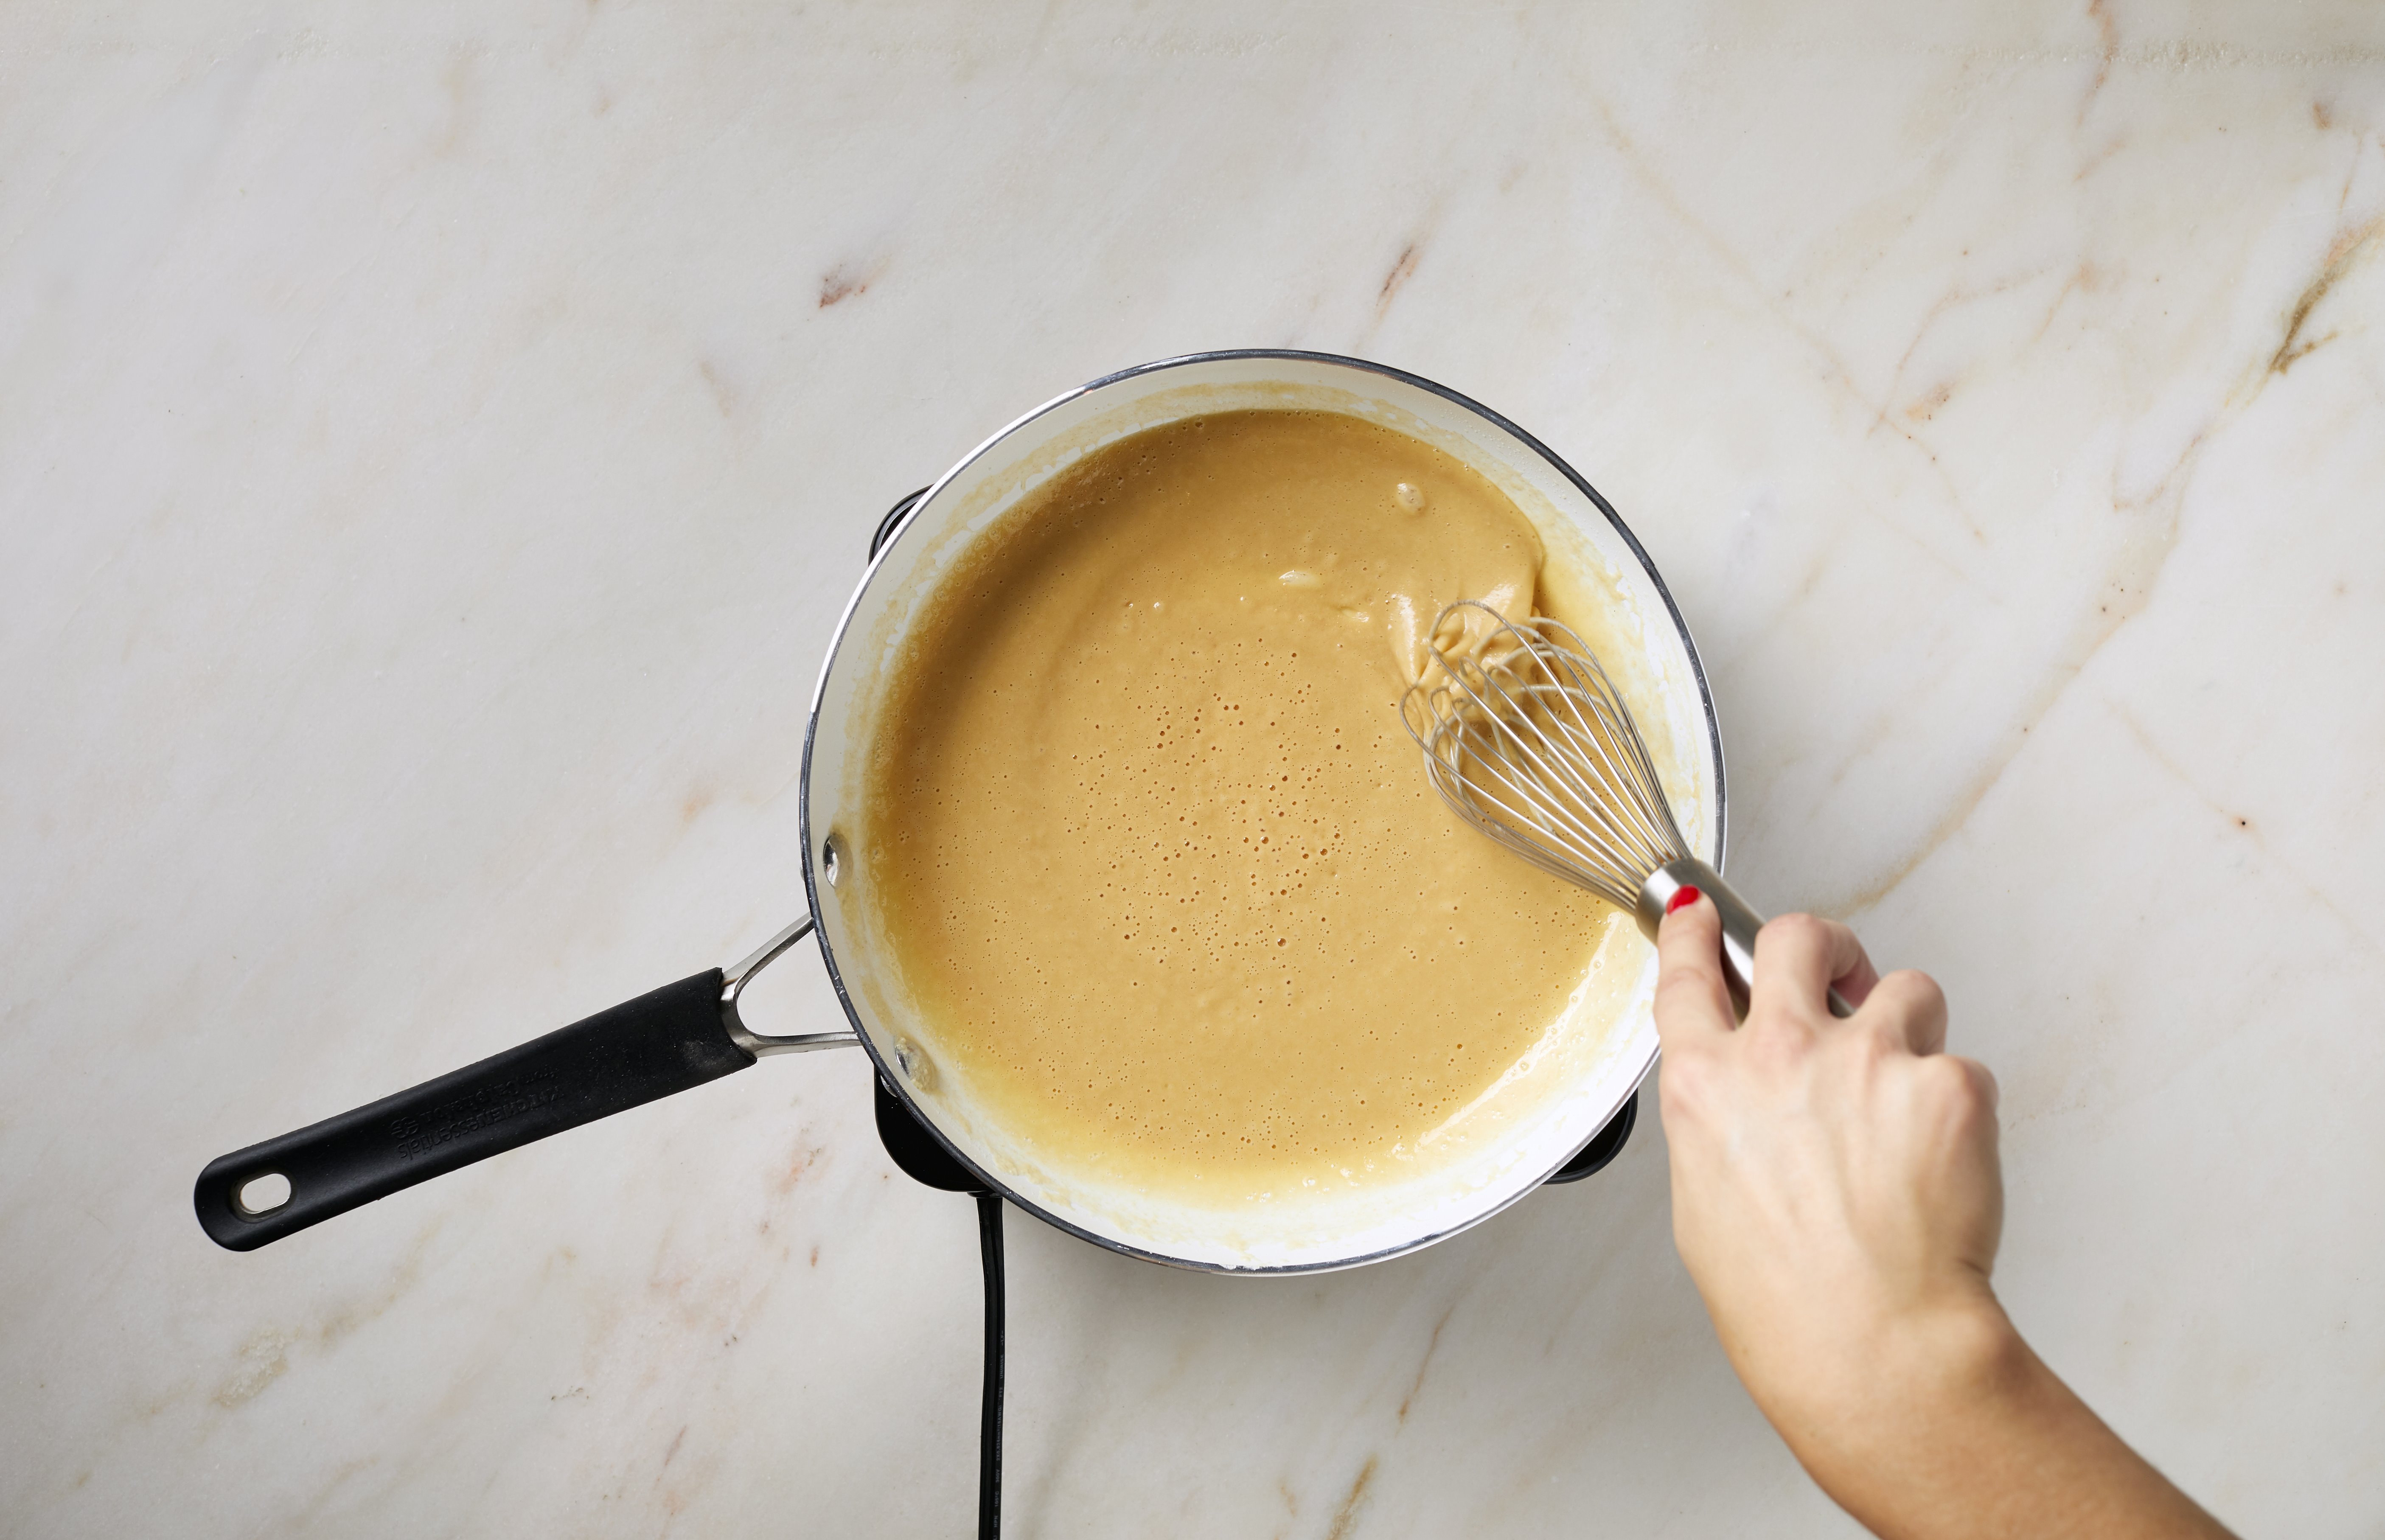
Sensory cue: A roux should look glossy and cohesive, like wet sand turning into a smooth paste. If it looks greasy with separated oil pooling, your heat may be too high or your ratio is off (easy fix below).
Roux colors
Think of roux color like toast. Pale is mild and thickening. Dark is nutty and complex, with slightly less thickening power.
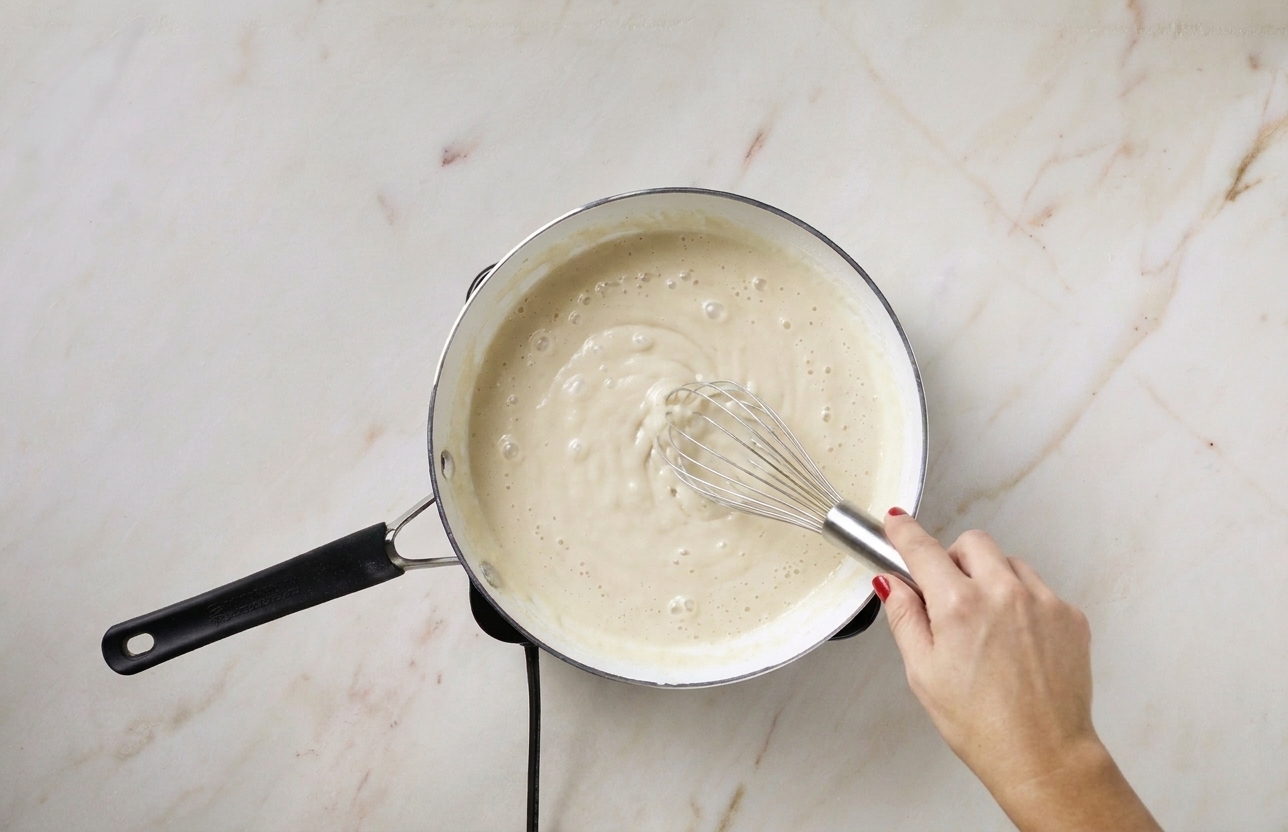
White roux
Time: about 1 to 3 minutes
Look: pale, bubbly paste, no browning
Flavor: neutral, no raw flour taste
Best for: creamy sauces and lighter soups where you do not want toasted flavor.
- Béchamel (white sauce)
- Cheese sauce for mac and cheese
- Cream of mushroom or cream of chicken soup
- Turkey gravy when you want a lighter color
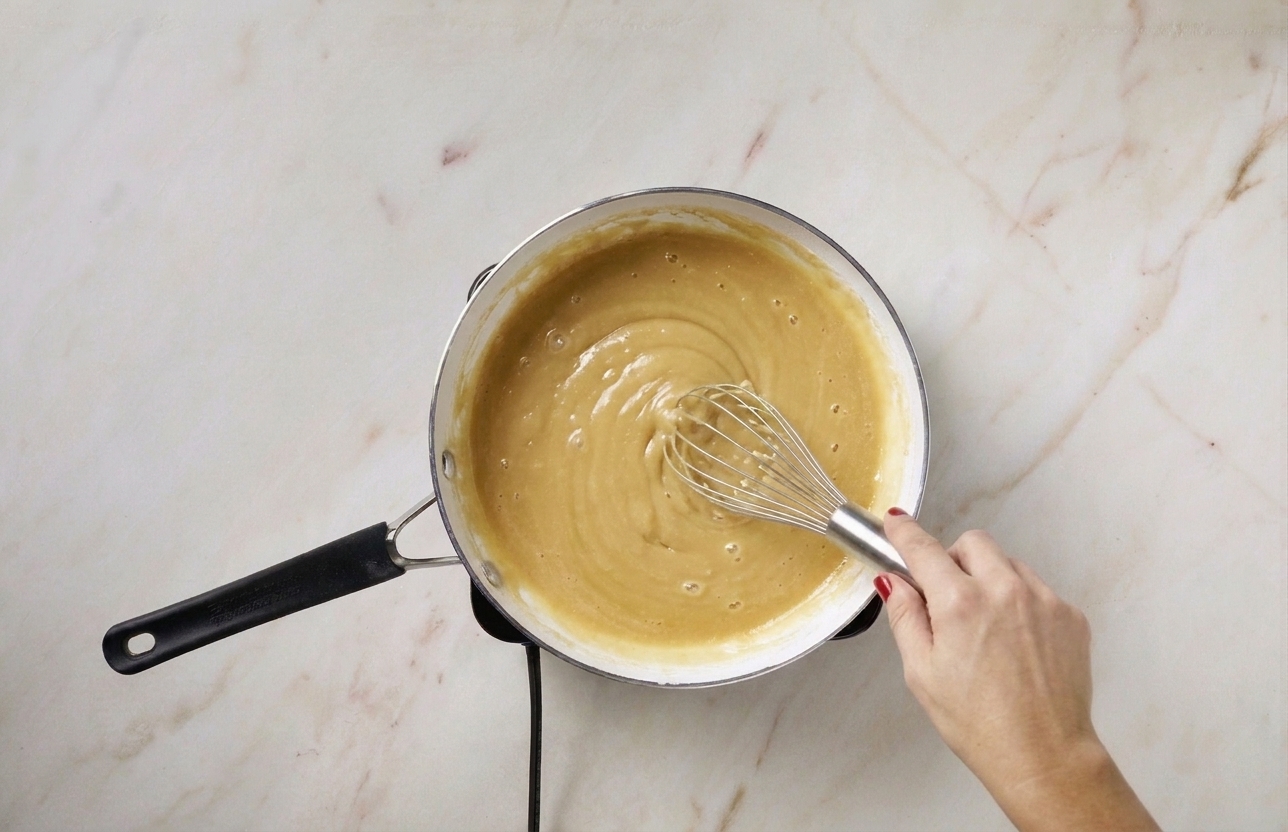
Blond roux
Time: about 3 to 6 minutes
Look: light golden, like blonde peanut butter
Flavor: gently nutty, warmer than white
Best for: gravies and soups that benefit from a little toastiness but still need good thickening.
- Chicken gravy
- Sausage gravy
- Pot pie filling
- Many chowders (corn chowder, potato chowder)
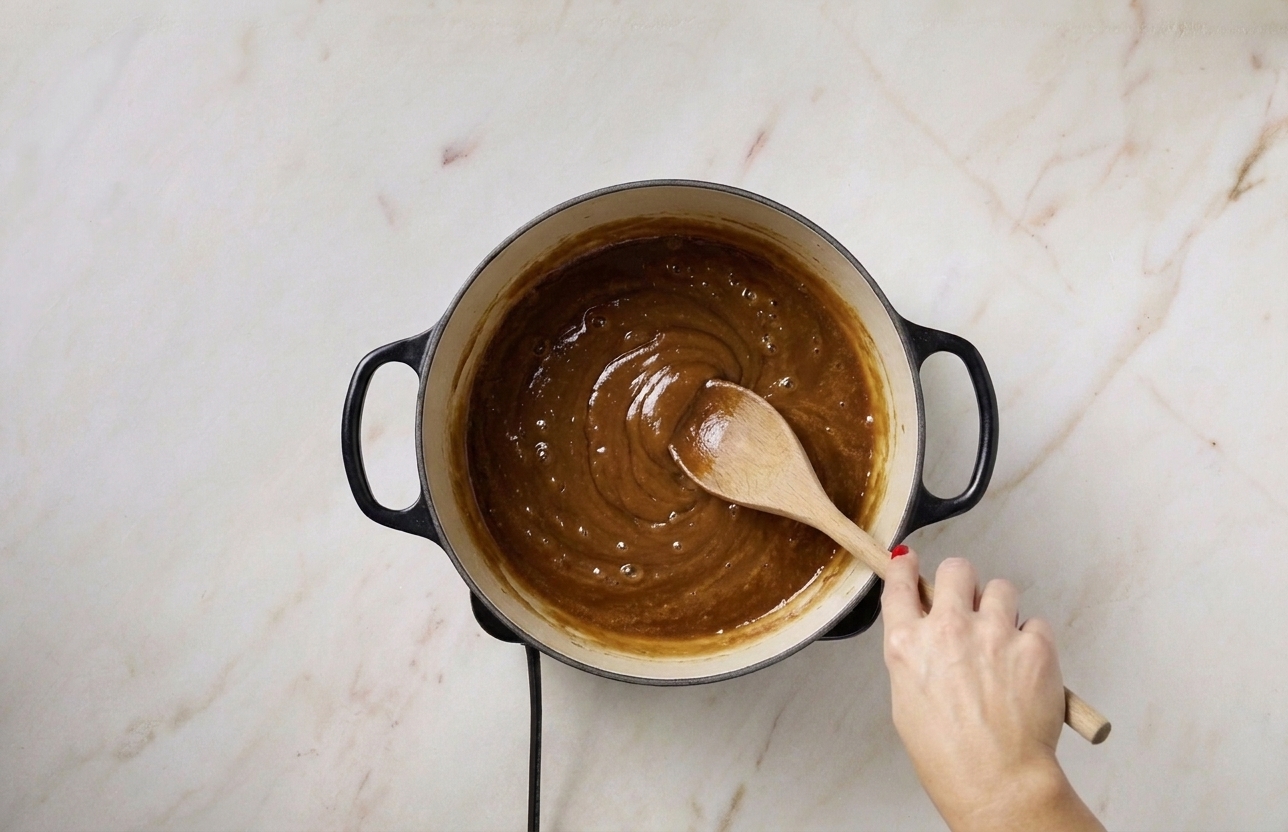
Brown roux
Time: about 10 to 25 minutes, depending on heat and pan
Look: deep caramel to milk-chocolate brown
Flavor: distinctly nutty, toasted, almost coffee-like
Best for: bold, savory dishes where roux flavor is part of the point.
- Gumbo
- Étouffée
- Deeply flavored stews and gravies
Adding liquid
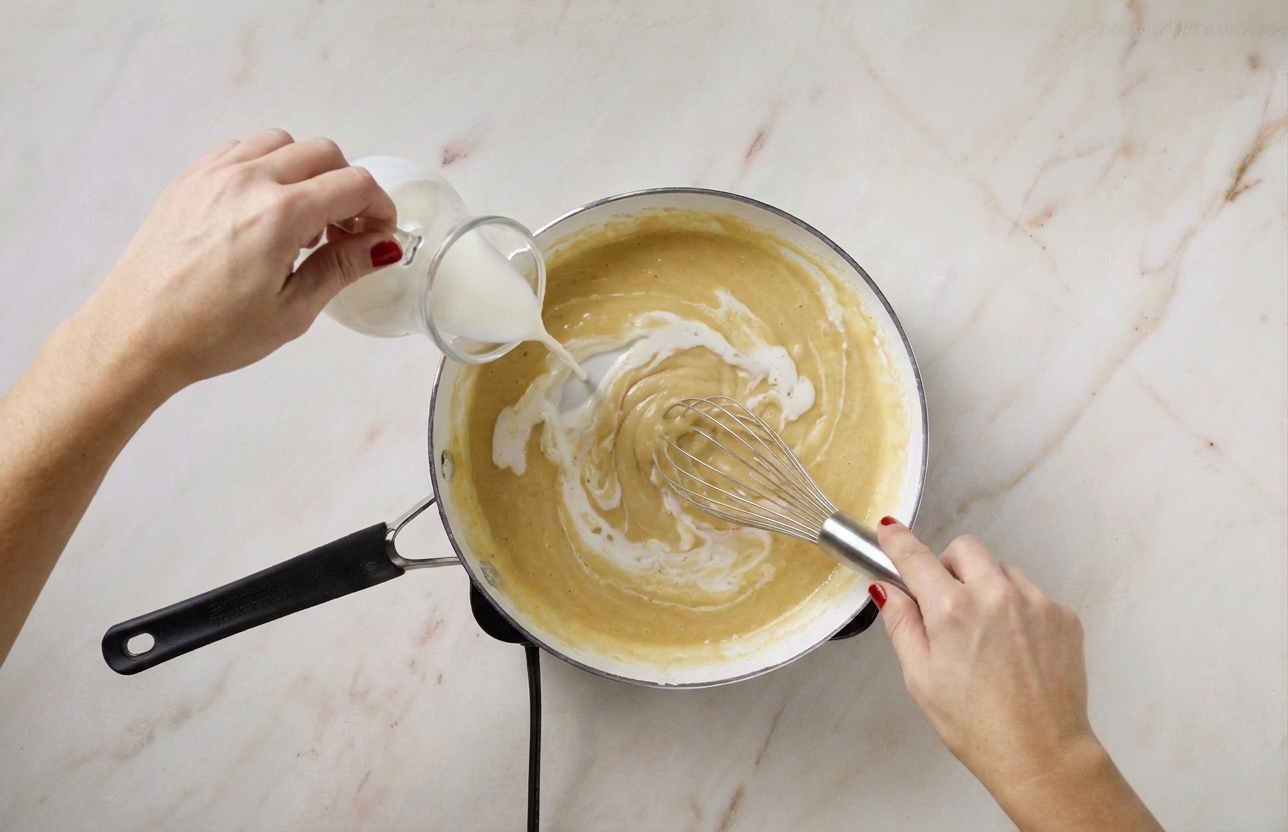
The smoothest sauces happen when you add liquid gradually and whisk like you mean it.
How to avoid lumps
- Keep the roux hot, not smoking. Medium heat is usually right.
- Add a splash of liquid first. Start with a few tablespoons, whisking constantly. It will seize into a thick paste at first. That is normal.
- Keep adding in small pours. Whisk smooth after each addition before adding more.
- Bring to a gentle simmer. Roux thickens as it reaches a simmer, then continues to tighten a bit over the next few minutes.
Cold vs warm liquid: You can use either. Warm liquid can feel a little easier, but the real key is adding it slowly while whisking thoroughly.
Simmer and season
Once your sauce or soup base hits a gentle simmer, give it at least a few minutes (often 2 to 5) to fully thicken and cook off any lingering flour taste. For thicker sauces like gravy or cheese sauce, a few extra minutes at a low bubble can make the texture noticeably silkier.
Roux itself is not seasoned. Salt and pepper are best adjusted after the sauce has simmered, when the final thickness and flavor are settled.
Fixing lumps
Lumps happen. They are fixable almost every time.
Fix 1: Whisk off the heat
If you see lumps forming as you add liquid, pull the pan off the burner and whisk vigorously for 20 to 30 seconds. Taking away heat gives you a calmer window to smooth things out.
Fix 2: Add a little more liquid
Sometimes lumps are simply “too thick too soon.” Add a splash of liquid and whisk again. Thinner gives the whisk room to work.
Fix 3: Strain or blend
If the sauce is already hot and you cannot whisk out the lumps:
- Strain through a fine-mesh sieve into a clean pot, pressing gently.
- Blend with an immersion blender for 10 to 20 seconds (great for soups).
Common causes
- Dumping in liquid all at once
- Not whisking into the corners of the pan
- Roux not fully mixed before cooking (dry flour pockets)
Greasy or broken roux
If oil is pooling and the roux looks separated, your ratio may be heavy on fat or your heat is too high.
- Turn the heat down. Give it 30 seconds to calm.
- Whisk in a little more flour. Start with 1 teaspoon at a time until it looks like a cohesive paste again.
- Keep stirring. A roux likes attention, especially as it gets darker.
Roux cheat sheet
White roux
- Béchamel and mornay (cheese sauce)
- Creamy vegetable soups (cauliflower, broccoli, asparagus)
- Seafood chowders when you want a lighter flavor
Blond roux
- Chicken, pork, and sausage gravies
- Biscuits and gravy
- Pot pie filling
- Hearty chowders and creamy chicken soup
Brown roux
- Gumbo
- Étouffée
- Robust gravies for braised meats
A note on Alfredo
Classic Alfredo is butter, cheese, and pasta water, no roux. Some American-style cream sauces people call “Alfredo” start with a quick roux for extra stability. If that is what you are making, a white roux is the move.
Make-ahead and storage
If you are the kind of person who meal preps in tiny, satisfying ways, roux is a dream.
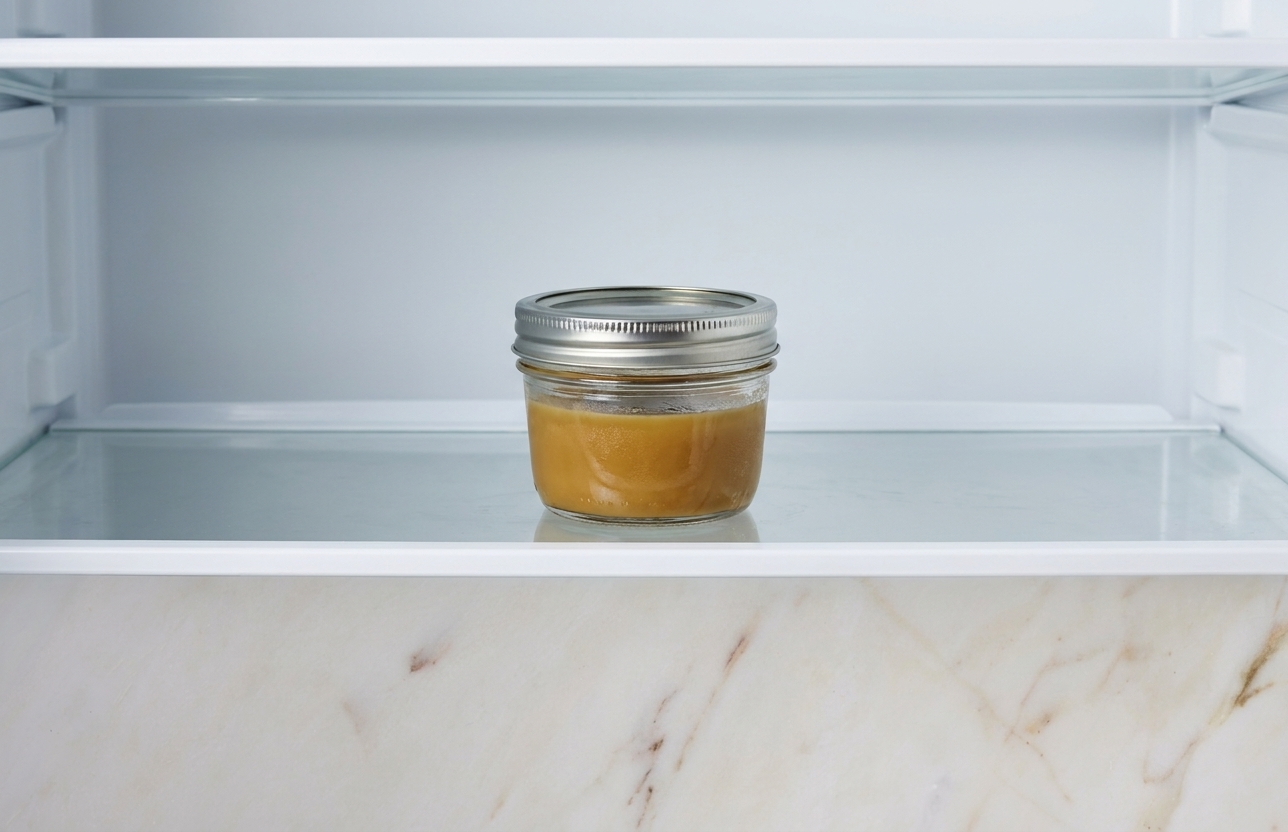
- Fridge: Cool quickly, cover, and refrigerate. Use within about 1 week for best quality.
- Freezer: Portion into tablespoon-sized scoops on a sheet pan, freeze, then transfer to a bag. Use within about 3 months for best flavor.
To use chilled roux, warm it gently in a pan, then whisk in liquid gradually just like fresh. Reheat sauces to a thorough simmer before serving.
Roux FAQs
Can I make roux with gluten-free flour?
Yes, but results vary by blend. A 1:1 gluten-free all-purpose flour usually works for thickening, though it may not get quite as silky. Cook it well to remove any raw taste, and expect to adjust thickness by simmering.
Does roux have to match the liquid temperature?
No. What matters most is adding the liquid gradually while whisking. Warm liquid can feel easier, especially for beginners, but it is not required.
Why did my roux burn so fast?
Heat was too high, the pan was thin, or you stepped away. For darker roux, use medium-low heat and stir constantly, scraping the corners. If you see black flecks, start over. Burnt roux tastes bitter and will take the whole pot down with it.
How do I know when the flour taste is cooked out?
Smell is your best cue. Raw flour smells dusty and flat. Cooked roux smells nutty and warm. For white roux, give it at least 1 to 2 minutes of bubbling after the flour is fully incorporated, then simmer the finished sauce for a few minutes before serving.