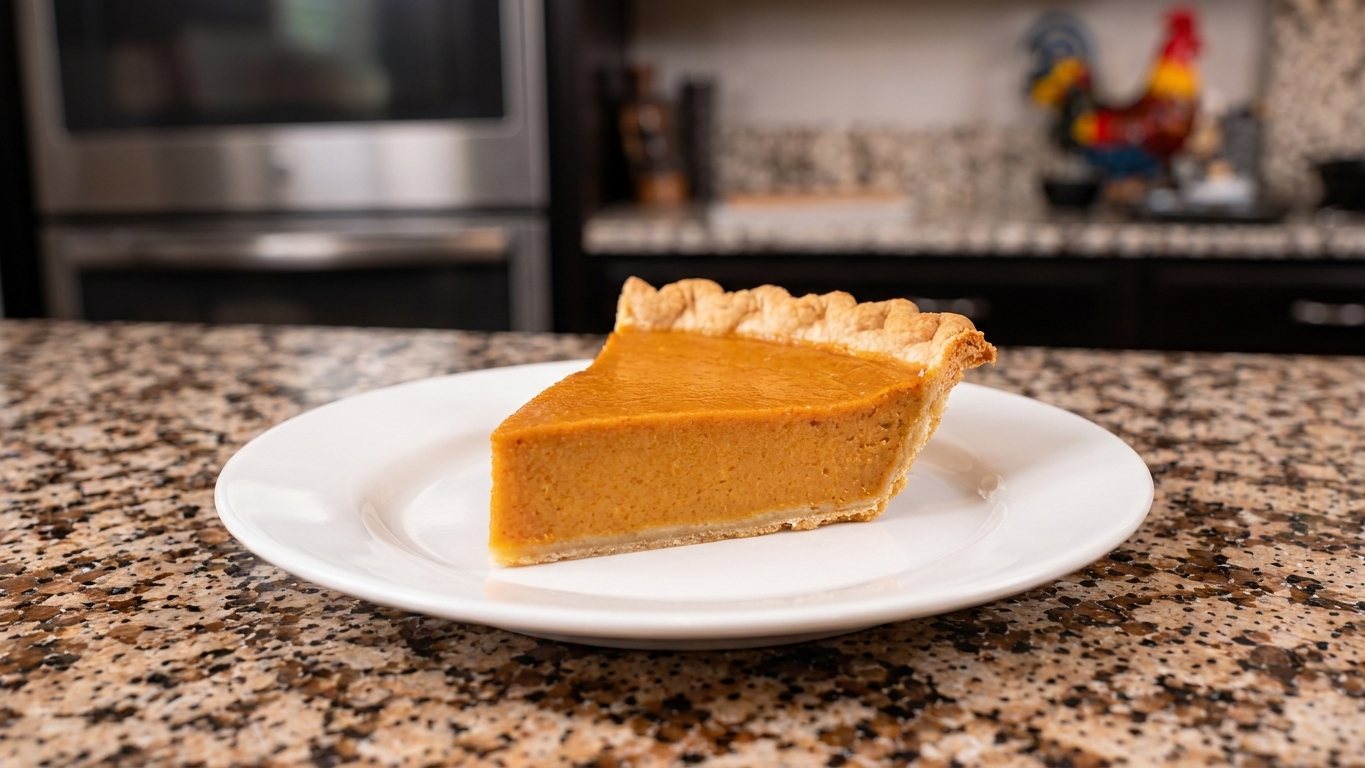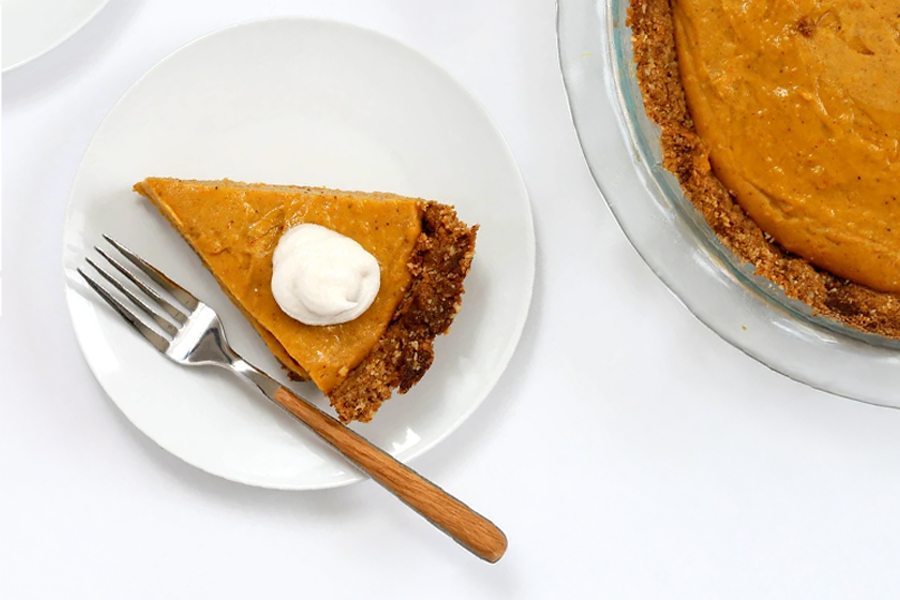

When I want pumpkin pie energy without turning my kitchen into a sauna, I reach for a refrigerator pie, meaning a chill-set pie that firms up in the fridge instead of the oven. This no-bake pumpkin pie is creamy, warmly spiced, and sets firm enough to slice cleanly, all in a buttery graham cracker crust.

You have two reliable ways to get that perfect chill-and-slice texture:
- Gelatin-set filling: the quickest path to a mousse-like, stable pie with a true no-cook filling. (Quick note: gelatin is not vegetarian.)
- Cooked pudding-base filling: a slightly more old-school, stovetop option that sets beautifully and tastes extra rich. (Still no oven, but you will briefly use the stove.)
If you are choosing between them, here is the simple cheat code: gelatin gives you a lighter, fluffier slice, while the pudding base eats more like a classic, creamy custard-style pie.
One more thing to know up front: this is a make-ahead dessert. You will want to plan for several hours of chill time so it sets all the way through.
Whichever route you choose, the secret is the same: give it enough time in the fridge, then slice it like a pro. I will walk you through both, plus the tiny details that make a big difference, like blooming gelatin properly, balancing sweetness with salt, and warming your knife for bakery-clean wedges.
Why this recipe works
- It is truly refrigerator-friendly. No oven, no tempering eggs, no guessing when a custard is done. You are aiming for a thick, spoonable filling that sets while it chills.
- Two setting methods means you can use what you have. Gelatin gives a light, silky slice. A cooked pudding base gives a slightly denser, classic pie-shop texture.
- Graham crust brings built-in flavor and structure. The toasty crumbs and butter set firm in the fridge and hold up well under the creamy filling.
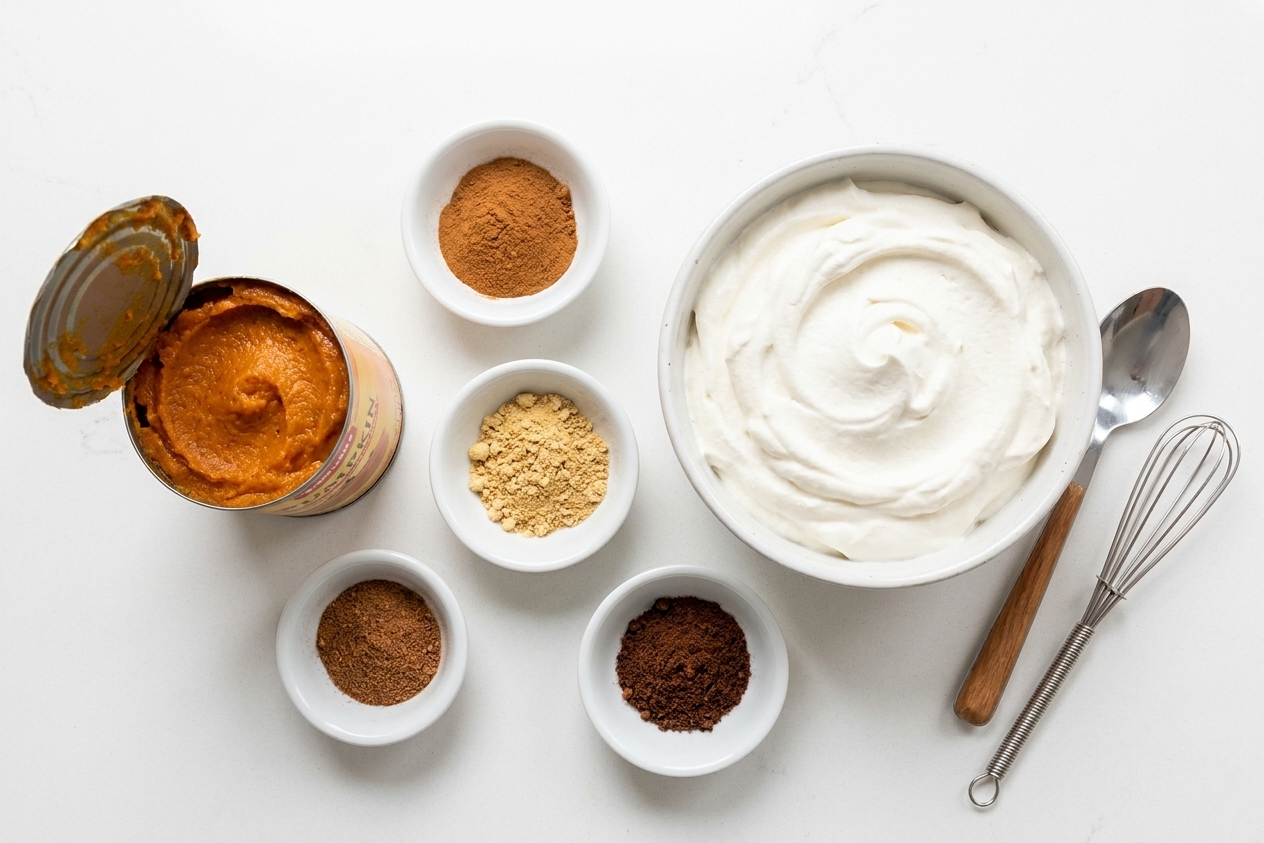
- Spice is layered, not loud. Cinnamon leads, ginger adds warmth, and a small amount of clove or allspice keeps it tasting like pumpkin pie, not a candle.
- Clean slices are baked in. The recipe is written with chill time, pan release, and knife technique in mind so you get neat wedges, not pumpkin puddles.
Ingredient notes
Pumpkin
Use 100% pure pumpkin puree, not pumpkin pie filling. The puree should look thick and matte, not watery. If yours seems loose, you can blot it with a paper towel or let it drain briefly in a fine-mesh sieve to avoid a soft set.
Dairy
For the creamiest texture, I like a combo of heavy cream (for body) and cream cheese (for richness and stability). If you go the pudding-base route, whole milk gives the best mouthfeel.
Gelatin (if using)
Use unflavored powdered gelatin. It must be bloomed in cold water first, then gently dissolved. If you see grainy bits, it will set with little chewy specks, so take the extra 30 seconds to dissolve it completely.
Spices
Cinnamon, ginger, and nutmeg are the core. Clove is powerful, so keep it light. If you only have pumpkin pie spice, that works too. Add a pinch of salt to make the spices taste rounder and the pumpkin taste more pumpkin-y.
Graham cracker crust
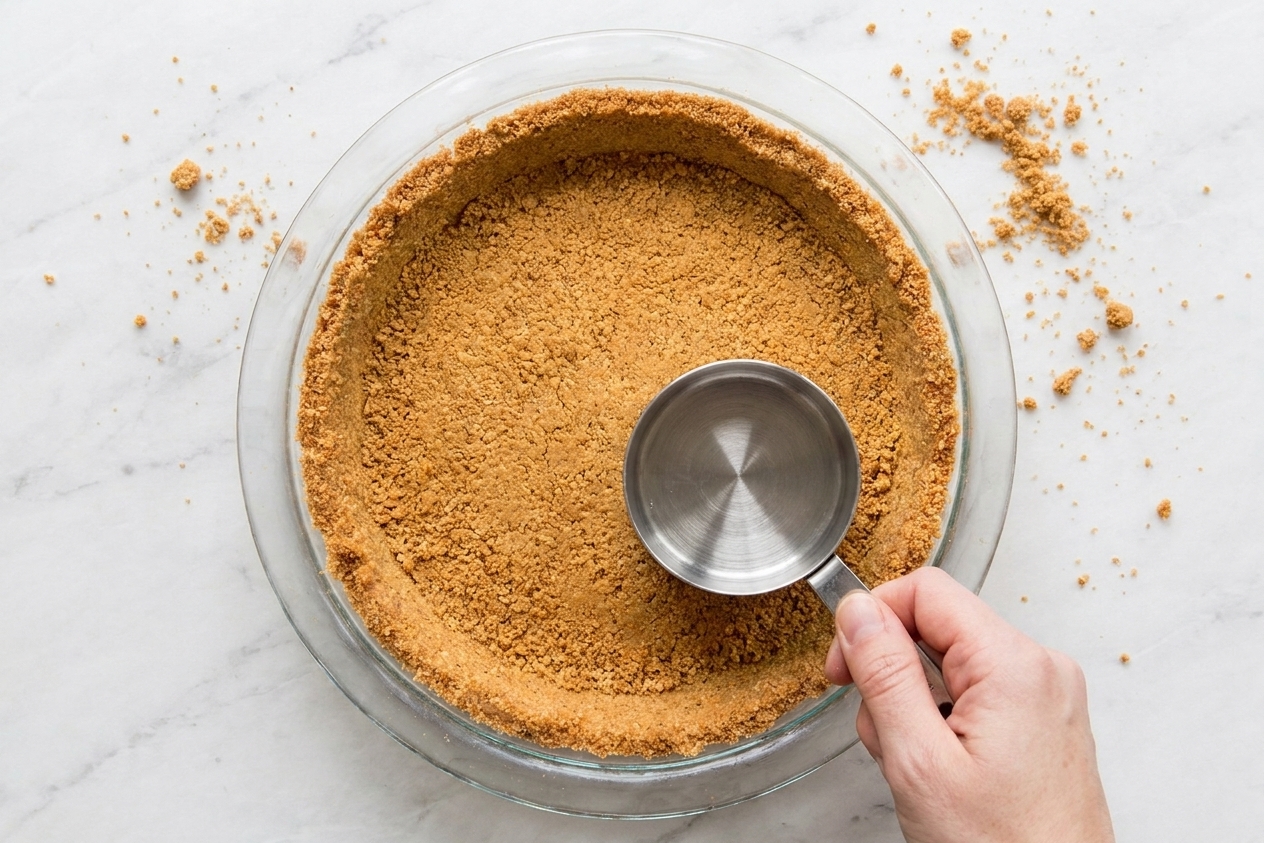
Store-bought is fine, but a homemade crust is sturdier and less sweet. If making your own, press firmly into the pan, especially where the bottom meets the sides. That edge is where slices love to crack.
Equipment you will need
- 9-inch pie dish (glass or metal)
- Mixing bowls (at least one large)
- Electric mixer (hand mixer or stand mixer) for whipping cream and smoothing filling
- Rubber spatula for folding without deflating
- Small saucepan (only for pudding-base option or dissolving gelatin)
- Instant-read thermometer (helpful for pudding base, optional)
- Fine-mesh sieve (optional, for extra-smooth filling or draining pumpkin)
- Sharp chef knife for slicing, plus a tall container of hot water for clean cuts
Pro tips
How to slice it cleanly
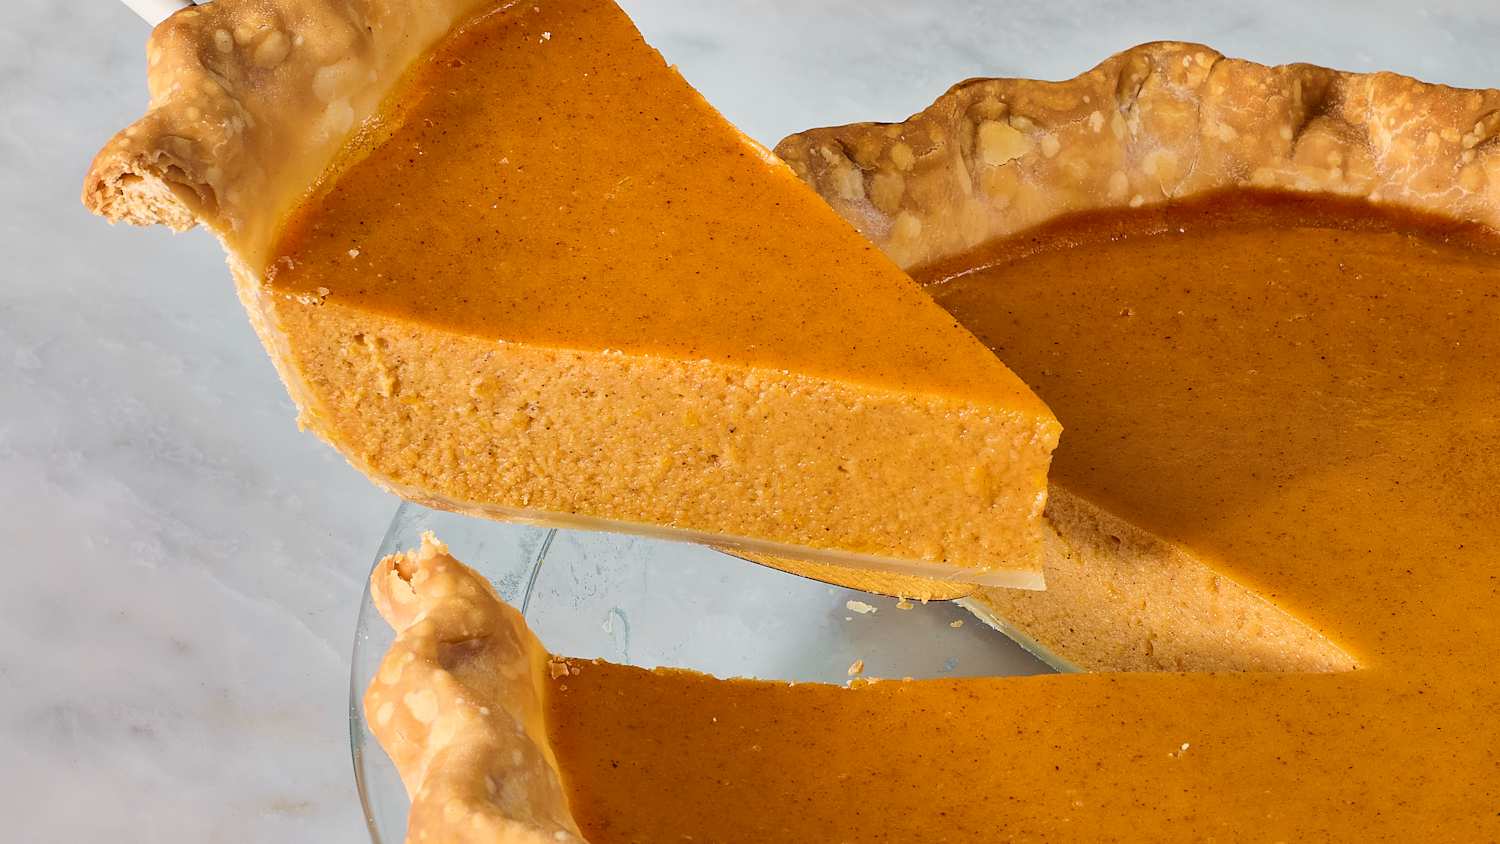
- Chill until fully set. Minimum 6 hours, and overnight is even better if you want razor-sharp slices.
- Warm the knife. Dip a sharp knife in hot water, wipe dry, slice. Repeat between cuts.
- Wipe between slices. A clean blade is the difference between smooth wedges and messy edges.
- Lift out the first slice carefully. Slide a thin spatula under the crust and lift gently. The first piece is always the hardest, so be patient.
Gelatin success cues
- Bloomed gelatin should look like applesauce or wet sand after 5 minutes.
- Dissolved gelatin should be fully liquid and clear, with no granules stuck to the pan.
- Once added, the filling should thicken slightly as it sits, but it should still spread easily into the crust.
Pudding-base success cues
- Cook until the mixture bubbles once and looks glossy, then cook 30 to 60 seconds more while whisking. It should coat a spoon.
- Cool before folding in whipped cream. If the base is hot, it will melt the cream and you will lose structure.
Substitutes that work
- Pumpkin pie spice: Use 2 to 2 1/2 teaspoons pumpkin pie spice in place of individual spices.
- Evaporated milk: In the pudding-base option, you can swap in evaporated milk for part of the whole milk for a richer taste.
- Gingersnaps instead of grahams: Swap the crumb crust 1:1 for a spicier, more holiday vibe.
- Mascarpone instead of cream cheese: Softer and milder. The pie will be slightly less tangy.
- Maple syrup: You can replace a portion of the sugar in either filling with maple syrup. Expect a softer set if you add a lot of liquid sweetener, so do not overdo it.
Variations
No-bake pumpkin pie with gelatin
This version is lighter and slices beautifully once chilled.
No-bake pumpkin pie with pudding base
This version has a slightly denser, custard-like vibe without baking.
Extra-spiced
Add a pinch of black pepper or a tiny pinch of cayenne. You will not taste heat, just warmth.
Chiffon-ish topping
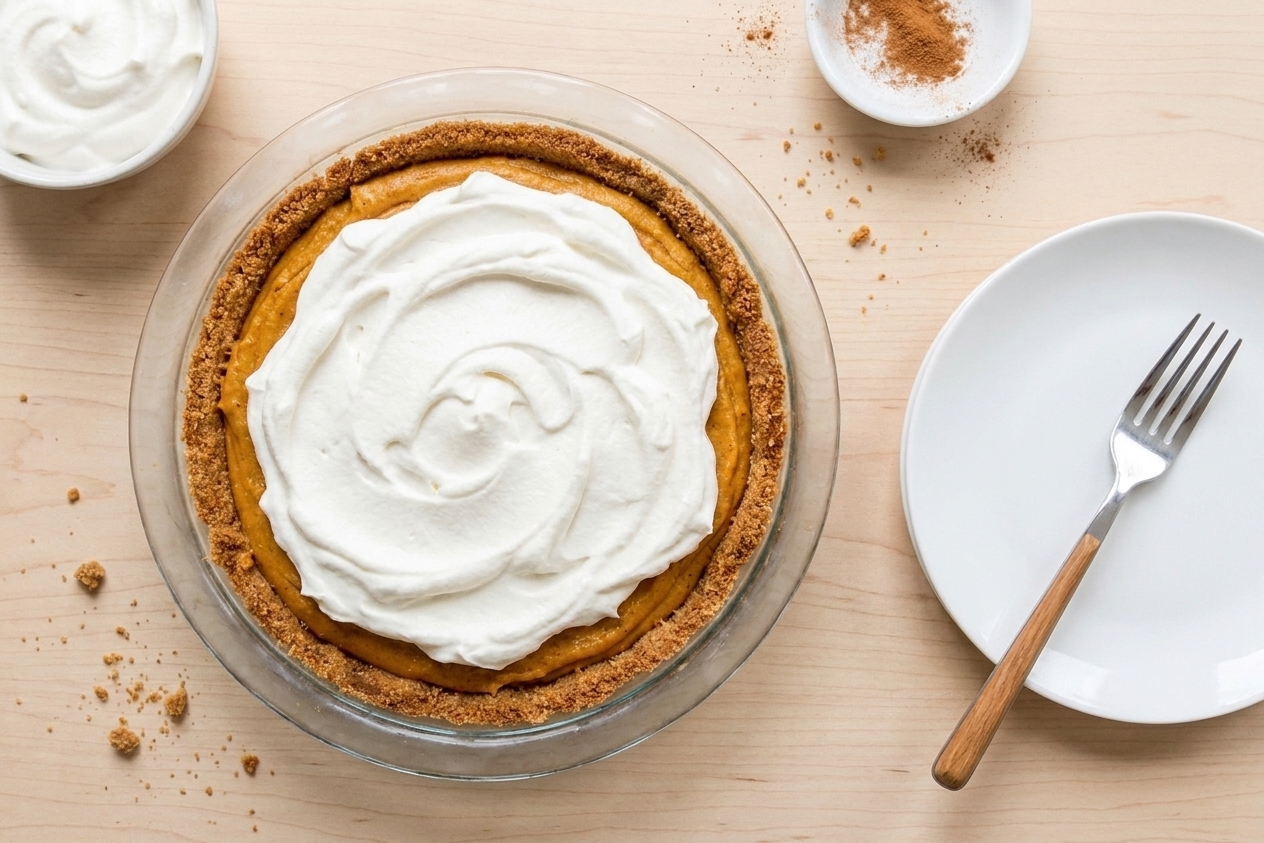
Finish with softly whipped cream and a dusting of cinnamon or nutmeg right before serving.
Serving ideas
- Whipped cream: Lightly sweetened, with a pinch of salt and vanilla.
- Toasted nuts: Pecans or walnuts scattered over the top for crunch.
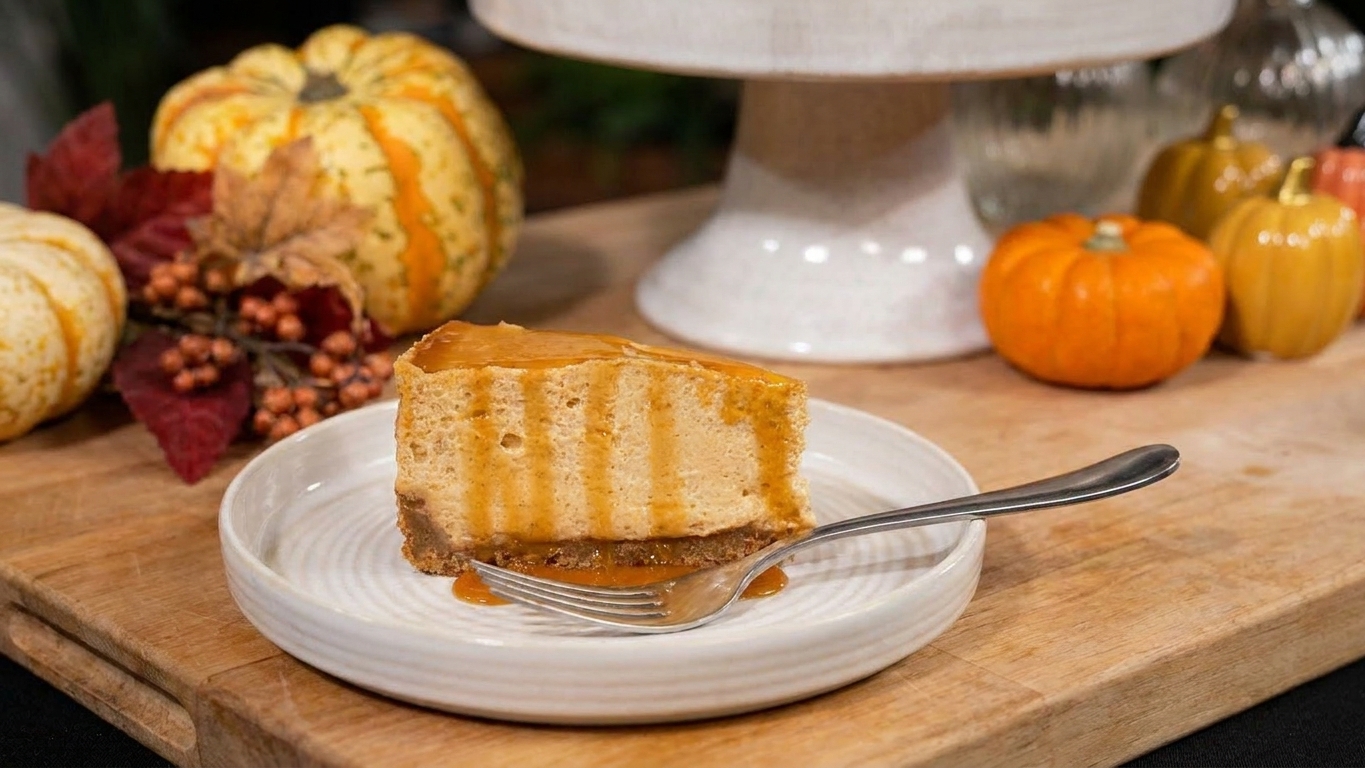
- Caramel drizzle: A thin drizzle right before serving, especially nice with a gingersnap crust.
- Coffee pairing: Serve with strong coffee or espresso to balance the sweetness.
- Mini pies: Press crumbs into muffin cups lined with paper liners, fill, chill, and serve as individual portions.
Storage and reheating
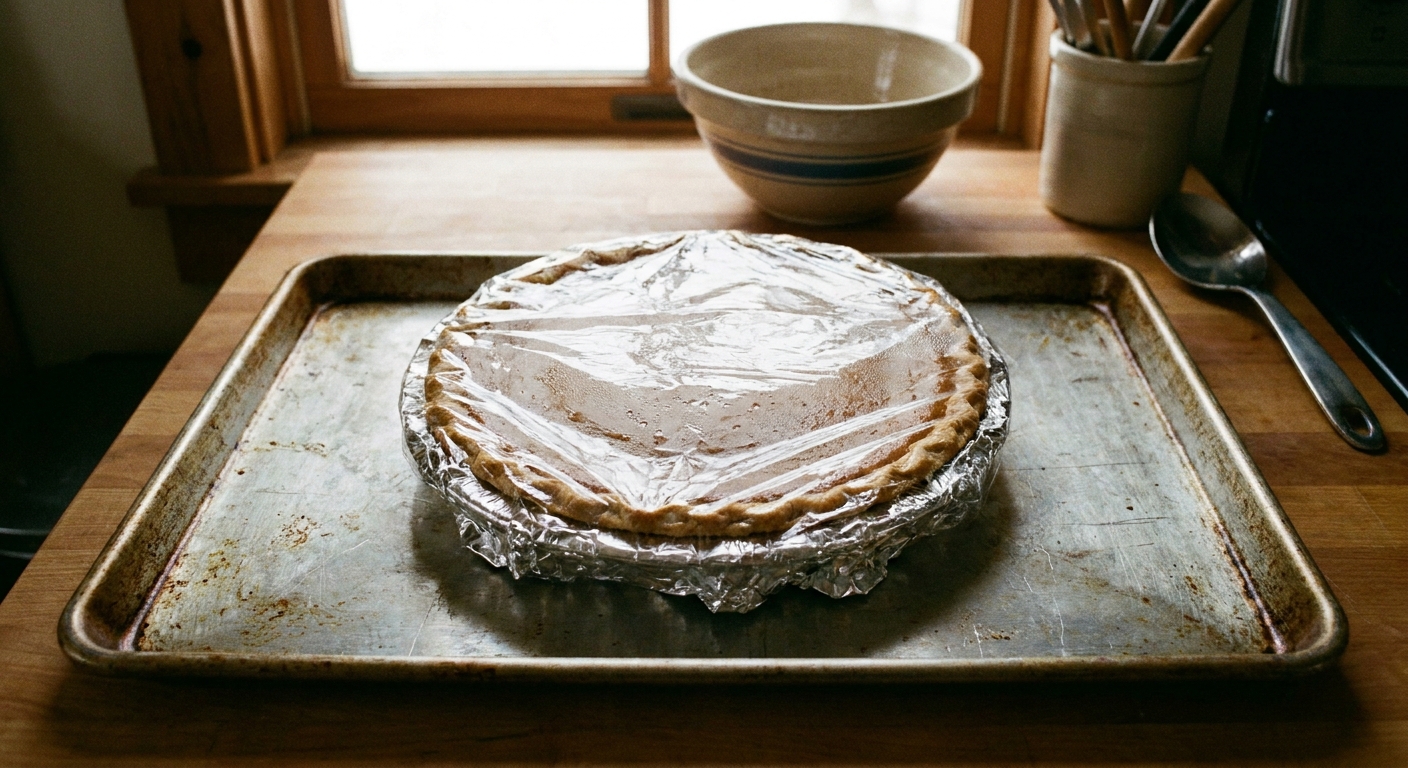
- Refrigerator: Cover and refrigerate up to 4 days. For the neatest surface, press plastic wrap directly onto any exposed filling.
- Freezer: You can freeze the fully set pie (whole or sliced) for up to 1 month. Wrap tightly. Thaw overnight in the fridge. Note that whipped topping can weep after freezing, so add fresh whipped cream after thawing if you care about looks.
- Serving after chilling: For the cleanest slices, cut straight from the fridge. Let slices sit 5 to 10 minutes at room temp for best flavor.
Common mistakes
- Using pumpkin pie filling: It is already sweetened and spiced, so your pie can end up overly sweet and oddly seasoned.
- Skipping gelatin bloom time: Unbloomed gelatin can clump and never dissolve properly.
- Adding hot pudding base to whipped cream: Heat melts the air you just whipped in, and the pie sets dense or loose.
- Under-chilling: If the center still looks glossy and wobbly like a thick dip, it is not ready to slice.
- Not packing the crust: Loose crumbs lead to a crust that crumbles when you lift a slice.
FAQ
How long does no-bake pumpkin pie need to chill?
Plan on at least 6 hours for a sliceable set. Overnight is best if you want very clean wedges and a firmer center.
Can I make it ahead?
Yes. This is a great make-ahead dessert. Make the pie 1 to 2 days early and keep it covered in the fridge. Add whipped topping the day you serve if you want it to look extra fresh.
Why is my no-bake pumpkin pie runny?
The usual culprits are not enough chill time, too much liquid sweetener, whipped cream that was not whipped to soft peaks, or a pudding base that was not cooked long enough to thicken. If using gelatin, runniness can also happen if the gelatin was not fully dissolved.
Can I use Cool Whip?
You can swap the whipped cream for an equal amount of thawed whipped topping. The texture will be a bit more uniform and sweet, and it generally holds very well.
How do I get smooth slices without dragging the filling?
Use a sharp knife dipped in hot water, wipe dry, then slice. Wipe and re-warm the blade between cuts.
No-Bake Pumpkin Pie
A creamy, warmly spiced no-bake pumpkin pie in a graham cracker crust, with two reliable setting options: a silky gelatin set or a rich cooked pudding base. Chilled until sliceable and finished with clean-cut tips for perfect wedges.
- Prep
- 25 minutes
- Cook
- 10 minutes
- Total
- 6 hours 35 minutes
- Yield
- 8 slices
Ingredients
- For the graham crust (or use 1 store-bought 9-inch graham crust):
- 1 1/2 cups (150 g) graham cracker crumbs
- 3 tablespoons (38 g) granulated sugar
- 1/2 teaspoon fine salt
- 6 tablespoons (85 g) unsalted butter, melted
- Gelatin-set filling option (no-cook, mousse-like):
- 2 teaspoons unflavored powdered gelatin
- 3 tablespoons cold water
- 1 cup (240 ml) cold heavy cream
- 8 ounces (225 g) cream cheese, softened
- 1/2 cup (100 g) granulated sugar
- 1 teaspoon vanilla extract
- 1/2 teaspoon fine salt
- 1 1/2 teaspoons ground cinnamon
- 1 teaspoon ground ginger
- 1/4 teaspoon ground nutmeg
- Pinch ground cloves (optional, but classic)
- 1 can (15 ounces, about 425 g) 100% pumpkin puree
- Pudding-base filling option (stovetop, classic and rich):
- 1/3 cup (67 g) granulated sugar
- 1/4 cup (30 g) cornstarch
- 1/2 teaspoon fine salt
- 1 1/2 teaspoons ground cinnamon
- 1 teaspoon ground ginger
- 1/4 teaspoon ground nutmeg
- Pinch ground cloves (optional)
- 2 cups (480 ml) whole milk
- 1 can (15 ounces, about 425 g) 100% pumpkin puree
- 2 tablespoons (28 g) unsalted butter
- 1 teaspoon vanilla extract
- 1 cup (240 ml) cold heavy cream
- 2 tablespoons powdered sugar
- Optional topping:
- 1 cup (240 ml) heavy cream, whipped with 1 to 2 tablespoons sugar and a pinch of salt
Instructions
- Make the crust (if homemade): In a bowl, mix graham crumbs, sugar, and salt. Add melted butter and stir until the crumbs look evenly moistened like wet sand. Press firmly into a 9-inch pie dish, packing the bottom and up the sides. Chill for at least 30 minutes while you make the filling.
- Choose your filling option: Make either the gelatin-set filling (Step 3) or the pudding-base filling (Step 4), not both.
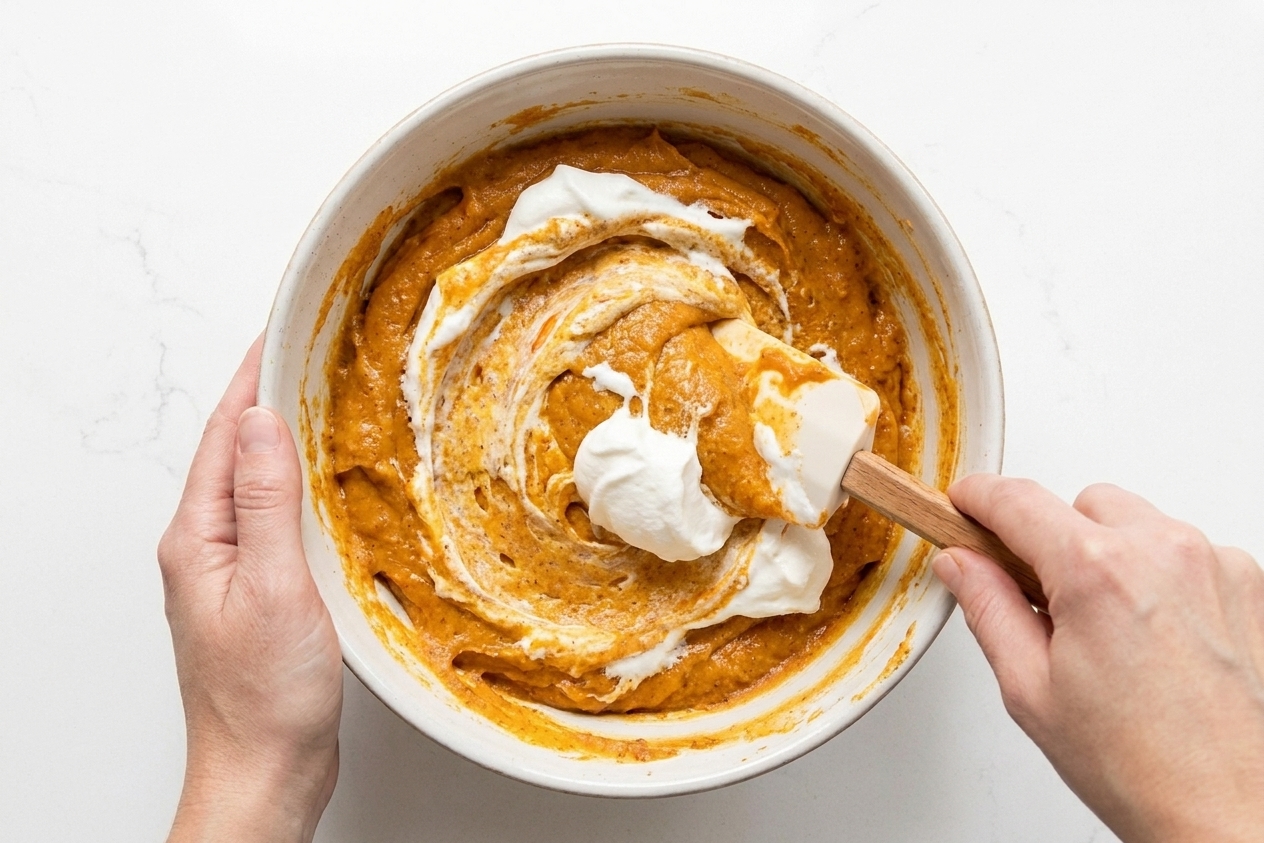
- Gelatin-set filling: Sprinkle gelatin over cold water in a small bowl and let stand 5 minutes to bloom. Meanwhile, whip 1 cup heavy cream to soft peaks and refrigerate. In a large bowl, beat cream cheese, sugar, vanilla, salt, and spices until smooth. Beat in pumpkin puree until evenly combined. Gently warm the bloomed gelatin just until fully melted and liquid (10 to 20 seconds in the microwave, or over very low heat), then immediately whisk it into the pumpkin mixture. Fold in the whipped cream with a spatula until no streaks remain. Scrape into the chilled crust and smooth the top.
- Pudding-base filling: In a saucepan off the heat, whisk sugar, cornstarch, salt, and spices. Slowly whisk in the milk until smooth, then whisk in the pumpkin puree. Set over medium heat and cook, whisking constantly, until thickened and the mixture bubbles once. Continue whisking 30 to 60 seconds, then remove from heat. Whisk in butter and vanilla. Transfer to a bowl and cool until just warm to room temperature, stirring occasionally (you can press plastic wrap directly on the surface to prevent a skin). Whip 1 cup heavy cream with powdered sugar to soft peaks. Fold whipped cream into the cooled pumpkin base until smooth. Scrape into the chilled crust and smooth the top.
- Chill to set: Cover the pie (tent foil or use a pie container so you do not smudge the surface) and refrigerate until fully set, at least 6 hours and preferably overnight.
- Slice cleanly: Dip a sharp knife in hot water, wipe dry, and slice. Repeat dipping and wiping between slices. Serve cold, with whipped cream if you like.
Notes
Chill time matters: If you cut at 3 to 4 hours, it may look set on the edges but still be soft in the center. Overnight gives the cleanest slices.
Make-ahead: The pie holds well for 1 to 2 days in the fridge. Add whipped topping close to serving for the best look.
Crust shortcut: A store-bought graham crust works. If it seems thin or fragile, place it on a baking sheet for easier transfer in and out of the fridge.