Yeast dough can feel mysterious until you make it a couple of times. Then it becomes one of those kitchen skills that pays you back forever: a handful of pantry ingredients turns into a crust that is chewy in the center, crisp at the edges, and way more satisfying than most store-bought options.
My goal here is to make the process feel predictable. You will get sensory cues (what the dough should look and feel like), timing options (same-day or overnight), and a couple little restaurant tricks that make shaping easier without extra gear (like a short rest to relax the dough and using a bench scraper or thin spatula to keep things moving cleanly).
Why this recipe works
- Sensory cues make it reliable: The recipe focuses on how the dough should look and feel (shaggy at first, then smooth and stretchy) so you can adjust as needed.
- A short hydration rest helps: A 10-minute covered rest hydrates the flour and makes kneading easier.
- Flexible timing: You can bake the same day or cold-ferment overnight (12 to 72 hours) for deeper flavor, better browning, and easier stretching.
- Home-oven crispiness is built in: A long preheat (at least 45 minutes) on a stone or steel and smart oven placement help mimic restaurant heat.
Ingredient notes
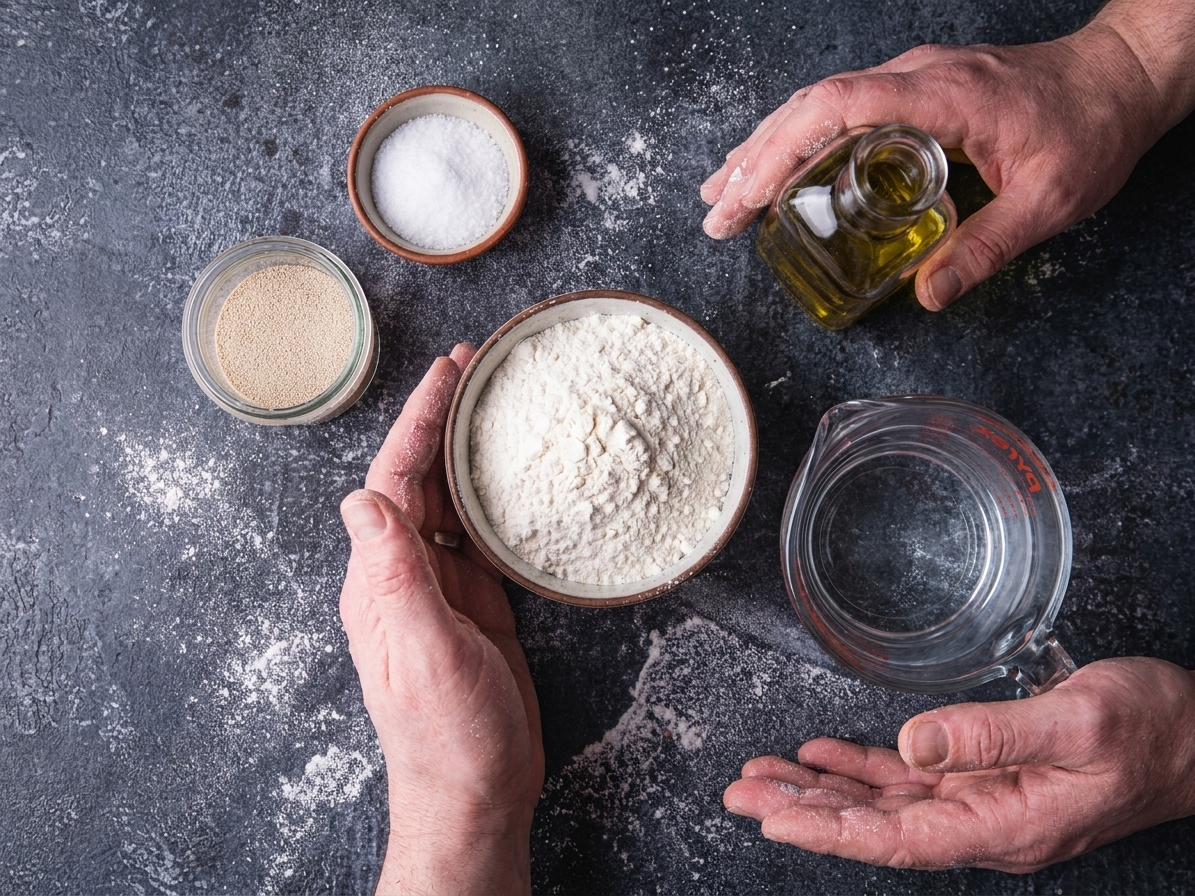
- Flour: Bread flour gives the chewiest crust, but all-purpose flour works beautifully. If you have both, do half bread flour and half all-purpose for a nice balance.
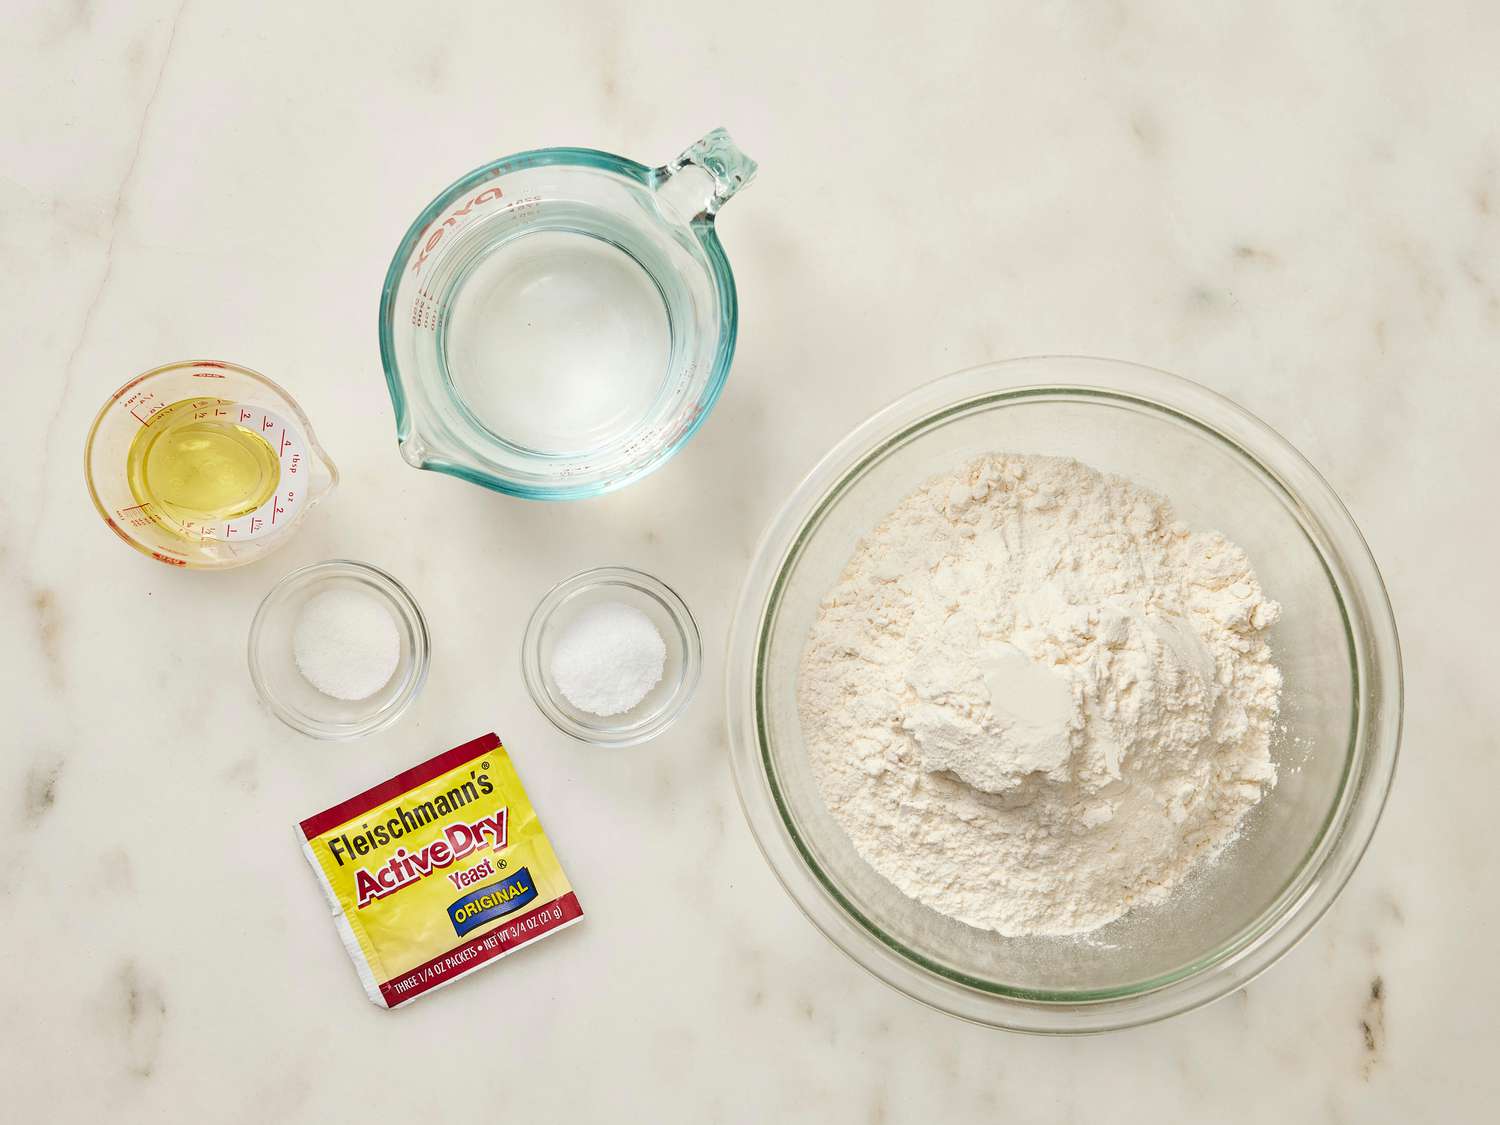
- Yeast: Instant yeast is easiest because it can be mixed right into the flour. Active dry yeast works too, it just benefits from being dissolved in warm water first.
- Water: Use warm water, not hot. Think comfortable bathwater. Water that feels hot to your wrist can weaken the yeast.
- Salt: Essential for flavor. Pizza dough without enough salt tastes flat no matter how good your toppings are.
- Olive oil: Adds tenderness and helps browning. You can skip it for a leaner, more Neapolitan-style dough, but I like it for home ovens.
- Optional sugar or honey: Not required, but a small amount can help yeast get moving quickly and improve browning in a cooler home oven.
Food waste note: If your flour bag has a few sad grams left, use them. Dough is forgiving. Just keep the texture cues in mind when you add water.
Measuring note: If you have a kitchen scale, use it. Cups are always an estimate because flour compacts differently from kitchen to kitchen.
Equipment you will need
- Large bowl for mixing and rising
- Sturdy spoon (or your hand) to mix the dough
- Kitchen scale (recommended for accuracy)
- Bench scraper (helpful for hand-kneading), or a thin spatula as a substitute
- Stand mixer with dough hook (optional, for kneading)
- Cover for the bowl (lid, plastic wrap, or a damp towel) to prevent drying out
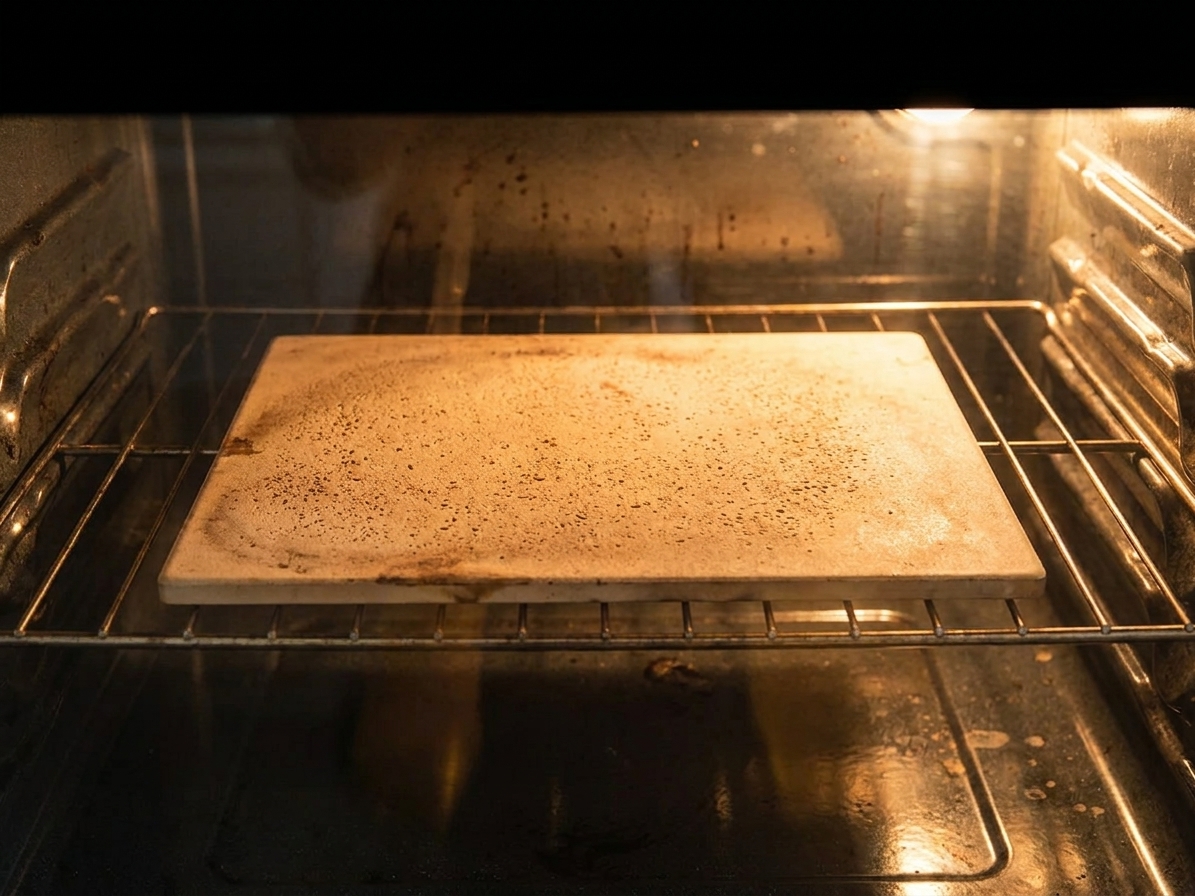
- Pizza stone or steel (best for crisp crust), or a heavy sheet pan (can be preheated upside down)
- Spatula to lift an edge and check the bottom during baking
Pro tips
- Use a hydration rest: Cover and rest the dough for 10 minutes after mixing to make kneading easier.
- Watch the dough temperature: During kneading, it should feel cool to slightly warm, not hot.
- Dust flour slowly: If sticking is aggressive, add flour 1 teaspoon at a time so you do not toughen the crust.
- Let the dough relax: After dividing, rest the dough balls 20 minutes so stretching is easier.
- Preheat for stored heat: Preheat a stone or steel for at least 45 minutes; it is not just the air temperature.
- Go lighter on sauce: Too much sauce steams the center and makes it floppy.
- Finish with acid: A squeeze of lemon, pickled chiles, or a vinegary salad helps balance rich, cheesy pizza.
Substitutes that work
- Flour: Use all-purpose flour, bread flour, or a blend of half bread flour and half all-purpose for balance.
- Yeast: Active dry yeast works instead of instant; dissolve 2 1/4 teaspoons in warm water (and optional sugar) for 5 to 10 minutes until foamy, then mix as written. It may need a little extra rise time, and in a cold kitchen you can bump it slightly (up to 2 1/2 teaspoons).
- Olive oil: You can skip it for a leaner, more Neapolitan-style dough.
- Sugar or honey: Optional; omit if you prefer, or include a small amount for a faster start and improved browning.
Variations
- Same-day dough: Follow the recipe as written for a clean, bready crust.
- Overnight dough (best flavor): After the dough has risen until slightly puffy (30 to 60 minutes at room temperature), refrigerate 12 to 72 hours. Bring to room temperature 60 to 90 minutes before stretching.
- Shape options: Make 2 (12 to 14-inch) pizzas or 1 large sheet pan pizza.
Serving ideas
- Use leftovers as “intentional” toppings: Pesto, romesco, salsa verde, or a thin smear of hummus can be the base.
- Pre-cook watery vegetables: Roast or sauté mushrooms, zucchini, or greens first so they do not steam the crust.
- Add a bright finish: Try a lemony arugula salad or quick-pickled onions on top.
Storage and reheating
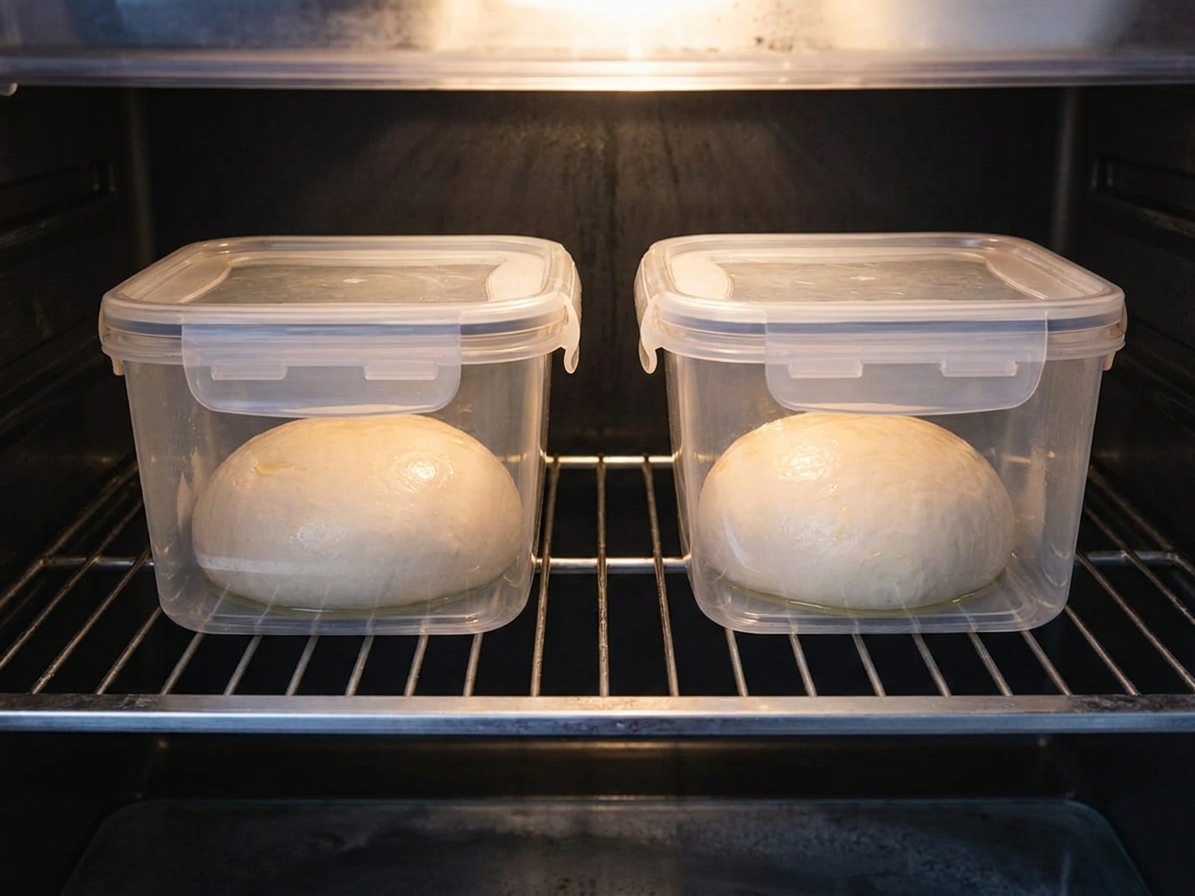
- Refrigerate: Store dough balls in lightly oiled, covered containers up to 3 days. For best stretch, bring to room temperature 60 to 90 minutes before baking.
- Freeze: After the first rise, divide into balls, lightly oil, and place each in a freezer bag. Freeze up to 3 months.
- Thaw: Move to the fridge overnight, then rest at room temperature 60 to 90 minutes before stretching.
Common mistakes
Dough did not rise
- Check yeast freshness. If it is older than a year or stored near heat, it can weaken.
- Your water may have been too hot or your kitchen too cold. Move the bowl to a slightly warmer spot.
- Give it time. Rise times are estimates. Dough follows temperature, not the clock.
Dough is sticky and unmanageable
- Sticky is normal at the start. Use the 10-minute rest, then knead.
- Add flour slowly, 1 teaspoon at a time. Too much flour makes tough pizza.
Dough is tough and keeps shrinking
- It needs a rest. Cover and wait 10 minutes, then stretch again.
- It may be under-fermented. Next time, let it rise longer or try an overnight cold ferment.
Bottom is pale
- Preheat your stone or steel longer.
- Move the pizza lower in the oven for more bottom heat.
- Use less sauce and wet toppings.
FAQ
Can I use active dry yeast instead of instant?
Yes. Dissolve 2 1/4 teaspoons active dry yeast in the warm water (and optional sugar) and let it sit 5 to 10 minutes until foamy, then mix as written. Active dry can be a touch slower than instant, so you may need a little extra rise time. If your kitchen runs cold, you can bump it up slightly (up to 2 1/2 teaspoons).
Do I need sugar in pizza dough?
No. Yeast can ferment flour on its own. I only add a small amount when I want a faster start or extra browning in a home oven.
What flour makes the best pizza crust?
Bread flour gives more chew. All-purpose gives a slightly softer bite. Both are great. Use what you have, then adjust based on the texture you love.
How thin should I stretch the center?
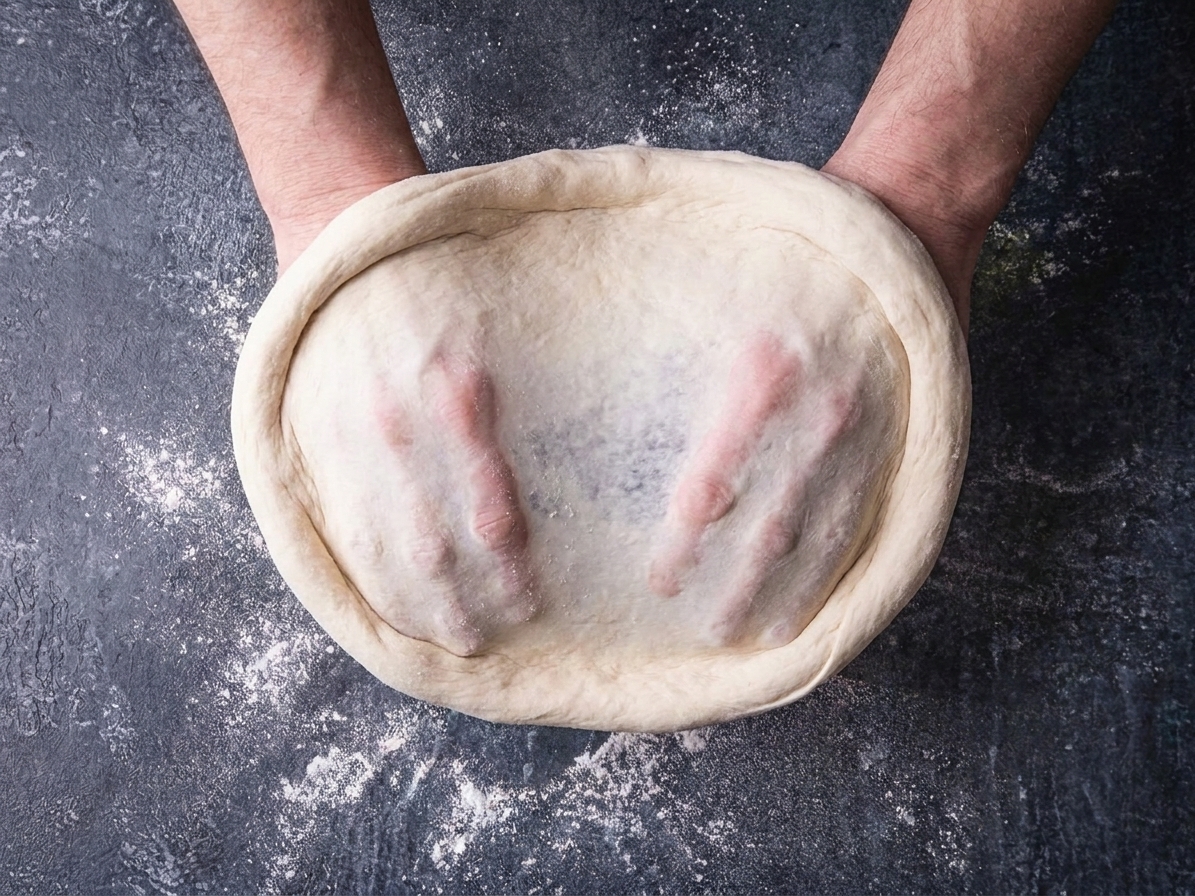
For a 12 to 14-inch pizza, aim for the center to be thin enough that you can see a little light through it when you lift an edge, but not so thin it feels fragile. Leave the rim thicker for that puffy, golden crust.
Pizza Dough with Yeast
This classic yeast pizza dough is designed to feel predictable, with clear texture cues and timing options. It makes 2 (12 to 14-inch) pizzas or 1 large sheet pan pizza, and can be made same-day or cold-fermented for deeper flavor.
- Prep
- 25 minutes
- Cook
- 10 minutes
- Total
- 2 hours
- Yield
- Makes 2 (12 to 14-inch) pizzas
Ingredients
- 420 g all-purpose flour (about 3 to 3 1/2 cups, depending on how you measure), plus more for dusting
- 7 g (2 1/4 tsp) instant yeast
- 10 g (1 3/4 tsp) kosher salt
- 270 g warm water (about 1 1/8 cups, 95 to 105°F)
- 15 g (1 tbsp) olive oil
- Optional: 5 g (1 tsp) sugar or honey
Instructions
- Mix. In a large bowl, whisk flour, yeast, salt, and (if using) sugar. Add warm water and olive oil. Mix with a sturdy spoon or your hand until you have a shaggy dough with no dry flour pockets.
Cue: it will look lumpy and ragged at first and feel a little sticky. - Rest (hydration rest). Cover and let the dough rest for 10 minutes. This hydrates the flour and makes kneading easier.
- Knead. Knead by hand on a lightly floured counter for 8 to 10 minutes, or in a stand mixer with a dough hook for 6 to 8 minutes on medium-low.
Cue: the dough should become smooth, stretchy, and slightly tacky but not gluey. It should feel cool to slightly warm, not hot. If it is sticking aggressively to your hands or the counter, dust with a teaspoon of flour at a time. - First rise. Place dough in a lightly oiled bowl, cover tightly (lid, plastic wrap, or a damp towel) so the surface does not dry out, and rise until doubled, about 60 to 90 minutes at warm room temperature.
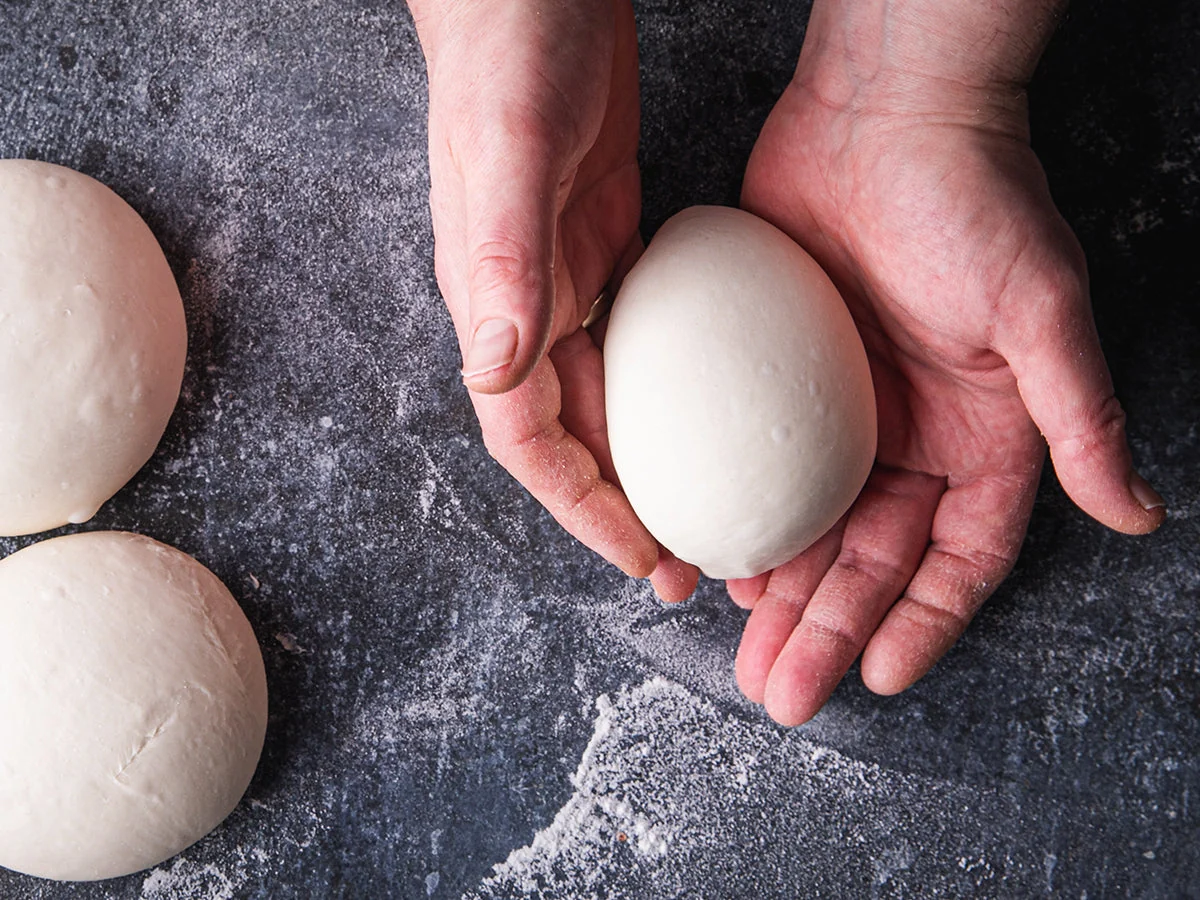
Cue: press a floured fingertip into the dough. If the dent slowly springs back halfway, you are good. - Divide and shape into balls. Turn dough out, divide into 2 equal pieces, and form tight balls by tucking the edges under. Cover and rest 20 minutes. This relaxes gluten so stretching is easier.
- Stretch. Stretch each ball into a 12 to 14-inch round (or press into a sheet pan). Add sauce and toppings.
- Bake. For a stone or steel, place it on a lower-middle rack and preheat the oven to 500 to 550°F for at least 45 minutes (convection is great if you have it). Bake 8 to 12 minutes, depending on thickness and your oven. For a sheet pan at 475°F, plan 12 to 18 minutes.
Cue: the rim should be deeply golden with a few darker spots, and the bottom should feel firm when you lift an edge with a spatula.
Notes
Measuring note: If you have a kitchen scale, use it. Cups are always an estimate because flour compacts differently from kitchen to kitchen.
Timing options
- Same-day: Follow the recipe as written.
- Overnight (best flavor): After the dough has risen until slightly puffy (about 30 to 60 minutes at room temperature), cover tightly and refrigerate 12 to 72 hours. Bring to room temperature 60 to 90 minutes before stretching.
Hand-knead vs stand mixer
- Both work. A stand mixer saves effort, but hand-kneading teaches you what “done” feels like.
- By hand: Expect stickiness at the start. Use a bench scraper if you have one. If not, a thin spatula works.
- Stand mixer: Keep the speed moderate. High speeds can overheat dough and make it tear when stretching.
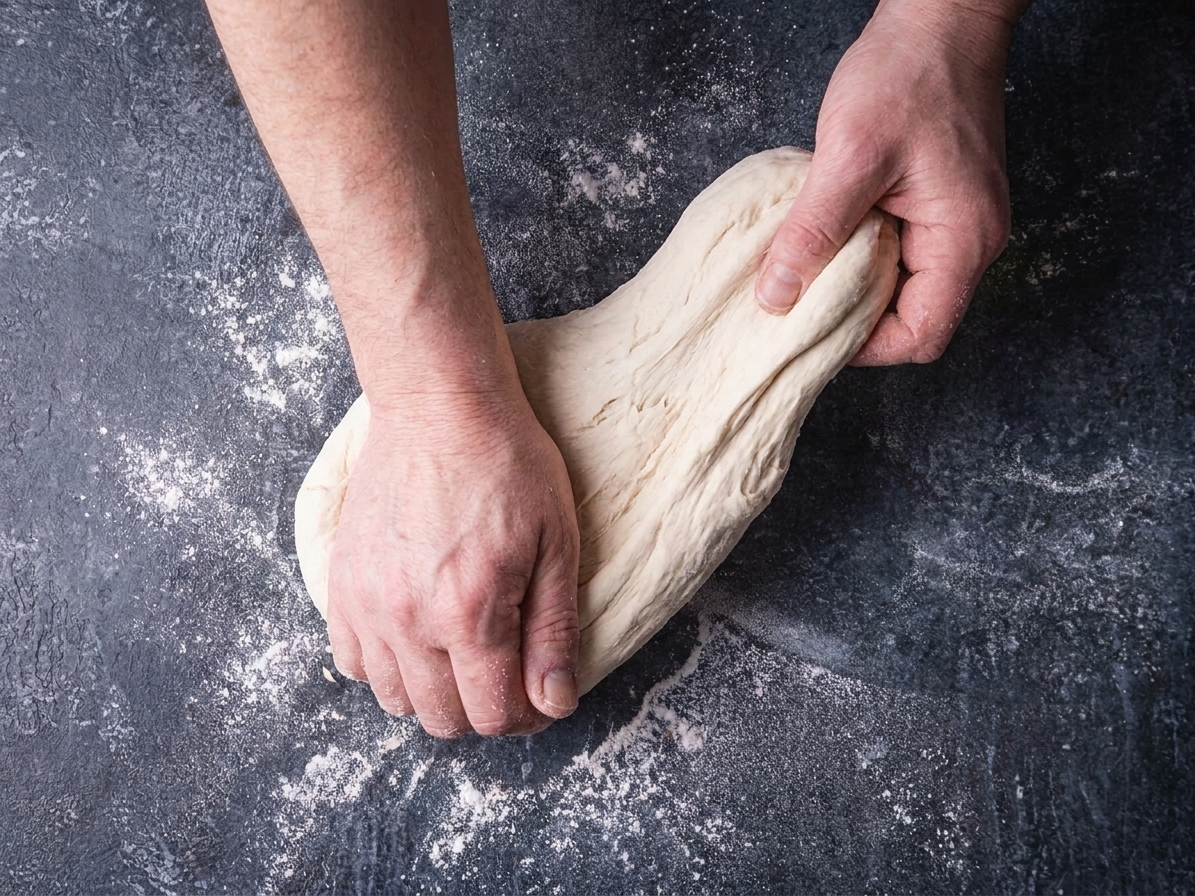
How to stretch dough
- Let it rest. If the dough keeps snapping back, cover it and rest 10 minutes, then try again. Gluten relaxes with time.
- Use flour like seasoning. Enough to prevent sticking, not so much that you end up with a dry, floury crust. A light dusting on the counter and your hands is usually plenty.
- Press, then stretch. Start by pressing the dough from the center outward, leaving a thicker rim. Then lift and stretch over your knuckles, rotating as you go.
- If you make a hole: Patch it by pinching a small piece of dough over the tear. Once baked, no one will care.
Nutrition
- Calories: 730
- Fat: 4 g
- Carbs: 150 g
- Protein: 21 g
- Fiber: 6 g
- Sugar: 0 g
- Sodium: 1900 mg
Nutrition values are approximate and will vary based on exact ingredients and how the dough is divided.