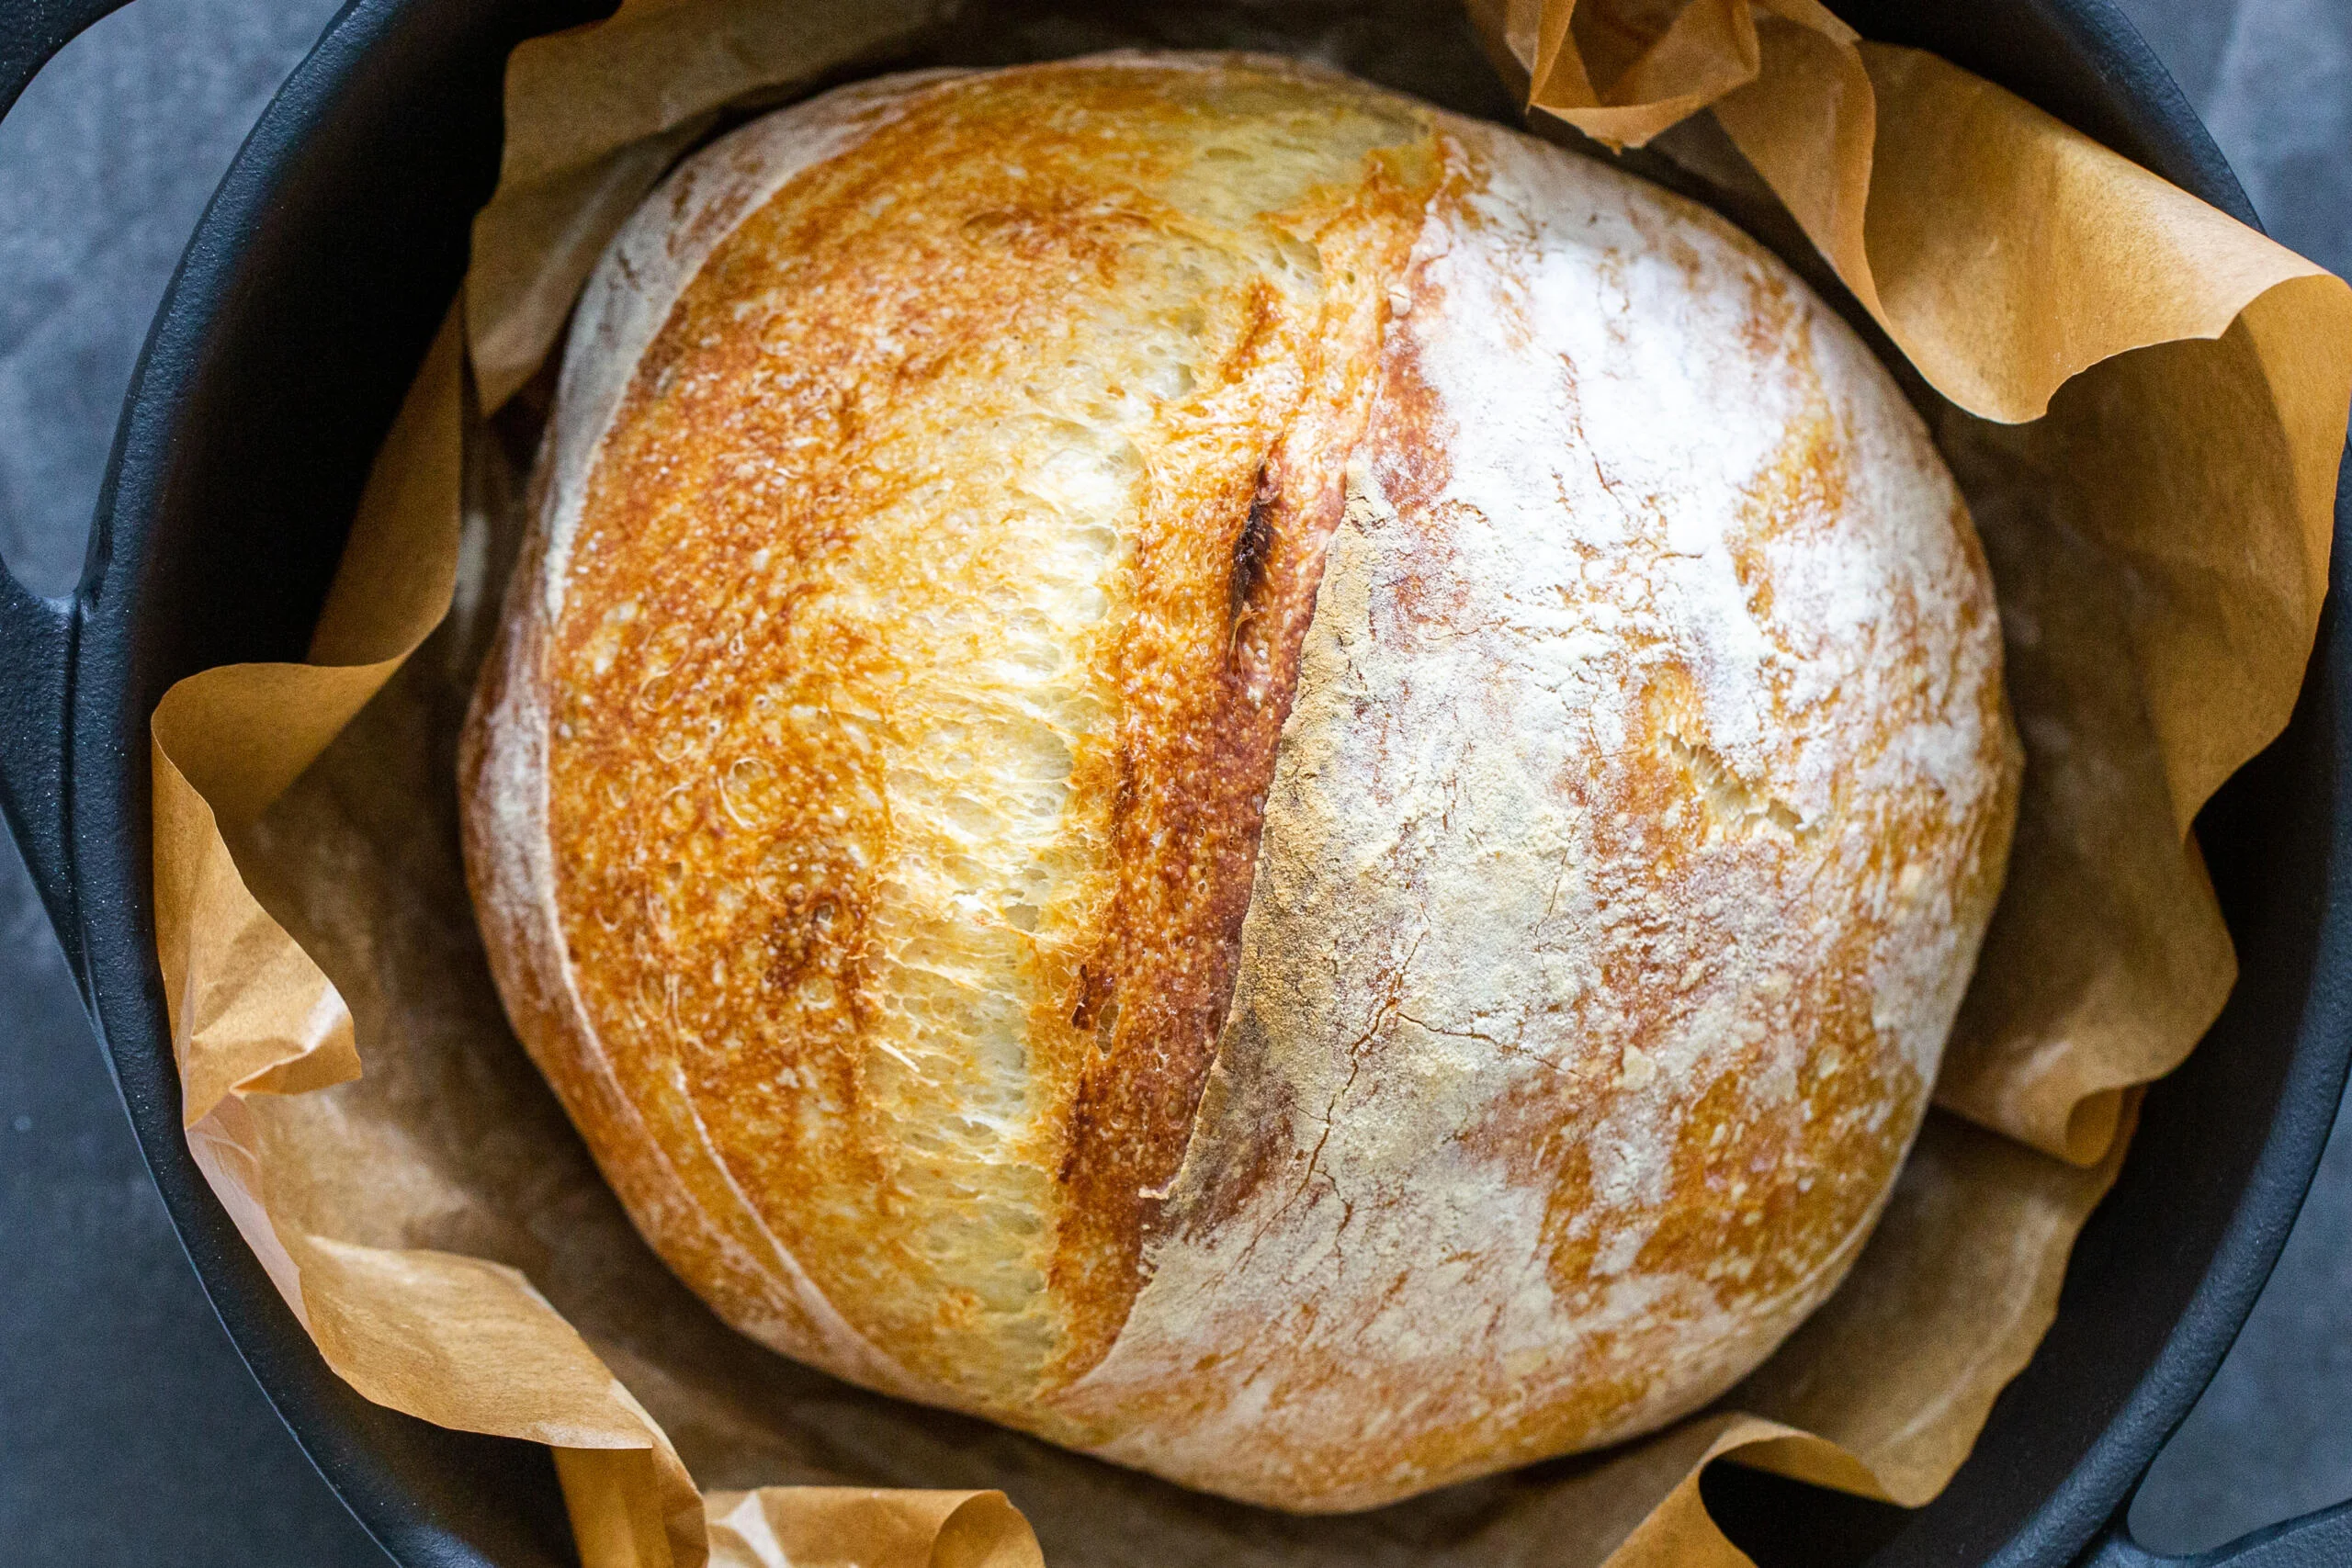
There is something quietly powerful about pulling a loaf of bread out of your own oven. Not because it is fancy, but because it is practical. Flour, water, yeast, salt. A little patience. And suddenly you have dinner.
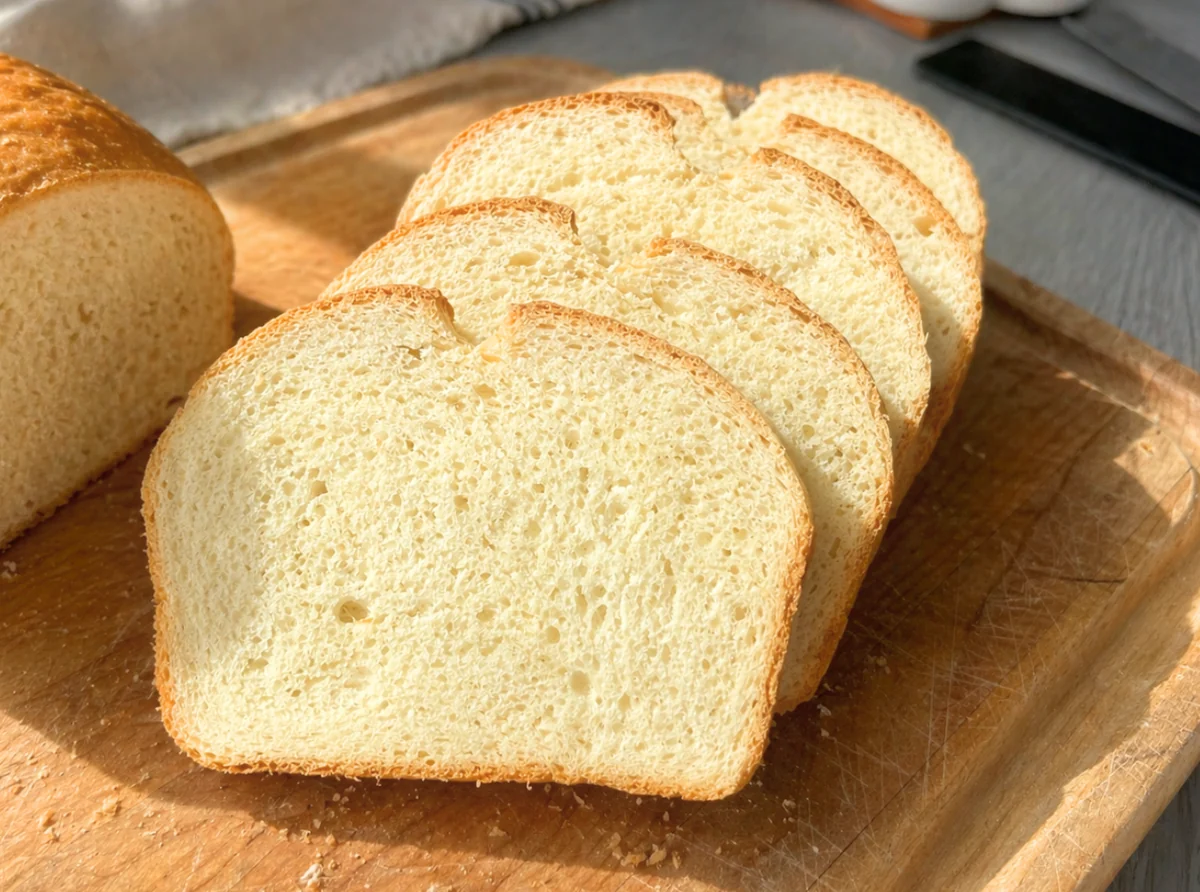
This is my go-to easy yeast bread for real life. It is soft with a lightly chewy crumb, slices beautifully for toast or sandwiches, and does not require a stand mixer. If you have ever felt intimidated by yeast, this keeps things very by-feel and very doable.
Why this recipe works
- One bowl, no mixer: Mix with a spoon, then knead briefly by hand.
- Same-day timeline: Start after work, bake by dinner or shortly after.
- Forgiving dough: It can handle small timing changes without punishing you.
- Clear sensory cues: You will rely on how the dough looks and feels, not just the clock.
Good news: This loaf is naturally dairy-free as written. The optional butter finish is optional.
Ingredient notes
Flour: Use all-purpose flour. If you use bread flour, you may need 1 to 2 extra tablespoons water since it absorbs more.
Yeast: Instant yeast is used in the main method. Using active dry yeast? Dissolve it in the warm water with the sugar and let it stand 5 to 10 minutes until foamy, then proceed.
Water temperature: Aim for 95 to 110°F (around 105°F is a sweet spot). Warm, not hot. Hot water can weaken or kill yeast; cool water will work, but your rise will take longer.
Sugar or honey: Sugar helps yeast get moving quickly and adds a tiny bit of tenderness, but the bread will still rise without it. If skipping, expect the rise to take a little longer.
Oil: Olive oil or a neutral oil both work; you will also use a little oil for the bowl and pan.
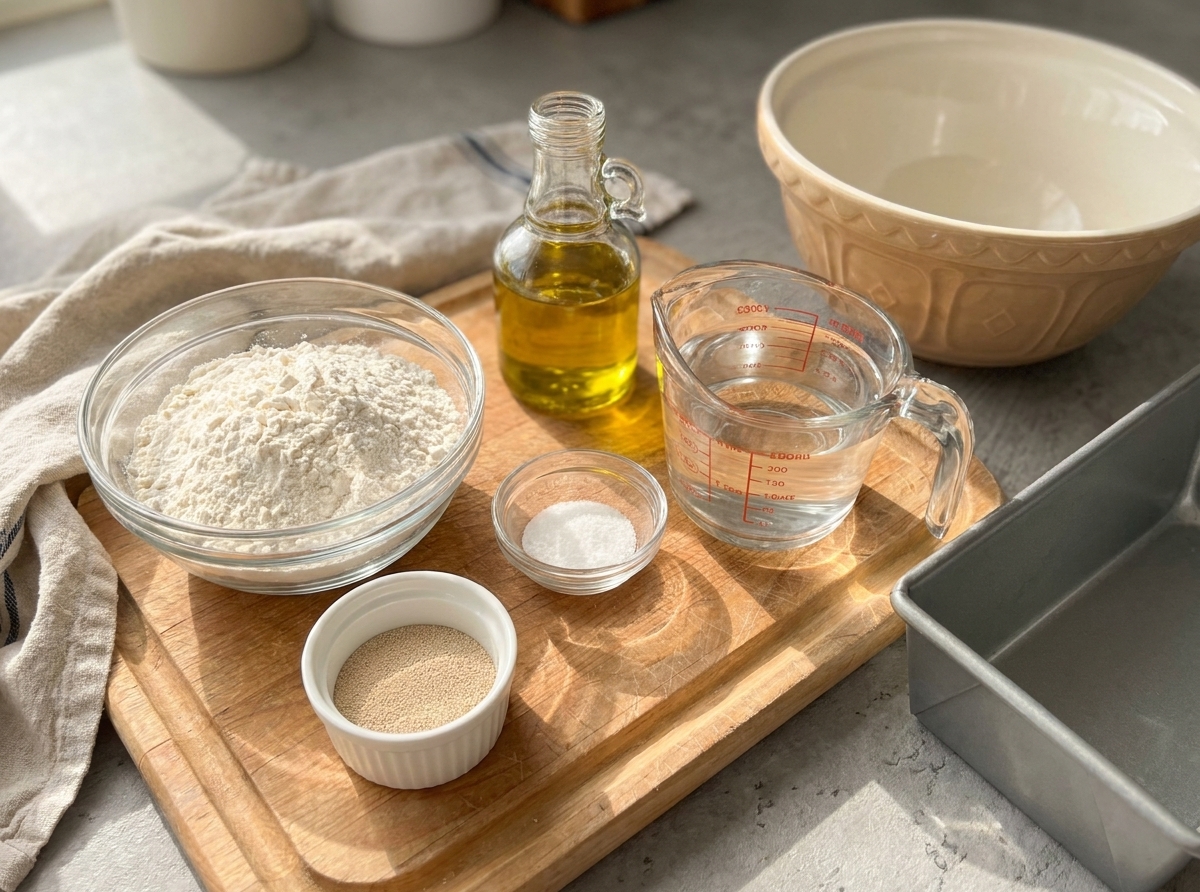
Equipment you will need
- Large mixing bowl
- Sturdy spoon for mixing
- 9 x 5-inch loaf pan (see notes if using an 8.5 x 4.5-inch pan)
- Cooling rack
- Optional: instant-read thermometer (helpful for checking 195 to 205°F in the center)
Pro tips
Use cues, not just the clock
- For the first rise, look for dough that has doubled and feels soft and airy; when you press a floured fingertip in, the indentation should slowly spring back but still remain visible.
- For the second rise, let the dough crown about 1 inch over the rim of the pan.
Dial in dough feel
For this loaf, slightly tacky is ideal. If you add too much flour during kneading, you can end up with a dense loaf. Use flour like seasoning and sprinkle only what you need to keep things manageable. If the dough is sticking to your hands like paste, dust the counter with a little flour, 1 teaspoon at a time, or lightly oil your hands instead of adding more flour.
Cool before slicing
Cool the loaf at least 30 minutes before slicing for the cleanest crumb. If you slice too early, it can compress and feel gummy even when baked through.
Substitutes that work
- Active dry yeast instead of instant yeast: Dissolve active dry yeast in the warm water with the sugar and let stand 5 to 10 minutes until foamy, then proceed.
- Bread flour instead of all-purpose: Works and gives a slightly chewier crumb; you may need 1 to 2 extra tablespoons water.
- Whole wheat swap: Replace up to 1 cup of the flour with whole wheat flour; add 1 to 2 extra tablespoons water if the dough looks dry.
- No sugar: You can omit it; expect the rise to take a little longer.
Variations
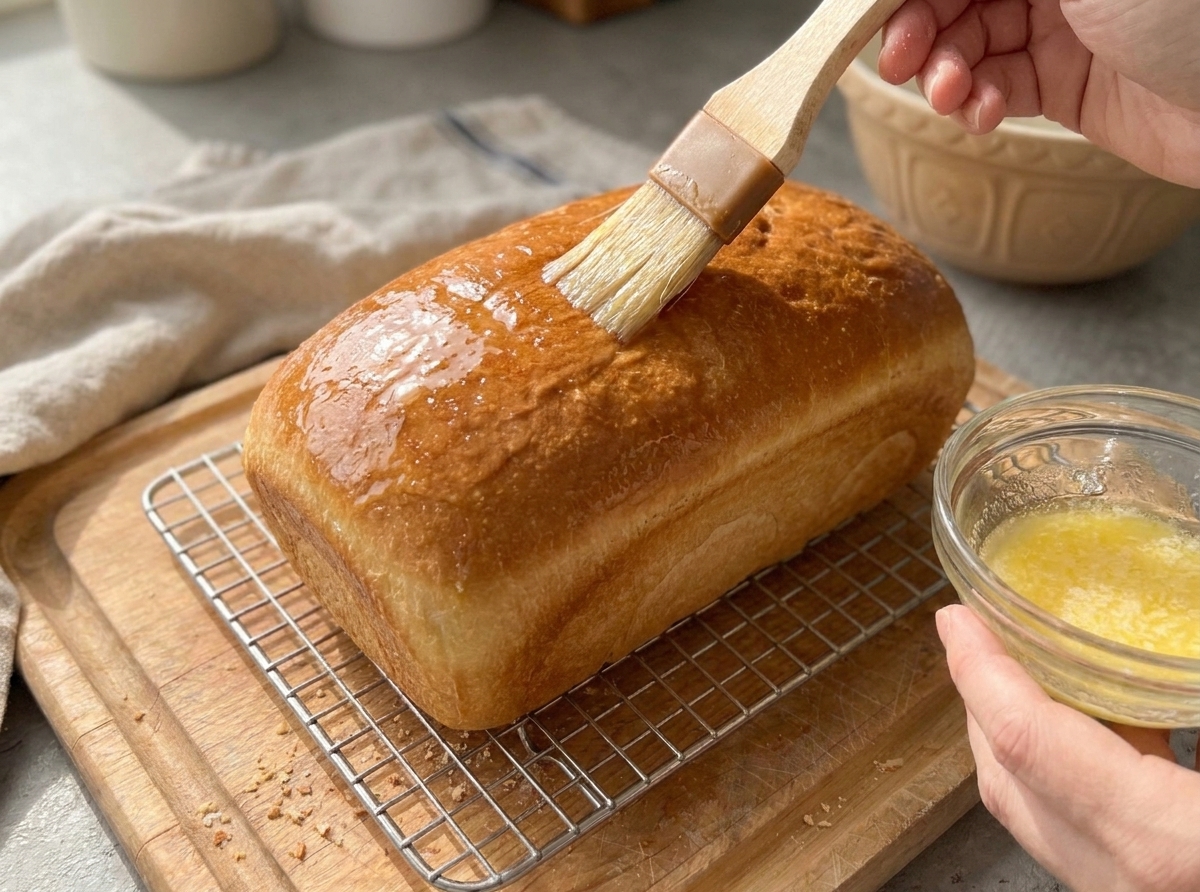
- Brush with butter: Brush the hot loaf with 1 tablespoon melted butter for a softer crust.
- Seeded top: Before baking, mist the top lightly with water and sprinkle with sesame or everything seasoning.
- Whole wheat swap: Replace up to 1 cup of the flour with whole wheat flour. Add 1 to 2 extra tablespoons water if the dough looks dry.
- Garlic herb loaf: Knead in 1 teaspoon garlic powder and 1 teaspoon dried Italian seasoning.
Serving ideas
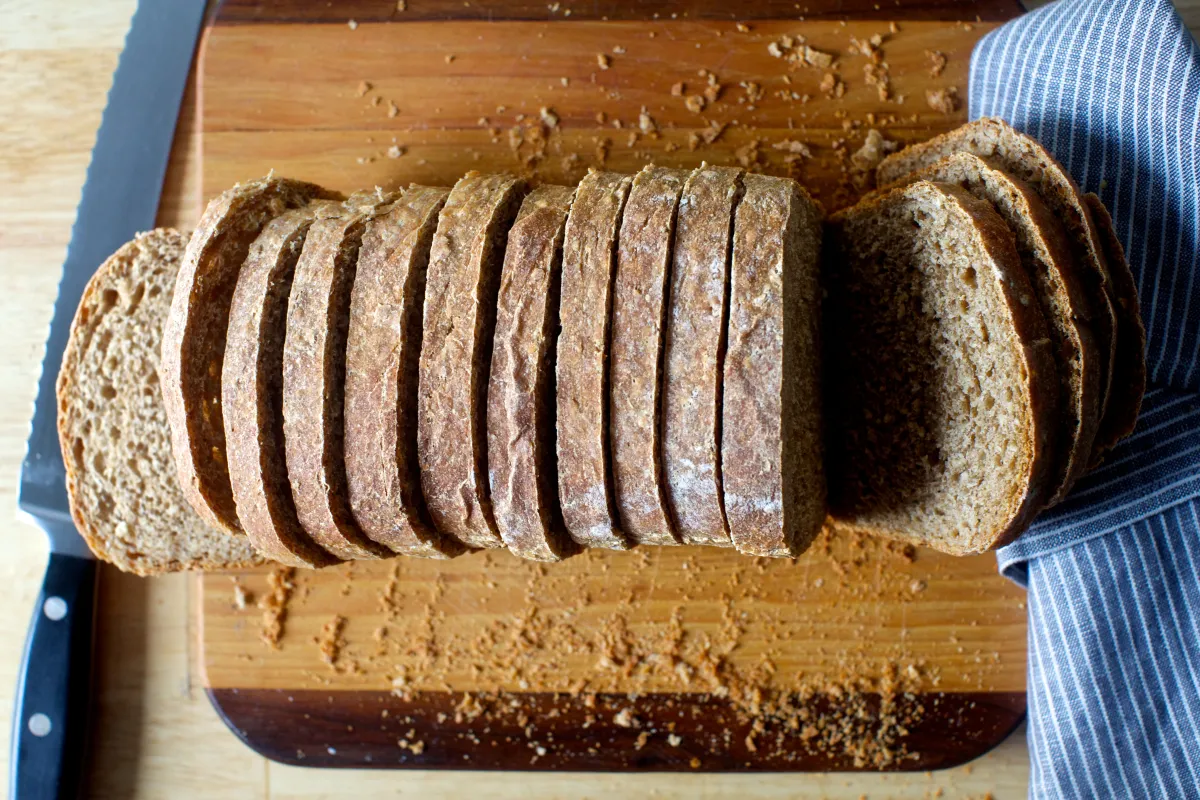
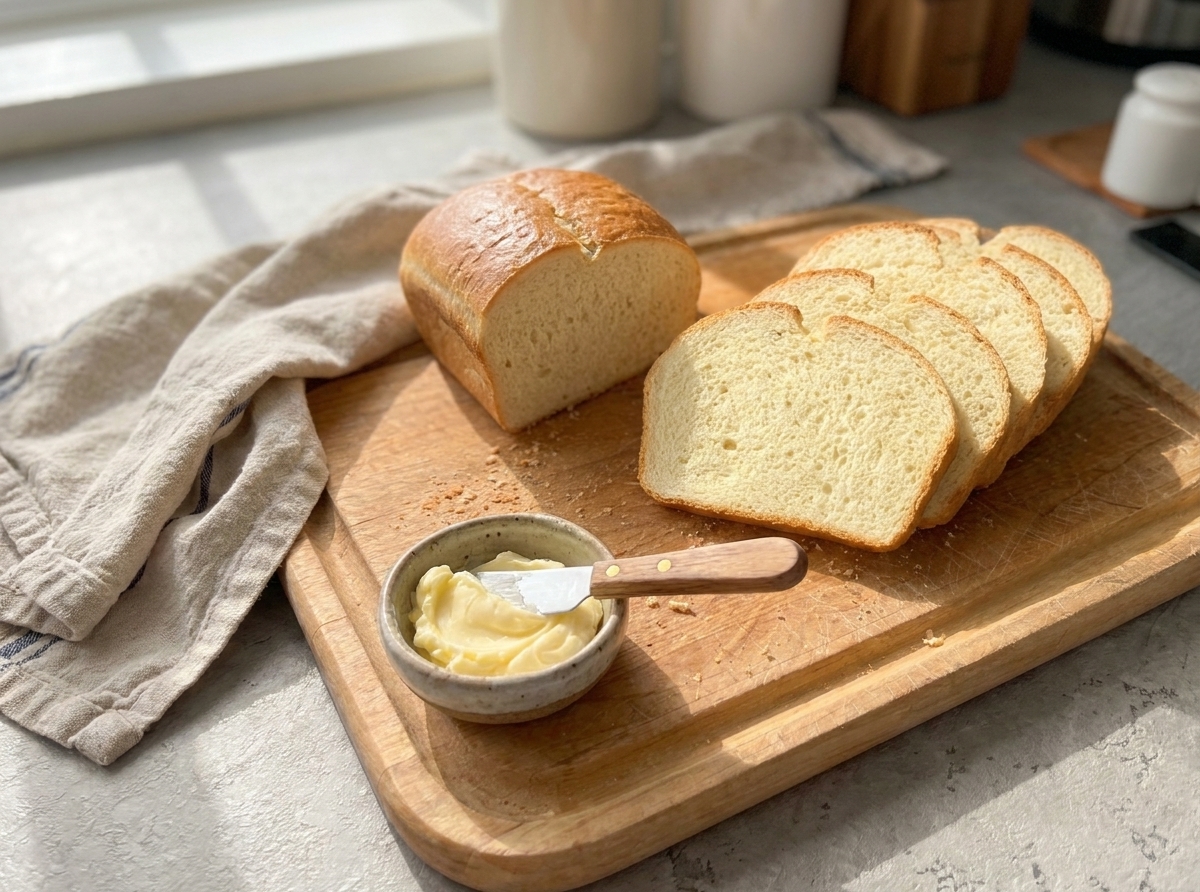
This loaf slices beautifully for toast or sandwiches.
Stale bread rescue ideas:
- Croutons: Cube, toss with olive oil and salt, bake at 375°F until crisp.
- Breadcrumbs: Pulse in a food processor and freeze in a zip-top bag.
- French toast: Slightly dry bread is actually ideal here.
Storage and reheating
Storing
Let the loaf cool completely, then store at room temperature in a sealed bag or container for 2 to 3 days.
Freezing
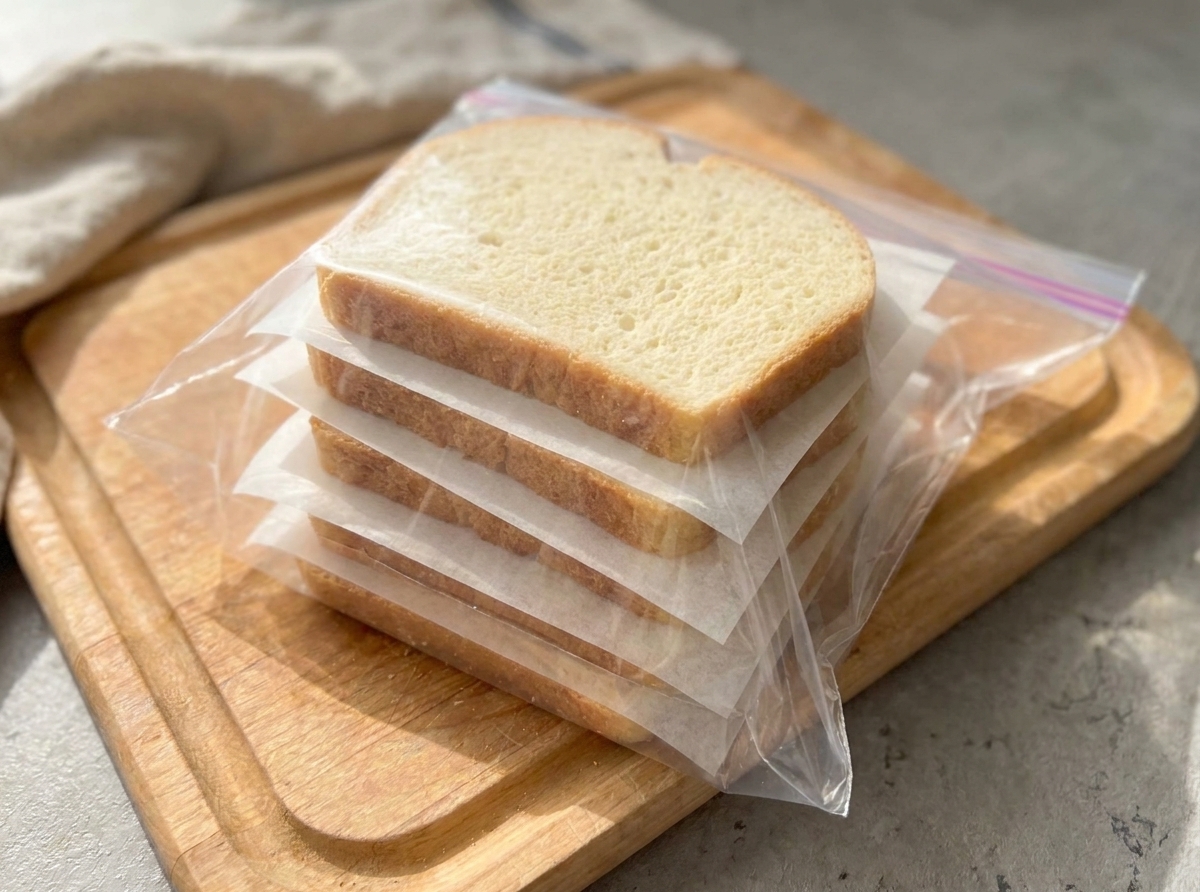
For longer storage, slice first and freeze. Freeze slices with parchment between them so you can pull out exactly what you need. Toast straight from frozen.
Common mistakes
My dough is not rising
- Check warmth: Yeast likes a cozy spot. Try the oven-off trick: put the covered bowl in your oven with the light on.
- Give it time: A cool kitchen can double your rise time. Waiting is not failure.
- Yeast freshness: If your yeast is old, it can struggle. If you are unsure, test it by dissolving in warm water with sugar and looking for foam.
My bread is dense
- Too much flour: Next time, hold back 1/4 cup flour and add only if needed.
- Underproofed: If you baked before the dough truly got puffy, the loaf will be tight.
- Too much degassing: When shaping, press out big bubbles but keep some air in the dough.
My loaf split on the side
This usually means the second rise needed a bit longer, or your oven was running hot. The dough expands rapidly in the oven and finds the weakest point. Let it crown properly before baking.
The top is browning too fast
Loosely tent with foil for the last 10 minutes of baking. Also check that your rack is in the middle of the oven.
FAQ
Can I make this without sugar?
Yes. Sugar helps yeast get moving quickly and adds a tiny bit of tenderness, but the bread will still rise without it. If skipping, expect the rise to take a little longer.
Can I use bread flour?
Absolutely. Bread flour will give you a slightly chewier crumb. You may need 1 to 2 extra tablespoons water since it absorbs more.
Do I need a thermometer?
No, but it is a confidence booster. If you bake bread often, a simple instant-read thermometer is one of the best small investments.
How do I know when it is baked without a thermometer?
Look for a deep golden top and sides, and a loaf that feels light for its size. The “hollow sound” when you tap the bottom can be a helpful clue, but pan loaves are not always perfectly hollow-sounding. If you are unsure, give it another 3 to 5 minutes, or pop it out of the pan and bake 5 minutes directly on the rack to firm the sides.
Can I use an 8.5 x 4.5-inch loaf pan?
Yes. The loaf will be taller. Watch the second rise closely (it may crown sooner) and plan on adding 3 to 8 minutes of bake time if needed. If the top is getting too dark before the center is done, tent loosely with foil.
Easy Yeast Bread
Easy Yeast Bread is a one-bowl, no-mixer loaf with a soft, lightly chewy crumb. Made with pantry basics, it fits a same-day schedule and relies on clear sensory cues for mixing, rising, and baking.
- Prep
- 20 minutes
- Cook
- 35 minutes
- Total
- About 2 hours 15 minutes
- Yield
- 1 loaf (8 to 10 slices)
Ingredients
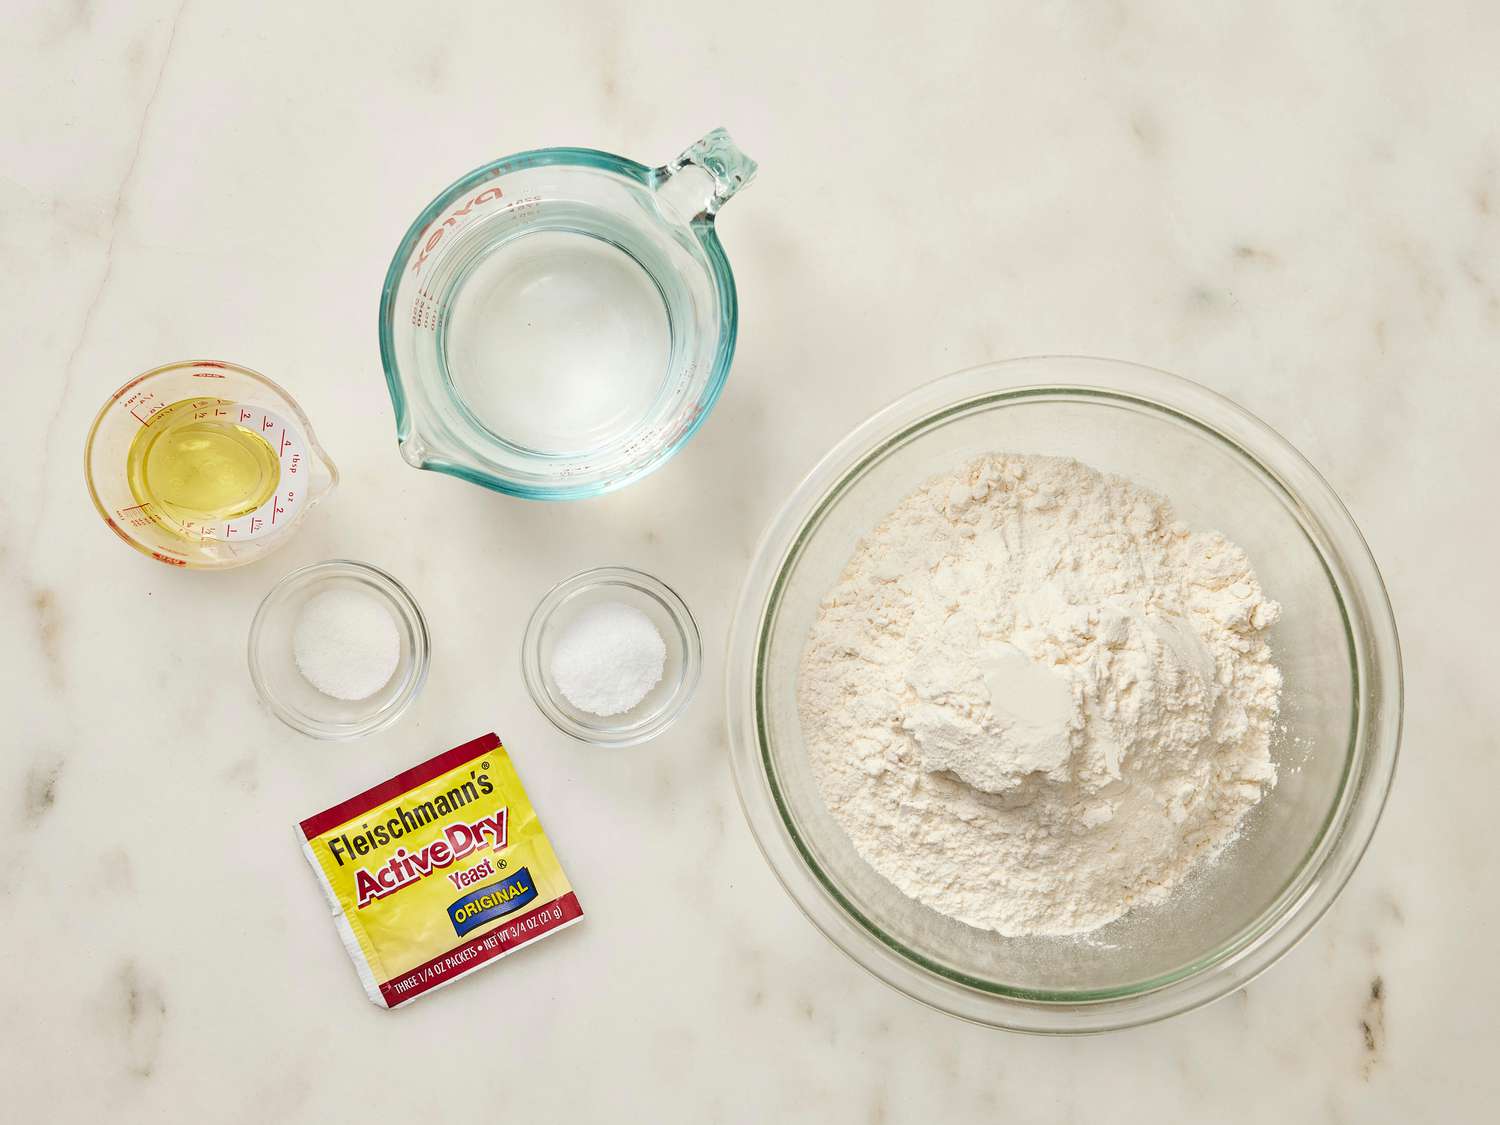
- 3 cups all-purpose flour (360 g), plus a little extra for the counter
- 2 1/4 tsp instant yeast (1 packet, 7 g)
- 1 1/4 tsp fine salt
- 1 tbsp sugar or honey
- 1 cup warm water (240 g), about 95 to 110°F (around 105°F is a sweet spot)
- 2 tbsp olive oil or neutral oil, plus a little for the bowl and pan
Instructions
- Mix the dough. In a large bowl, whisk flour, yeast, salt, and sugar. Add warm water and oil. Stir with a sturdy spoon until you have a shaggy dough and no dry flour remains. If it looks crumbly or you still have floury bits that will not hydrate, add 1 tablespoon water at a time until it comes together.
- Short rest (makes kneading easier). Cover and let the dough rest 10 minutes.
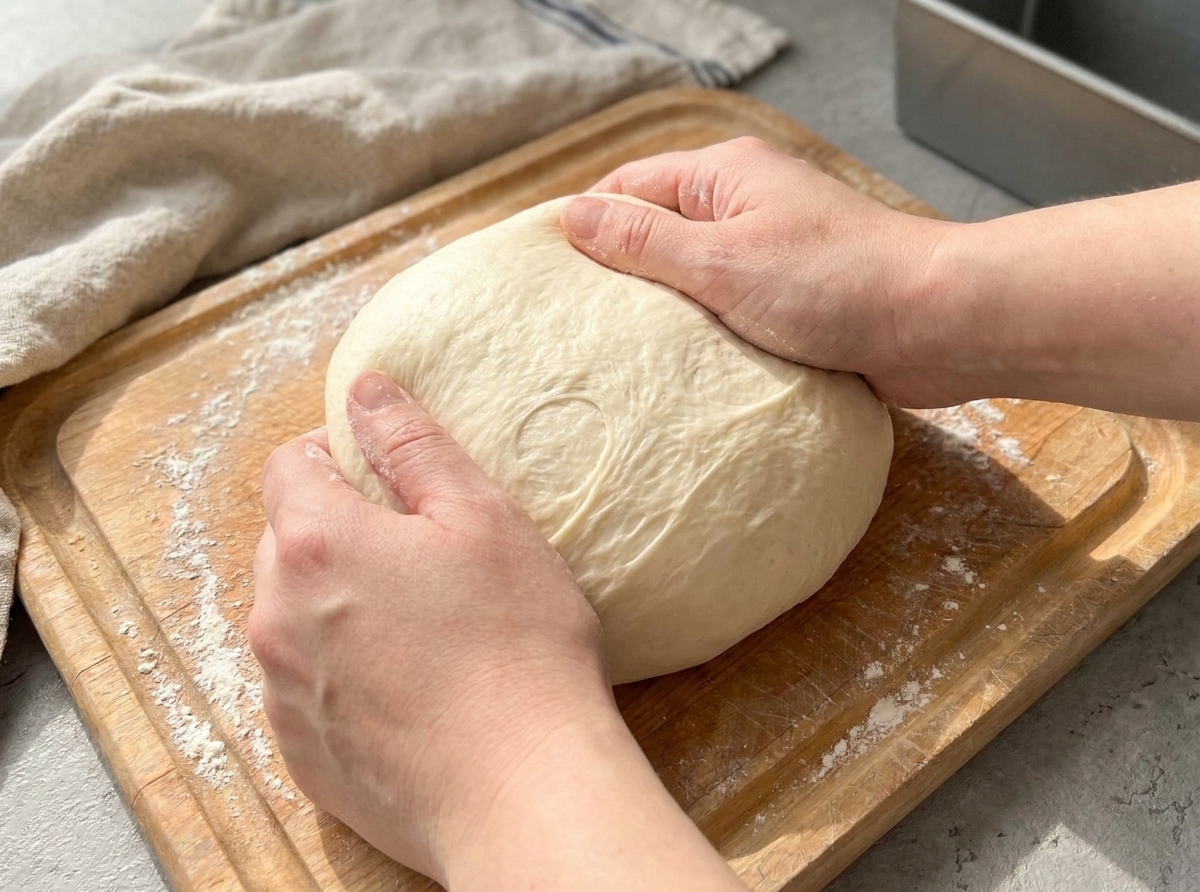
- Knead 6 to 8 minutes. Turn dough onto a lightly floured counter. Knead until smooth and elastic. If the dough is sticking to your hands like paste, dust the counter with a little flour, 1 teaspoon at a time, or lightly oil your hands instead of adding more flour.
- First rise. Lightly oil the mixing bowl. Add dough, turn to coat, cover, and let rise until doubled, 45 to 75 minutes. Cue: when you press a floured fingertip into the dough, the indentation should slowly spring back but still remain visible.
- Shape. Lightly oil a 9 x 5-inch loaf pan. Gently press the dough into a rectangle about 8 x 12 inches, with the short side about as wide as your pan. Roll it up tightly into a log, pinch the seam closed, and place seam-side down in the pan.
- Second rise. Cover and let rise until the dough crowns about 1 inch over the rim of the pan, 30 to 50 minutes. Meanwhile, heat oven to 375°F.
- Bake. Bake 30 to 35 minutes, until deep golden brown. If you have a thermometer, aim for 195 to 205°F in the center.
- Cool (the hard part). Let loaf cool in pan 5 minutes, then turn out onto a rack. Cool at least 30 minutes before slicing.
Notes
Yield: 1 loaf (8 to 10 slices)
Total time: about 2 hours 15 minutes (hands-on about 20 minutes)
Pan: 9 x 5-inch loaf pan (see below for 8.5 x 4.5-inch)
Salt and yeast: If you have heard “salt kills yeast,” mixing salt into the flour first prevents intense direct contact, and this method is widely used.
Using active dry yeast: Dissolve it in the warm water with the sugar and let it stand 5 to 10 minutes until foamy, then proceed.
8.5 x 4.5-inch loaf pan: The loaf will be taller. Watch the second rise closely (it may crown sooner) and plan on adding 3 to 8 minutes of bake time if needed. If the top is getting too dark before the center is done, tent loosely with foil.
Cooling: If you slice too early, the bread can compress and feel gummy even when baked through.
Nutrition
- Calories: 185 (per slice, assuming 10 slices)
- Fat: 3 g
- Carbs: 33 g
- Protein: 5 g
- Fiber: 1 g
- Sugar: 1 g
- Sodium: 290 mg
Nutrition values are approximate and will vary by ingredients used and how many slices you cut.