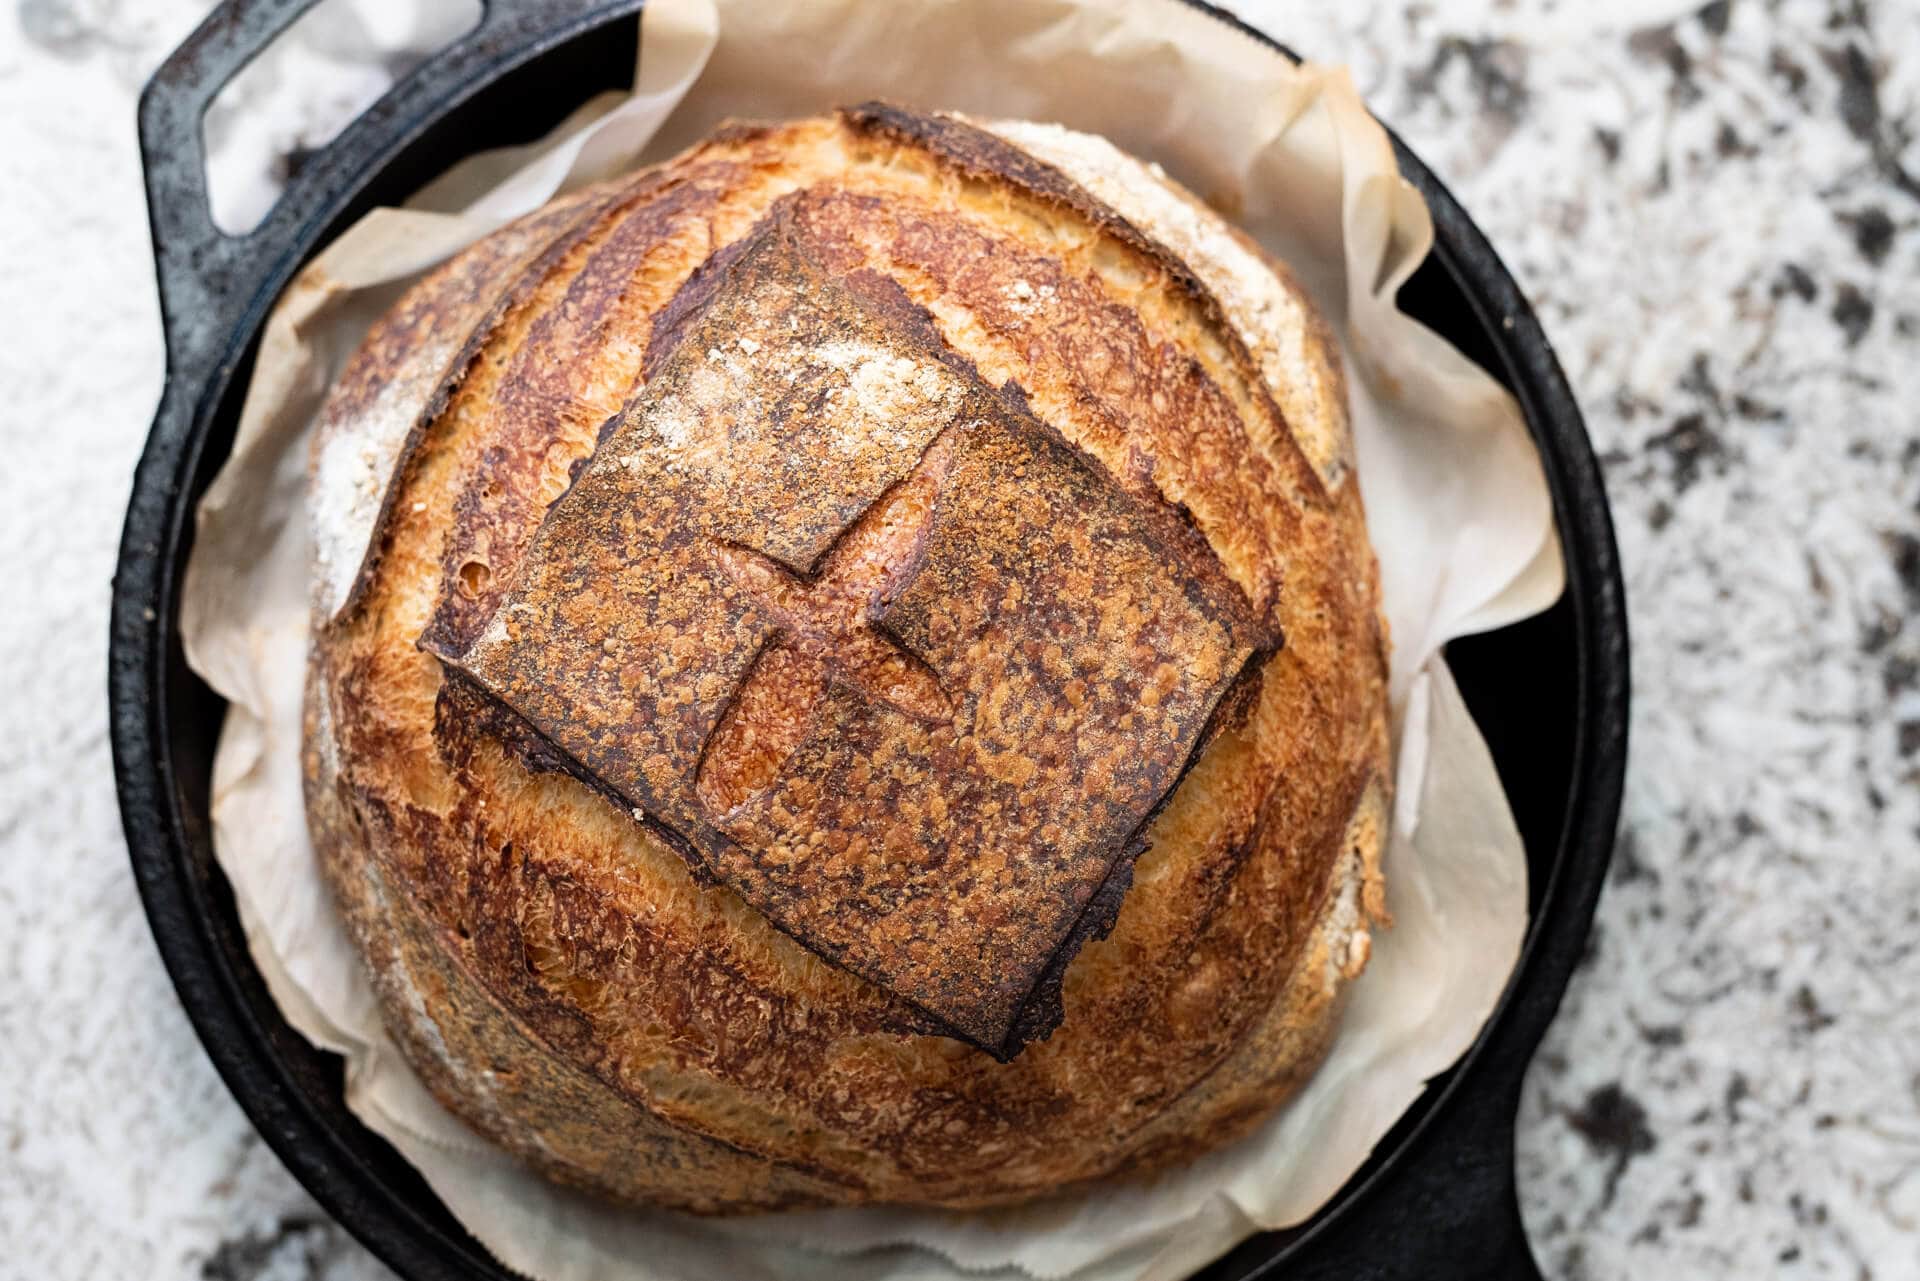

When I taught bread classes, the biggest thing beginners wanted was not more theory. They wanted a loaf that worked, plus a way to tell what the dough was doing. This sourdough boule method does both: a round, hearth-style loaf with a crumb that can be open and lightly glossy, and a crust that can crackle as it cools. That little soundtrack is not guaranteed. A thoroughly baked, well-dried crust and good steam early in the bake help, while a humid kitchen can mute the crackle.

Instead of chasing strict timestamps, you will learn a few sensory checkpoints that matter more: how the dough looks at the end of bulk fermentation, how it should feel after shaping, and what a good score looks like right before baking.
The overall flow is simple and repeatable: mix, a brief rest to hydrate the flour, a few sets of folds to build strength, bulk ferment until the dough is aerated and lively, then shape, cold proof, score, and bake in a preheated Dutch oven for maximum oven spring. If you want to be technical, the early rest here is not a classic autolyse because the starter is already in the dough. Think of it as a short hydration rest that makes everything easier to handle.
A quick note on expectations: the time ranges below assume a typical room temperature kitchen, roughly 70 to 78 F (21 to 26 C), and a starter that is truly active. If your room is cooler or your starter is sluggish, the dough will need more time. If your room is hot and the dough is racing, it will need less.
Timeline at a glance
- Evening: Mix, short rest, a few sets of folds, then bulk ferment at room temperature until the dough looks aerated and jiggly. This is often 3 to 6 hours, but follow the cues.
- Night: Pre-shape, rest, final shape, then cold proof in the fridge (usually 8 to 16 hours).
- Next day: Preheat the Dutch oven (at least 45 minutes), score cold dough, bake, cool fully (at least 2 hours).
What you are aiming for
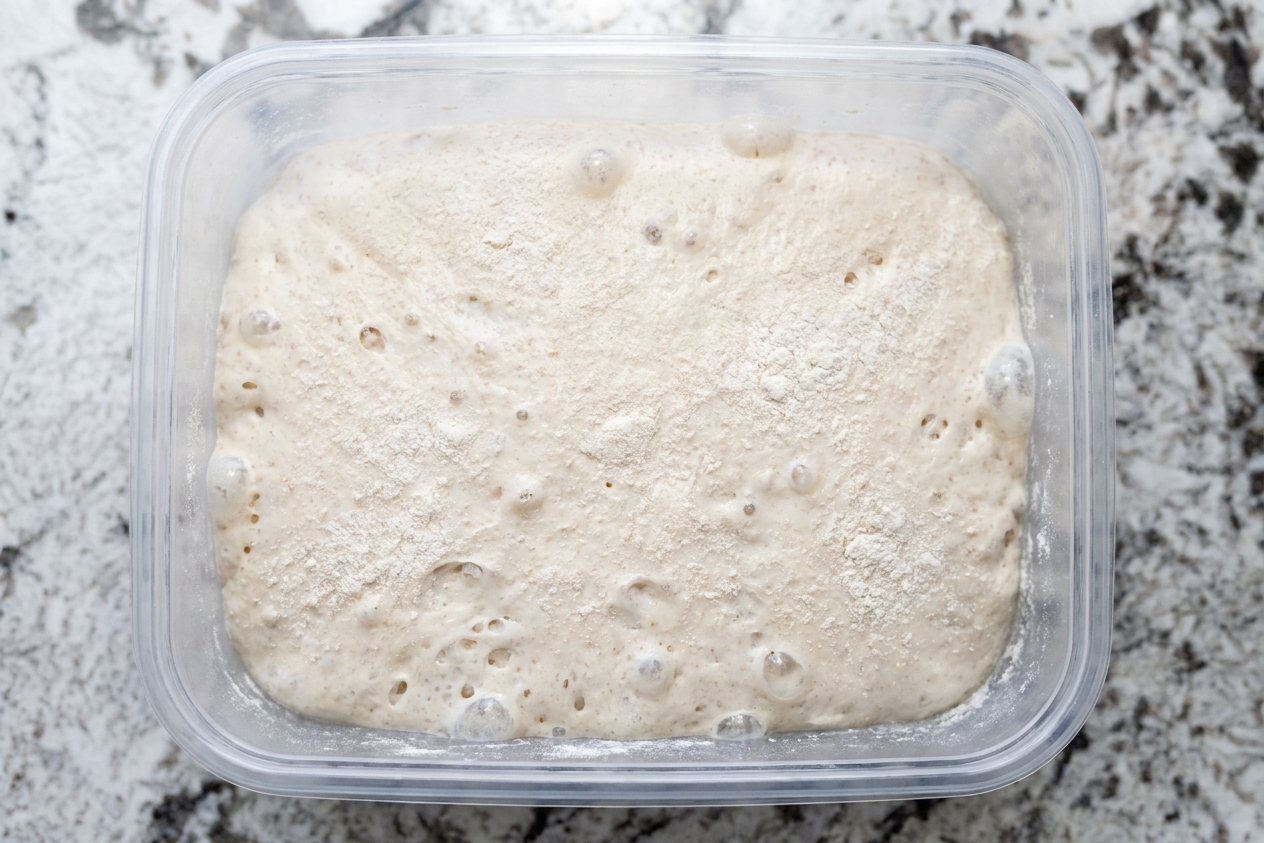
- Bulk fermentation: Dough looks puffier and domed, shows bubbles at the edges, and jiggles like a soft gel when you nudge the container. Many doughs are often ready somewhere around 50 to 75 percent growth, but inoculation level, flour strength, and temperature can push that range up or down. Trust the look and feel. If it turns very gassy and fragile and starts to slump, you are likely going too far. If it still feels heavy and tight with few visible bubbles, it needs more time.
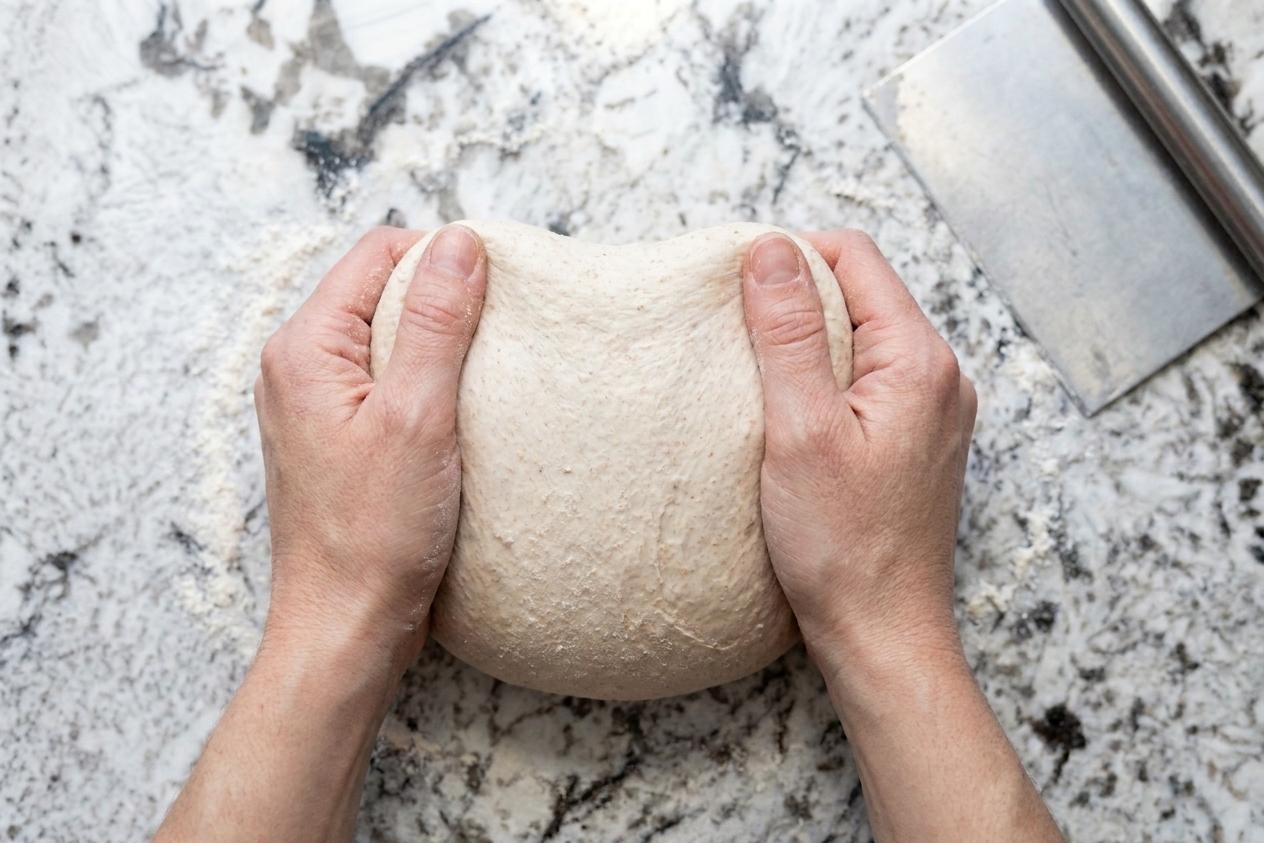
- Shaping: The surface becomes smooth and taut without tearing, and the dough feels like it has an elastic skin.
- Proofed loaf: Dough feels puffy and airy, but still has some spring back when gently pressed.
- Score: One confident slash at a shallow angle. Depth is usually about 1/4 to 1/2 inch depending on loaf size and dough strength. You are cutting a flap that can lift, not sawing the loaf in half.
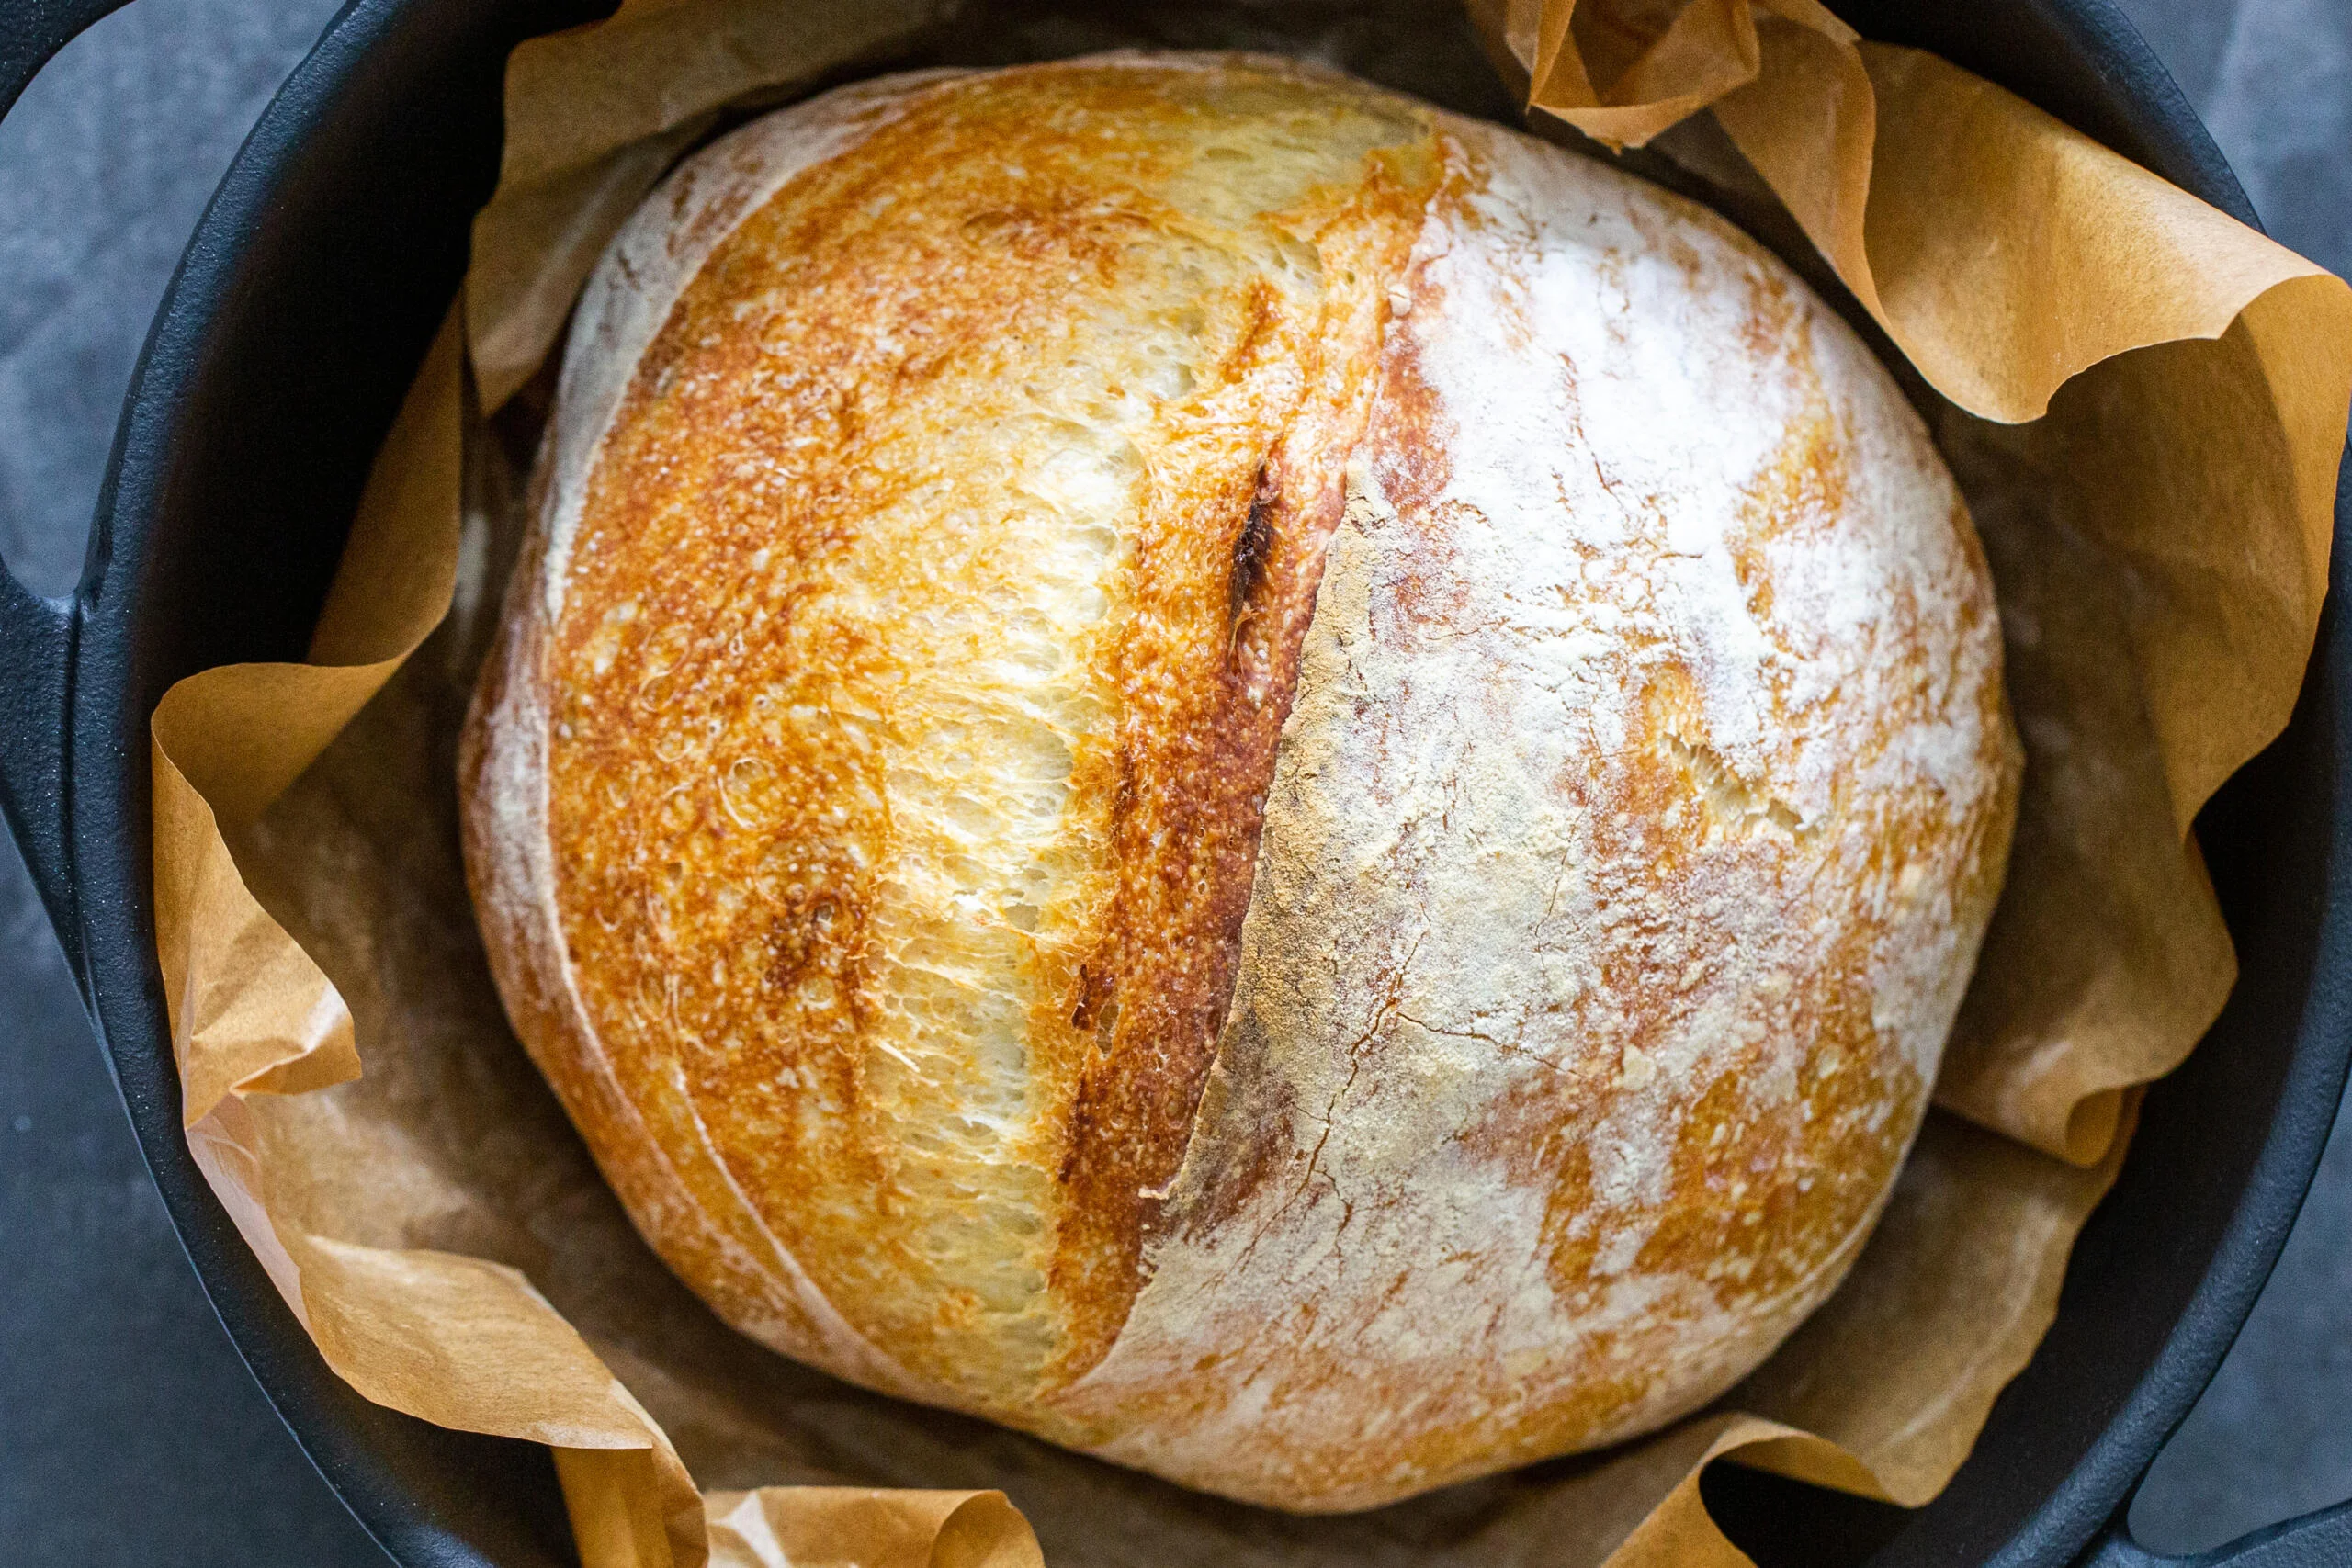
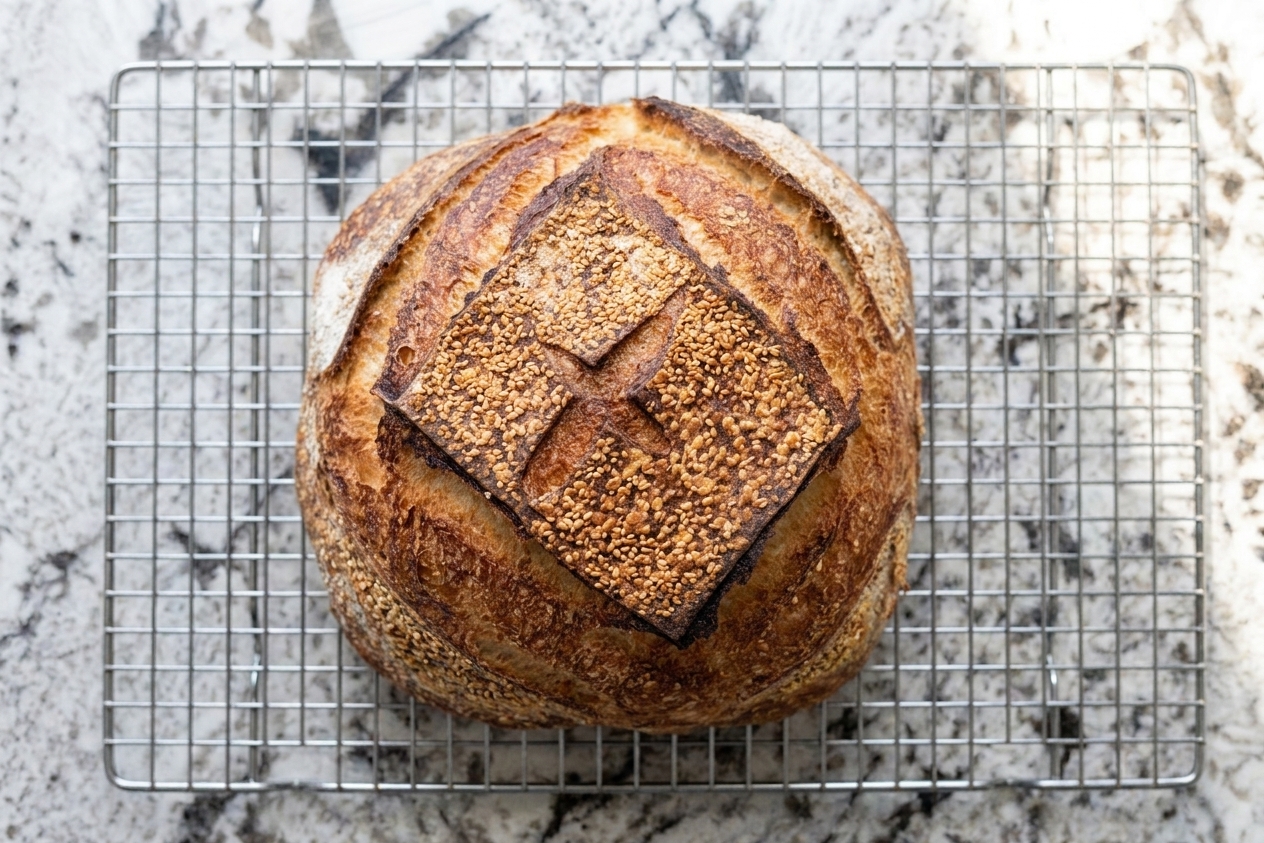
- Bake: Strong oven spring with a defined score line and deep browning. More color often brings more caramelized flavor. Stop short of bitter.
If you are baking this on your own for the first time, the only equipment expectations that really matter are a lidded Dutch oven in the 5 to 7 quart range and some kind of proofing vessel, like a banneton or a towel-lined bowl. The rest is helpful, not sacred.
Why this recipe works
- Cue-based fermentation beats the clock: Room temperature, starter strength, and flour brands vary. Using visual and tactile cues helps you avoid underproofing and overproofing.
- Moderate hydration for beginners: This dough is wet enough for an open crumb, but not so wet that it turns into a sticky puddle you cannot shape.
- Cold proof improves handling and flavor: A refrigerated final proof firms up the dough so scoring is easier and the loaf holds its shape.
- Preheated Dutch oven mimics a steam-injected oven: Trapped steam keeps the crust flexible early in the bake, so the loaf can expand before it sets.
- High heat plus a lid-off finish: You get lift first, then color and crunch once the lid comes off.
Ingredient notes
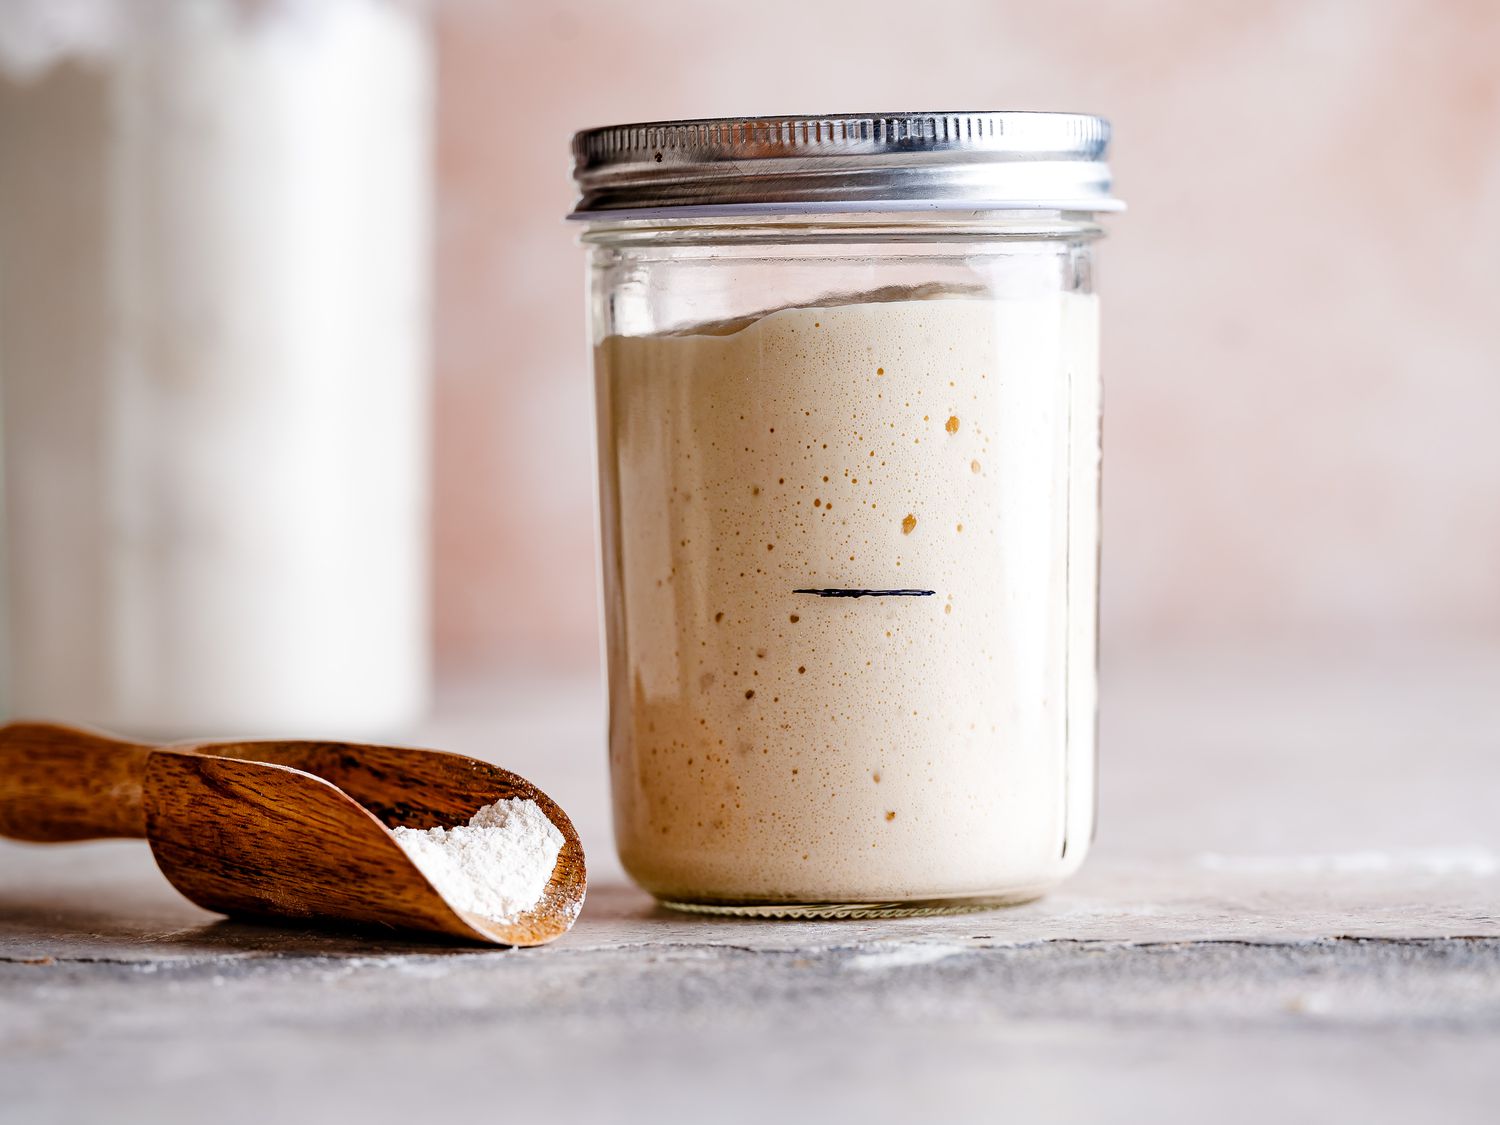
Active sourdough starter: Use starter that is at or near peak. In a jar, it looks domed on top, full of bubbles, and smells pleasantly tangy, like yogurt or ripe fruit. If it is flat and sharp-smelling, your dough will ferment slowly and can end up dense.
Bread flour: Bread flour makes shaping easier and helps the loaf rise taller. If you only have all-purpose, it will still work, but the dough may feel softer and spread more.
Whole wheat flour (optional but helpful): A small percentage boosts fermentation and adds a subtle nutty flavor. It also makes the dough feel a touch less slack.
Salt: Do not cut it. Salt strengthens gluten and helps keep fermentation from racing. Fine sea salt dissolves quickly, but kosher salt works too.
Water: If your tap water is heavily chlorinated, use filtered water. Temperature matters. Warmer water speeds fermentation; cooler water slows it down.
Equipment you will need
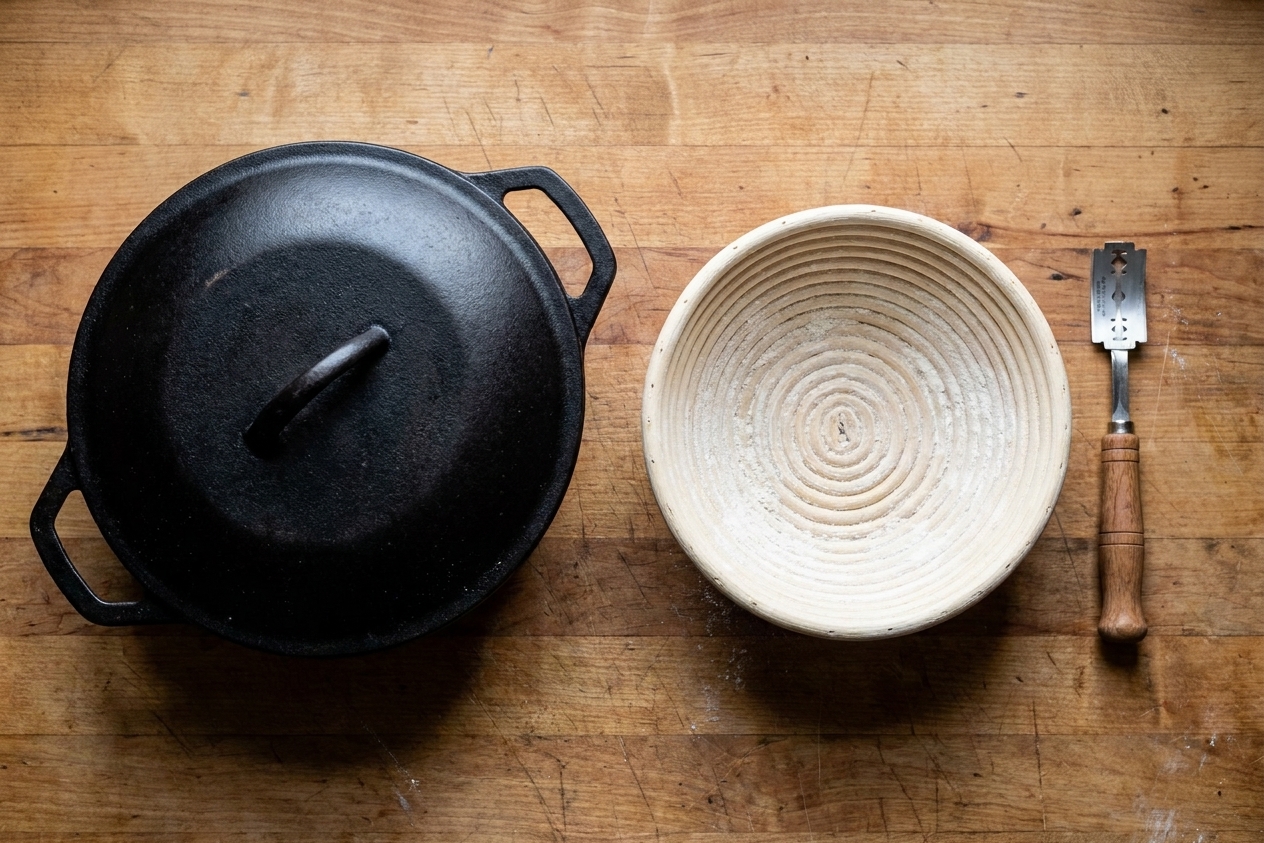
- Dutch oven with lid: 5 to 7 quarts is ideal.
- Digital scale: Essential for consistency with sourdough.
- Large mixing bowl and a bowl scraper or sturdy spatula.
- Proofing basket (banneton) or a medium bowl lined with a smooth cotton towel.
- Lame or sharp razor blade for scoring.
- Parchment paper for safe transfers.
- Instant-read thermometer (optional but very reassuring).
Pro tips
Bulk cues I use
- Volume: Often somewhere around 50 to 75 percent growth, but I do not treat this as a rule. Flour, temperature, and starter strength can shift it.
- Surface: Slightly domed with a few blisters.
- Sides: Bubbles visible through the container if you use something clear.
- Feel: Dough is lighter, elastic, and jiggly. It should release from the bowl more cleanly than it did at the start.
- Aroma: It shifts from raw flour to lightly sweet, then pleasantly tangy. If it smells sharply acidic very early, you may be fermenting too warm or too long.
Shaping for tension
- Use light flour on the counter, not a snowstorm. Too much flour prevents the dough from gripping as you tighten the surface.
- Think of shaping as stretching the outer skin around the loaf. If the surface rips, stop tightening and let it rest 10 minutes before continuing.
Scoring that opens
- Score cold dough straight from the fridge.
- Hold the blade at a shallow angle, about 30 degrees, and make one confident slash.
- If your blade drags, the dough may be overproofed or the blade is dull. Swap blades often.
Color means flavor
- Do not be afraid of a boldly baked crust. More browning often means more caramelized flavor. Pull it back if you are heading toward bitter.
Substitutes that work
- All-purpose flour instead of bread flour: Works. Expect a slightly softer dough and potentially less height. Hold back a small splash of water at mixing if your dough looks very loose.
- Whole wheat flour: If you do not have it, use all bread flour. If you want more whole grain, increase whole wheat modestly and be ready for a slightly tighter crumb.
- No banneton: Use a bowl lined with a well-floured smooth towel. Rice flour is especially good for preventing sticking.
- No lame: A clean, sharp razor blade or very sharp paring knife can work. The key is a swift, decisive motion.
Variations
- Seeded crust: After shaping, lightly mist the surface with water, then roll the boule in sesame or poppy seeds before placing it seam-side up in the basket.
- Lemon pepper loaf: Add finely grated lemon zest and cracked black pepper during the final fold. Keep it subtle so fermentation stays strong.
- Roasted garlic: Squeeze in a few cloves of cooled roasted garlic during lamination or the first fold. Go easy to avoid making shaping messy.
Serving ideas
- Weeknight soup upgrade: Toast thick slices and rub with a cut garlic clove, then finish with olive oil and flaky salt.
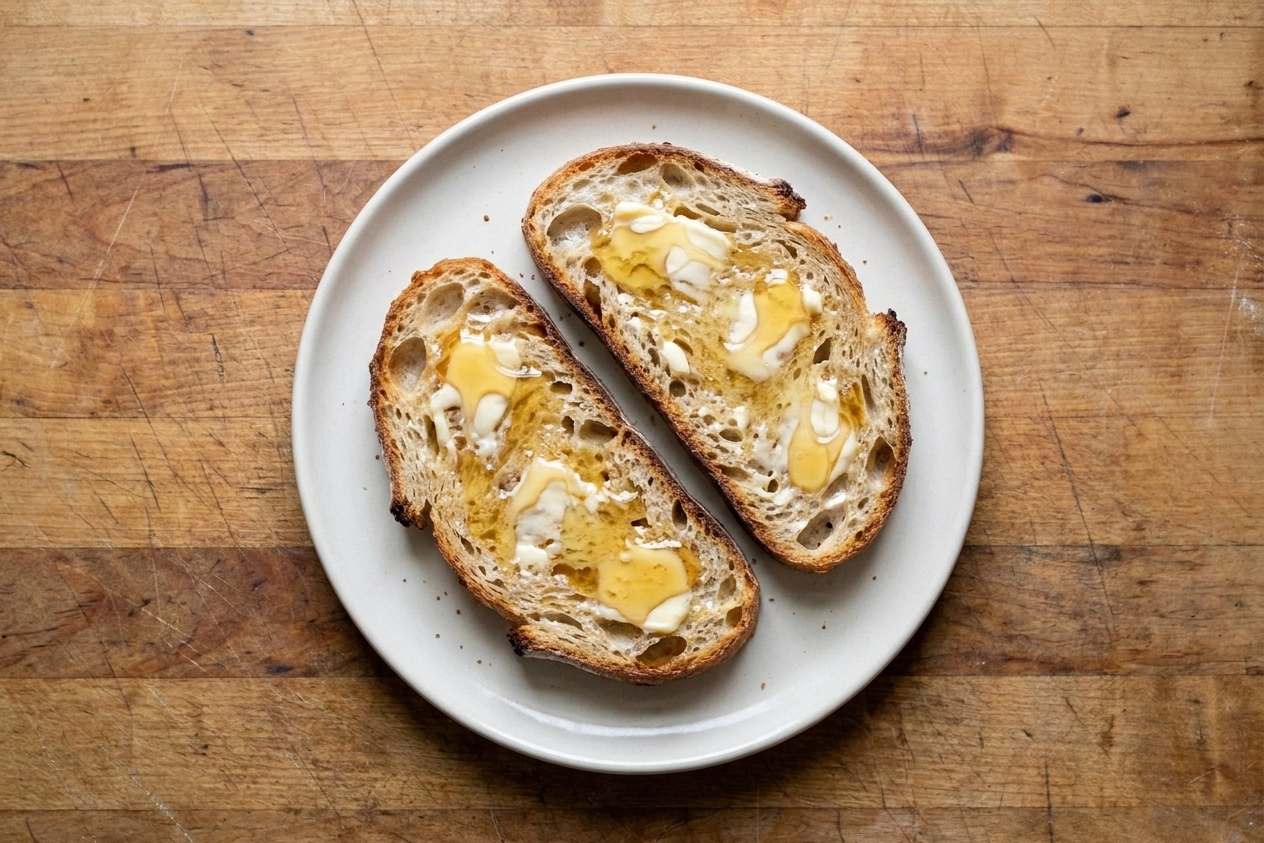
- Breakfast: Sourdough toast with salted butter and honey, or ricotta and jam with a pinch of salt.
- Simple Portland-style lunch: Open-faced toast with smashed avocado, lemon juice, and a generous pinch of salt and pepper.
- Croutons and breadcrumbs: Cube leftovers, toast low and slow, and stash in the freezer for salads and pasta.
Storage and reheating
Day 1 and 2: Store cut-side down on a cutting board, or in a paper bag, at room temperature. I avoid plastic bags for crusty sourdough because they soften the crust quickly.
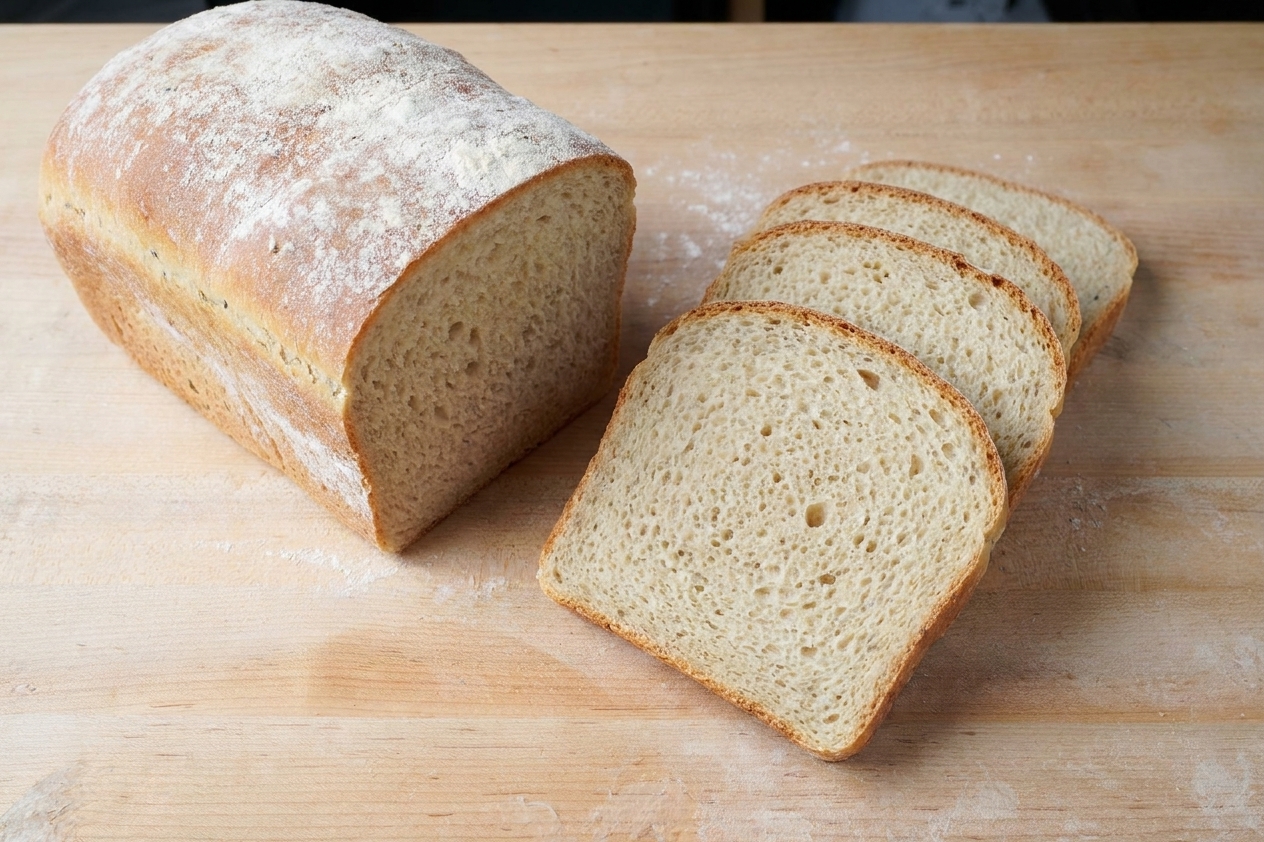
Longer storage: Slice the cooled loaf, freeze slices in a sealed bag, and toast straight from frozen.
To re-crisp the crust: Spritz the exterior lightly with water and warm in a 400 F oven until crisp, 8 to 12 minutes. If the loaf is whole, give it a bit longer.
Common mistakes
Dense loaf with a tight crumb
- Most common cause: Underfermented dough. Next time, extend bulk fermentation until the dough is jiggly and aerated.
- Also check: Starter strength. If the starter was not at peak, the dough may never have had enough lift.
Loaf spreads flat
- Cause: Overproofing, weak shaping tension, or low-protein flour.
- Fix: Shorten the final proof, strengthen shaping, and consider bread flour if you used all-purpose.
Gumminess at the bottom
- Cause: Underbaked loaf or too much trapped steam.
- Fix: Bake longer with the lid off and cool fully before slicing.
Score does not open
- Cause: Dough is overproofed, the score is too shallow, or the Dutch oven was not fully preheated.
- Fix: Score 1/4 to 1/2 inch deep with a sharp blade and give your Dutch oven a full, thorough preheat.
FAQ
How warm should my kitchen be?
There is no single perfect number, but warmer rooms ferment faster. If your kitchen runs cool, expect bulk fermentation to take longer. If it is hot, watch the dough closely and be ready to shape earlier. Use the dough cues, not the clock.
How do I know I did enough folds?
By the final fold, the dough should feel smoother and hold its shape better. It will still relax, but it should not look like batter. If it is still very slack, add one extra fold and give it time to rest.
Do I have to cold proof overnight?
It is strongly recommended for beginners because cold dough is easier to score and it helps the loaf keep its round shape. If you must bake same day, proof at room temperature until puffy and pass the gentle poke test, then bake.
Why is my dough so sticky?
Sticky is normal early on. It becomes easier to handle after the first rest and a couple folds. Wet your hands for folds, use a bench scraper, and avoid adding lots of extra flour which can create dense streaks.
Can I add mix-ins like olives or cheese?
Yes, but keep it beginner-friendly by adding modest amounts during a fold so you do not tear the dough. Pat wet ingredients dry first, and remember that heavy mix-ins can reduce oven spring.
Beginner Sourdough Boule
A beginner-friendly sourdough boule baked in a Dutch oven with clear fermentation cues, simple shaping, and one confident score for a crisp crust and an open, tender crumb.
- Prep
- 35 minutes
- Cook
- 50 minutes
- Total
- 16 hours
- Yield
- 1 boule (about 10 slices)
Ingredients
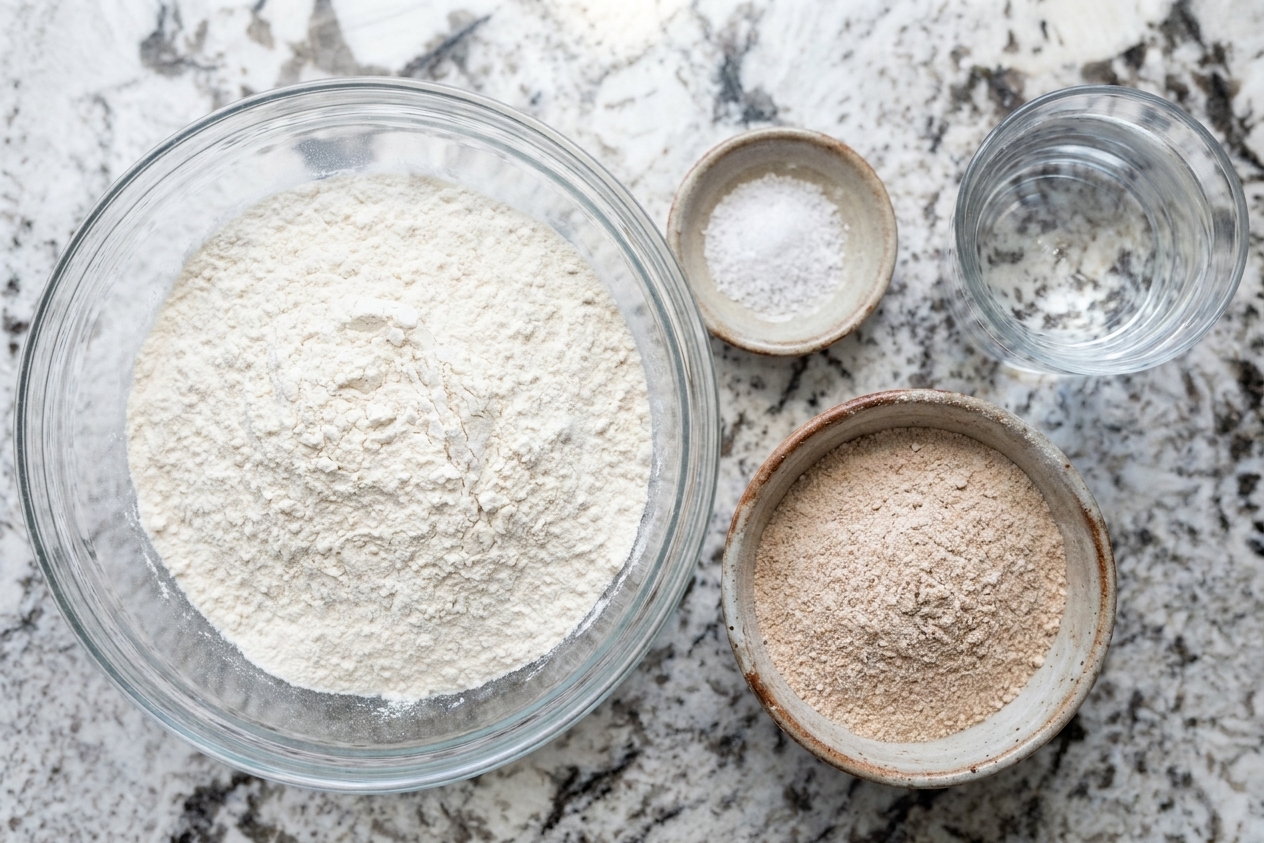
- 400 g bread flour
- 50 g whole wheat flour
- 325 g water, lukewarm
- 100 g active sourdough starter (100% hydration)
- 10 g fine sea salt
- Rice flour or bread flour, for dusting
Instructions
- Mix the dough: In a large bowl, whisk together 325 g water and 100 g active starter until the starter loosens. Add 400 g bread flour and 50 g whole wheat flour. Mix until no dry flour remains. The dough will look shaggy. Cover and rest 30 minutes.
- Add salt: Sprinkle 10 g salt over the dough. Pinch and fold it in until evenly incorporated, 1 to 2 minutes. Cover and rest 20 minutes.
- Stretch and folds: Over the next 2 hours, perform 3 to 4 sets of stretch and folds (or coil folds) spaced about 30 minutes apart. For each set, wet your hand, lift one edge of dough up until it stretches, fold it over itself, rotate the bowl, and repeat 4 times total. After the final set, the dough should feel smoother and hold its shape better.
- Bulk ferment until ready: Let the dough rise at room temperature until it looks noticeably aerated: slightly domed, bubbles at the edges, and a gentle jiggle when you shake the bowl. Many doughs are ready around 50 to 75 percent growth, but temperature, flour, and starter strength can shift that. Depending on your kitchen and starter, this can take 3 to 6 hours from the time you mixed in the salt.
- Pre-shape: Lightly flour the counter. Gently turn out the dough. Using a bench scraper, tuck the edges toward the center to form a loose round. Let rest 15 to 25 minutes, uncovered, until the dough relaxes slightly but still holds a rounded shape.
- Final shape: Flip the dough seam-side up. Gently stretch it into a rough circle. Fold the top third down, then the bottom third up, then fold the sides inward. Flip seam-side down and tighten by dragging the dough across an unfloured patch of counter with your hands and or bench scraper until the surface is taut. Stop if the surface begins to tear.
- Cold proof: Dust a banneton or towel-lined bowl generously with rice flour or flour. Place the dough seam-side up in the basket. Cover (a bag works well) and refrigerate 8 to 16 hours.
- Preheat the oven and Dutch oven: Place a Dutch oven with its lid in the oven and preheat to 500 F for at least 45 minutes.
- Score: Cut a piece of parchment to fit your Dutch oven. Remove the dough from the fridge, invert it onto the parchment so it is seam-side down. Dust off excess flour. Using a lame or razor, make one confident slash 1/4 to 1/2 inch deep at a shallow angle (about 30 degrees). Aim for a quick, clean cut rather than a sawing motion.
- Bake: Carefully remove the hot Dutch oven. Use the parchment to lower the dough into the pot. Cover with the lid and bake 20 minutes at 500 F.
- Finish baking: Reduce oven temperature to 450 F. Remove the lid and bake 25 to 30 minutes longer, until the crust is deep golden brown to dark brown.
- Cool fully: Transfer the loaf to a rack and cool at least 2 hours before slicing. For extra certainty, the center should read about 205 to 210 F on an instant-read thermometer.
Notes
Fermentation note: If your dough doubles quickly and becomes very airy and fragile, shorten bulk fermentation next time. If it feels heavy and tight with few bubbles, extend bulk fermentation and make sure your starter is truly active.
Flour note: Flour absorbs water differently. If your dough feels soupy at mixing, hold back 25 g water and add it only if the dough can handle it after the salt is incorporated.
Crust note: A crust that crackles as it cools is a common sign of a well-baked lean loaf with a dry, set crust. It is not guaranteed. Humidity can dampen the sound, and a loaf that is baked pale or left in a steamy environment too long can soften quickly.
Sticking insurance: Rice flour is my favorite for bannetons and towel-lined bowls because it resists absorbing moisture and helps prevent sticking.