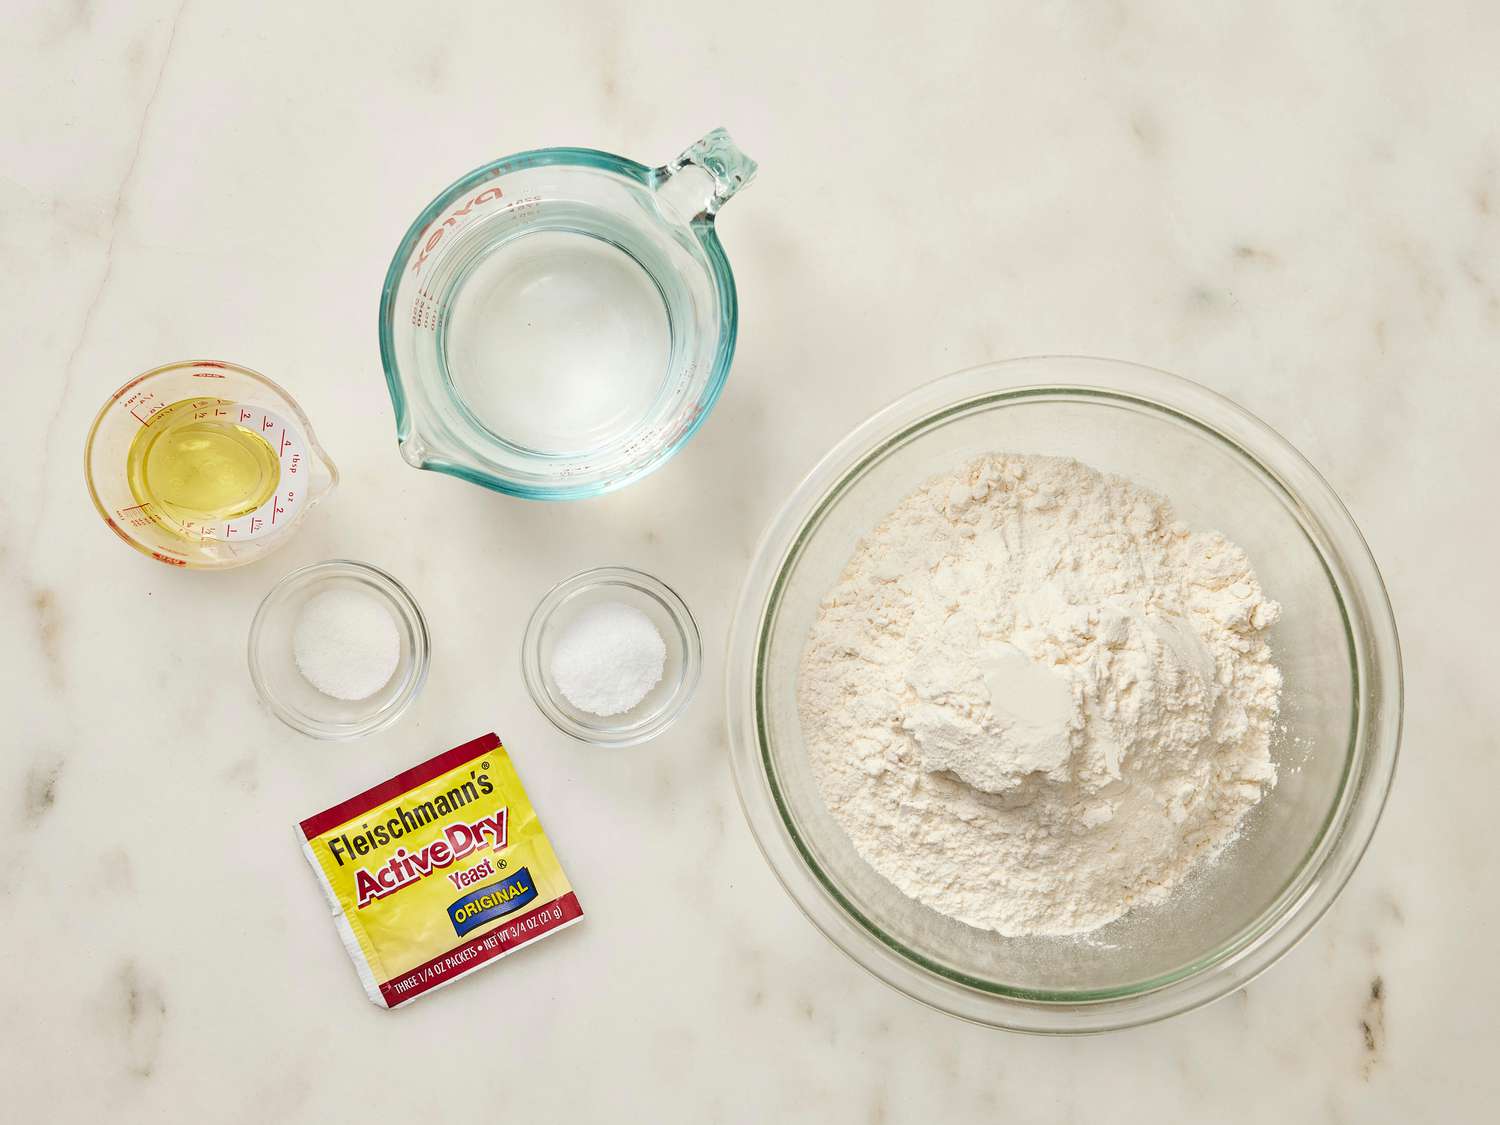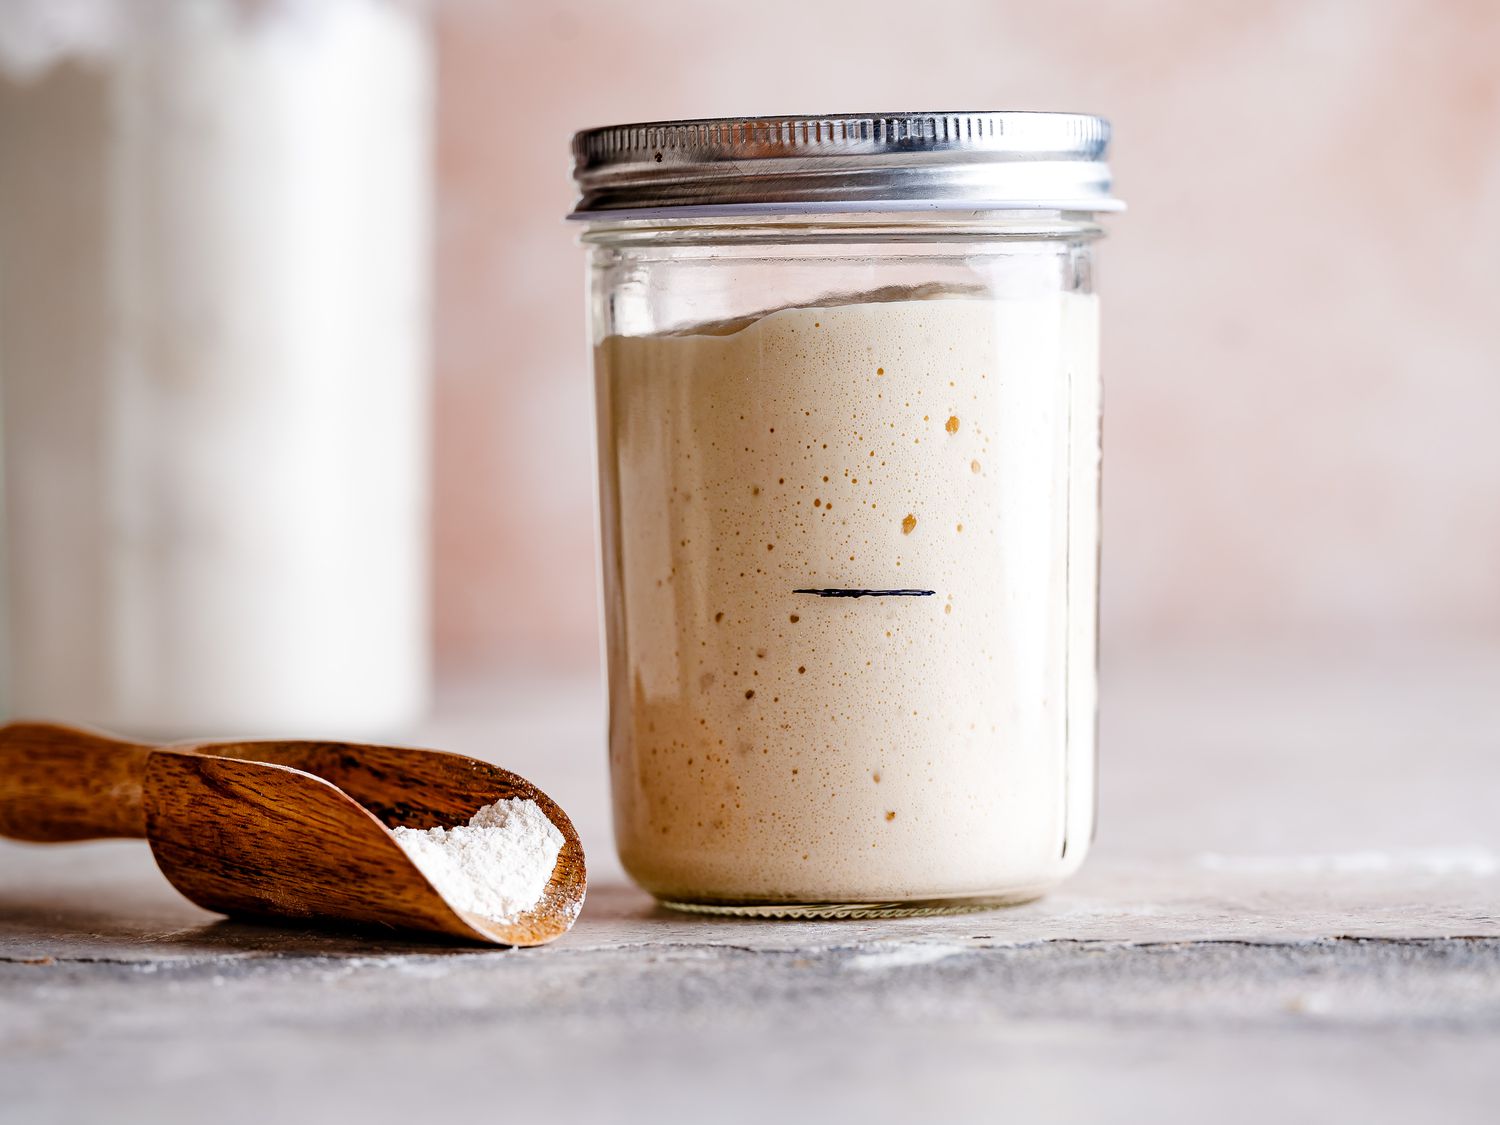
Sourdough starter is simply flour and water that you feed until it becomes a stable, lively community of wild yeast and friendly bacteria. It sounds mysterious, but it is really just a routine. If you can stir, scrape down a jar, and remember to feed it, you can make starter.
I will walk you through a beginner-friendly method that is low waste, forgiving, and built around sensory cues instead of perfection. You will also get two feeding schedules (once-a-day and twice-a-day), plus fixes for the most common starter hiccups.
What you need
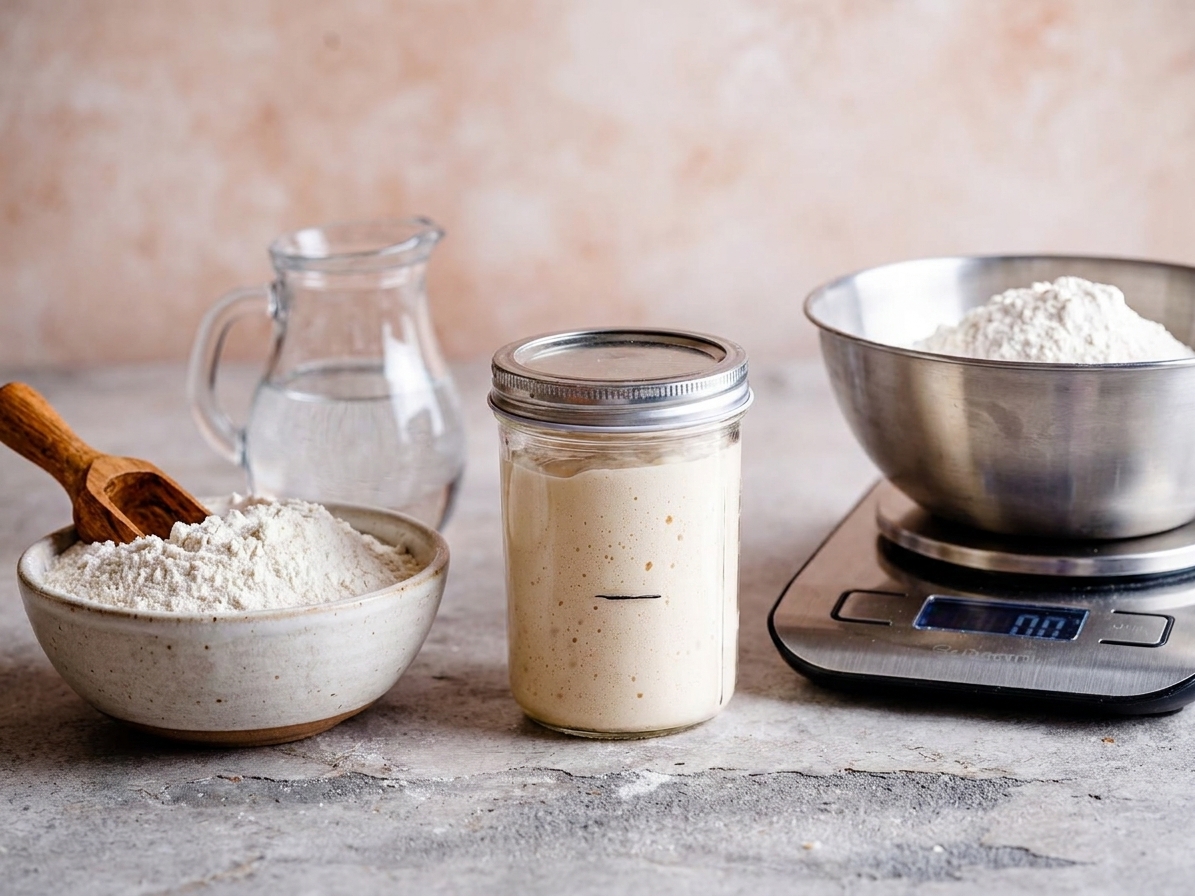
Keep it simple. You do not need grapes, commercial yeast, honey, or fancy gear.
Ingredients
- Flour: Unbleached all-purpose flour works great. A little whole wheat or rye helps jumpstart activity, but it is optional.
- Water: Room-temperature water. If your tap water is heavily chlorinated, use filtered water or let a pitcher sit out uncovered overnight. If your city uses chloramine, resting overnight may not help much, so a carbon filter is your best bet.
Tools
- A clear jar (16 to 32 ounces is ideal) with plenty of headroom for the starter to double
- A spoon or small spatula
- A kitchen scale (highly recommended for consistency)
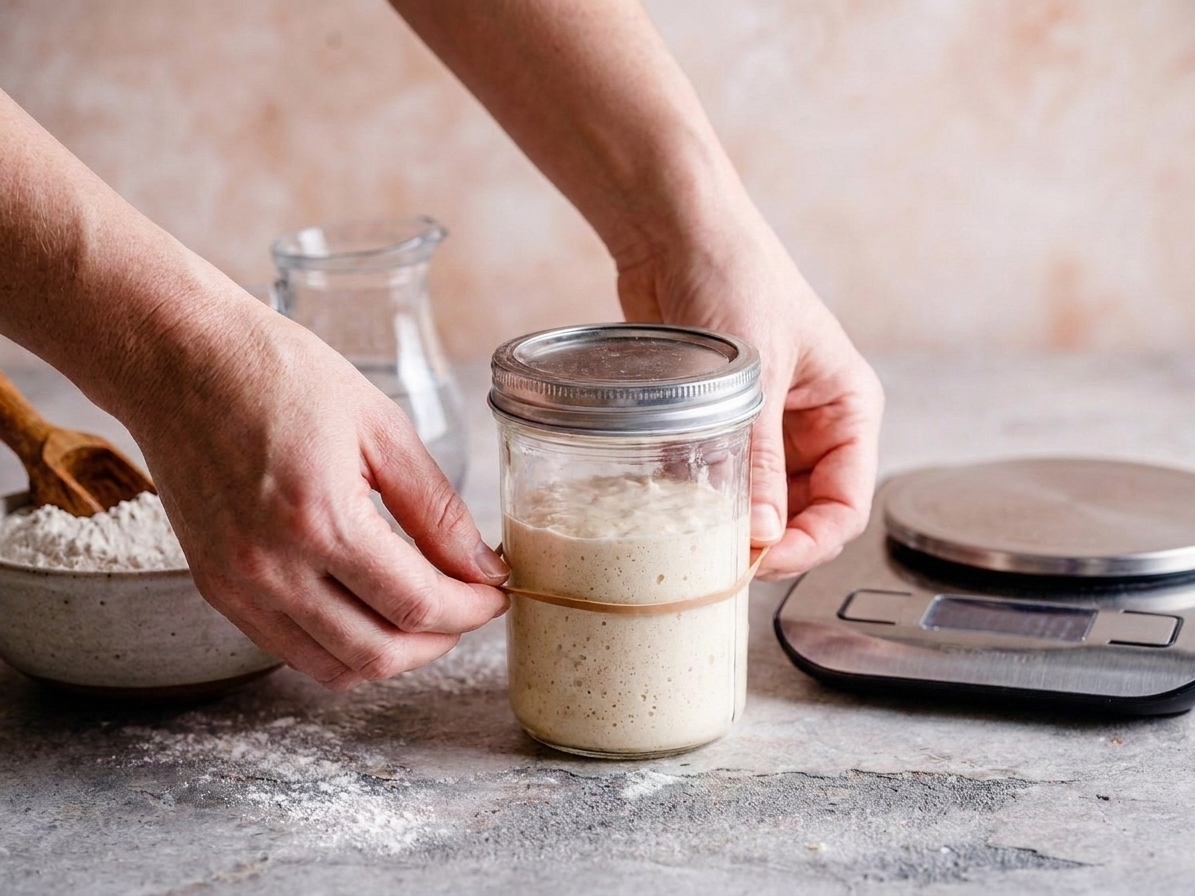
- A rubber band or piece of tape to mark the level
Before you start: two small choices that matter
1) Use a small starter
Most starter guides ask you to maintain a huge jar and discard a lot. We are not doing that. This method keeps a small starter and only scales up when you are ready to bake.
2) Pick a warm-ish spot
Starter loves warmth. Aim for 72 to 78°F if you can. A little warmer is fine too, up to about 80 to 82°F. Cooler is fine, it just takes longer. If your kitchen is cold, place the jar in the oven with the light on (oven turned off) or near a warm appliance.
Easy sourdough starter recipe (day-by-day)
This schedule uses a small amount of flour and water, and it is based on a simple ratio: keep a little starter, then feed equal weights flour and water. That is called a 1:1:1 feed (starter:water:flour).
Day 1: Mix
- 25g flour (all-purpose, or half whole wheat if you want a boost)
- 25g water
Stir in your jar until no dry flour remains. Scrape down the sides. Mark the level with a rubber band. Cover loosely (lid set on top, or a clean cloth with a rubber band). Do not seal it airtight during early fermentation. Leave at room temperature.
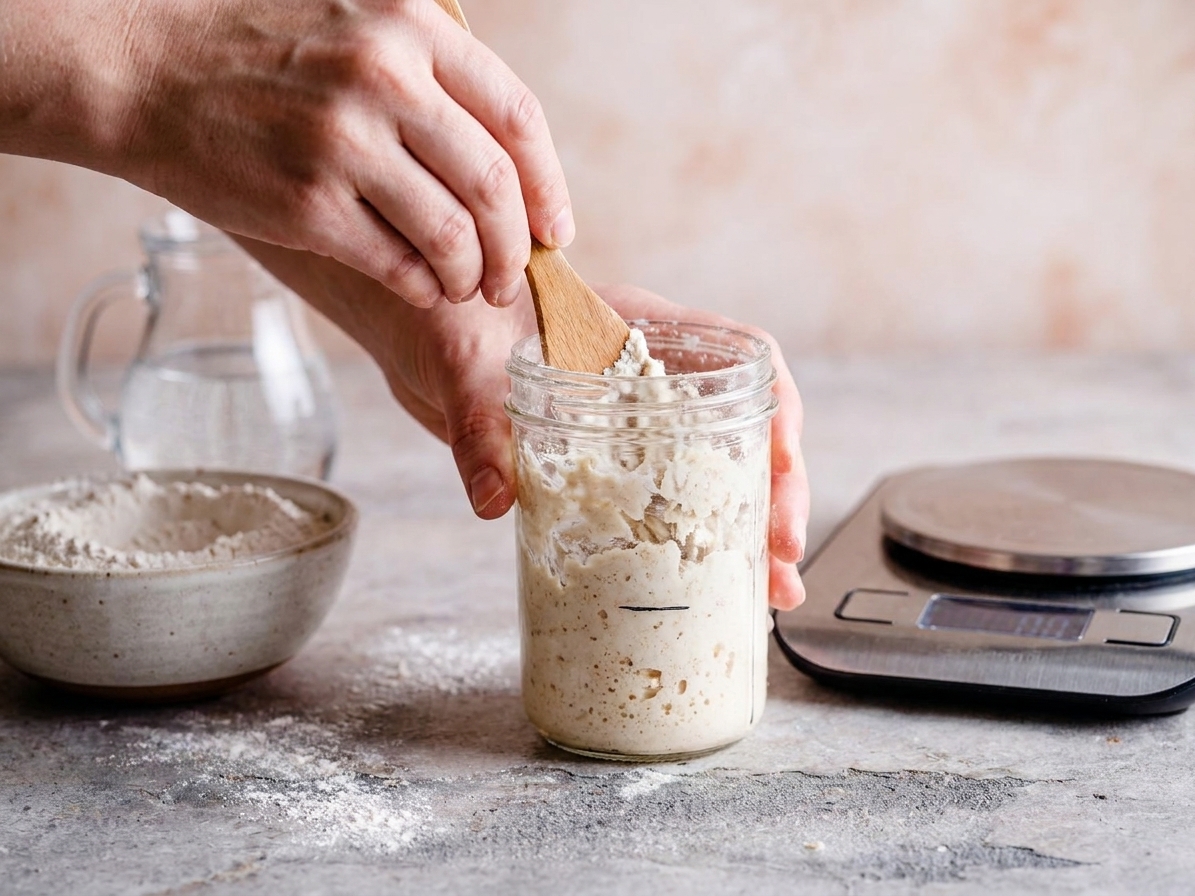
Day 2: Wait and observe
Do nothing unless you see mold (rare). You may see a few bubbles or a slightly tangy smell. You might also see nothing. That is normal.
Sensory cue: It may smell like wet flour, cereal, or lightly fruity. All good.
Day 3: First feed
Discard down to 25g starter in the jar. Add:
- 25g water
- 25g flour
Stir well, scrape down, mark the level, cover loosely, and leave warm.
Day 4: Feed again
Repeat the Day 3 feed: keep 25g starter, then add 25g water and 25g flour.
Heads up: Many starters get very active around Day 3 or 4, then seem to “die” for a couple days. That early surge is often bacteria shifting, not stable yeast strength. Keep feeding and it comes back.
Days 5 to 7: Feed daily, watch the pattern
Continue feeding once a day (same 25g:25g:25g). Your goal is predictable rise and bubbles, not just a sour smell.
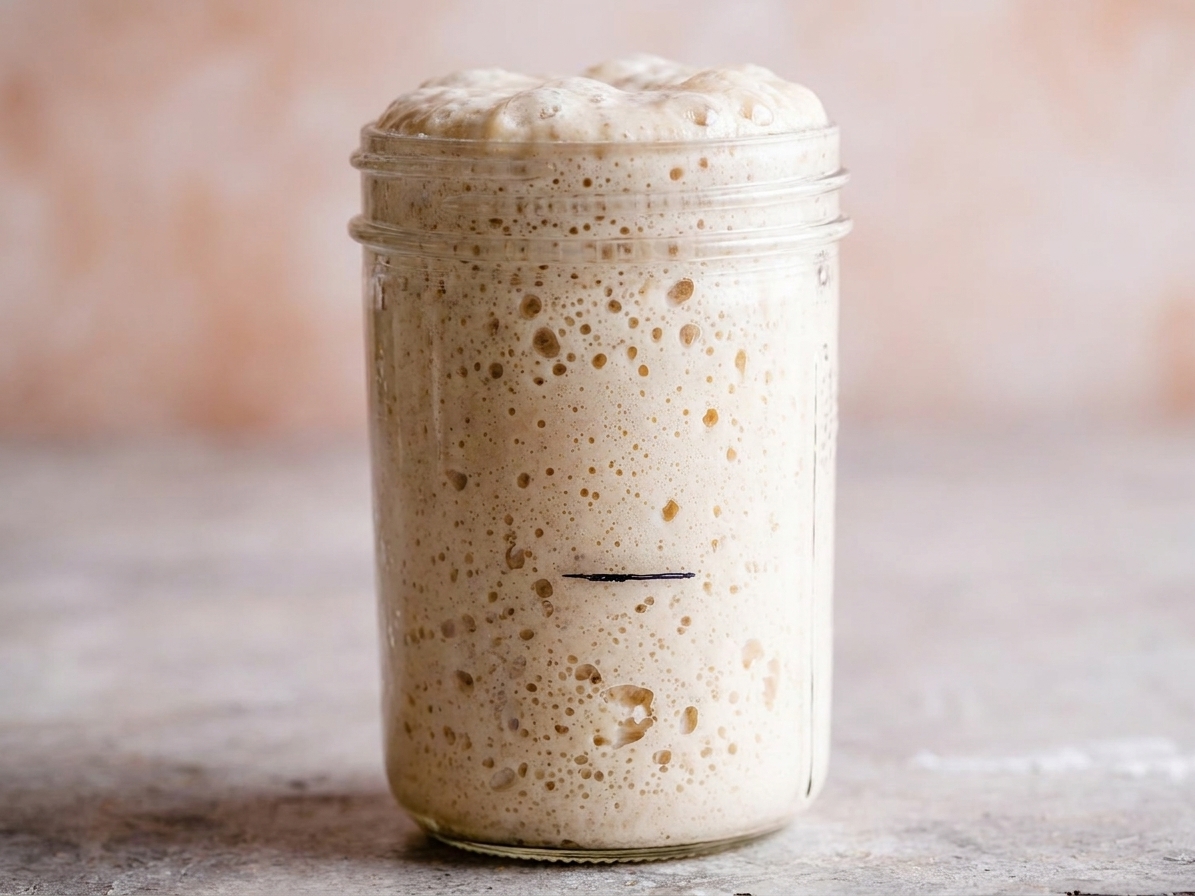
What you want to see: After feeding, the starter should rise noticeably and look airy and bubbly throughout. In a warm kitchen, many starters double in 4 to 8 hours, but plenty of perfectly good starters take 10 to 14 days (or longer), especially in cool kitchens or with all-purpose flour only. Consistency matters more than the calendar.
When is starter ready to bake with?
A starter is ready when it is consistently strong, not when it has one random good day.
Readiness checklist
- It doubles in 4 to 8 hours after a feeding (at 72 to 78°F).
- It looks airy and bubbly through the jar, not just a few surface bubbles.
- It smells pleasantly tangy, like yogurt, apple cider, or fresh bread dough.
- It repeats this pattern for 2 to 3 days in a row.
Skip the float test if it stresses you out. It can be misleading depending on flour type and hydration. Rise and timing are more reliable.
Feeding schedules that fit real life
Option A: Once a day
Feed every 24 hours: keep 25g starter, add 25g water and 25g flour. If your kitchen is warm and your starter peaks and collapses long before the next feeding, switch to twice a day.
Option B: Twice a day
Feed every 12 hours using the same 1:1:1 ratio. This can strengthen a starter that is bubbling but not rising much.
If you miss a feeding
No drama. Feed it as soon as you remember, then get back on your normal schedule. If you see hooch on top, pour it off or stir it in, then feed.
If your starter is sluggish
Try one of these gentle nudges:
- Feed with half whole wheat or rye for 1 to 2 days.
- Move it somewhere warmer.
- Stir it once between feedings to redistribute food and temperature.
How to keep discard low (and still bake soon)
I am fiercely anti-waste, especially when flour prices are doing what they are doing. Here is the trick: maintain a small starter, then build what you need for baking.
How to build starter for a recipe
The night before you bake, do a larger feed in a clean jar. Example build:
- 20g active starter
- 80g water
- 80g flour
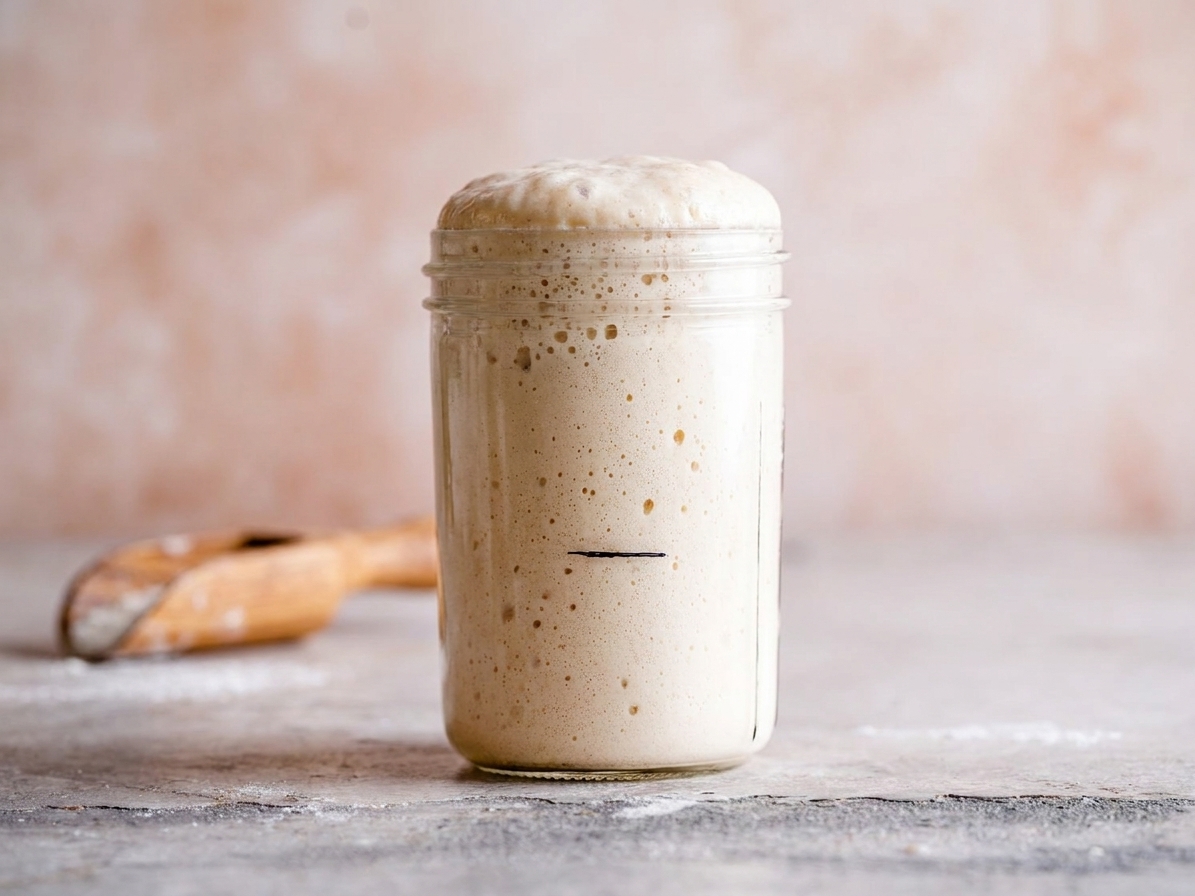
That gives you about 180g starter, enough for most sourdough recipes with a little left to keep. Use it at peak (when it is domed and fully risen).
What to do with discard
Until your starter is reliably rising, discard can taste funky or overly sharp. I usually compost it early on. Once the starter smells clean and pleasantly sour, save discard in the fridge for pancakes, crackers, tortillas, or waffles.
Switching flours
You can start with whole wheat or rye and transition to all-purpose, or vice versa. Just do it gradually:
- For 2 to 3 feedings, use 50% old flour and 50% new flour.
- Then move to 100% of the new flour.
Good to know: Whole grain flours ferment faster and may look more active. All-purpose tends to rise a bit more cleanly once established.
Troubleshooting
There is gray liquid on top
That liquid is called hooch. It means your starter is hungry. Pour it off or stir it in (either is fine), then feed. If it smells especially strong, pouring it off can help keep acidity in check. If it happens often, feed more frequently or keep it a bit warmer.
It smells like nail polish remover
That sharp smell can happen when a starter is underfed or very warm. Do a couple of regular feeds on schedule, and consider switching to twice-a-day feeding for a day or two.
It bubbles but does not rise
This is the most common frustration. Try these fixes:
- Use a straight-sided jar so you can see rise clearly.
- Feed by weight, not volume. It matters.
- Try a few feeds with 50% whole wheat or rye.
- Keep it warmer (72 to 78°F is the sweet spot).
I see pink, orange, or fuzzy growth
That is contamination. Do not try to scrape it off. Throw it away, wash everything well, and start over with a clean jar.
It has been 10 days and it still is not doubling
Totally possible, especially in cool kitchens. Keep going. If you want to speed things up, go to twice-a-day feeds for several days and use some whole grain flour.
How to store your starter
If you bake often
Keep it at room temperature and feed daily.
If you bake occasionally
Store it in the fridge. Once a week, take it out, let it warm up for an hour, discard down to 25g, and feed 25g water plus 25g flour. Let it start fermenting at room temp for 2 to 4 hours, then refrigerate again.
Bringing fridge starter back
Plan for 1 to 3 room-temperature feeds before baking. You are looking for that reliable doubling again.
FAQ
Do I need a scale?
You can do this by volume, but a scale makes your starter far more consistent and easier to troubleshoot. If you are serious about sourdough, it is the one tool worth owning.
Can I use bread flour?
Yes. Bread flour can make a slightly sturdier starter. All-purpose works beautifully too.
What hydration is this starter?
This is a 100% hydration starter, meaning equal weights water and flour. It is the most common style for home baking and is easy to maintain.
Can I use whole wheat only?
Absolutely. Whole wheat starters ferment quickly and can be very active. Just expect a slightly thicker, more paste-like texture depending on the flour.
My starter rose and then collapsed. Did I do something wrong?
No. Starters rise, peak, and fall. Once you learn its rhythm, you can time baking to use it at peak when it is most powerful.
A quick pep talk from my Portland kitchen
If your starter does not behave on a perfect seven-day schedule, you are not failing. Flour brands vary, kitchens run cold, and starters have moody phases. Stay consistent with feeding, keep it warm, and trust the pattern. When it starts doubling predictably, you will know it, and you will be making truly great bread.