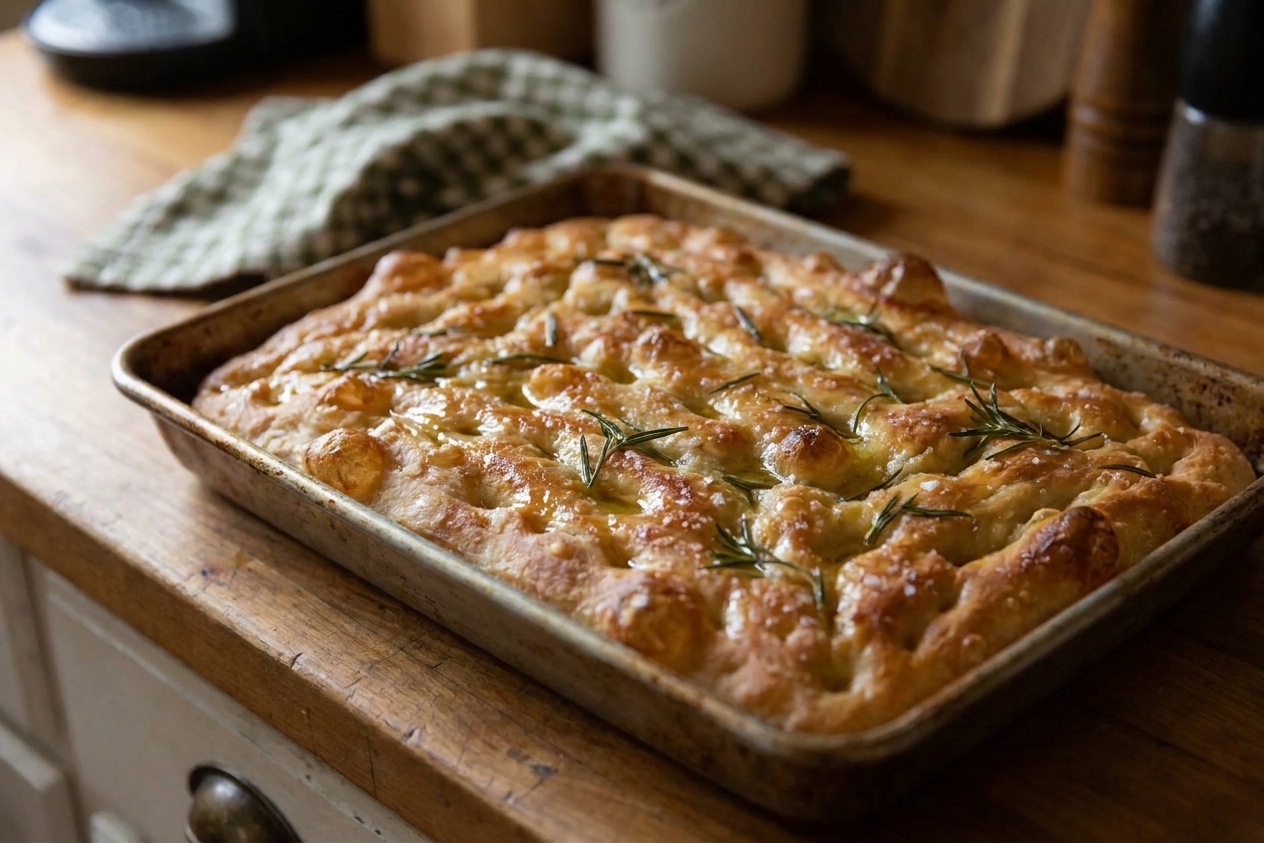

Focaccia is my favorite way to turn a bubbly sourdough starter into something dramatic with very little effort. You get that signature dimpled surface, a glossy olive-oil sheen, and a bottom crust that can crackle when you lift a slice from the pan. The dough is high-hydration and a little wobbly, and that is the point. It bakes up light and airy, not tight like a sandwich loaf and not snappy like thin-crust pizza.

I designed this recipe around two realistic home-cook paths: a same-day bake (start in the morning, eat at dinner) and an overnight cold ferment (mix in the evening, bake the next day). Both rely on the same core approach: build strength with a few gentle folds, let the dough relax in an oiled pan, then dimple decisively so the olive oil pools in the valleys and bakes into those crisp, savory edges.
My Portland-kitchen rule for focaccia is simple: if you are being stingy with the olive oil, you are making the wrong bread. The oil is not just flavor. It is your nonstick insurance, the crisp-bottom engine, and it goes a long way toward keeping the crumb tender into day two.
If you are new to baking with sourdough, focaccia is a confidence builder. The pan supports the dough, the dimples hide minor shaping imperfections, and the result tastes like a restaurant bread basket even if your timing is not perfect yet. In the recipe card, I will walk you through both timelines, plus the pan and topping choices that make the difference between decent focaccia and the kind you keep tearing into at the counter.
Why this recipe works
- High hydration plus pan support: A wetter dough creates an open, airy crumb, and the oiled pan keeps it manageable even if it feels sticky.
- Olive oil does triple duty: It prevents sticking, lightly fries the bottom crust for crispness, and carries flavor into the crumb.
- Folds instead of heavy kneading: A few stretch-and-folds build gluten strength without adding flour, which keeps the bread light instead of dense.
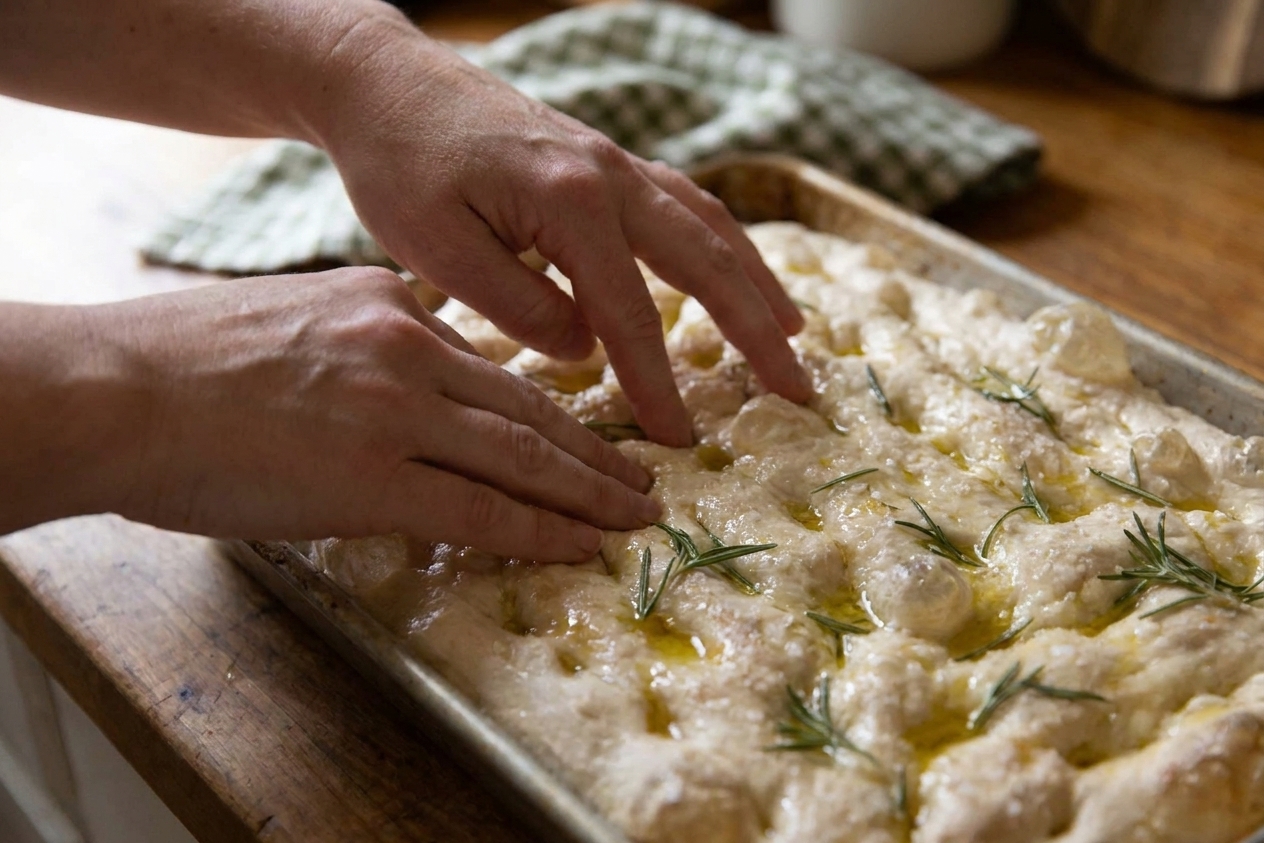
- Fingertip dimples are functional: Dimples help keep the dough in place so it rises upward instead of shrinking back, and they create pools for oil and toppings.
- Flexible fermentation: You can bake the same day for a mild tang or chill overnight for deeper flavor and easier scheduling.
Ingredient notes
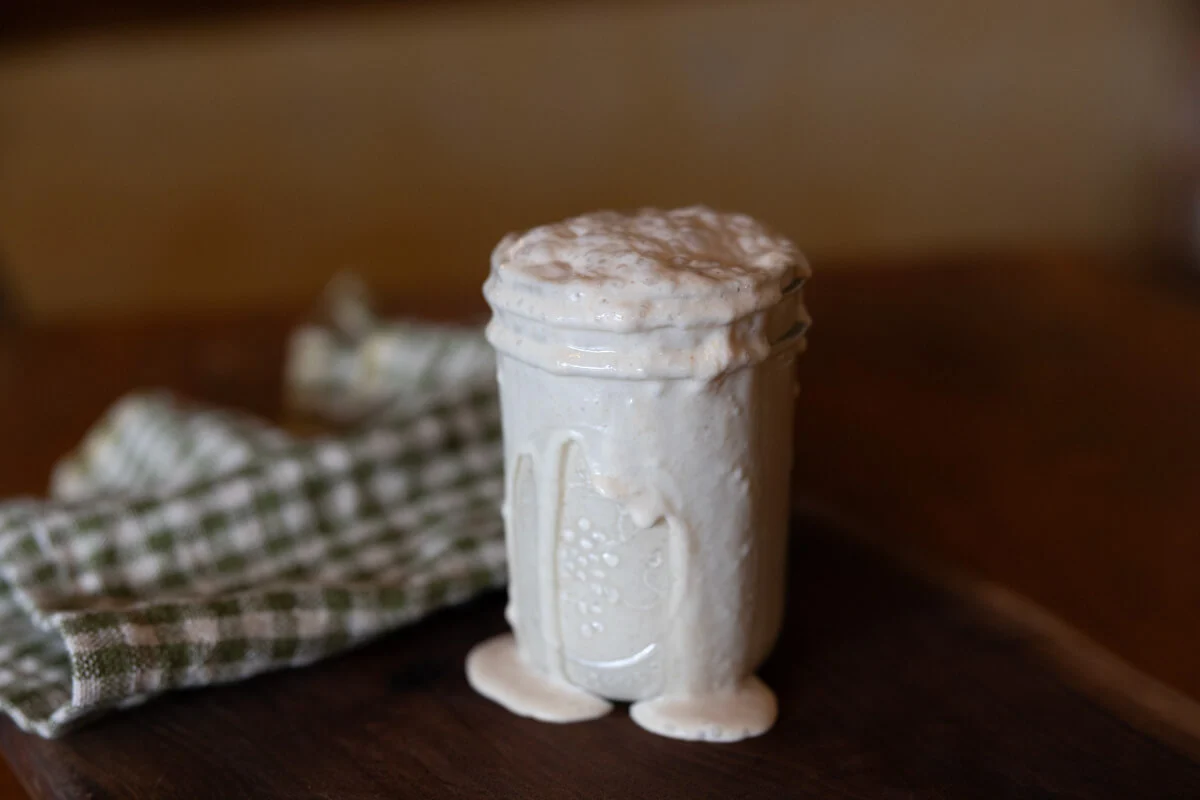
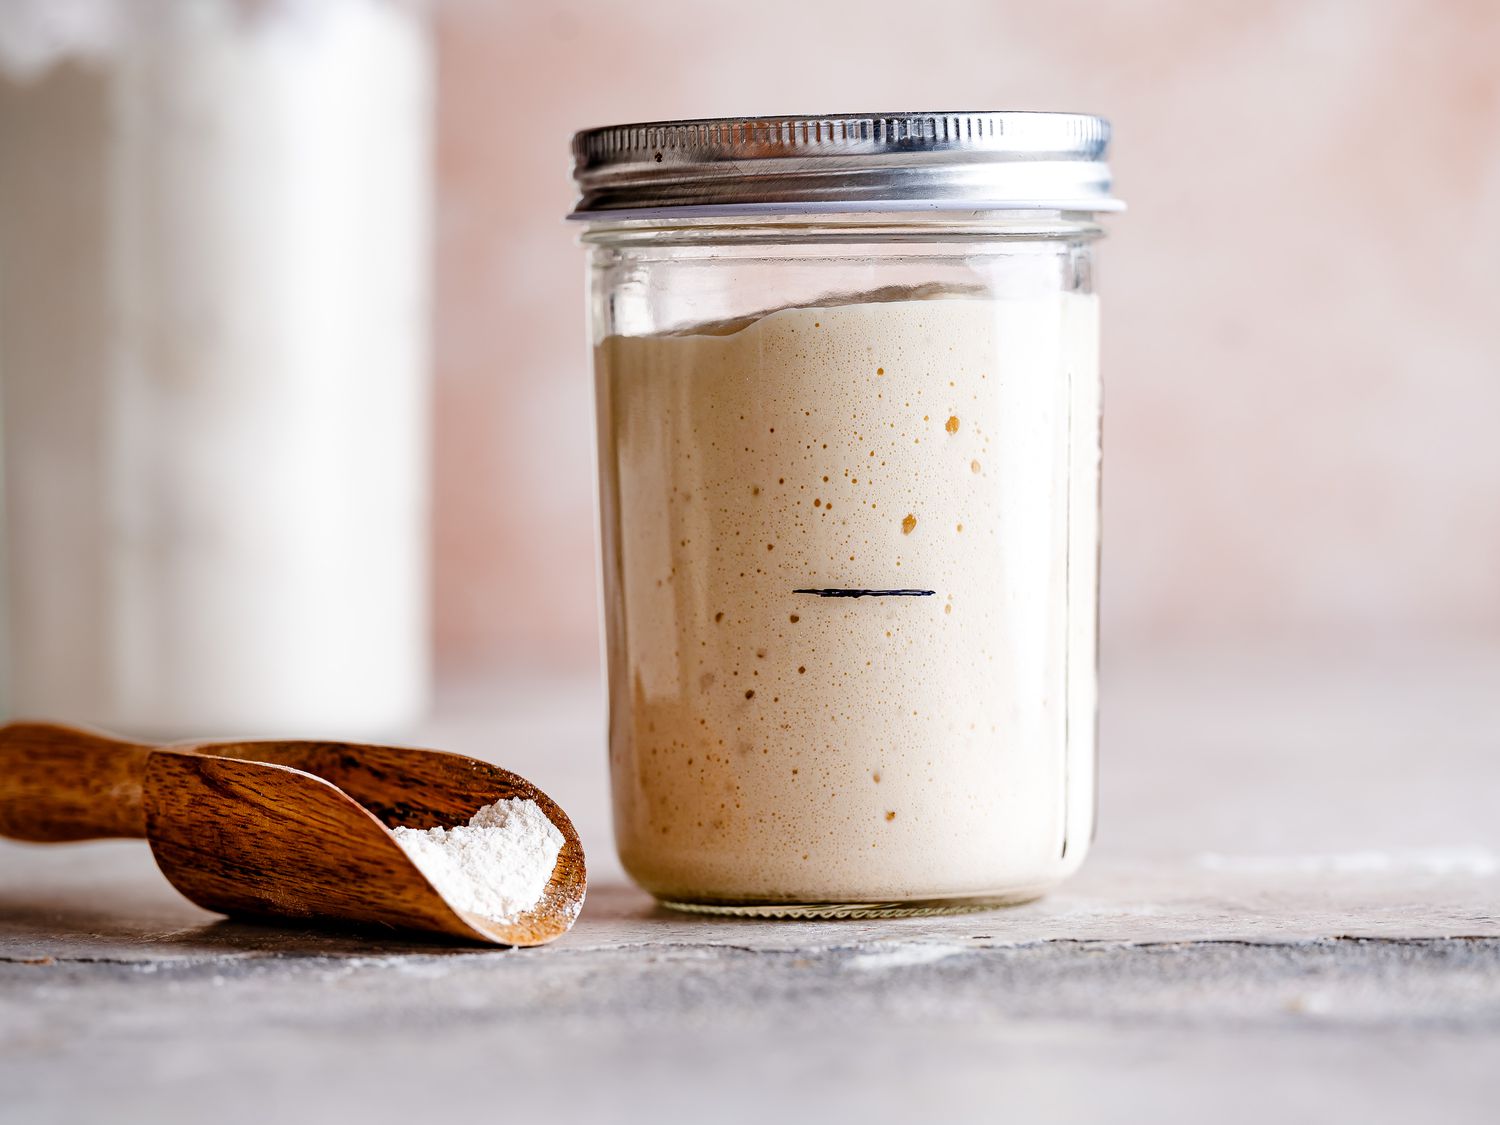
- Active sourdough starter: Use starter that is bubbly and at or near peak after feeding. If it has collapsed and smells sharply acidic, your rise will be slower and your focaccia can skew denser.
- Bread flour: Bread flour gives you extra structure for those tall, airy pockets. All-purpose flour works too, but expect a slightly less lofty crumb. If using all-purpose, be patient with folds and proofing.
- Olive oil: Choose something you actually like the taste of. You will taste it. Use plenty for the pan and for finishing. This is not the place for a dry pan.
- Salt: Do not reduce it. Salt tightens gluten and makes the dough easier to handle, plus it keeps focaccia from tasting flat.
- Optional toppings: Flaky salt, rosemary, thinly sliced garlic, olives, cherry tomatoes, caramelized onions, or grated Parmesan all work well. For watery toppings like tomatoes, use a light hand and press them in firmly so they do not pop off.
Equipment you will need
- 9x13 inch metal baking pan for a classic thickness and the crispest bottom. A glass dish works but can brown differently.
- Kitchen scale for consistent hydration and repeatable results.
- Large mixing bowl and a bowl scraper or flexible spatula for handling sticky dough.
- Instant-read thermometer optional but helpful. Focaccia is typically done when the center reads about 200 to 205 F.
- Cooling rack so the bottom stays crisp after baking.
Pro tips
- Use wet or oiled hands: Water is my go-to for handling high-hydration dough without adding flour. A light slick of olive oil works too.
- Chase the window of fermentation: You want the dough to look puffy, jiggly, and aerated before you dimple. If it is tight and fighting you, let it rest 20 minutes and try again.
- Make decisive dimples: Press straight down with your fingertips until you feel the pan. Shy dimples disappear in the oven.
- For a crisp bottom: Use a metal pan, preheat thoroughly, and do not underbake. After baking, lift the focaccia out of the pan within 5 to 10 minutes and cool on a rack.
- Salt and acid balance: Finish with flaky salt, then serve with something bright like a lemony salad or vinegary dipping oil. Focaccia loves acid.
Substitutes that work
- All-purpose flour for bread flour: Works. Expect a slightly tighter crumb. Hold back a small splash of water at first if your dough feels soupy, then add it during folds if needed.
- Whole wheat flour: Swap in up to 20 percent for a nuttier flavor. Increase water slightly if the dough feels stiff, since whole wheat absorbs more.
- Oil: Olive oil is classic. In a pinch, use a neutral oil for the pan, but finish with olive oil for flavor.
- Starter amount and timing: If your kitchen is cool or your starter is sluggish, fermentation will take longer. Use the dough cues (puffy, bubbly, jiggly) instead of forcing a strict clock.
Variations
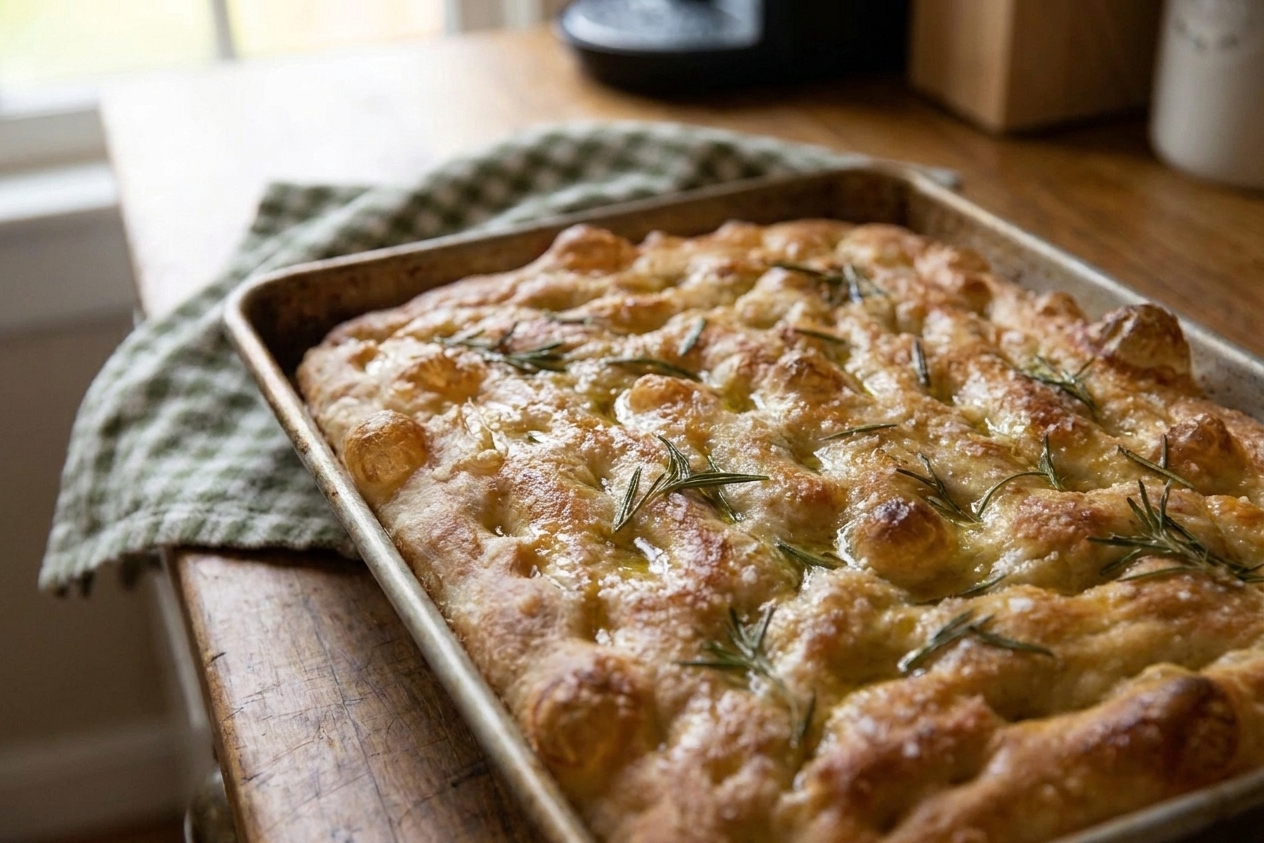
- Rosemary and flaky salt: The classic. Add rosemary before baking, then finish with a final drizzle of olive oil.
- Olive and lemon zest: Press halved olives into the dimples and finish with lemon zest after baking.
- Garlic confit style: Gently warm sliced garlic in olive oil until fragrant, then use that oil for the pan and drizzle the slices over the top before baking.
- Cherry tomato: Use small tomatoes, cut side up, and press them in well. Add a pinch of sugar if your tomatoes are winter bland.
- Onion: Top with thinly sliced onions tossed in olive oil and salt, or use fully caramelized onions for a sweeter version.
Serving ideas
- Soup night: Tear into hunks and serve with tomato soup, minestrone, or any brothy bean soup.
- Salad companion: Pair with a sharp vinaigrette salad. Arugula with lemon is especially good.
- Snack board: Serve with olives, marinated artichokes, sliced cured meats, and a bright pickled element.
- Breakfast focaccia: Warm a square and top with a jammy egg and a spoon of salsa verde.
- Not a sandwich loaf: You can split it for a casual sandwich, but think soft, oily flatbread. It shines as a side and a dipper.
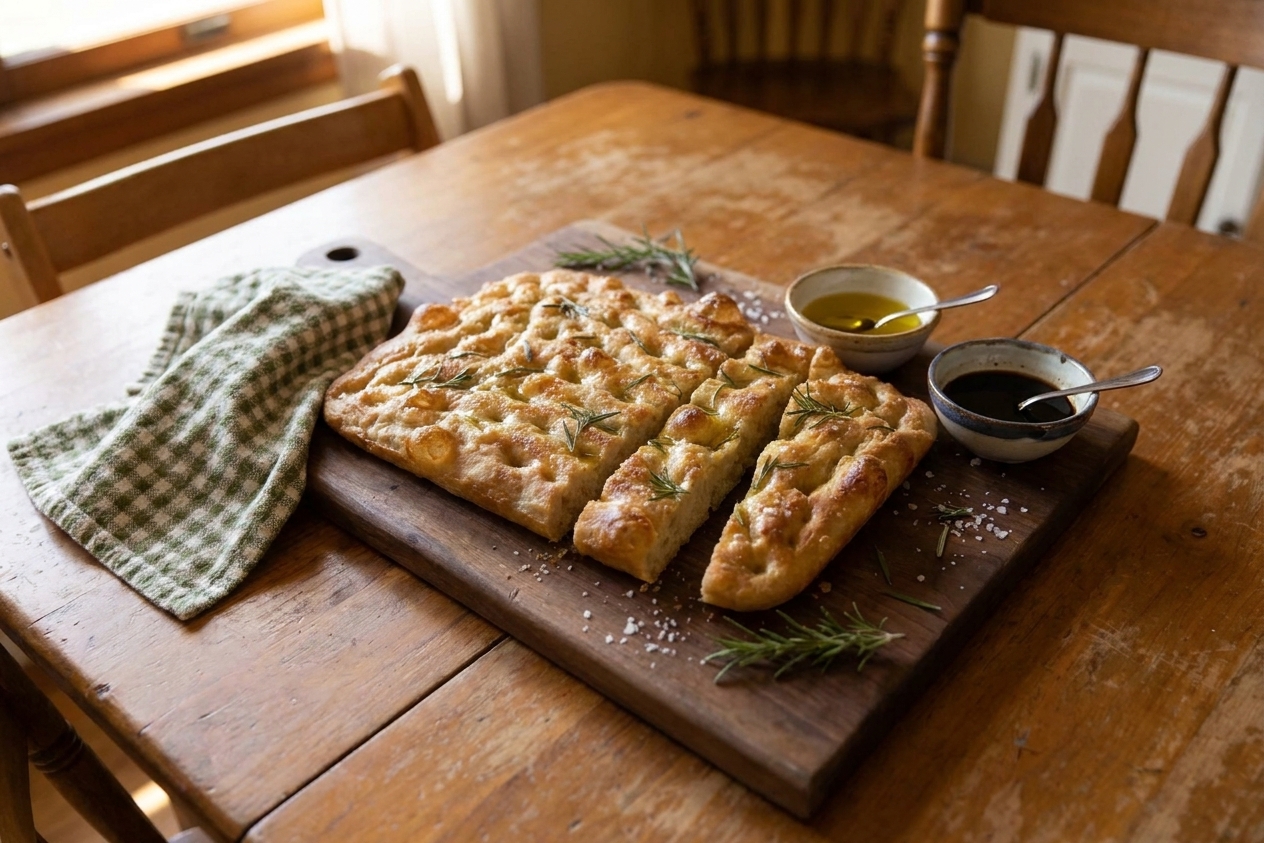
Storage and reheating
- Room temperature: Store tightly wrapped for up to 2 days. A cut edge dries out fast, so press plastic wrap directly against the cut surface.
- Reheat: Warm in a 375 F oven until the edges crisp and the crumb is steamy, about 8 to 12 minutes. A toaster oven works great for single slices.
- Freeze: Freeze cooled slices wrapped well. Reheat from frozen at 375 F until hot and crisp.
- Keep the bottom crisp: If the bottom softens, reheat directly on the oven rack for the last few minutes, or place on a preheated sheet pan.
Common mistakes
- Underproofing: If you dimple while the dough is still tight and dense, you will get a flatter bread with fewer bubbles. Wait for a jiggly, puffy dough.
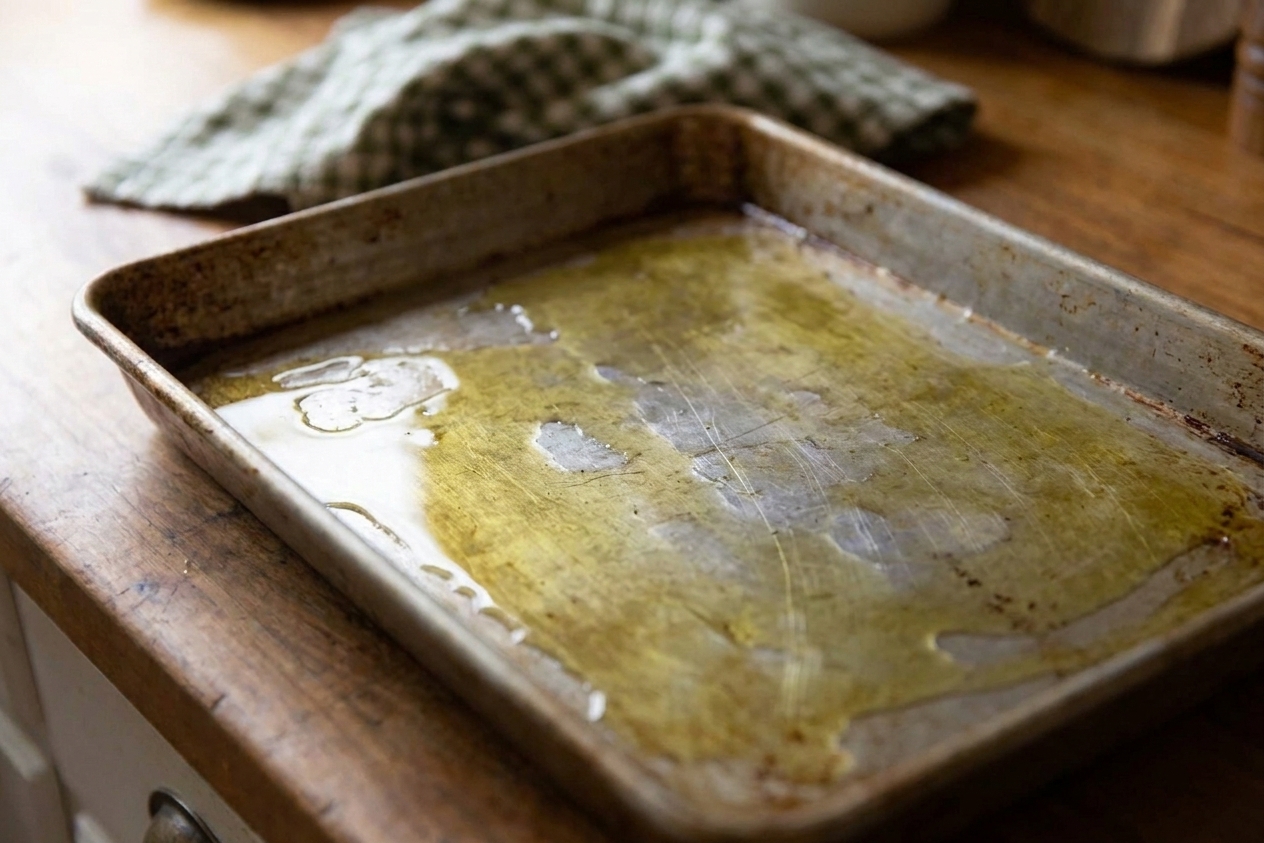
- Being timid with olive oil: Too little oil leads to sticking and a pale, dry crust. Focaccia should look almost lavishly oiled.
- Adding lots of bench flour: Flour makes the crumb drier and can block those big holes. Use wet hands and a scraper instead.
- Underbaking: Pale focaccia tastes bland and the crumb can turn gummy. Bake until deeply golden with crisp edges.
- Letting toppings burn: Garlic and herbs can scorch. If your oven runs hot, add delicate toppings halfway through baking or tuck them into dimples with oil.
FAQ
Can I bake sourdough focaccia the same day?
Yes. Use an active starter and a warm spot in your kitchen. The same-day path is all about reading the dough: look for a puffy, aerated dough that trembles when you jiggle the pan.
Can I cold ferment focaccia dough overnight?
Yes, and it is my favorite option for flavor and flexibility. Chill after the dough has started to rise, then let it finish proofing in the pan the next day until very puffy before dimpling and baking.
Why did my focaccia stick to the pan?
Usually it is not enough oil, or the oil did not fully coat the corners. Metal pans with sharp corners need extra attention. Next time, oil the pan generously and consider a piece of parchment on the bottom if you are nervous. Still use oil on top of the parchment for browning.
How do I get a crisp bottom?
Use a metal pan, enough olive oil, and a fully preheated oven. After baking, get the focaccia out of the pan within 5 to 10 minutes and onto a rack so steam does not soften the crust.
Can I use discard instead of active starter?
For focaccia rise, you need starter with real leavening power. If you only have discard, you can still make delicious flatbread, but it will not rise the same way without added yeast.
Sourdough Focaccia
A classic, dimpled sourdough focaccia baked in a well-oiled pan for an airy crumb and a crisp bottom. Includes same-day and overnight timing options.
- Prep
- 25 minutes
- Cook
- 25 minutes
- Total
- Same-day: about 7 to 10 hours (mostly hands-off). Overnight: about 10 to 20 hours (mostly hands-off).
- Yield
- 12 squares
Ingredients
- 100 g active sourdough starter (100% hydration), at peak or very bubbly
- 450 g bread flour
- 350 g water, room temperature
- 10 g fine salt
- 45 g extra-virgin olive oil for the pan and dough (about 3 tablespoons), plus 15 to 30 g more for dimpling and finishing (1 to 2 tablespoons)
- Optional toppings: flaky salt, fresh rosemary (1 to 2 teaspoons chopped or 1 to 2 sprigs leaves), 1 small garlic clove thinly sliced, 1/3 cup olives, 1/2 cup cherry tomatoes halved, 1/4 small onion thinly sliced, 2 to 3 tablespoons grated Parmesan
Instructions
- Choose your schedule. This recipe works as a same-day bake or an overnight cold ferment. Use dough cues as your north star: you want a puffy, aerated dough that jiggles when you shake the bowl or pan.
- Mix the dough. In a large bowl, whisk or stir together 100 g starter and 350 g water until mostly combined. Add 450 g bread flour and 10 g salt. Mix until no dry flour remains. Cover and rest 20 to 30 minutes.
- Build strength with folds. With wet hands, do a set of stretch-and-folds: lift one side, stretch gently, fold over. Rotate the bowl and repeat until you have folded 4 sides. Cover and rest 20 to 30 minutes. Repeat for 2 to 3 more sets (so 3 to 4 sets total) until the dough looks smoother and holds together better. It will still be sticky and slack.
- Bulk ferment (room temperature). Cover and let the dough rise until it looks puffy and aerated, with bubbles along the sides and top. In a warm kitchen, this is often 3 to 5 hours. In a cooler kitchen, it can take 5 to 7 hours. For a same-day bake, continue until the dough looks clearly expanded (often 50 to 75 percent rise) and feels lively and jiggly when you nudge the bowl.
- Overnight option (if using). After the dough has started to rise and shows visible aeration (usually 2 to 3 hours into bulk, depending on kitchen temperature), cover tightly and refrigerate for 8 to 16 hours.
- Oil the pan generously. Pour about 30 g (2 tablespoons) olive oil into a 9x13 inch metal baking pan. Tilt to coat the bottom and corners well. If sticking has burned you before, line the bottom with parchment and still oil generously.
- Pan the dough. Scrape the dough into the oiled pan. If you can, flip it once so both sides get coated in oil. Gently nudge the dough toward the corners. If it springs back, cover and rest 15 to 20 minutes, then nudge again. Do not tear it.
- Final proof in the pan. Cover and let the dough rise until it is very puffy, jiggly, and has spread close to the edges. In a warm kitchen, this is often 1 1/2 to 3 hours for same-day dough. For overnight dough coming from the fridge, plan on 2 to 4 hours at room temperature, sometimes longer. The surface should look airy and inflated, not tight.
- Preheat the oven. Set the oven to 450 F. Let it preheat fully. If your oven takes its time, give it an extra 15 minutes after it beeps so the heat is steady and the bottom crust starts crisping right away.
- Dimple and top. Drizzle 15 to 30 g (1 to 2 tablespoons) olive oil over the dough. Oil your fingertips, then press straight down all over to make deep dimples. Press until you feel the bottom of the pan. Add toppings and press them into dimples so they stay put. Finish with flaky salt if using.
- Bake. Bake on the middle rack for 22 to 28 minutes, rotating the pan once if your oven browns unevenly, until the top is deeply golden and the edges are crisp. Doneness cues: the focaccia should look well-browned, not blond; it should feel light for its size; and the center should read about 200 to 205 F on an instant-read thermometer.
- De-pan for a crisp bottom. Cool in the pan 5 to 10 minutes, then carefully lift the focaccia out (a thin spatula helps) and transfer to a rack. This prevents steam from softening the underside.
- Finish and serve. Drizzle with a little more olive oil if you like. Let it cool at least 15 minutes before slicing if you want cleaner cuts. Tear and eat warm or at room temperature.
Notes
Same-day path: Use a recently fed, very active starter and a warm room temperature to stay on a dinner timeline. Focus on dough cues rather than the clock.
Overnight path: Refrigeration improves flavor and makes timing flexible. Plan on a longer final proof the next day so the dough is truly puffy before dimpling.
Pan choice: A metal pan gives the crispest bottom. If using glass, watch browning and extend bake time as needed for a crisp underside.
Sticking insurance: Oil the corners thoroughly. If you have had sticking issues in the past, line the bottom with parchment and still oil generously.