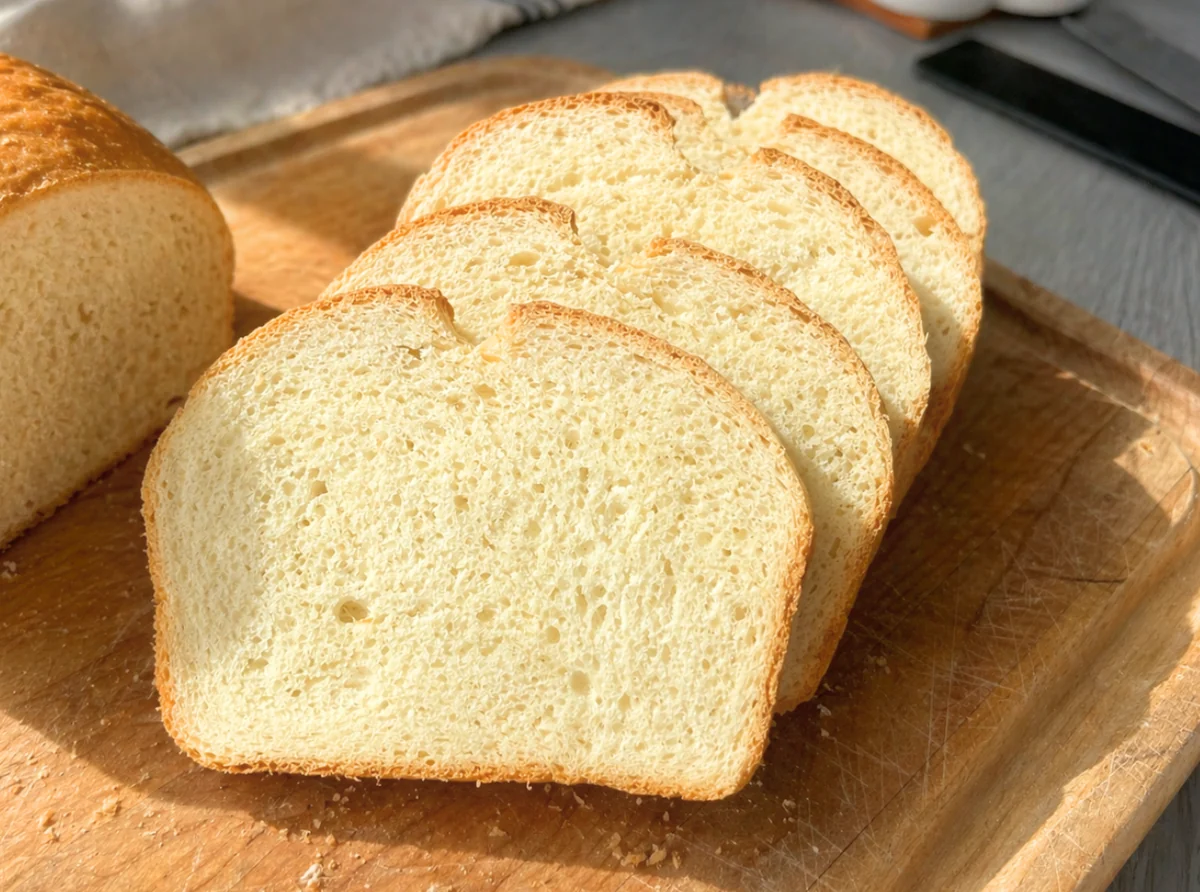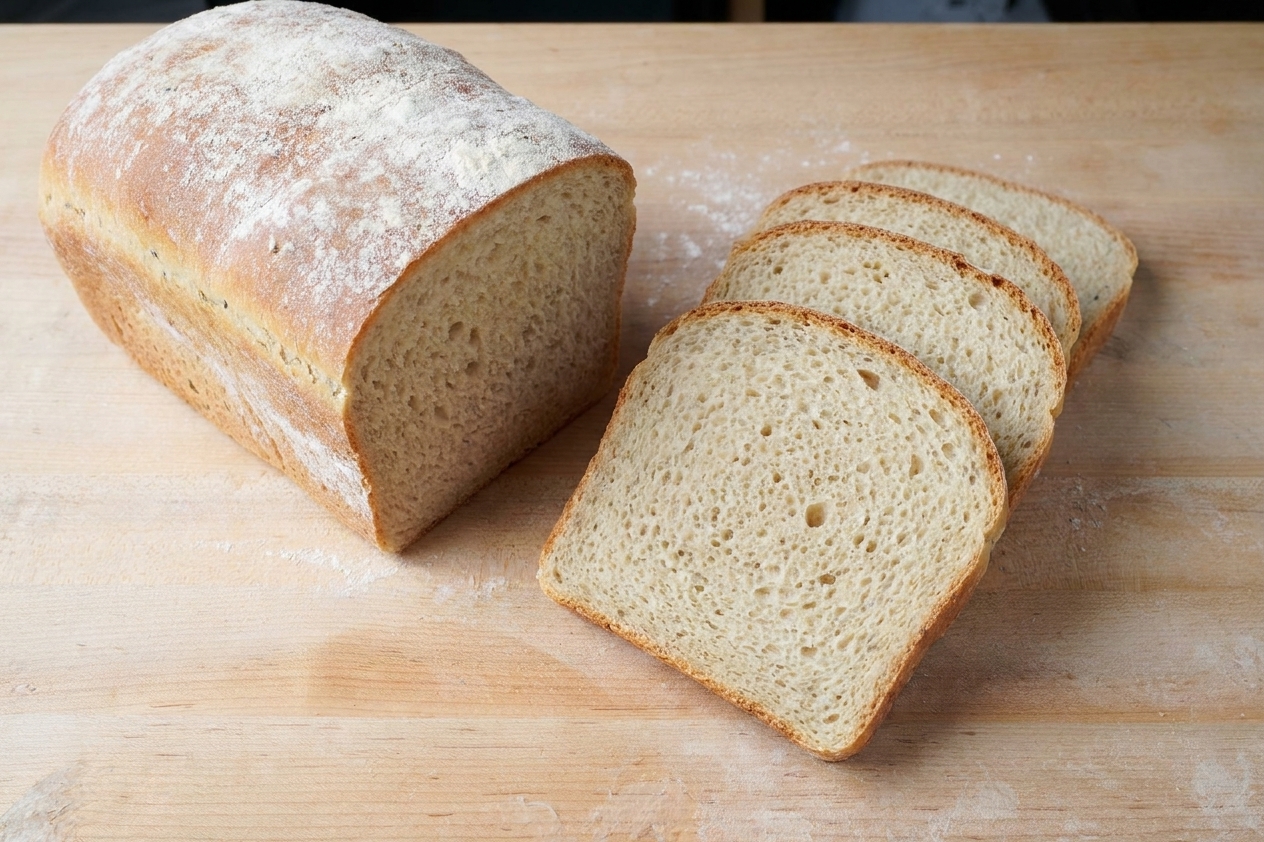

If you have an active sourdough starter but you want a loaf that actually behaves like sandwich bread, this is the one I teach first. It bakes up tall, slices cleanly (no crater-y holes), and stays soft enough for peanut butter, grilled cheese, and weekday lunches.

This recipe is leavened only with starter, but it is designed to feel approachable: a clear feed-to-bake timeline, simple dough handling, and fermentation cues you can see and touch. Because sourdough timing depends on your kitchen temperature and starter strength, I will keep you anchored with what the dough should look like at each stage, not just the clock.
One more thing, because I care deeply about reducing food waste: this loaf uses a reasonable amount of starter and avoids extra discard. If your starter is healthy and bubbly, you do not need to overcomplicate it to get a soft sandwich crumb.
Feeding-to-bake timeline (choose what fits your day)
Sourdough is flexible, but beginners do best with a plan. Here are two schedules that work well for a soft pan loaf.
Same-day bake (warm kitchen, about 72 to 78 F)
- 7:00 am: Feed starter so it will peak late morning.
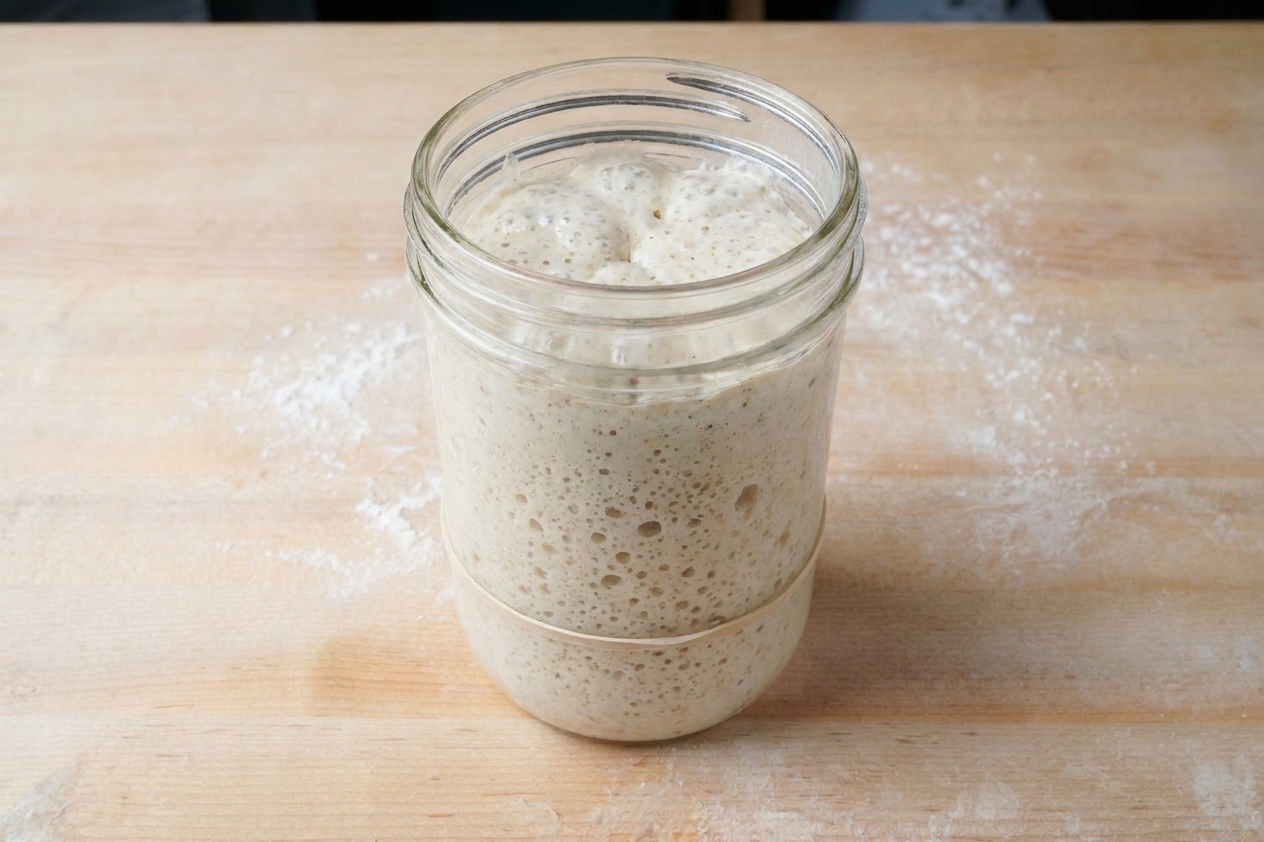
- 11:00 am to 12:00 pm: Mix dough when starter is at peak (domed, very bubbly, passes the float test if you like that check).
- 12:00 pm to 4:00 pm: Bulk rise with a few gentle strength-building folds.
- 4:00 pm: Shape and place in pan.
- 4:00 pm to 6:00 pm: Pan proof.
- 6:00 pm: Bake and cool.
Overnight in the fridge (my favorite for calm mornings)
- 6:00 pm: Feed starter.
- 9:00 pm: Mix dough at peak starter.
- 9:00 pm to 12:30 am: Bulk rise until the dough looks airy and has risen about 50 to 75 percent.
- 12:30 am: Shape, pan, cover, refrigerate.
- Next day 7:00 am to 10:00 am: Let pan proof at room temp until it crests 1 inch above the rim.
- Bake: Late morning, then cool fully before slicing.
If your kitchen is cooler than 70 F, expect the bulk rise and pan proof to take longer. In Portland winters, I often add 60 to 120 minutes without changing anything else.
What “ready” looks like (the cues that matter)
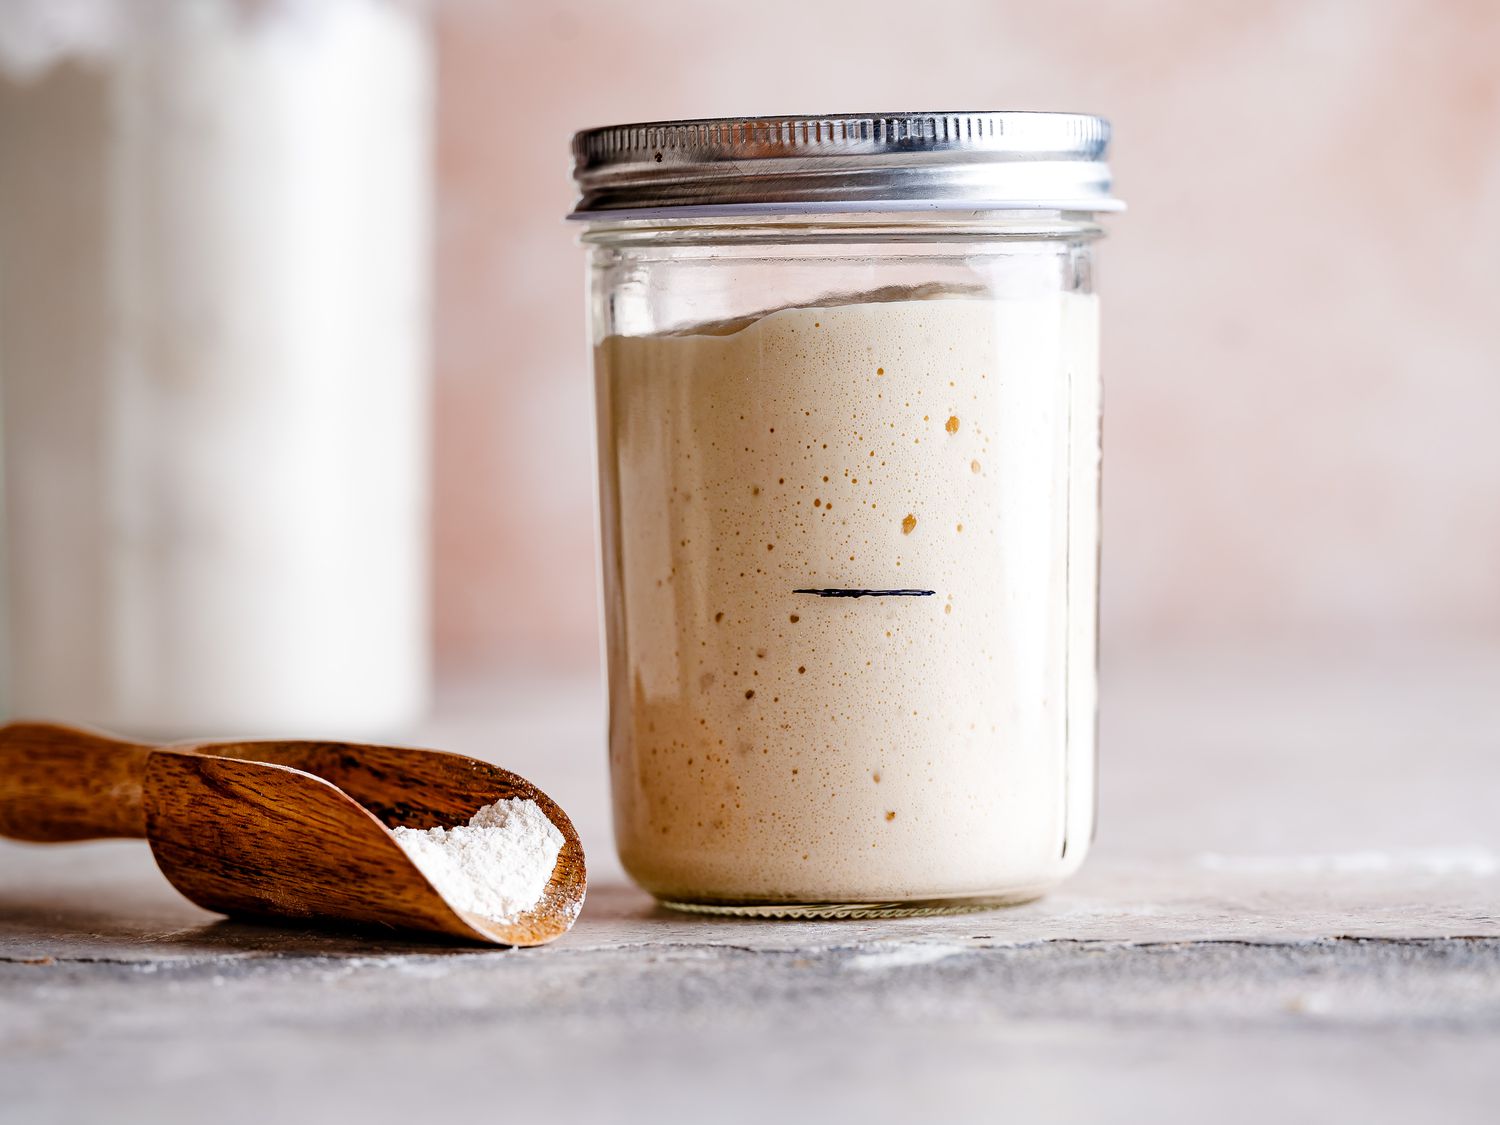
Active starter at peak
- At least doubled, often tripled, with a gently domed top.
- Lots of bubbles throughout, not just on the surface.
- Smells pleasantly tangy and yeasty, not sharply acidic.
Bulk rise: stop before it over-ferments
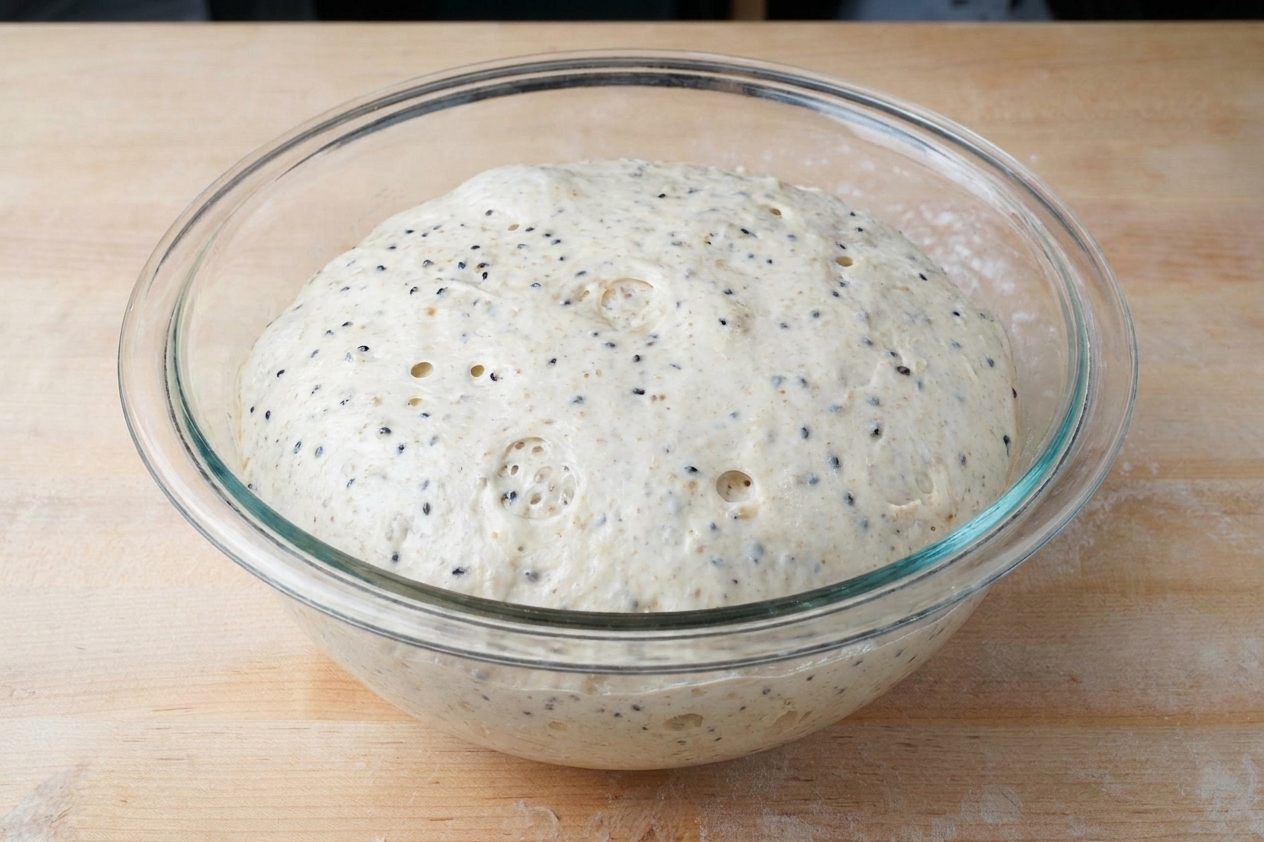
- Dough feels lighter and a bit jiggly when you shake the bowl.
- Volume increase of about 50 to 75 percent, not necessarily doubled for this style.
- Surface looks smoother and slightly glossy, with bubbles around the edges.
Pan proof: the “sandwich loaf line”
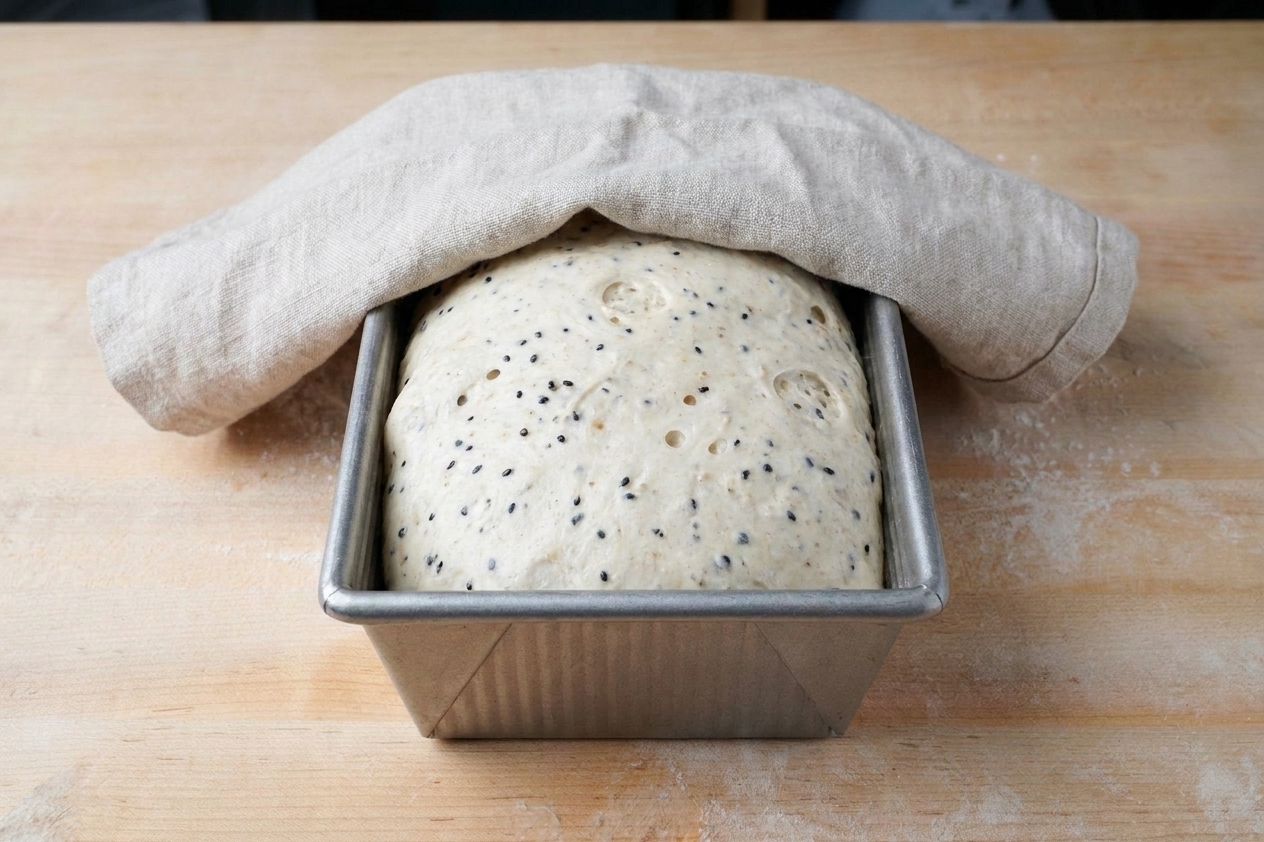
- Dough crowns to about 1 inch above the rim of a standard 9 by 5 inch pan.
- A gentle fingertip press springs back slowly, leaving a slight indentation.
- The dough looks puffy and alive, not tight and dense.
These cues will give you a tender crumb and a loaf that does not collapse.
Why this recipe works
- Starter-only leavening, structured for beginners: The process relies on clear visual cues so you are not trapped by the clock.
- Enriched dough for softness: A little fat and a touch of sweetness help keep the crumb tender and the slices flexible.
- Pan loaf shaping encourages an even crumb: The tight roll and seam placement reduce big holes and create consistent sandwich slices.
- Two-stage baking protects tenderness: A higher initial temperature sets the loaf’s structure, then a slightly lower finish prevents a thick, hard crust.
Ingredient notes
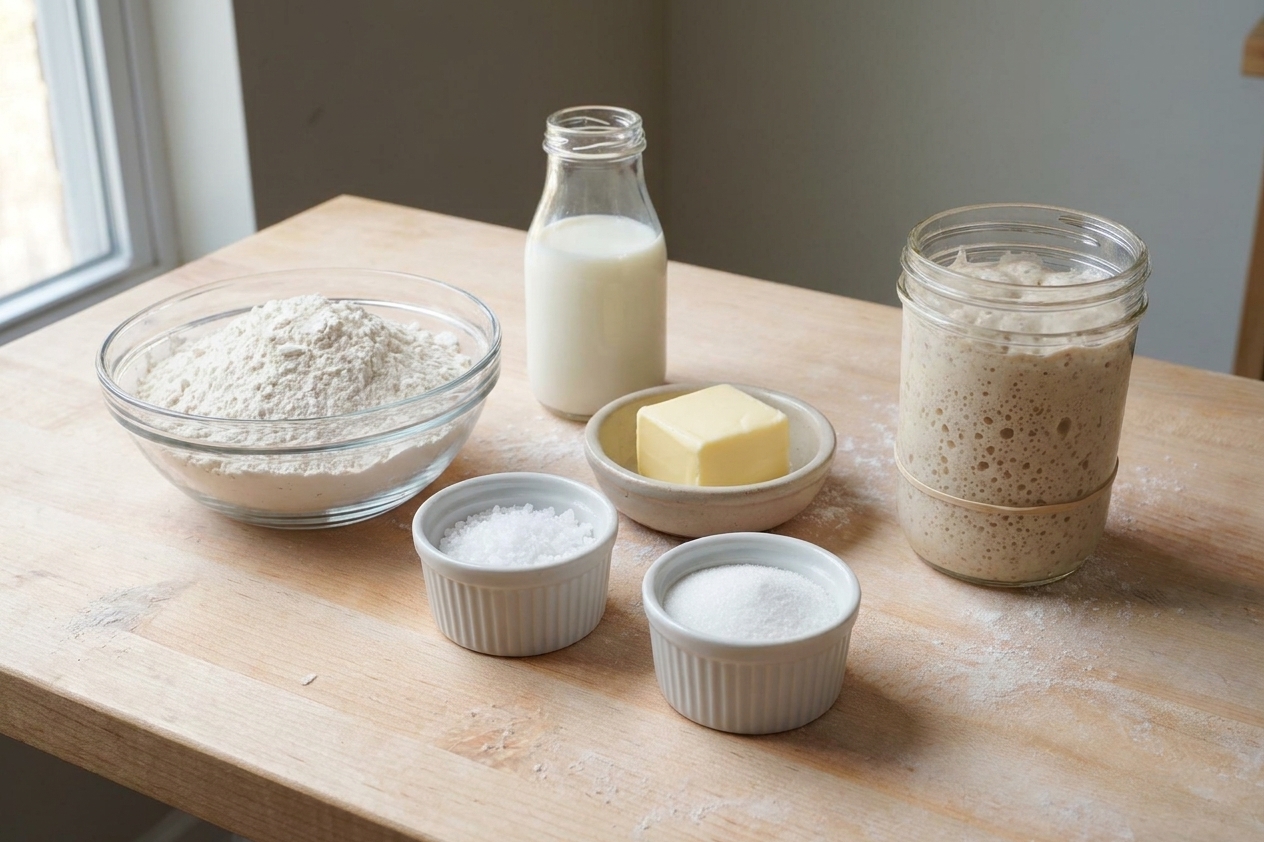
Active sourdough starter
Use starter at peak activity, ideally fed within the last 4 to 8 hours depending on your room temperature. If it has started to fall and smells very sharp, feed again and wait for peak for best rise.
Flour
Bread flour gives you the most reliable height and sliceable structure. If you only have all-purpose flour, you can still make this loaf. Expect a slightly less tall rise and a softer dough that may need a tiny bit less liquid.
Milk
Milk makes a softer crumb and a gentler crust. Whole milk is ideal, but any milk works. Unsweetened non-dairy milk is fine too.
Butter or oil
Fat keeps the crumb tender for days. Butter adds classic sandwich-bread flavor. Neutral oil works if that is what you have.
Sweetener
A little sugar or honey supports fermentation and softness without making the bread sweet.
Salt
Do not reduce it. Salt is flavor, but it also keeps fermentation steady and strengthens gluten.
Equipment you will need
- Kitchen scale: strongly recommended for sourdough consistency.
- Mixing bowl: medium to large.
- Dough whisk or sturdy spoon for mixing.
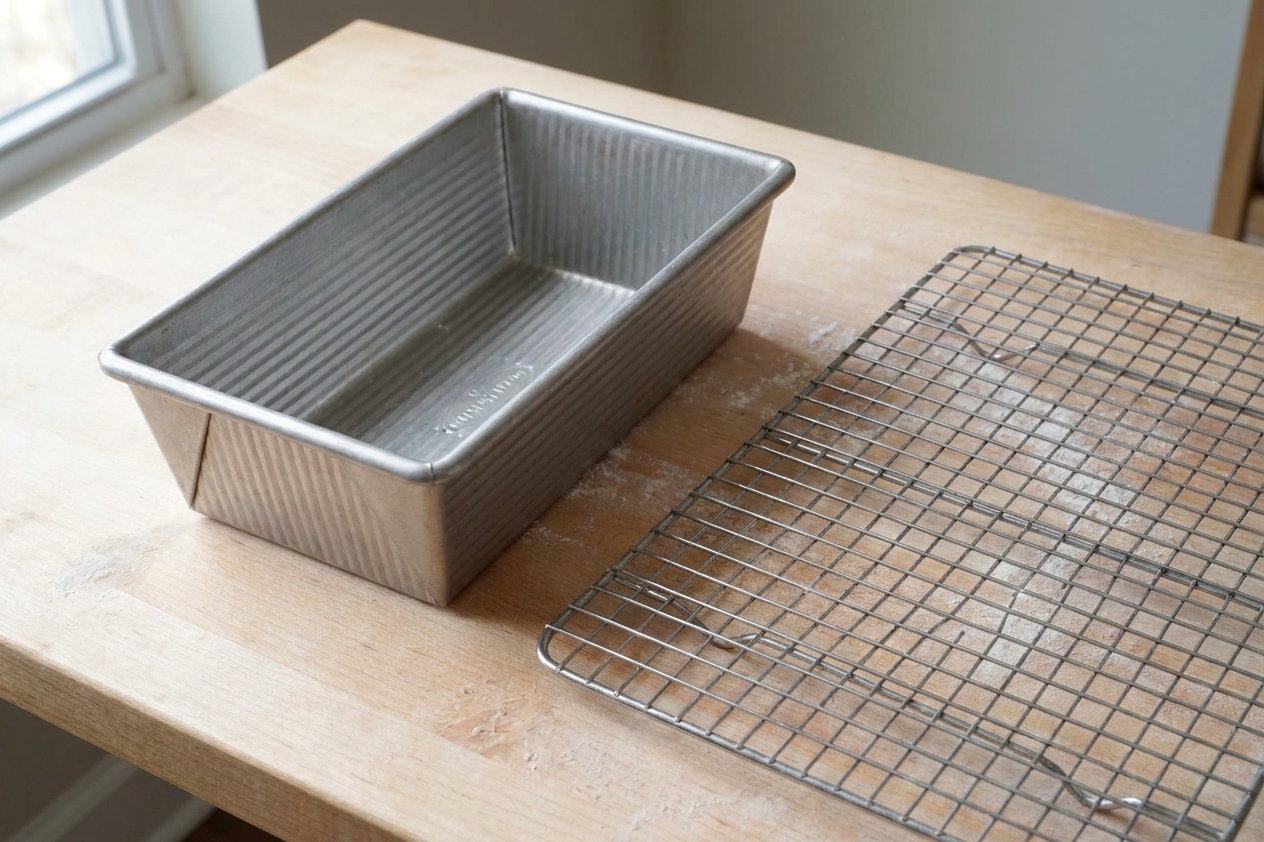
- Loaf pan: 9 by 5 inch is the standard for this recipe.
- Plastic wrap, shower cap, or reusable cover for proofing.
- Instant-read thermometer: optional, but helpful to confirm doneness.
- Cooling rack to prevent a soggy bottom.
Pro tips
Chase dough temperature, not the clock
If your kitchen is chilly, create a cozy spot: a turned-off oven with the light on, or a microwave with a mug of hot water beside the bowl.
Use wet hands for folds
A little water on your hands prevents sticking without adding extra flour, which can dry out the loaf.
For a super soft crust
Brush the top with melted butter right when it comes out of the oven. Then cool completely before slicing.
Know when to stop proofing
Over-proofed sandwich loaves tend to collapse at the sides and bake up with a gummy line near the bottom. Start preheating the oven when the dough is about 3/4 inch over the rim so you are ready.
Substitutes that work
- Milk: swap in unsweetened oat milk or soy milk, or use water plus 1 to 2 tablespoons extra butter or oil for tenderness.
- Butter: use neutral oil (avocado, canola, grapeseed) in the same amount.
- Sugar: use honey or maple syrup (same amount). If using liquid sweetener, hold back a splash of milk and add as needed.
- Bread flour: all-purpose flour works. Start with slightly less liquid and add only if the dough feels stiff.
Variations
Honey oat sandwich loaf
Replace sugar with honey and add a small handful of rolled oats. If topping with oats, brush the loaf with milk before baking so they stick.
Whole wheat blend
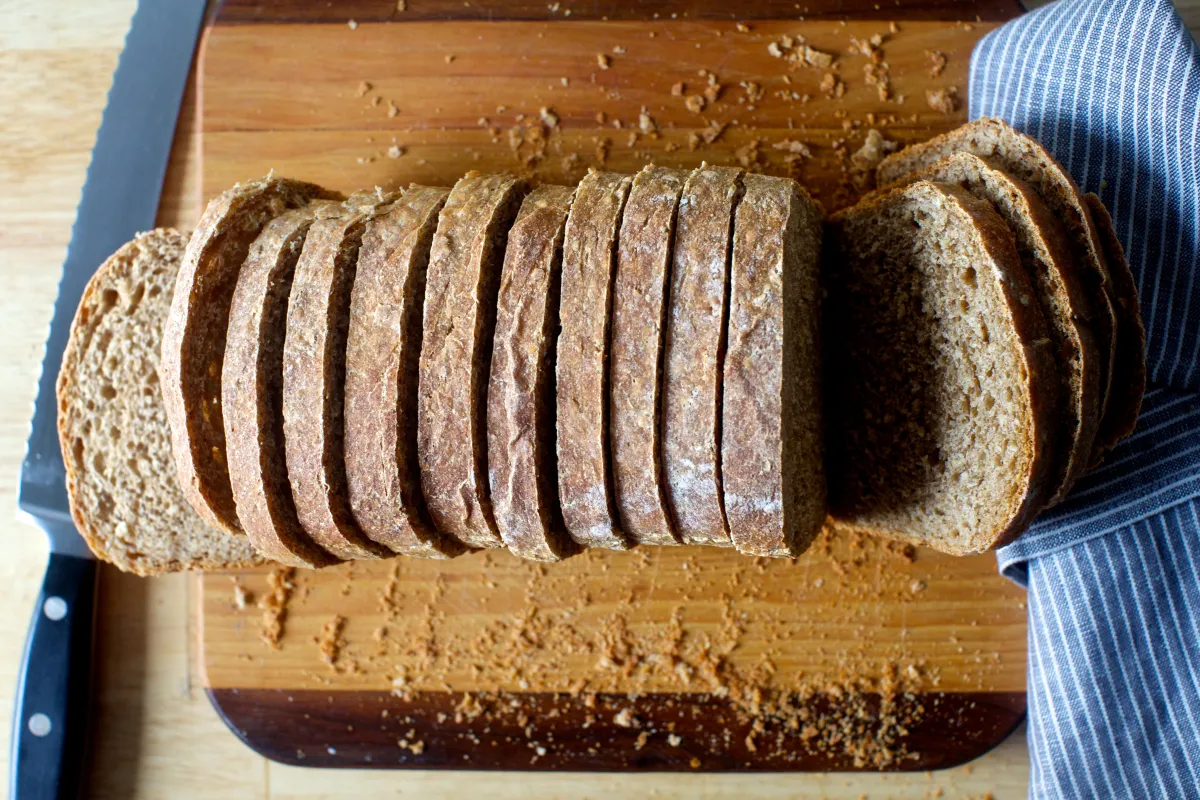
Swap in whole wheat flour for part of the flour for a heartier loaf. Whole wheat absorbs more liquid, so the dough may feel tighter at first.
Seeded top
Brush the proofed loaf with milk or egg wash (if you use egg in your kitchen) and sprinkle with sesame or poppy seeds before baking.
Serving ideas
- Classic sandwiches: turkey and mustard, hummus and cucumber, tuna salad.
- Grilled cheese: this loaf browns evenly without tearing.
- Toast: thick-cut with salted butter and a squeeze of lemony jam if you like that sweet-tart balance.
- French toast: slightly stale slices soak beautifully without disintegrating.
Storage and reheating
Cool completely before storing. Warm bread sweats, and that traps moisture, which leads to a gummy crumb.
- Counter: Store in a bag or airtight container for 2 to 3 days.
- Freeze: Slice first, then freeze in a zip-top bag for up to 2 months. Pull slices as needed.
- Reheat: Toast straight from frozen, or thaw at room temp for 10 to 15 minutes.
If the loaf starts to feel dry, toast revives it instantly.
Common mistakes
Using starter that is not at peak
If your starter is sleepy, the loaf will proof slowly and may bake up dense. Wait for peak activity for your first few loaves so you learn the feel.
Over-bulking until doubled or more
For pan loaves, a moderate bulk rise is usually better. Over-fermented dough can lose strength and bake shorter.
Adding lots of flour during shaping
Extra flour can prevent the dough from sealing to itself, which can create tunnels. Lightly oil the counter instead.
Slicing too soon
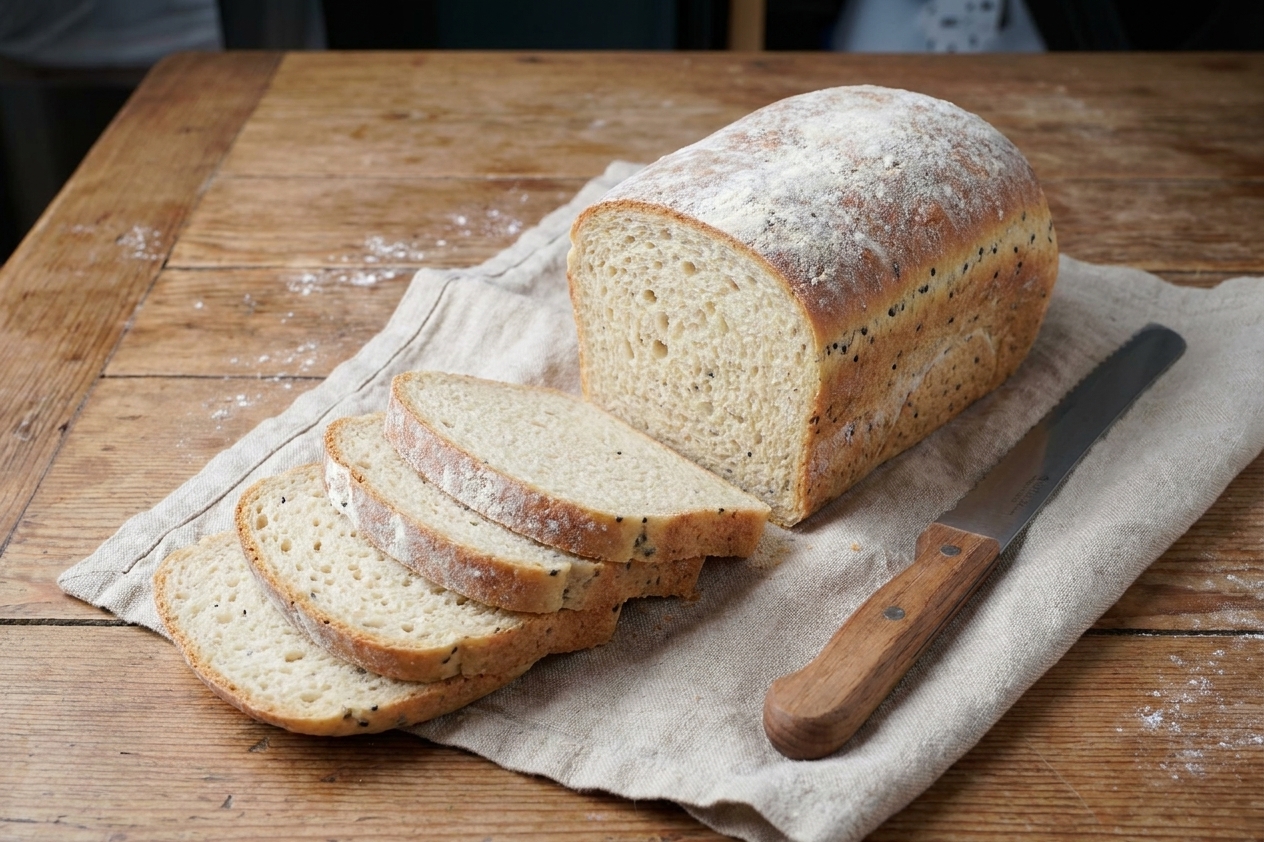
This bread keeps cooking as it cools. Slice early and the crumb can turn gummy. Give it at least 1 hour, preferably 2.
FAQ
Can I make this with 100% all-purpose flour?
Yes. The dough may feel a bit softer and the loaf may not rise quite as tall, but it will still be tender and sliceable.
Why did my loaf split on the side?
Most often it is under-proofed. Give the dough more time in the pan until it crowns about 1 inch over the rim. Also make sure your seam is on the bottom.
How do I know the bread is fully baked?
The top should be deeply golden brown and the loaf should sound hollow when tapped. If you use a thermometer, aim for about 200 to 205 F in the center.
Can I refrigerate the shaped loaf overnight?
Yes, that is a great option for beginners. Shape, pan, cover, refrigerate. In the morning, let it finish proofing at room temperature until it passes the pan-proof cues, then bake.
My crumb is gummy. What happened?
Common causes are slicing too early, underbaking, or over-proofing. Next time, bake until the crust is a richer brown and cool fully before slicing.
Beginner Sourdough Sandwich Loaf
Soft, sliceable sourdough sandwich bread leavened only with active starter. Includes a simple feed-to-bake schedule, clear fermentation cues, and a pan-proofed bake for a tender crumb.
- Prep
- 30 minutes (plus rising)
- Cook
- 40 to 45 minutes
- Total
- 8 to 18 hours
- Yield
- 1 loaf (about 12 slices)
Ingredients
- 100 g active sourdough starter (100% hydration), at peak
- 240 g milk (warm, about 85 to 95 F)
- 30 g sugar or honey
- 30 g unsalted butter, softened (or neutral oil)
- 420 g bread flour
- 9 g fine sea salt
- Butter or oil, for greasing the pan
- 1 tablespoon melted butter (optional, for brushing after baking)
Instructions
- Feed your starter so it peaks when you want to mix. Use your normal feeding ratio. You are looking for starter that has at least doubled, looks very bubbly, and smells pleasantly tangy and yeasty.
- Mix the dough. In a large bowl, whisk the warm milk, starter, sugar, and butter until mostly combined. Add the flour and salt. Mix until no dry flour remains and you have a shaggy dough. Cover and rest 20 minutes.
- Build strength with gentle folds. Over the next 90 minutes, do 2 to 3 sets of stretch-and-folds (or coil folds) spaced about 30 to 45 minutes apart. Cover between folds. The dough should become smoother and more elastic each round.
- Bulk rise. Let the dough rise at room temperature until it increases about 50 to 75 percent, looks slightly domed, and feels lighter and a bit jiggly when you move the bowl. In a warm kitchen this can take 3 to 5 hours total from mixing, longer if cool.
- Prepare the pan. Grease a 9 by 5 inch loaf pan generously with butter or oil.
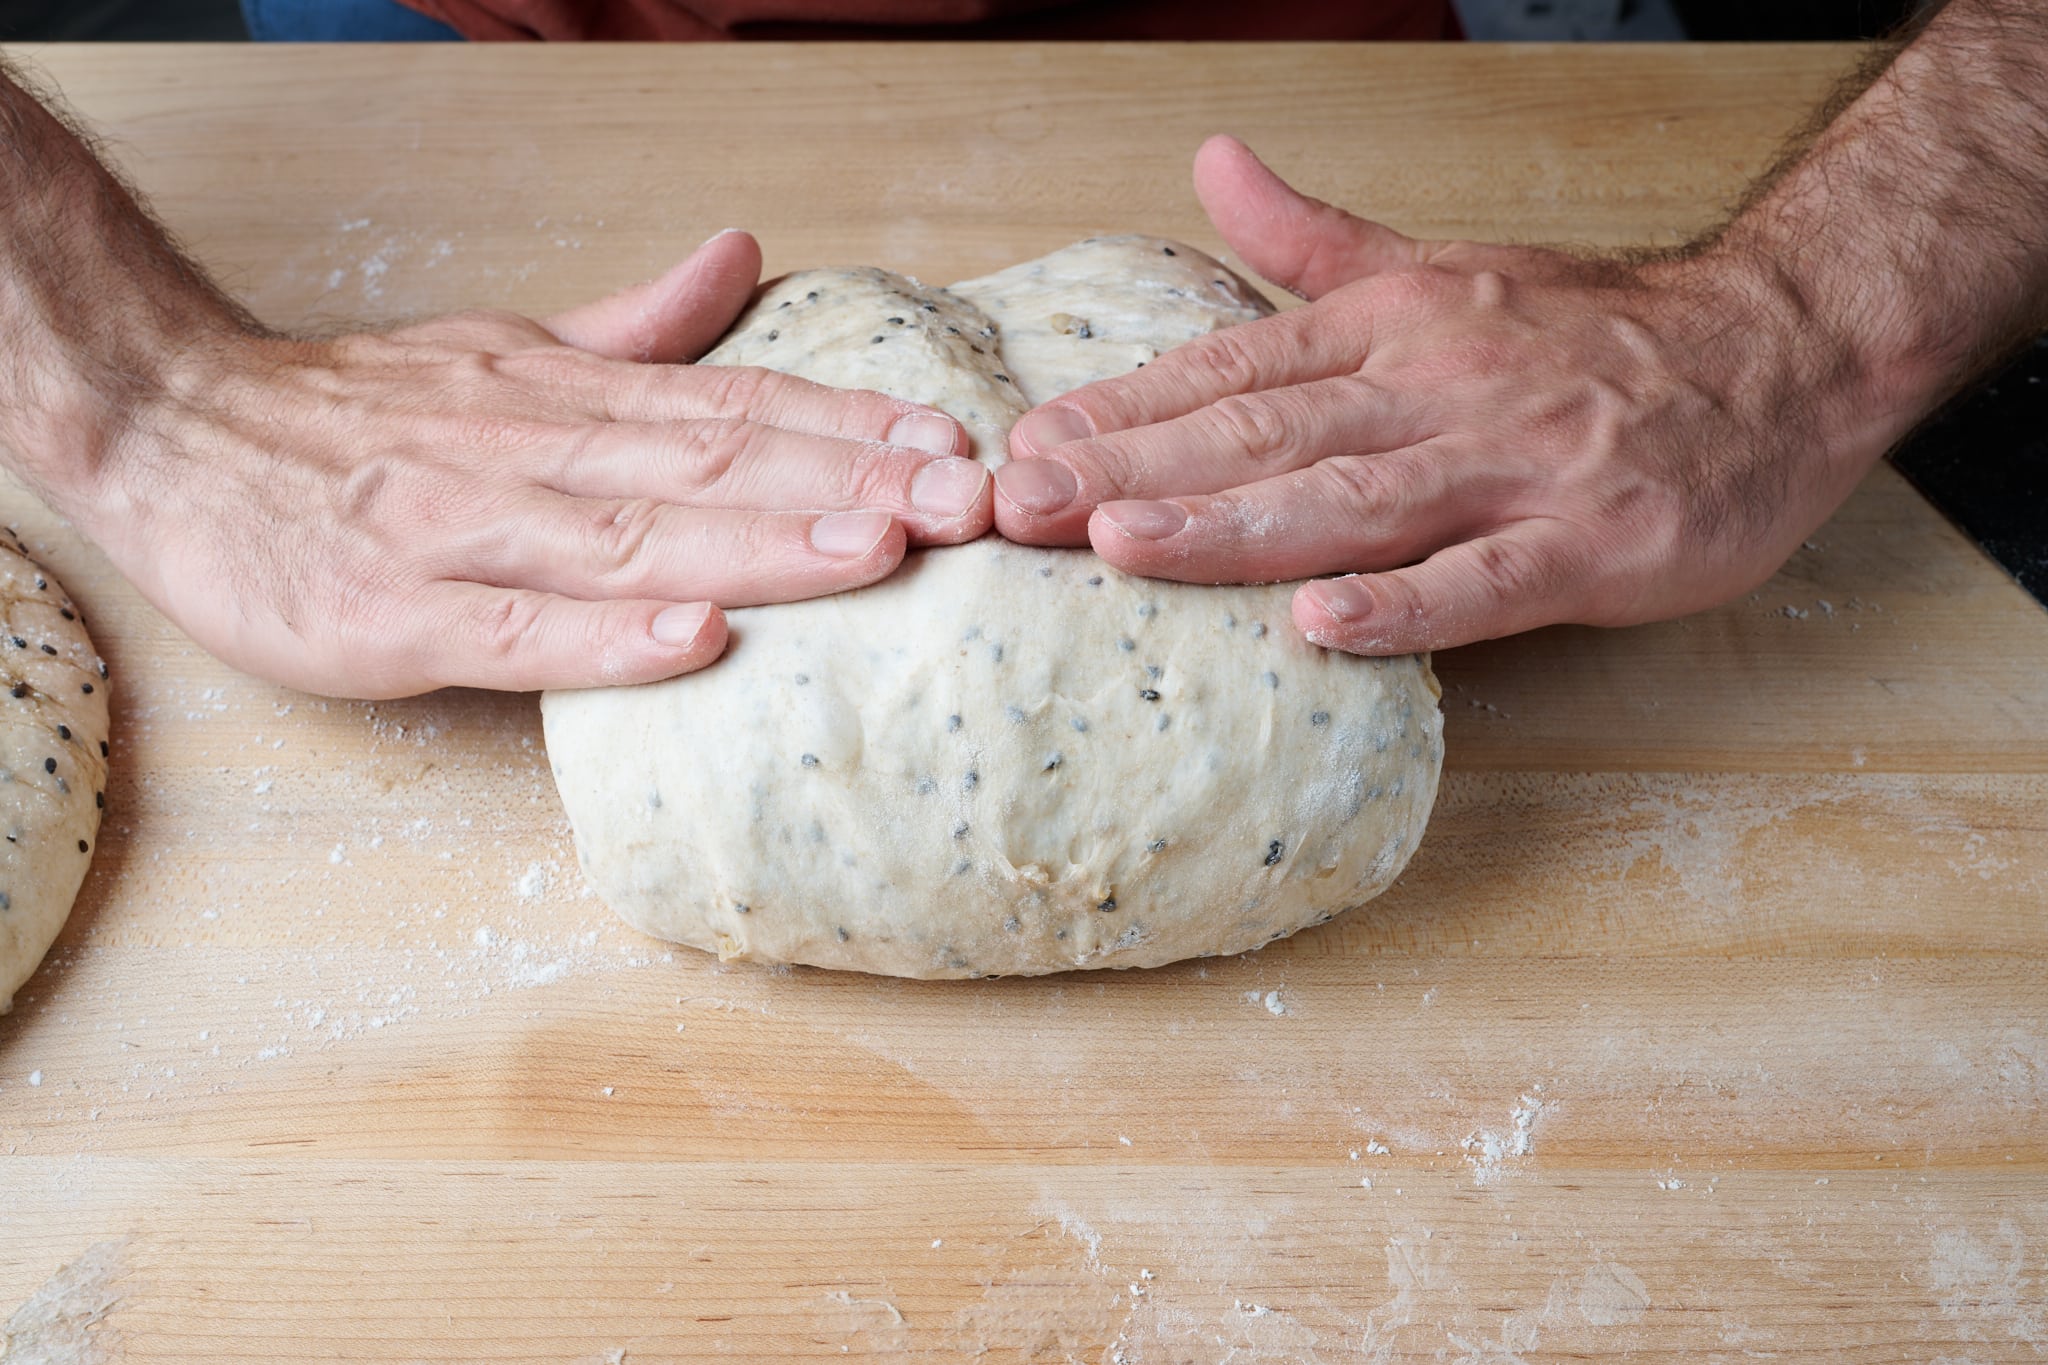
- Pre-shape (quick). Lightly oil your counter. Turn out the dough and gently press into a rectangle. Roll it up loosely, then let it rest 10 minutes to relax.
- Shape for a tight sandwich crumb. Pat the dough into a rectangle roughly the length of your loaf pan. Roll into a tight log, pressing gently to seal as you go. Pinch the final seam closed.
- Pan the dough. Place the log seam-side down in the prepared loaf pan. Cover.
- Pan proof. Let the dough rise until the center crowns about 1 inch above the rim and a gentle fingertip press springs back slowly, leaving a slight indentation. This can take 2 to 4 hours at room temperature, longer if cool. If refrigerating overnight, cover and refrigerate after shaping, then bring to room temperature in the morning and continue proofing until it reaches the same cues.
- Preheat the oven. When the dough is close to ready, preheat to 400 F.
- Bake. Bake 15 minutes at 400 F, then reduce to 375 F and bake another 25 to 30 minutes until the top is a deep golden brown. If the top browns too quickly, tent loosely with foil for the last 10 to 15 minutes.
- Check doneness. The loaf should sound hollow when tapped. For extra confidence, the center should read about 200 to 205 F on an instant-read thermometer.
- Cool completely. Remove the loaf from the pan and cool on a rack at least 1 hour, preferably 2, before slicing. Brush the hot crust with melted butter if you want a softer top crust.
Notes
Timing note: Fermentation speed depends on starter strength and room temperature. Use the bulk-rise and pan-proof cues as your main guide.
For a softer crust: Brush with melted butter after baking and cool under a clean towel for the first 30 minutes.
For clean slices: Wait until fully cool, then use a serrated knife and a gentle sawing motion.