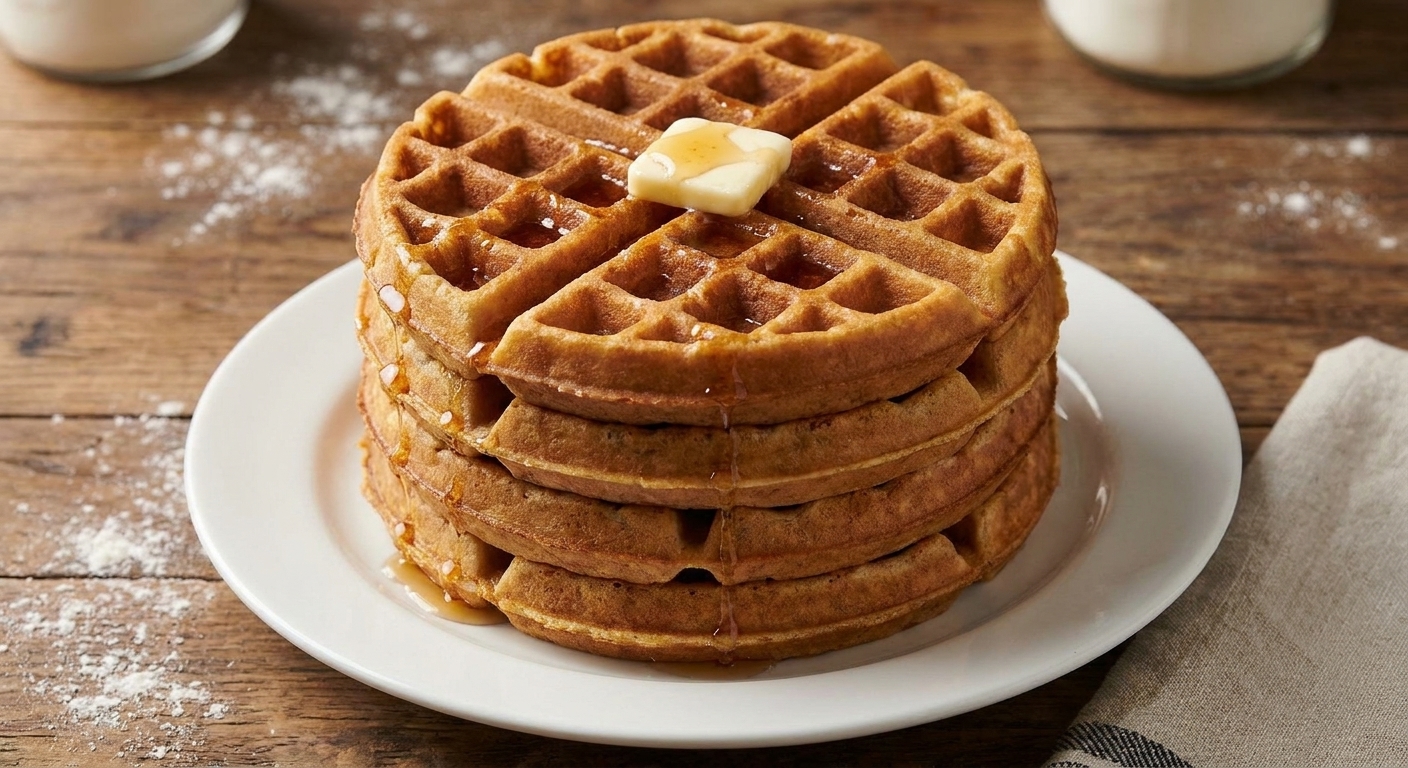

I grew up thinking waffles were one of two things: perfectly crisp at a diner, or a pale, slightly steamed situation at home. The difference is not magic. It often comes down to a batter that is thick enough to build height, enough fat for crisping, and just enough sugar for browning without going overboard. Overall hydration and cook time matter too, because crispness is basically a steam management problem.

This recipe is my weeknight-friendly version of restaurant waffles. The batter is thick enough to stay put and rise into the grid, but not so stiff it cooks unevenly. Your waffle iron has a say here too, from plate depth to how well it holds heat between rounds. Belgian irons give you taller pockets, while classic irons tend to run thinner and can get extra crisp depending on temperature control.
You will also get clear cues for heat and doneness, because waffles are a controlled humidity project. I still go by steam every time, but I do not treat it as the only signal. When the heavy steaming slows to an occasional wisp, the waffle is deep golden, and the iron stops sounding wet or sputtery, you are usually in the crisp zone. Some irons vent steam differently, so color becomes the more reliable cue than the amount of visible steam alone.
If you are feeding a crowd, you can keep waffles crisp in a low oven while you cook the rest. If you are feeding just yourself, I still recommend making a full batch and freezing extras. Future-you will thank you at 7:12 a.m.
What to expect
- Crisp exterior: Proper preheat, the right fat level, a sensible amount of sugar, and enough cook time to drive off steam give you that shattering edge.
- Tender center: Buttermilk can help keep the interior tender, along with fat and gentle mixing so you can cook long enough for real crispness.
- Less guesswork: The recipe card includes iron-friendly portion guidance and doneness cues so you know when to open the lid.
Why this recipe works
- Thicker batter controls spread: Waffle batter needs body so it rises up into the grid instead of thinning out like pancake batter.
- Fat and sugar support browning and crisping: Butter helps crisp. A modest amount of sugar helps the grid brown, as long as you do not overdo it.
- Buttermilk supports tenderness and lift: Its acidity can help limit toughness and reacts with baking soda for reliable rise.
- Resting the batter hydrates flour: A short rest reduces gumminess and helps the waffles cook more evenly.
Ingredient notes
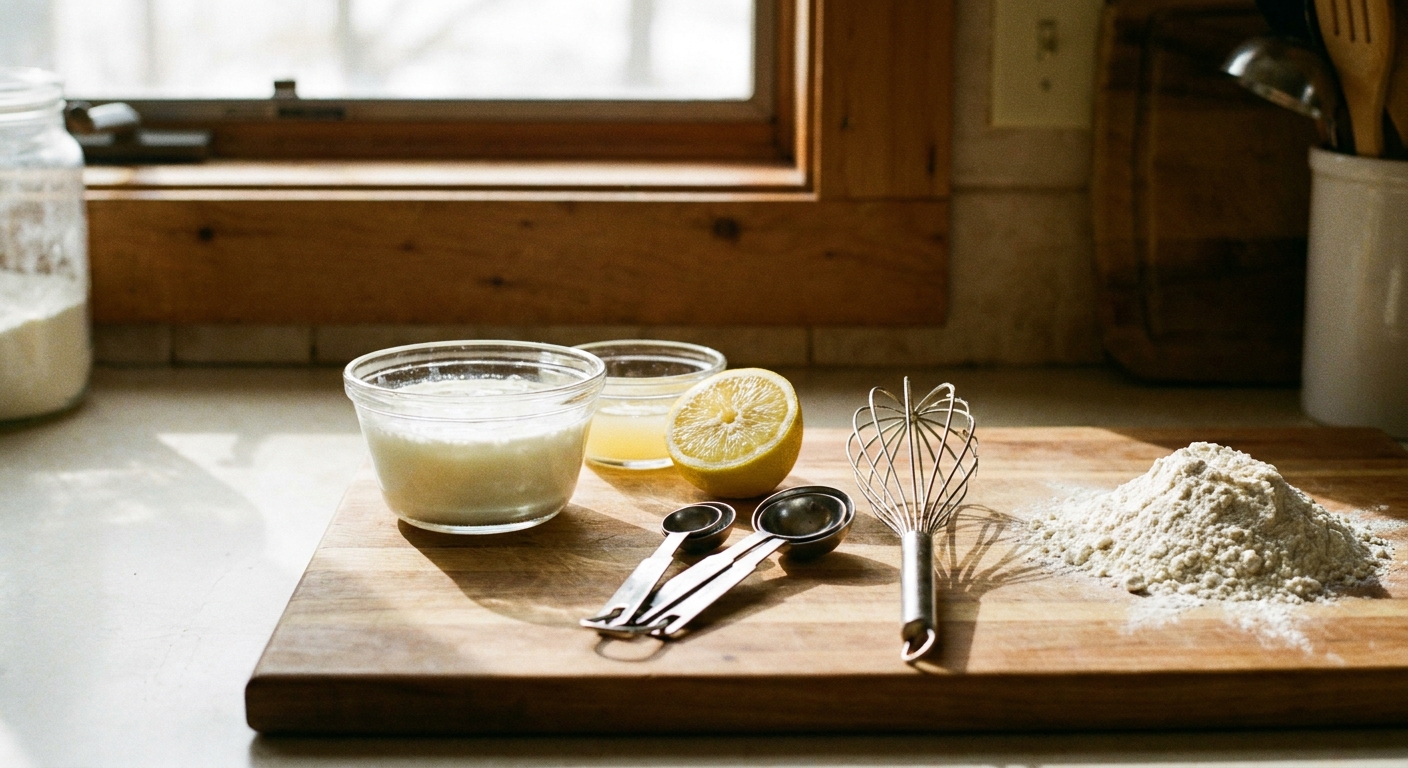
Buttermilk: Real cultured buttermilk gives the best flavor and browning. If you only have milk and lemon juice, it will work in a pinch, but the waffles will be slightly less tender and tangy.
Flour: All-purpose flour keeps this approachable. If you weigh, even better. Scooping and packing flour can make batter too thick.
Butter: Melted butter adds flavor and crisping power. Let it cool slightly so it does not scramble the eggs.
Sugar: This is not for sweetness alone. It helps the crust brown and crisp. If you cut it drastically, expect paler waffles.
Leavening: Baking powder plus a little baking soda gives reliable lift with buttermilk.
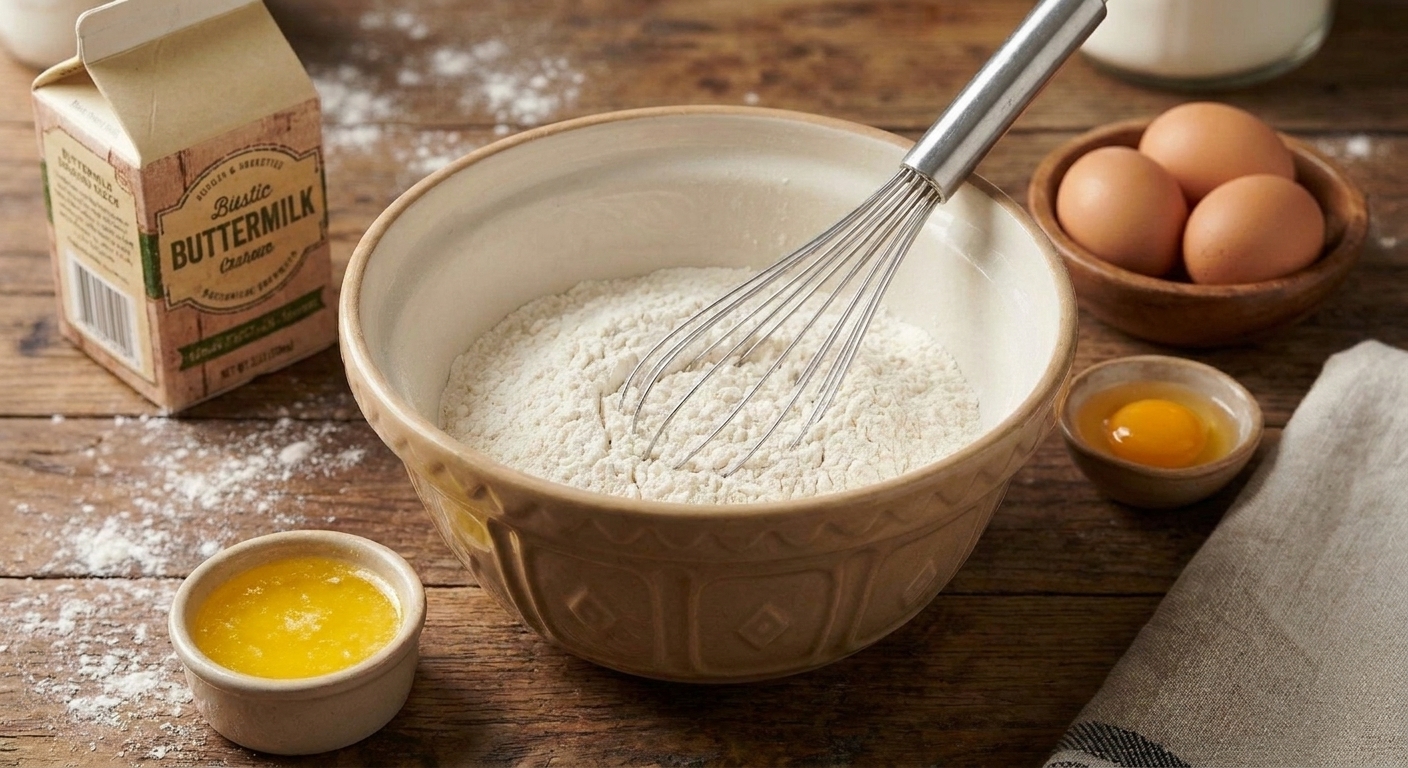
Equipment you will need
- Waffle iron (Belgian or classic both work)
- Large mixing bowl
- Whisk
- Measuring cups and spoons
- Heatproof bowl or small saucepan (to melt butter)
- 1/2 cup measuring cup or ladle for portioning batter
- Wire rack (highly recommended for keeping waffles crisp)
If you want to keep waffles hot for a crowd, set a wire rack over a sheet pan in a 200°F oven.
Pro tips
- Preheat longer than you think: Most irons beep “ready” early. Give it another 3 to 5 minutes for deeper browning without sticking.
- Grease lightly, especially the first round: Even nonstick irons benefit from a quick brush of neutral oil or a light spray.
- How much batter to pour: Start with 1/2 cup for a standard Belgian iron (about 7 inches). Use 1/3 cup for thinner, classic-style irons. Adjust on waffle one based on overflow.
- Where to pour: Pour into the center, then add a small spiral outward. The lid will push batter to the edges.
- Close the iron immediately: Close within 5 seconds of pouring so the batter sets in the grid instead of slumping.
- Do not peek early: Opening in the first 2 minutes tears the surface and dumps steam, which prevents crisping.
- Steam is your timer: When heavy steam slows to an occasional wisp, the waffle is usually close. Use color as the final check, and let it go a bit longer if it is still pale.
- Keep them off a plate: Plates trap steam and soften the crust. Use a wire rack while you cook the batch.
Substitutes that work
Dairy-free swap: Use an unsweetened non-dairy milk (oat or soy are best) mixed with 1 tablespoon lemon juice or apple cider vinegar per 1 cup milk. Let it stand 5 minutes, then use as “buttermilk.” Flavor will be slightly less tangy, but texture still lands well.
Butter swap: Melted vegan butter works well. In a pinch, use neutral oil, but you will lose some buttery aroma.
Sugar swap: Light brown sugar adds a hint of caramel flavor and browns beautifully.
Egg swap: For best structure and crisping, eggs matter. If you must, use a commercial egg replacer following package directions, and expect a slightly softer crust.
Variations
- Vanilla bean waffle: Add 1 tablespoon vanilla extract or the scraped seeds of 1/2 vanilla bean.
- Lemon poppy: Add 1 tablespoon lemon zest and 1 tablespoon poppy seeds.
- Cinnamon sugar: Add 1 teaspoon ground cinnamon. Increase sugar by 1 tablespoon if you want a more “snickerdoodle” vibe.
- Chocolate chip: Fold in 3/4 cup chocolate chips after resting the batter. Sprinkle a few onto the batter after pouring if you want better distribution.
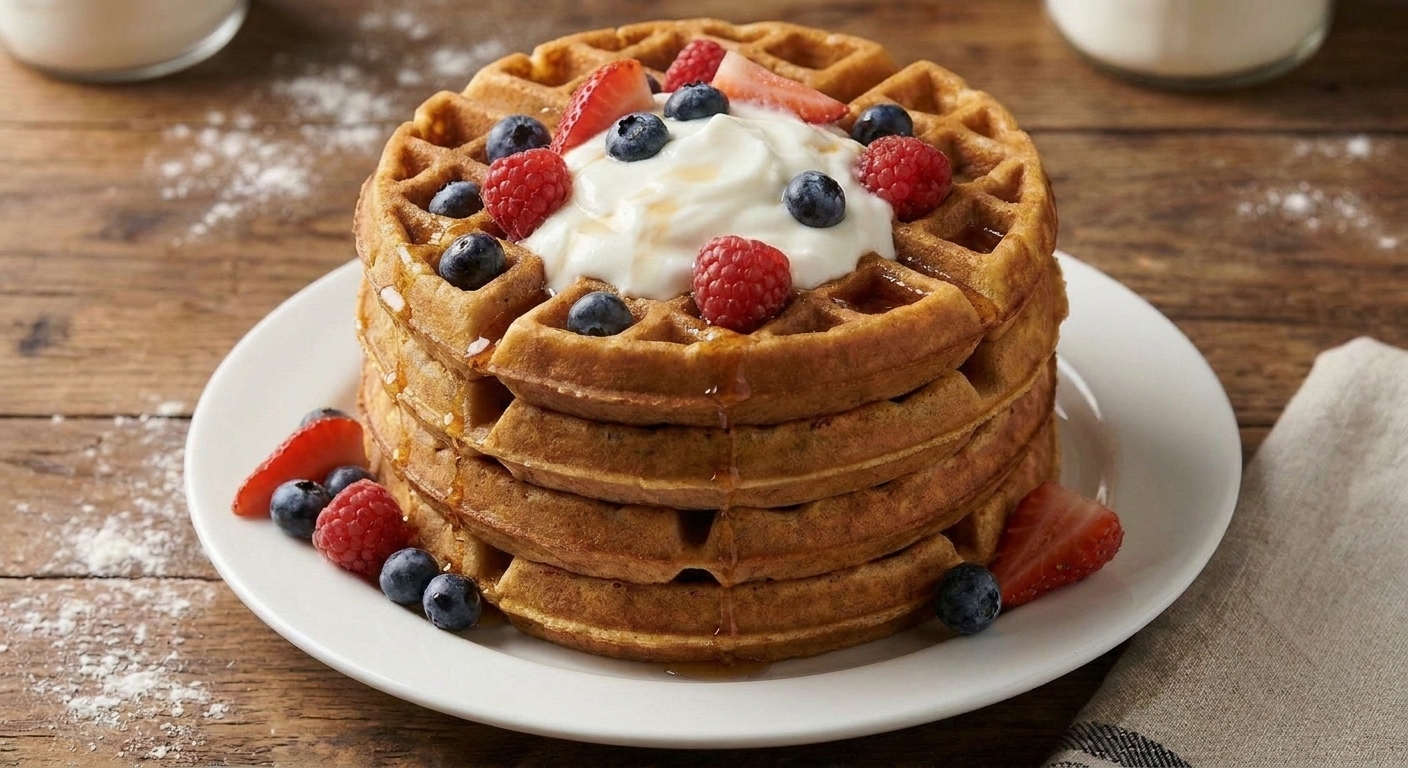
Serving ideas
- Classic: salted butter and warm maple syrup
- Bright: Greek yogurt, berries, and a squeeze of lemon
- Crunchy: toasted nuts and honey
- Dessert energy: whipped cream and macerated strawberries
- Sweet-savory: fried chicken or crispy tofu, plus hot honey
Storage and reheating
To store: Let waffles cool completely on a rack. Store in an airtight container in the fridge for up to 3 days.
To freeze: Freeze cooled waffles in a single layer, then transfer to a freezer bag with parchment between layers. Freeze up to 2 months.
To reheat and keep crisp: Toast straight from the fridge or freezer. For a bigger batch, re-crisp on a wire rack in a 350°F oven for 6 to 10 minutes.
Common mistakes
- Iron not hot enough: The waffle turns pale and soft. Fix: preheat longer and use doneness cues.
- Too much batter: Overflow leads to gummy edges and hard-to-clean hinges. Fix: reduce by 2 tablespoons next round.
- Peeking too early: The waffle tears and sticks. Fix: wait until steam slows down.
- Serving on a plate while cooking: Steam makes waffles limp. Fix: wire rack, always.
- Overmixing: Tough waffles. Fix: whisk dry and wet separately, then stir just until no dry flour remains.
FAQ
Can I make the batter ahead?
You can mix the dry ingredients and wet ingredients separately the night before, then combine in the morning. Fully mixed batter will lose some lift if it sits too long.
Why are my waffles burning before the inside cooks?
This usually means the iron is too hot for your batter, or your batter is too thin. Use the recommended thicker batter consistency and drop the iron setting slightly. Also avoid excess sugar beyond the recipe, which can scorch.
What should waffle batter look like?
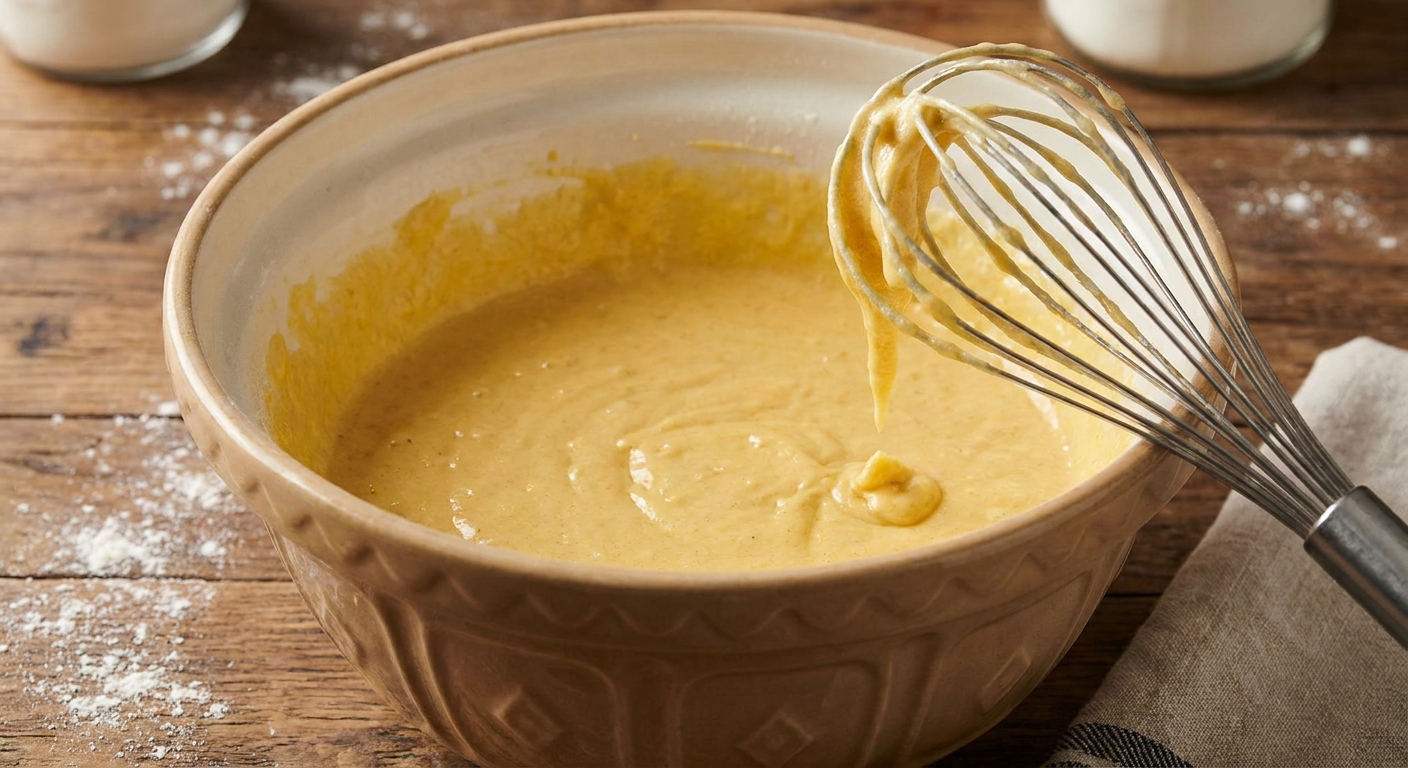
It should be thick and ribbon off the whisk slowly. If it pours like crepe batter, it is too thin. If it is scoopable like cookie dough, it is too thick. A few small lumps are fine.
Do I need to separate eggs and whip whites?
No. It can make waffles lighter, but it also adds dishes and time. This recipe is designed to be fluffy and crisp without that extra step.
Crispy Buttermilk Waffles
Thick, tangy buttermilk batter cooked on a well-preheated waffle iron for a crisp, deeply browned exterior and a tender, fully cooked center. Includes specific batter amounts and timing cues so you get clean edges without burning.
- Prep
- 10 minutes
- Cook
- 20 minutes
- Total
- 30 minutes
- Yield
- 6 waffles
Ingredients
- 2 cups all-purpose flour
- 2 tablespoons granulated sugar
- 2 teaspoons baking powder
- 1/2 teaspoon baking soda
- 1 teaspoon fine salt
- 2 cups buttermilk
- 2 large eggs
- 6 tablespoons unsalted butter, melted and slightly cooled (plus more for serving)
- 1 teaspoon vanilla extract (optional)
- Neutral oil or nonstick spray, for the iron
Instructions
- Preheat the waffle iron. Set your waffle iron to medium-high. Preheat until it indicates it is ready, then continue heating 3 to 5 minutes more so the plates are thoroughly hot. If holding waffles for a crowd, preheat the oven to 200°F and set a wire rack over a sheet pan inside.
- Mix the dry ingredients. In a large bowl, whisk together the flour, sugar, baking powder, baking soda, and salt until evenly combined.
- Mix the wet ingredients. In a medium bowl, whisk the buttermilk, eggs, melted butter, and vanilla (if using) until smooth.
- Combine without overmixing. Pour the wet mixture into the dry mixture. Stir with a whisk or spatula just until no dry flour remains. The batter should be thick and slow-flowing, with small lumps allowed.
- Rest the batter. Let the batter sit at room temperature for 5 minutes. This hydrates the flour and helps the waffles cook evenly.
- Lightly grease the iron. Brush or spray the hot iron lightly with neutral oil, especially for the first waffle.
- Portion the batter. Pour batter into the center of the iron, then gently spiral outward a bit. Use 1/2 cup batter for a standard Belgian iron (about 7 inches), or 1/3 cup for a thinner classic-style iron. Adjust on the next waffle if you get overflow or bare spots.
- Close the iron immediately. Close the lid within 5 seconds of pouring so the batter sets into the grid. Cook until the heavy steam slows to an occasional wisp and the waffle is deep golden brown, usually 3 to 5 minutes depending on your iron.
- Remove and keep crisp. Lift the waffle out with tongs. Place on a wire rack (not a plate) to keep the crust crisp. If cooking a batch, transfer finished waffles to the rack in the 200°F oven while you cook the rest.
- Serve. Serve hot with butter and maple syrup, or your favorite toppings.
Notes
Dairy-free option: Replace the buttermilk with 2 cups unsweetened oat milk or soy milk mixed with 2 tablespoons lemon juice or apple cider vinegar. Let stand 5 minutes before using. Expect slightly less tang, but a similar texture.
Doneness cue: Most waffle irons vary. Trust the steam, but confirm with color. When rapid steaming slows significantly and the waffle is deep golden, it is usually set and crisping.
Food waste tip: Freeze leftover waffles the same day. Re-toast straight from frozen for a fast breakfast with zero extra prep.