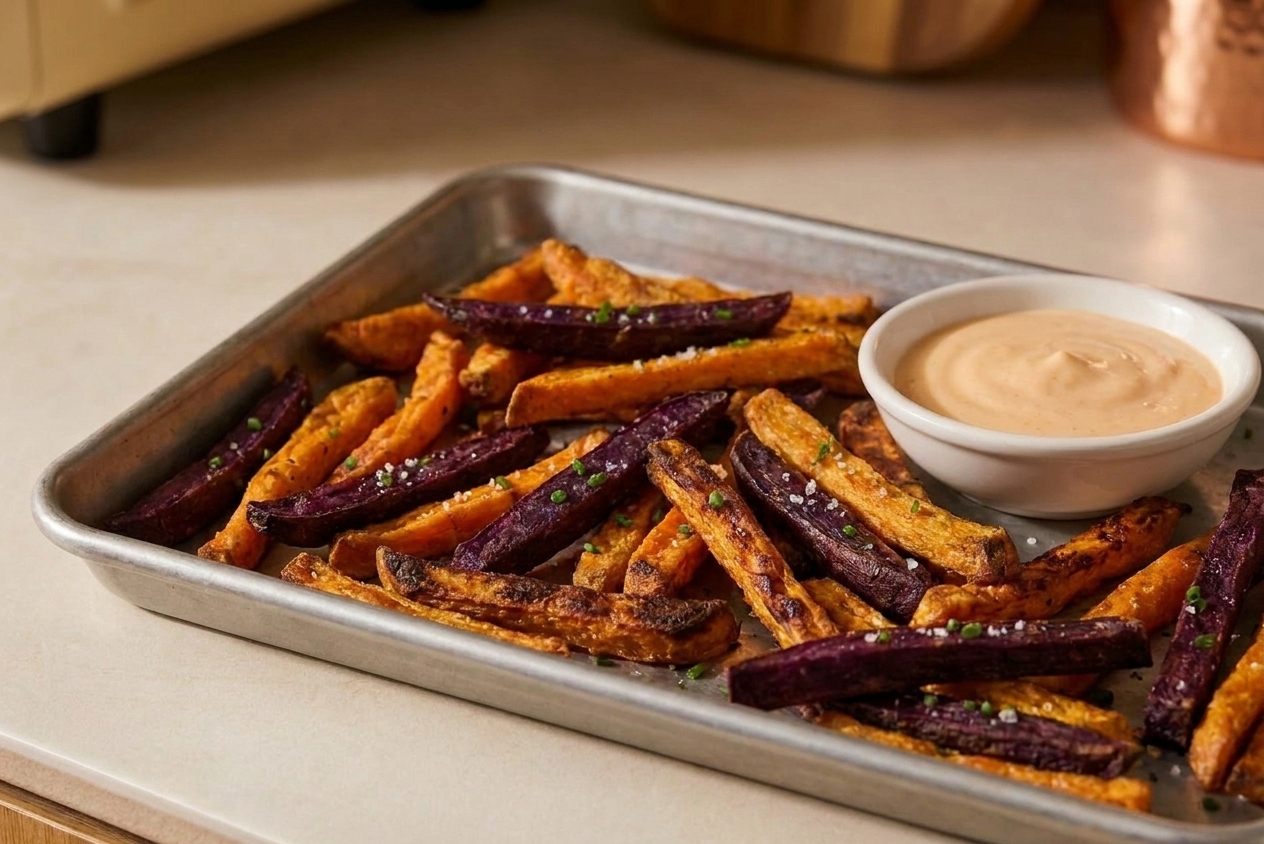

Sweet potato fries have a reputation for being a little… floppy. It’s not your fault. Sweet potatoes often have more sugar and a starch makeup that just doesn’t crisp as readily as russets, which means they can soften before they really brown. The fix is not pouring on more oil and hoping for the best. What matters most is managing surface moisture first, then giving the fries the heat and breathing room they need to bronze.

This is my go-to oven method when I want a salty, crisp side for burgers, salmon, grain bowls, or just a Tuesday night snack plate. You’ll give the cut fries a quick rinse or brief soak, then dry them like you mean it. After that, they get tossed with oil and a small amount of cornstarch (or arrowroot) to form a thin coating that bakes up crackly in a hot oven. Space on the pan matters, and the halfway flip helps the fries keep browning instead of quietly steaming in their own moisture. If you want to stack the deck even more, starting with a hot sheet pan can help.
One important expectation-setter from someone who’s tested this more times than I care to admit: sweet potato fries won’t get quite as shatter-crisp as classic white potato fries, and that’s okay. What we’re chasing here is crisp edges, tender centers, and a fry you can pick up without it bending in half.
Why this recipe works
- A soak and a rinse help tidy up the surface. It washes off clinging starch and helps the fries separate, which means less sticking and better browning.
- Drying removes the enemy of crispness. Wet fries steam, and steam is the fast track to softness.
- A little starch makes a light crust. Cornstarch or arrowroot absorbs moisture and turns crisp at high heat.
- High heat plus space equals browning. Fries need room for hot air to circulate or they’ll sweat on the pan.
- The flip is not optional. Moving the fries mid-bake breaks contact with the pan and helps release trapped moisture so more sides can bronze.
Ingredient notes
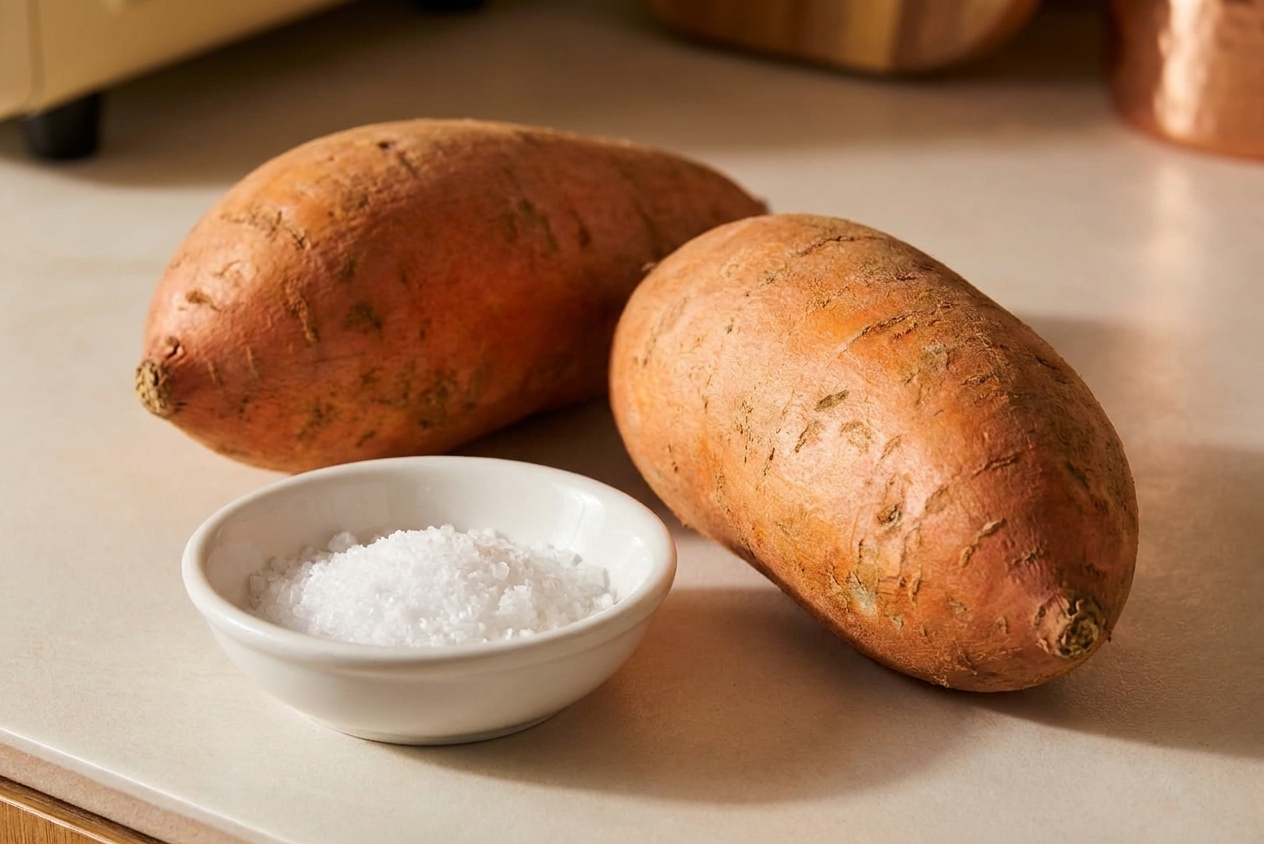
- Sweet potatoes: Look for medium-large sweet potatoes that feel firm and heavy. Similar size helps them bake evenly. Orange-fleshed varieties are most common and work great.
- Neutral oil: Avocado, grapeseed, or canola all handle high heat well. Olive oil works too, but use light olive oil if you have it.
- Cornstarch (or arrowroot): This is the crisping assistant. Don’t overdo it or you can get a dusty coating that tastes chalky.
- Salt: Salt after baking for best texture. If you salt before, it can pull moisture to the surface and soften the crust.
- Optional spices: Garlic powder, smoked paprika, chili powder, or ground cumin are all excellent. Keep the base savory and salted, not sweet.
Equipment you will need
- Large rimmed sheet pan
- Parchment paper (helpful for sticking and cleanup)
- Large bowl
- Colander
- Clean kitchen towel or paper towels for drying
- Thin spatula for flipping
Pro tips
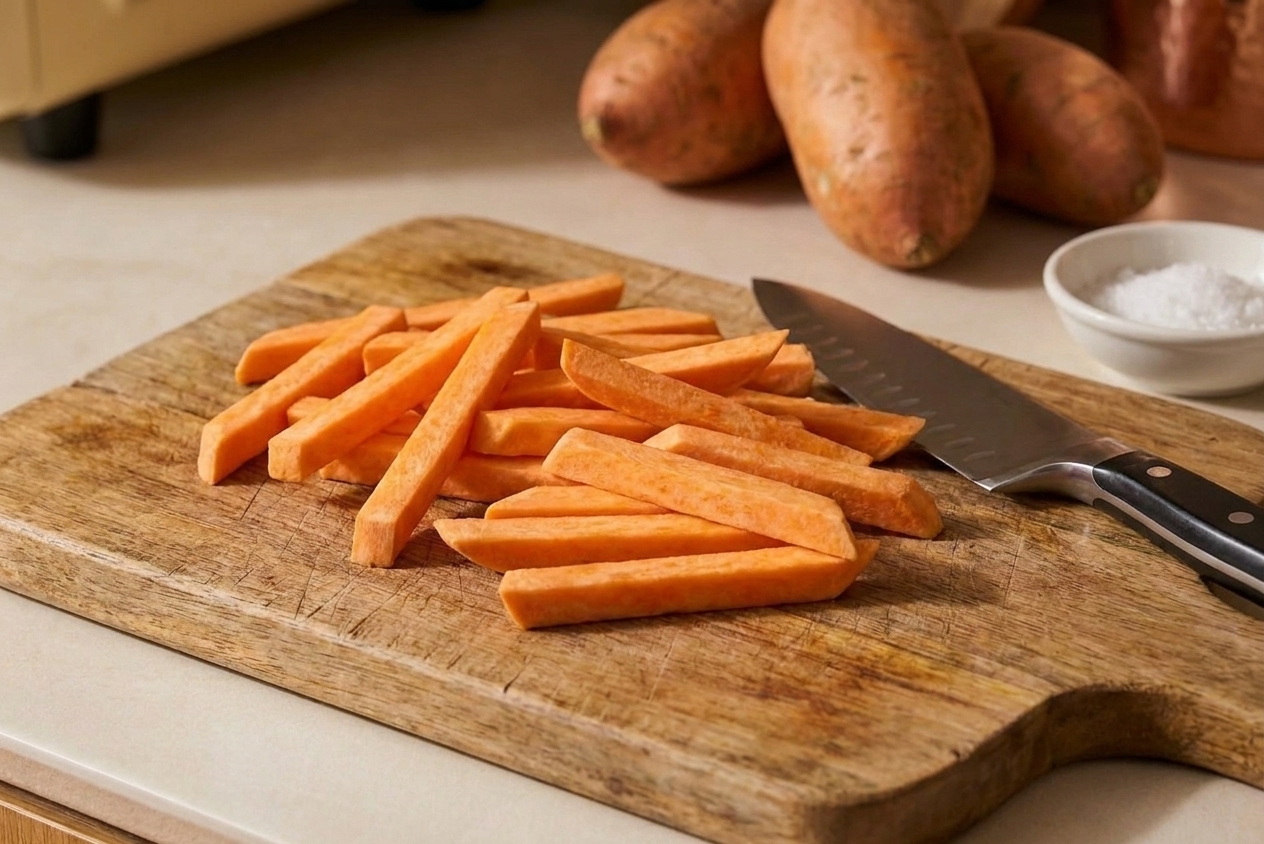
- Cut consistent sticks. Aim for about 1/4 to 3/8 inch thick. Too thin and they can burn before the centers soften. Too thick and they stay soft.
- Dry like you mean it. After soaking, pat until the fries look matte and feel dry to the touch. Any sheen means moisture.
- Toss oil first, then starch. Oil helps the starch cling in a thin layer instead of clumping in the bottom of the bowl.
- Don’t crowd. If your pan is packed, bake on two pans. Overcrowding is the #1 reason for limp fries.
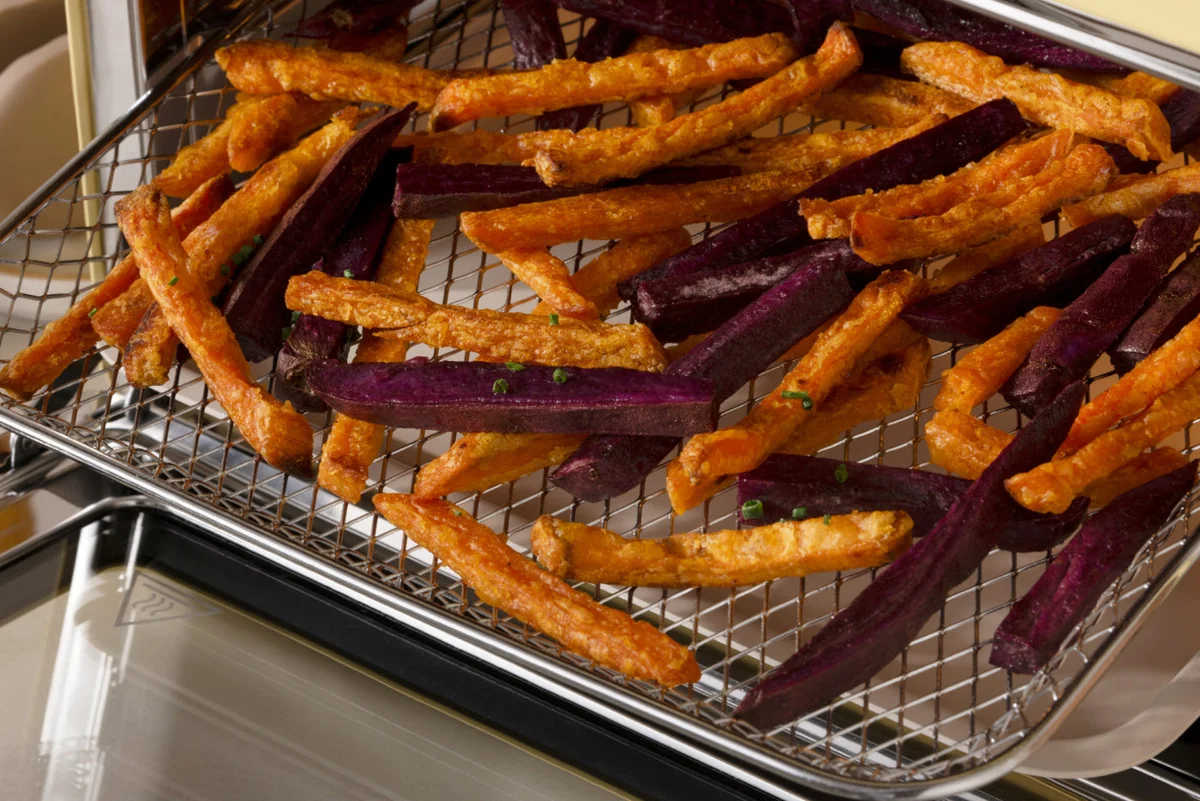
- Use the last few minutes wisely. If they’re tender but not crisp, give them 3 to 6 more minutes. Watch the edges and corners for deep golden brown.
- Salt immediately at the end. Hot fries grab salt better, and you keep the crust drier.
Substitutes that work
- Starch: Arrowroot, potato starch, or tapioca starch can stand in for cornstarch. Use the same amount.
- Oil: Any high-heat friendly oil works. If using extra virgin olive oil, expect slightly less browning at very high heat.
- Salt: Fine sea salt clings best. If using kosher salt, you may want a pinch more.
Variations
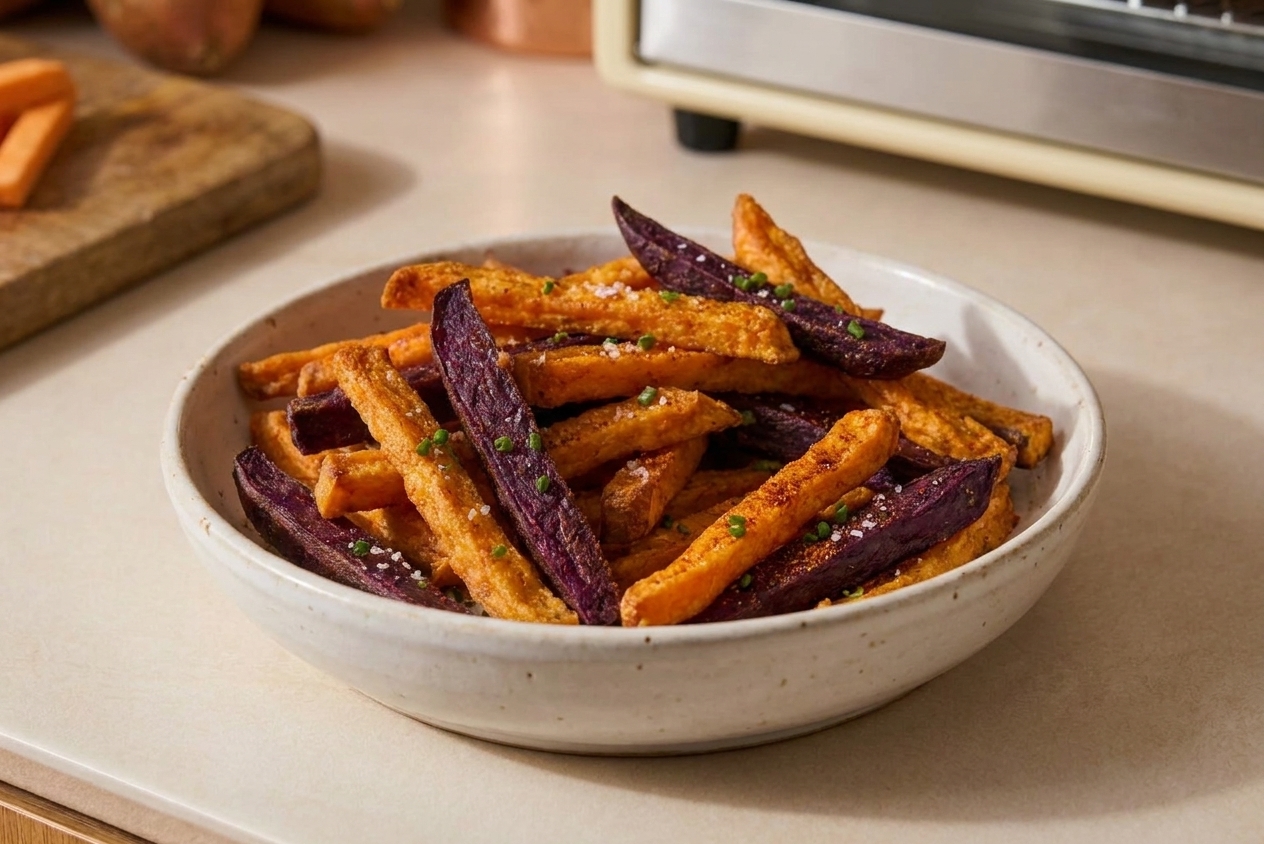
- Smoky: Add smoked paprika and a tiny pinch of cumin.
- Garlic pepper: Add garlic powder and black pepper, then finish with a squeeze of lemon for a bright, savory kick.
- Herby: Finish with chopped rosemary or parsley right after baking.
- Heat: Add chipotle powder or cayenne, then serve with a cooling dip.
Serving ideas
- With burgers, turkey burgers, or black bean burgers
- Alongside grilled or roasted salmon with a lemony salad
- With a simple dipping sauce like garlic yogurt, ranch, or spicy mayo
- As a sheet pan dinner side with roasted chicken thighs and broccoli
- On a snack plate with pickles, olives, and a crunchy veggie
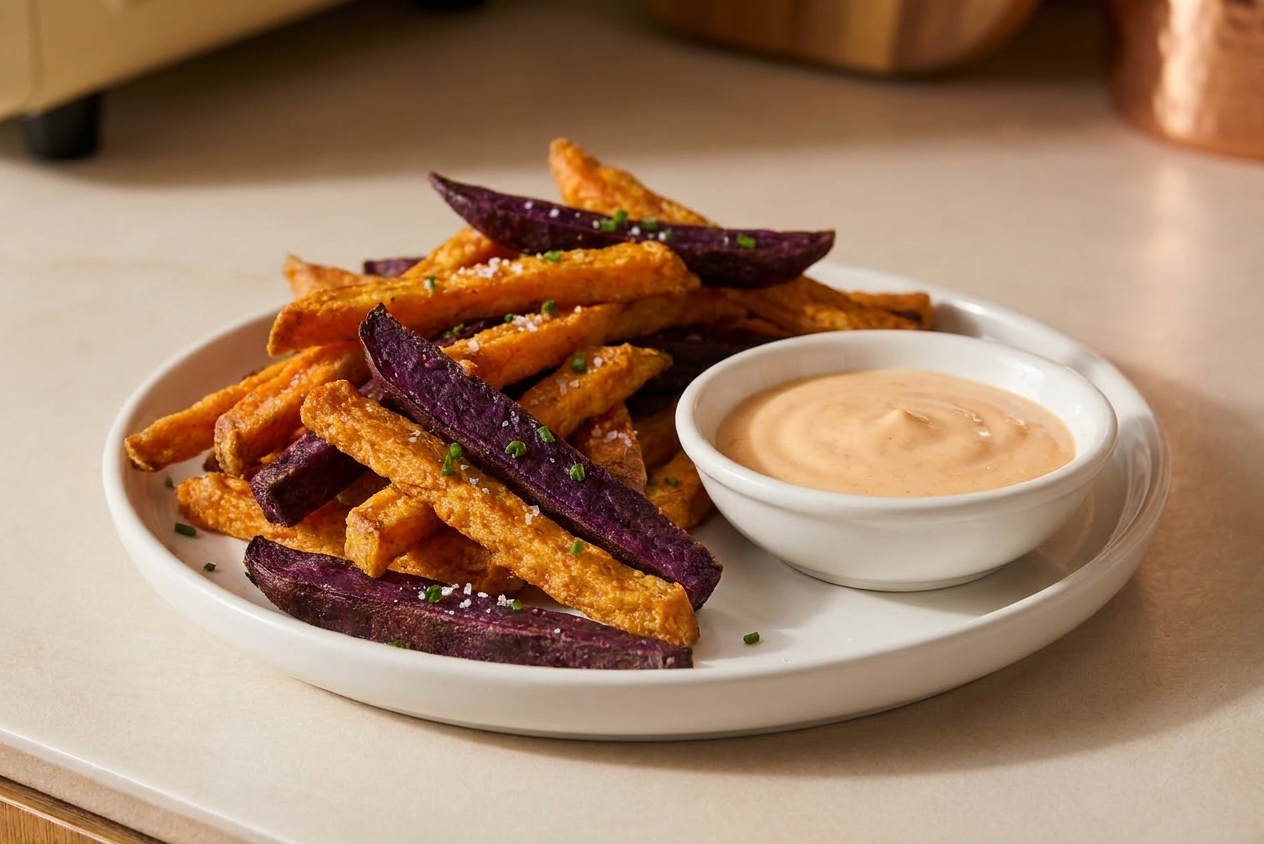
Storage and reheating
- Best day-of: Fries are crispiest right out of the oven.
- Refrigerate: Store cooled fries in an airtight container for up to 3 days.
- Reheat for crispness: Spread on a sheet pan and reheat at 425 F until hot and re-crisped, about 6 to 10 minutes, flipping once. A toaster oven works beautifully.
- Avoid the microwave: It makes them soft fast.
Common mistakes
- Skipping the dry step: If the fries go into the oven wet, you’ll get steaming instead of browning.
- Too much starch: A heavy coating can taste powdery. You want a whisper-thin layer.
- Crowding the pan: Fries touching edge-to-edge trap moisture. Use two pans if needed.
- Low oven temperature: Sweet potatoes need high heat to brown before they collapse into softness.
- Salting too early: Salt draws out moisture. Salt at the end for a crisper finish.
FAQ
Do I have to soak sweet potato fries?
You don’t have to, but it helps. A brief 20 to 30 minute soak rinses away surface starch so the fries separate better and bake up a little crispier. If you’re in a rush, rinse well under cold water and dry very thoroughly.
Why are my sweet potato fries soggy?
Usually one of three things: they weren’t dried enough, the pan was crowded, or the oven wasn’t hot enough. The fix is almost always more space and higher heat, plus a flip.
Should I peel sweet potatoes for fries?
Totally your call. I often leave the skin on if it’s smooth and clean, especially to reduce food waste and add a little texture. Just scrub well.
Can I cut them ahead?
You can cut the fries and keep them submerged in cold water in the fridge for up to 24 hours. Drain, rinse, and dry very well before coating with oil and starch.
How do I get them crispier without burning?
Keep the sticks a bit thicker (around 3/8 inch), bake at high heat, and use the last 3 to 6 minutes to finish. Look for browned corners as your cue rather than relying only on the timer.
Crispy Oven Sweet Potato Fries
Oven sweet potato fries with crisp edges and tender centers, made with a quick soak, a thorough dry, a light starch coating, and a hot bake with a flip.
- Prep
- 20 minutes
- Cook
- 28 minutes
- Total
- 48 minutes
- Yield
- 4 servings
Ingredients
- 2 large sweet potatoes (about 1 1/2 to 2 pounds total)
- Cold water (for soaking)
- 2 tablespoons neutral oil (avocado, canola, or grapeseed)
- 1 tablespoon cornstarch (or arrowroot)
- 3/4 teaspoon fine sea salt, plus more to taste
- 1/2 teaspoon garlic powder (optional)
- 1/2 teaspoon smoked paprika (optional)
- Freshly ground black pepper, to taste (optional)
Instructions
- Heat the oven and prep the pan. Arrange a rack in the upper third of the oven. Heat to 450 F. Line a large rimmed sheet pan with parchment paper (recommended for sticking).
- Cut the fries. Scrub the sweet potatoes well (peel if you prefer). Trim the ends. Cut into sticks about 1/4 to 3/8 inch thick, keeping them as even as possible for consistent baking.
- Soak. Place the fries in a large bowl and cover with cold water. Soak 20 to 30 minutes. This helps rinse away surface starch and promotes better crisping.
- Drain and dry very well. Drain in a colander, then spread the fries on a clean kitchen towel or a thick layer of paper towels. Pat until the fries look matte and feel dry, not slick.
- Toss with oil, then starch. Return dried fries to a large bowl. Drizzle with the oil and toss until evenly coated. Sprinkle over the cornstarch (and optional garlic powder, smoked paprika, and pepper). Toss again until no dry starch is sitting in the bottom of the bowl and each fry has a very light coating.
- Spread out. Arrange fries on the sheet pan in a single layer with space between pieces. If they are crowded or stacked, use a second pan.
- Bake, then flip. Bake 15 minutes. Use a thin spatula to flip and loosen the fries, turning as many as you can so a new side contacts the pan.
- Finish baking. Bake 10 to 15 minutes more, until tender inside and deeply golden brown at the edges. Watch closely in the last few minutes, since sugars can go from browned to too dark quickly.
- Salt and serve. Immediately sprinkle with the salt while hot and toss gently on the pan. Taste and add a pinch more salt if needed. Serve right away for best crispness.
Notes
Make-ahead: You can cut the fries up to 24 hours ahead and keep them submerged in cold water in the fridge. Drain and dry very well before proceeding.
About crispness: Sweet potatoes are naturally higher in moisture and sugar than russets, so expect crisp edges and tender centers rather than ultra-crunchy fries.
Batch size: If doubling, plan on using two sheet pans and rotating them front to back at the flip.