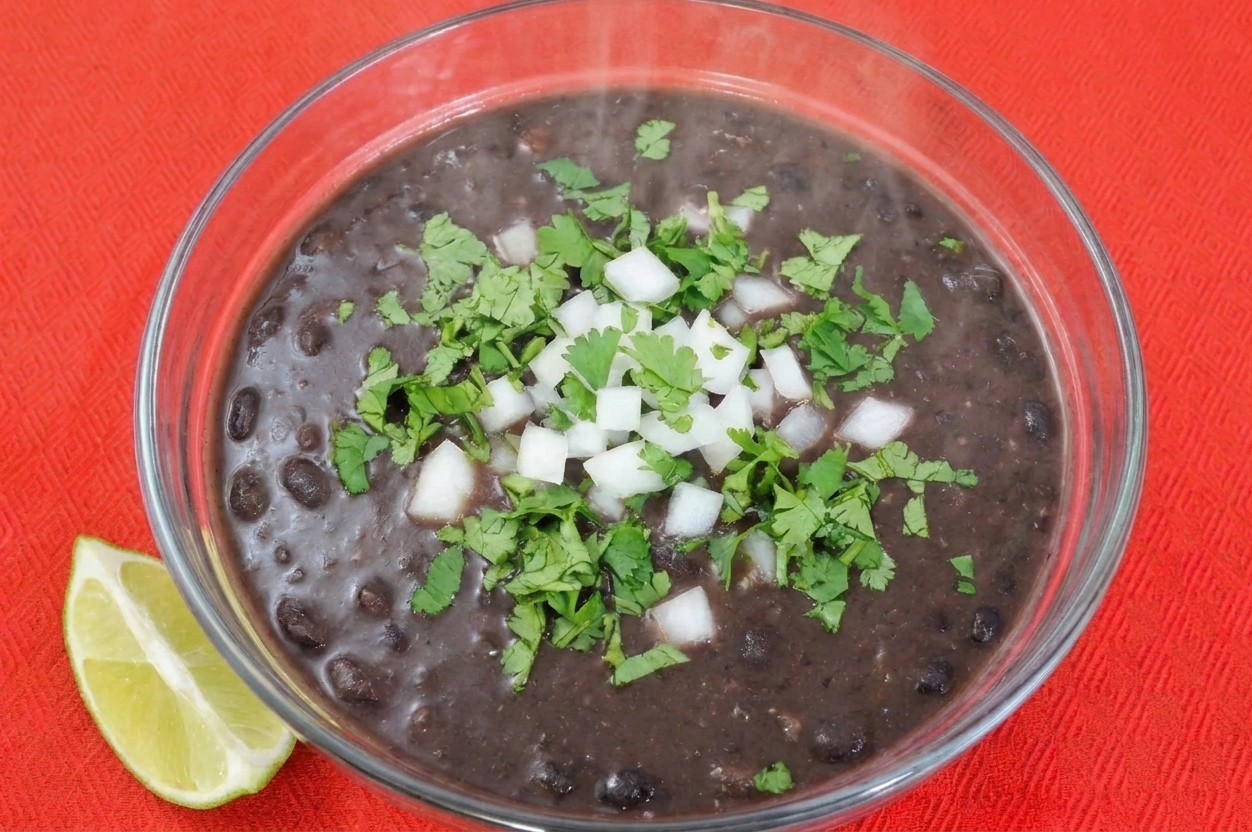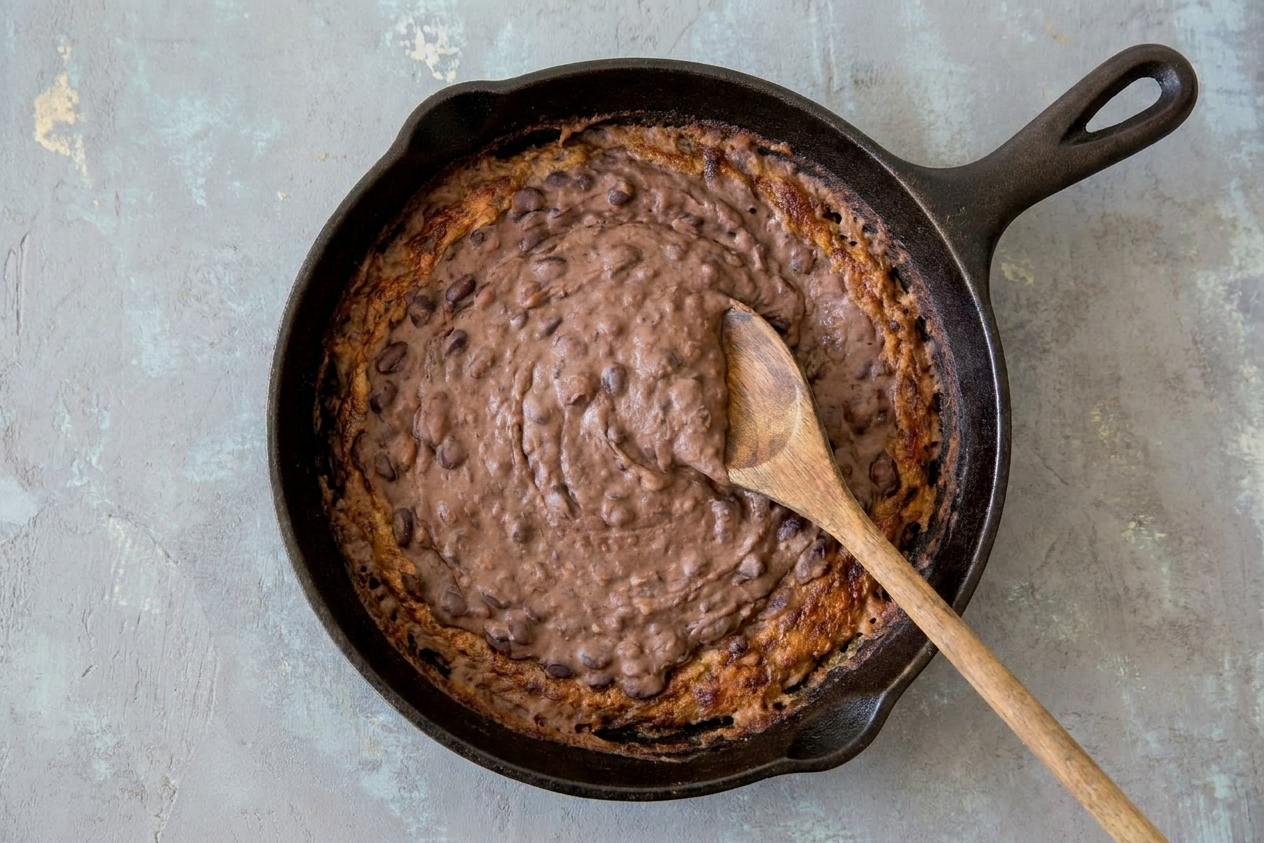

Plain cooked beans are a beautiful starting point, but they are not the finish line. Refried beans are what happens when you take that tender pot of pintos or black beans and give them a second life: sautéed with onion in hot fat (lard, bacon fat, or oil all work), mashed, then cooked again until they turn creamy and cohesive, and, if you like, a little toasty around the edges.

My favorite part of this method is that it is forgiving and wildly useful for reducing food waste. Leftover beans from last night’s burrito bowls become tomorrow’s quesadilla filling. A half pot of simmered beans in the fridge turns into a spread you will want on everything.
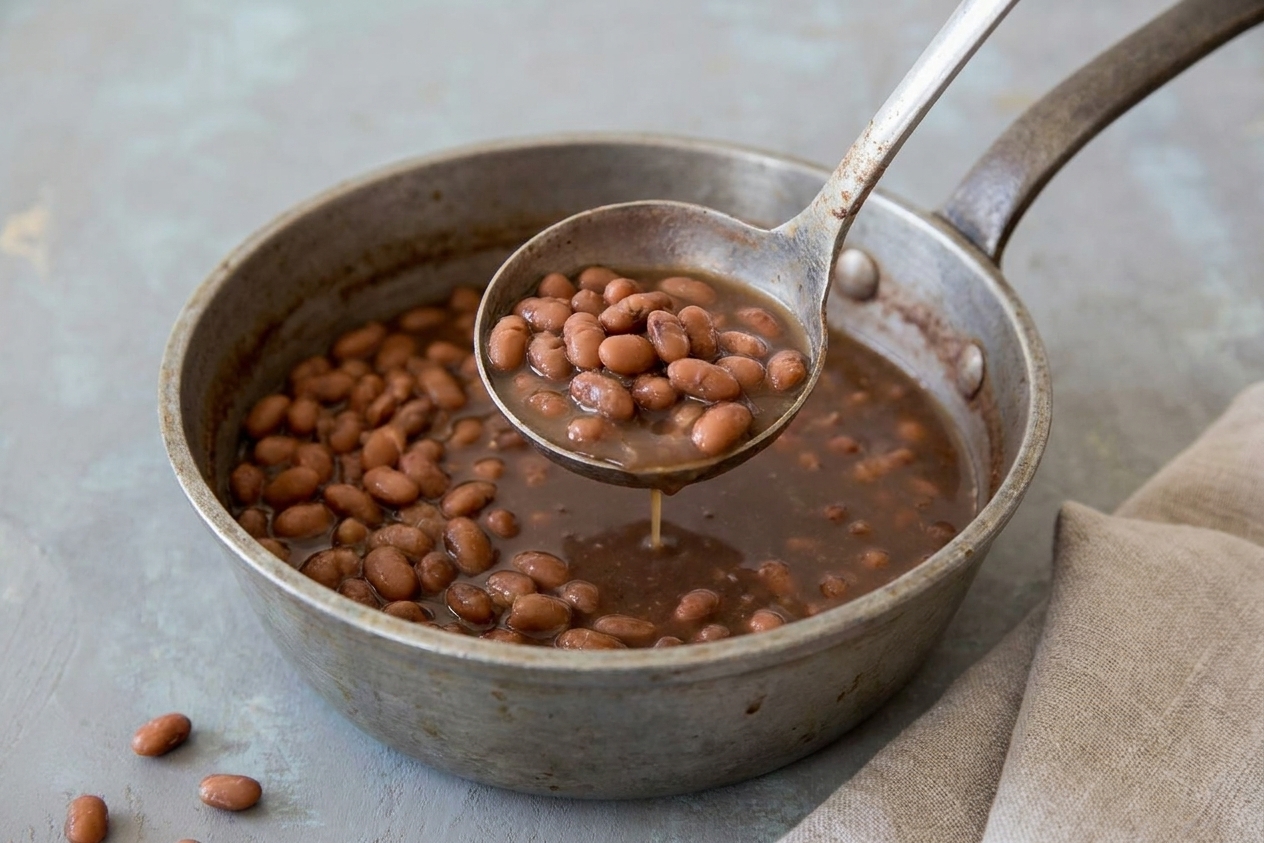
In this recipe, I start with cooked beans plus their cooking liquid. That bean broth is often your built-in thickener and flavor builder because it is starchy and already tastes like the beans. (If you are using canned beans, the can liquid works too, but it varies from brand to brand, so taste and adjust.) The trick is knowing how much to keep before you mash, then using the stove to control texture: more liquid for silky and spreadable, less liquid and more contact with the pan for browned bits. I like to finish with something bright, like lime juice or a splash of pickled jalapeño brine, to wake everything up.
What to expect
- Creamy center, crispy edges: You will press the beans into the pan so they cook and brown a bit, then stir just enough to keep them from drying out.
- Spreadable texture: Like soft hummus. If you drag a spoon through, it should leave a trail that slowly fills in.
- Big flavor from simple ingredients: Onion, fat, salt, and a final hit of acid to make the whole thing taste lively.
Why this recipe works
- It treats cooked beans as the starting point. The second cook is where refried beans become rich, cohesive, and craveable.
- Hot fat plus onion builds a flavorful base. You are essentially making a quick sofrito-style foundation before the beans ever hit the pan.
- Bean cooking liquid is your texture control. Leaving some liquid in the beans before mashing helps you get creamy and spreadable without adding water that tastes flat.
- Pressing the beans creates crust. A thin layer in direct contact with the skillet browns fast, giving you toasty edges without drying out the whole batch.
Ingredient notes
Cooked pinto beans or black beans
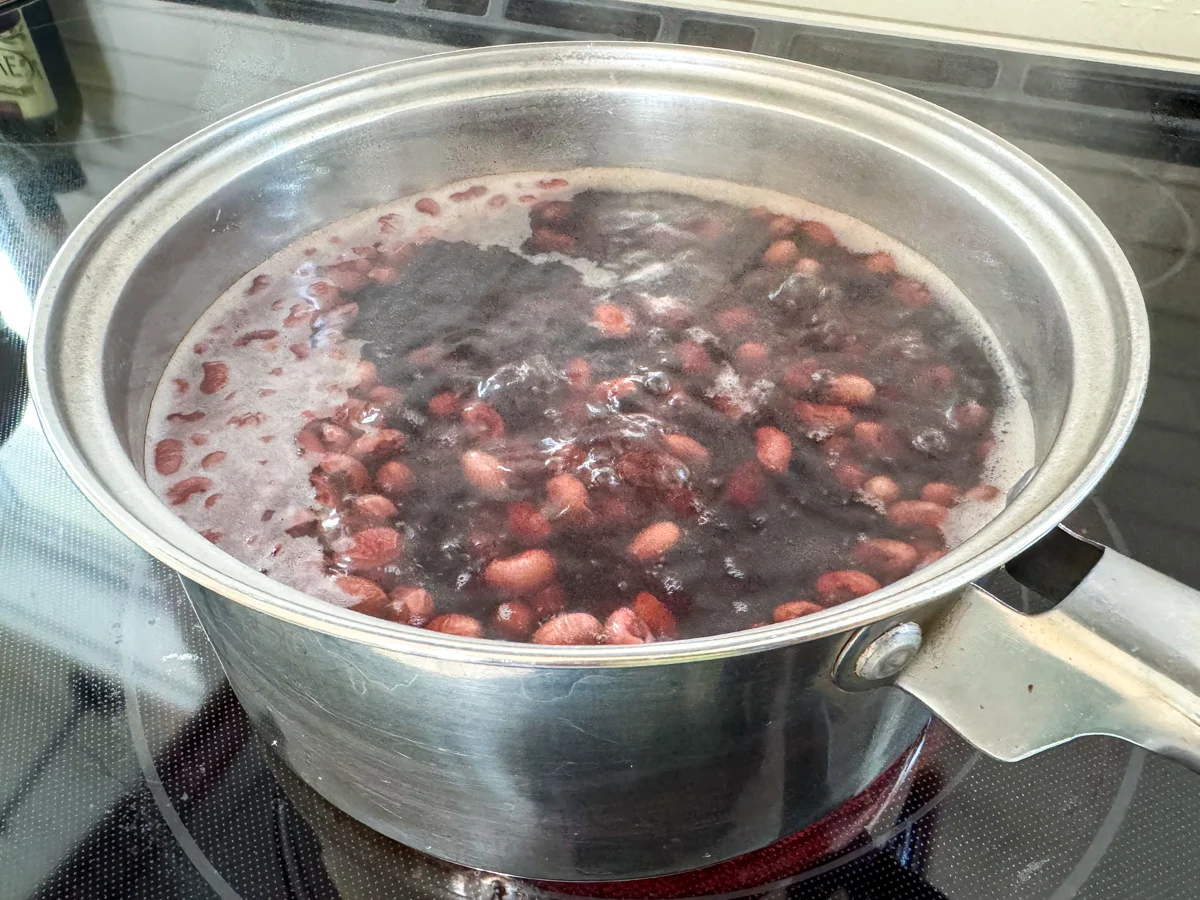
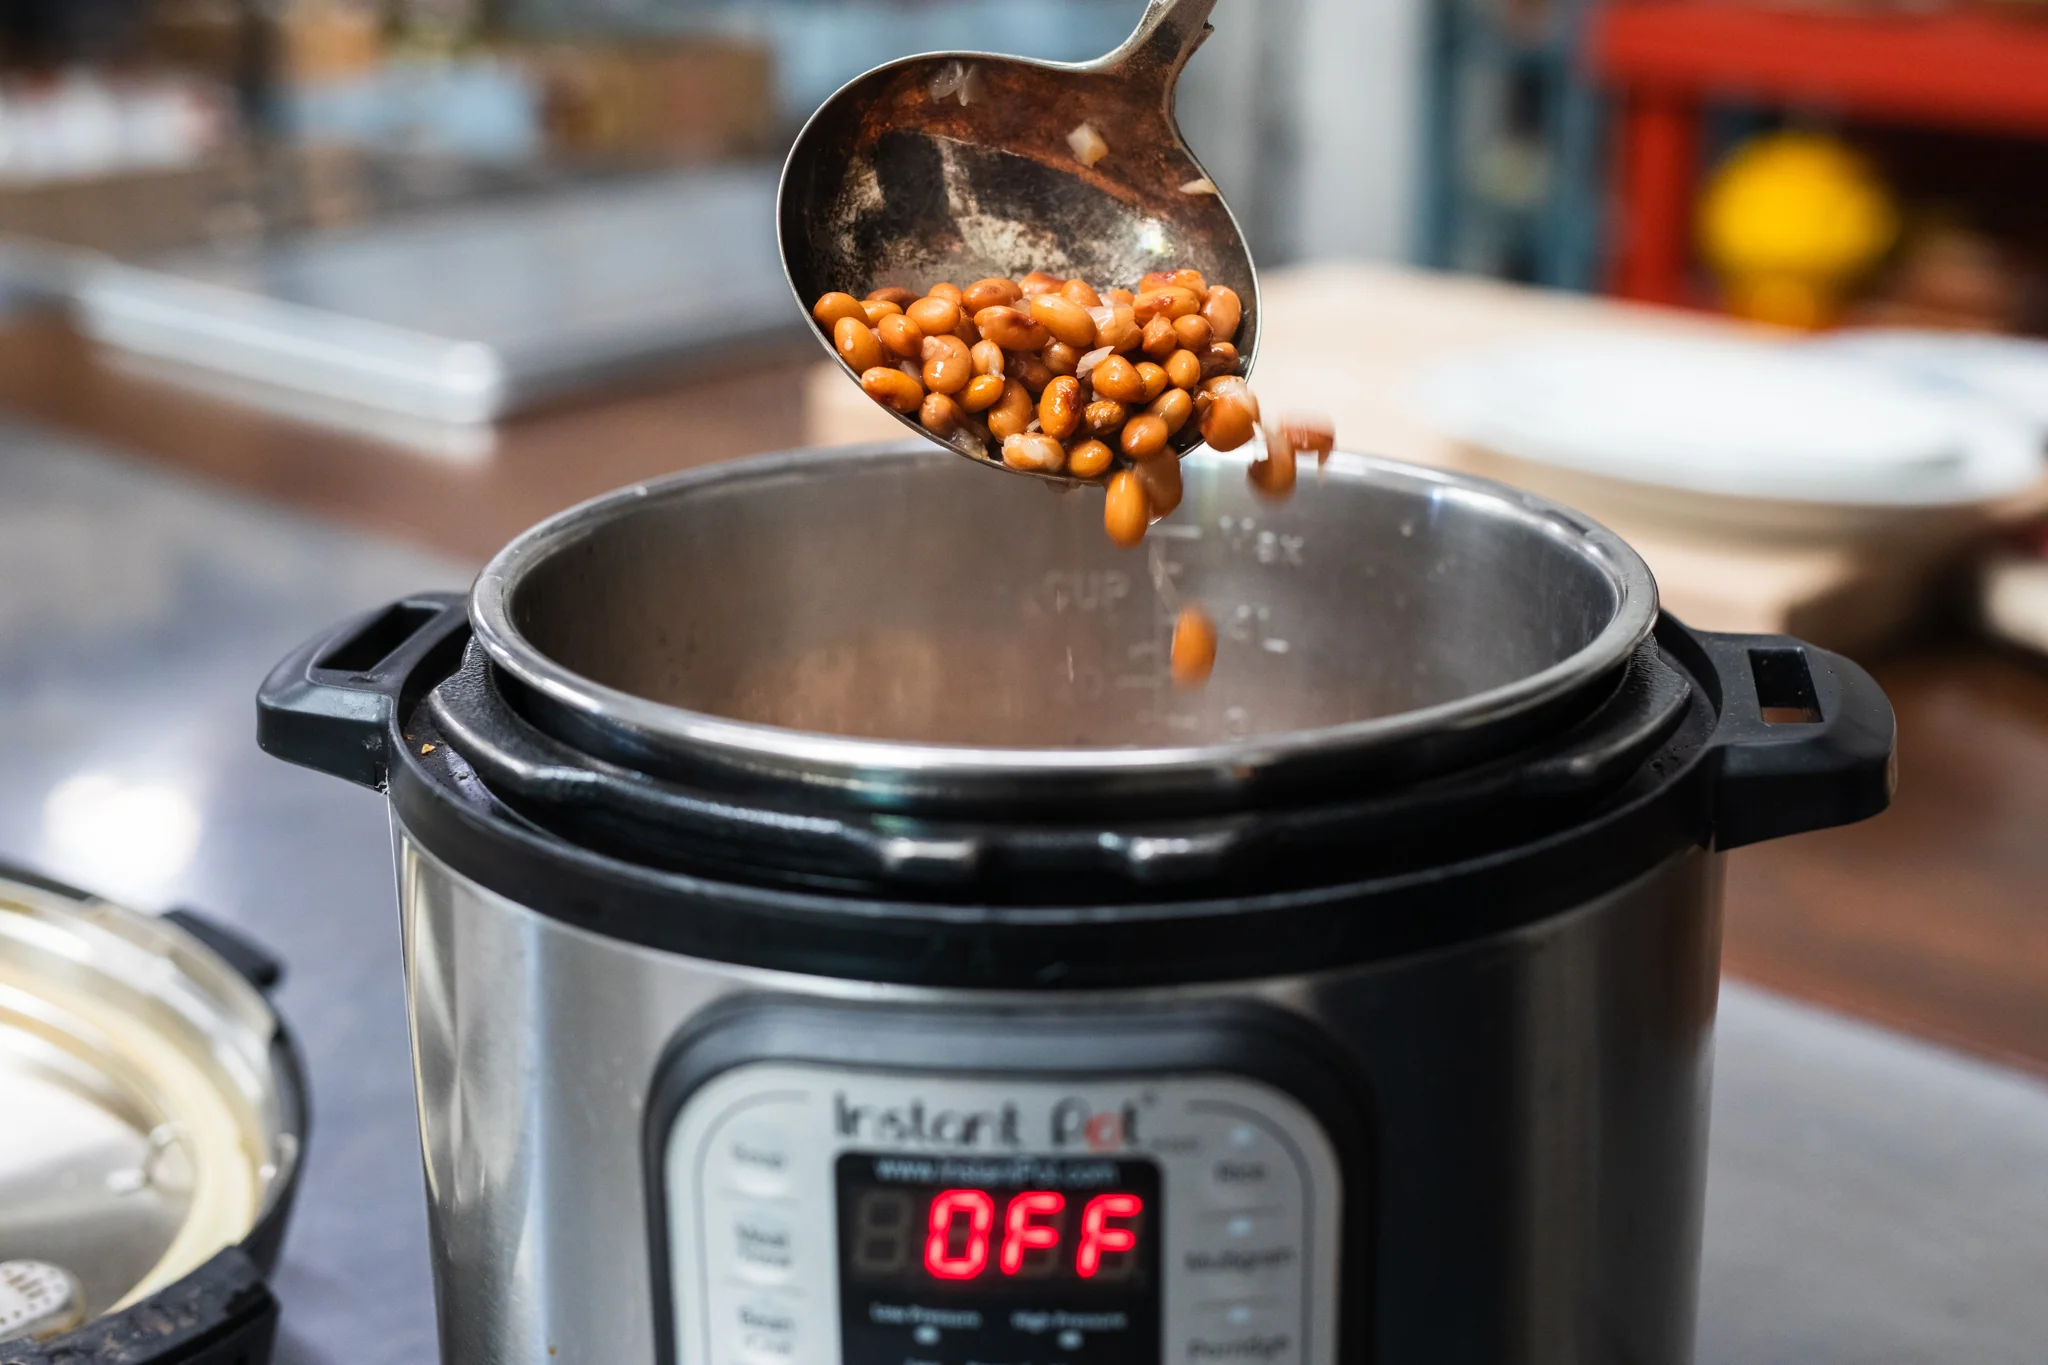
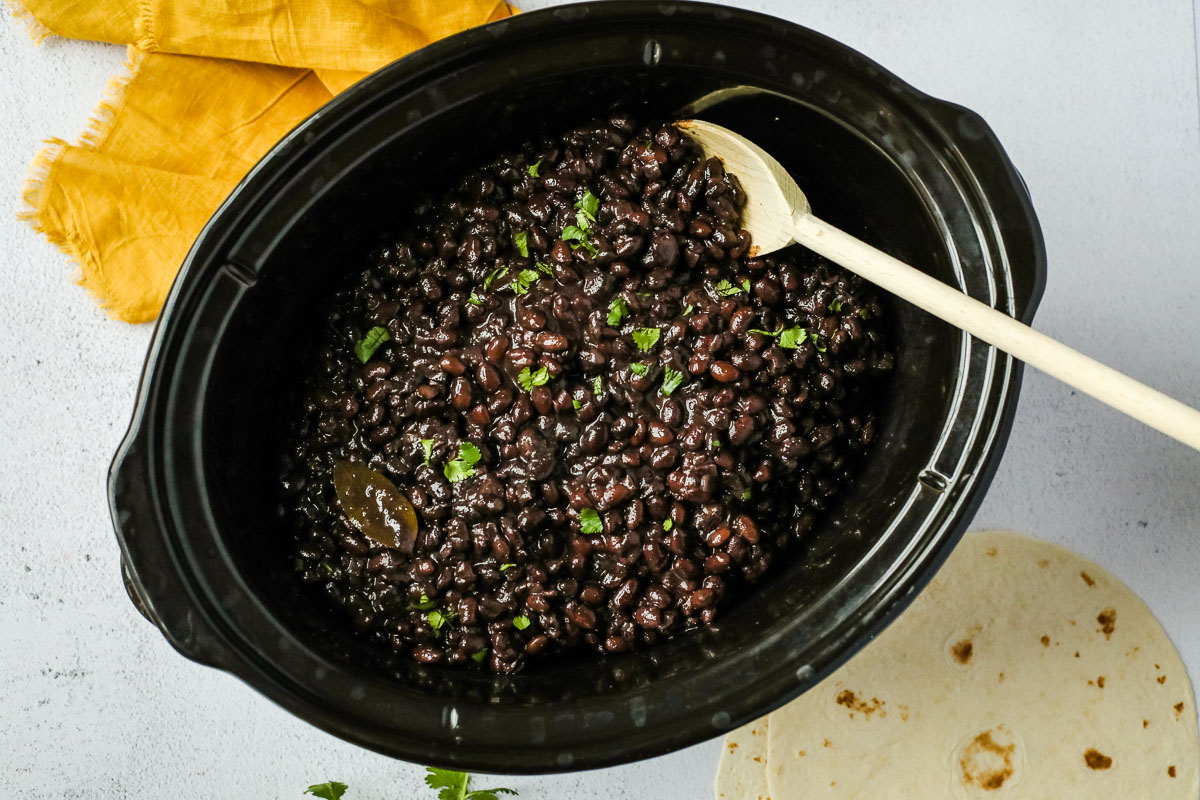
Use beans cooked from dry on the stovetop, pressure cooker, or even well-rinsed canned beans in a pinch. The key is that they are tender and flavorful. If your beans are very bland, plan on being a little more generous with salt.
Bean cooking liquid (or liquid from the can)
This is not just “extra water.” It is starchy and helps the beans turn creamy. For 3 cups cooked beans, I like to start with 1/2 cup liquid reserved and adjust from there.
Fat
Traditional refried beans often use lard. At home, I reach for neutral oil, bacon fat, schmaltz, or butter depending on what I am cooking. For browned edges, you need enough fat to lightly coat the pan and carry heat.
Onion
Finely chopped onion melts into the beans and adds sweetness. If you only have green onions, use the white and light green parts for the sauté, then sprinkle the dark greens at the end.
Salt and acid
Salt makes beans taste like themselves. Acid makes them taste alive. A squeeze of lime at the end is my default, but a splash of pickled jalapeño brine is fantastic too.
Equipment you will need
- Wide skillet (cast iron or stainless steel browns best, nonstick works but will be less crispy)
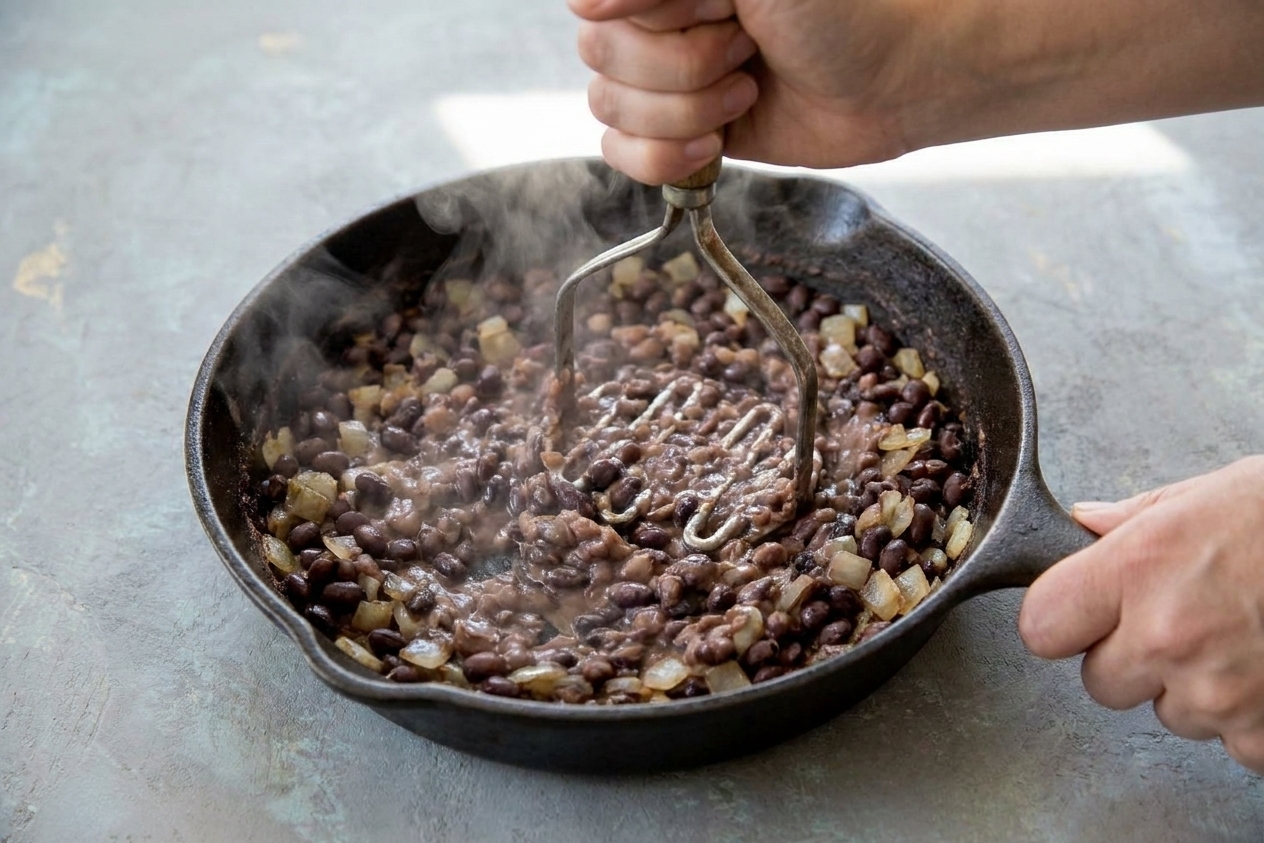
- Potato masher for rustic texture, or a sturdy wooden spoon for a chunkier mash
- Ladle or measuring cup to control how much bean liquid you add
- Spatula for pressing and scraping up the browned bits
Pro tips
How much liquid to leave before mashing
Drain or scoop your beans so you have about 1/2 cup bean liquid for every 3 cups cooked beans. If your beans already look soupy, you may not need to add any liquid at first.
For creamy center
- Mash while the beans are hot.
- Add bean liquid a tablespoon at a time until the beans look glossy and loosen slightly when you stir.
- Lower the heat once you reach the texture you want, then hold warm.
For crusty edges
- Use a wider skillet and do not overcrowd.
- After mashing, press the beans into an even layer and let them sit 60 to 90 seconds without stirring.
- Scrape and fold the browned bits back in, then press again.
Stovetop finish that makes them taste restaurant-good
When the beans are thick and spreadable, turn off the heat and add lime juice or a splash of something tangy. Taste for salt again. That last adjustment is the difference between “fine” and “I can’t stop eating this.”
Substitutes that work
- No bean cooking liquid: use low-sodium broth or water, then add extra salt to compensate.
- No onion: use 1/2 teaspoon onion powder added with the beans, or sauté minced shallot or leek instead.
- No potato masher: use the back of a wooden spoon. For very smooth beans, you can carefully use an immersion blender off heat, then return to low heat to re-crisp the edges.
- Want it vegan: use avocado oil or olive oil and finish with lime.
Variations
Garlic chile refried beans
Add 1 to 2 minced garlic cloves and a pinch of chili flakes after the onion softens, then add beans.
Smoky cumin refried beans
Add 1/2 teaspoon ground cumin and 1/2 teaspoon smoked paprika to the onion before adding beans.
Cheesy refried beans
Off heat, stir in a small handful of shredded cheddar or Monterey Jack until melted. Keep the heat low so the cheese stays creamy, not stringy.
Extra crispy “frijoles” style
Spread the beans thinner in the pan and do two longer press-and-sit rounds. You will get more browning and a drier, sturdier spread for tostadas.
Serving ideas
- Spread on warm tortillas with scrambled eggs and salsa for fast breakfast tacos.
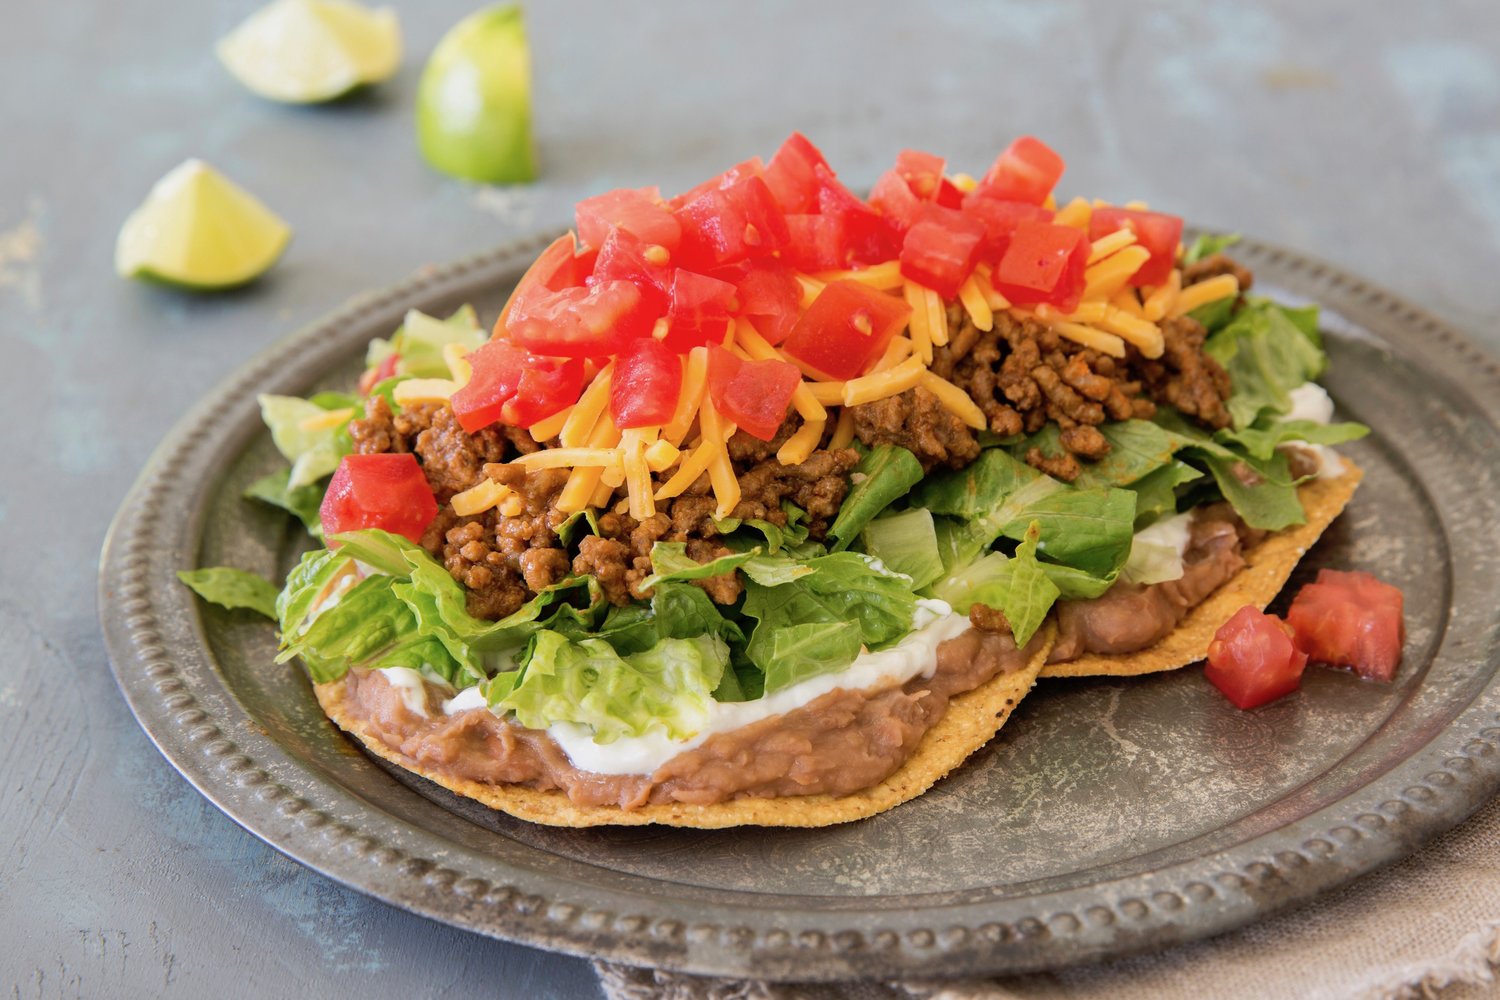
- Layer onto tostadas, then top with shredded lettuce, radishes, and hot sauce.
- Use as a glue layer inside quesadillas so the filling stays put.
- Spoon into rice bowls with roasted vegetables and a squeeze of lime.
- Serve as a dip with tortilla chips, pico de gallo, and cotija.
Storage and reheating
Refrigerate
Cool completely, then store in an airtight container for up to 5 days. Beans will thicken as they sit.
Reheat on the stove
Warm in a small saucepan or skillet over medium-low heat with a splash of bean liquid, water, or broth. Stir until creamy, then press into the pan for 30 to 60 seconds if you want the crispy edges back.
Freeze
Freeze in a flat layer in a zip-top bag or in small containers for up to 3 months. Thaw overnight in the fridge for best texture.
Common mistakes
- Starting too dry: if you drain all the liquid and mash, you will fight a grainy texture. Keep some bean broth from the start.
- Not enough fat: refried beans need fat for flavor and browning. If the pan looks dry, add a teaspoon more.
- Stirring constantly: you will never get crispy edges if the beans do not sit against the hot pan.
- Cranking the heat: high heat scorches the bottom before the beans warm through. Medium to medium-high is plenty.
- Forgetting the final seasoning: taste at the end for salt and add acid. Beans can take more salt than you think.
FAQ
Are refried beans actually fried twice?
Not always literally twice, but the idea is a second cook in fat. Here we sauté onion, add cooked beans, mash, then fry the mashed beans until creamy with browned bits.
How do I make them smoother?
Mash more thoroughly and add bean liquid until the beans look glossy. For ultra-smooth beans, blend briefly with an immersion blender, then return to the skillet for a short press to bring back some toasty flavor.
How do I keep them from drying out?
Keep extra bean liquid nearby and add it a tablespoon at a time. Also, once you hit the texture you love, lower the heat. Beans can go from perfect to stiff quickly.
Can I use canned beans?
Yes. Rinse and drain, then reserve 1/2 cup of the can liquid or use broth. Canned beans are softer, so they mash fast. Focus on the press-and-brown step for flavor.
Why do my beans taste flat?
Usually it is salt, sometimes it is acid. Add a pinch of salt, taste again, then finish with lime or pickled jalapeño brine.
Crispy Refried Beans
Cooked beans get a second life in a hot skillet: sautéed with onion in fat, mashed with just enough bean liquid to turn creamy, then pressed for crispy browned edges.
- Prep
- 10 minutes
- Cook
- 12 minutes
- Total
- 22 minutes
- Yield
- Makes about 2 1/2 cups
Ingredients
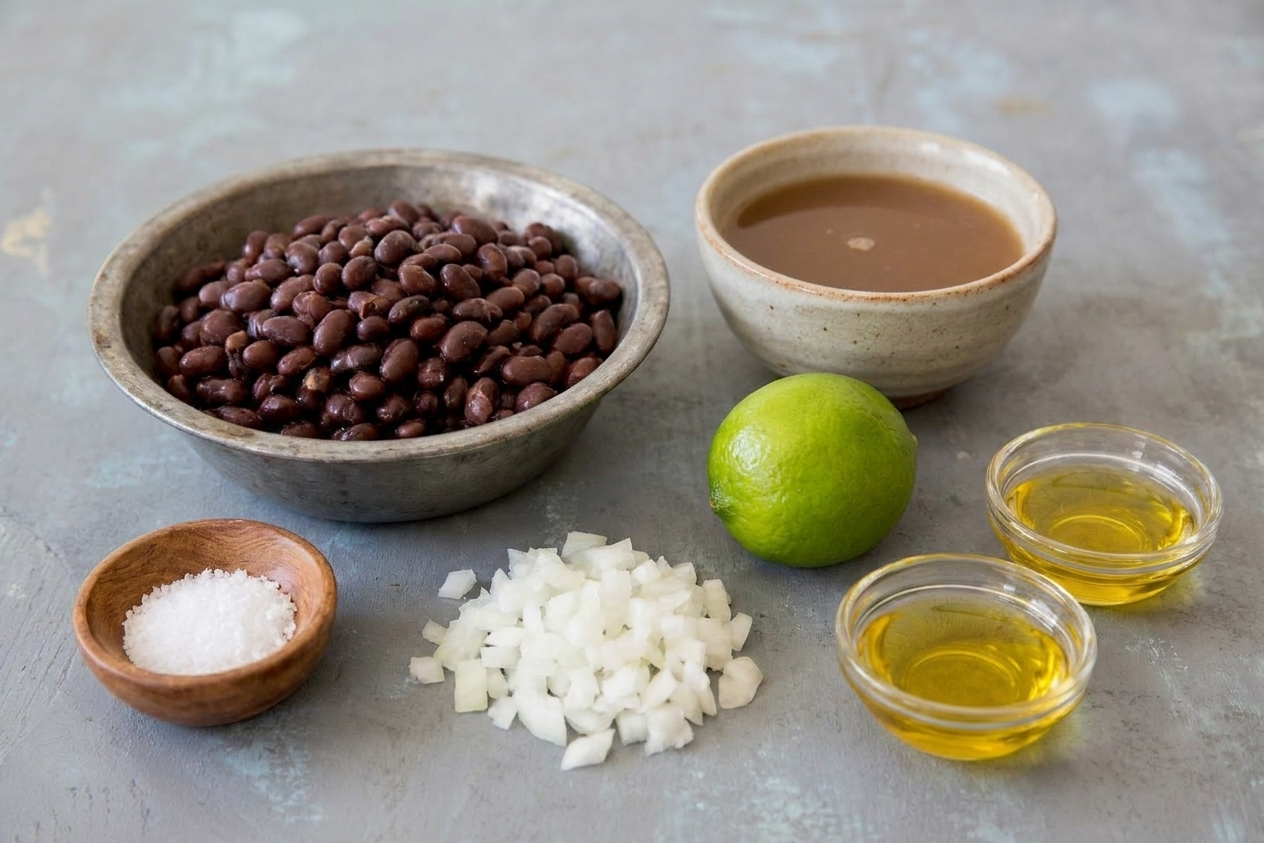
- 2 tablespoons lard, bacon fat, or neutral oil (plus 1 to 2 teaspoons more as needed)
- 1/2 cup finely chopped yellow or white onion
- 3 cups cooked pinto beans or black beans, drained but not dry
- 1/2 cup reserved bean cooking liquid (or can liquid, or low-sodium broth), plus more as needed
- 1 teaspoon kosher salt, plus more to taste
- 1/2 teaspoon ground cumin (optional)
- 1 to 2 tablespoons fresh lime juice (or 1 to 2 teaspoons pickled jalapeño brine)
Instructions
- Sauté the onion. Set a wide skillet over medium heat. Add the fat and let it warm until shimmering. Add the onion and cook, stirring occasionally, until softened and lightly golden, 4 to 6 minutes.
- Add beans and initial liquid. Add the cooked beans and 1/4 cup of the reserved bean liquid. Stir and bring to a gentle sizzle. If the pan looks dry or the beans start sticking, add another splash of bean liquid.
- Mash to your base texture. Use a potato masher to mash until mostly smooth with some texture, 30 to 60 seconds. Add more bean liquid a tablespoon at a time until the beans are creamy and spreadable. Cue: when you drag a spoon through, it should leave a trail that slowly fills in.
- Fry for crispy edges. Raise heat to medium-high. Spread the beans into an even layer and press lightly so they make full contact with the pan. Let cook undisturbed 60 to 90 seconds, until you see browning around the edges and you smell toasted beans. Scrape the browned bits up and fold them into the beans. Repeat once more for extra crisp if you like.
- Season and finish. Reduce heat to low. Stir in the salt and cumin if using. Turn off the heat and add lime juice. Taste and adjust: more salt for depth, more lime for brightness, or a splash of bean liquid to loosen if they tightened up.
- Serve warm. Serve immediately, or keep warm on the lowest heat for up to 15 minutes, adding a tablespoon of liquid if they thicken.
Notes
Starting texture matters: If your cooked beans are very brothy, start with less added liquid. If they are dry, you may need the full 1/2 cup or a bit more.
For maximum crisp: Use cast iron or stainless steel and do not stir too often. Press, wait, scrape, fold, repeat.
Make-ahead: Refried beans thicken in the fridge. Reheat with a splash of liquid and finish with a quick press in the skillet to bring back the toasty edges.