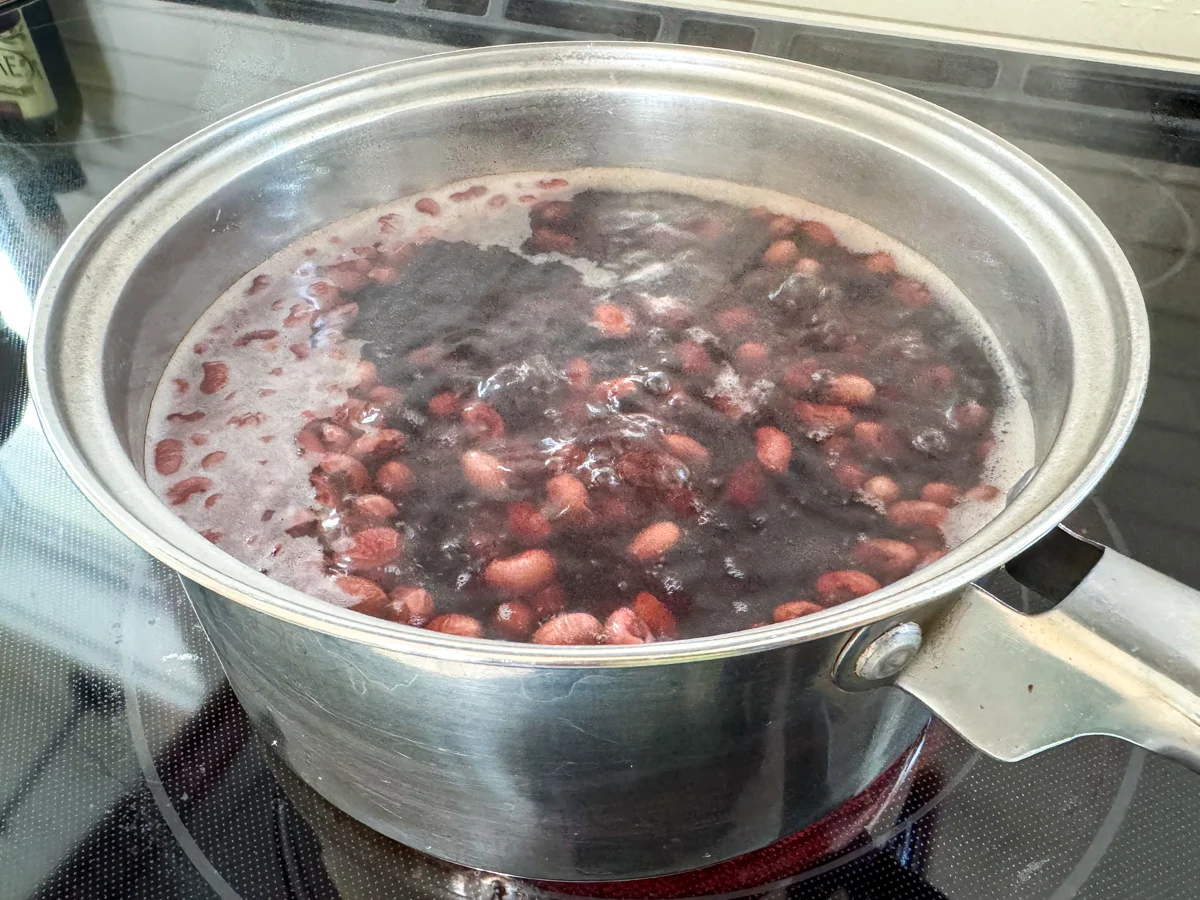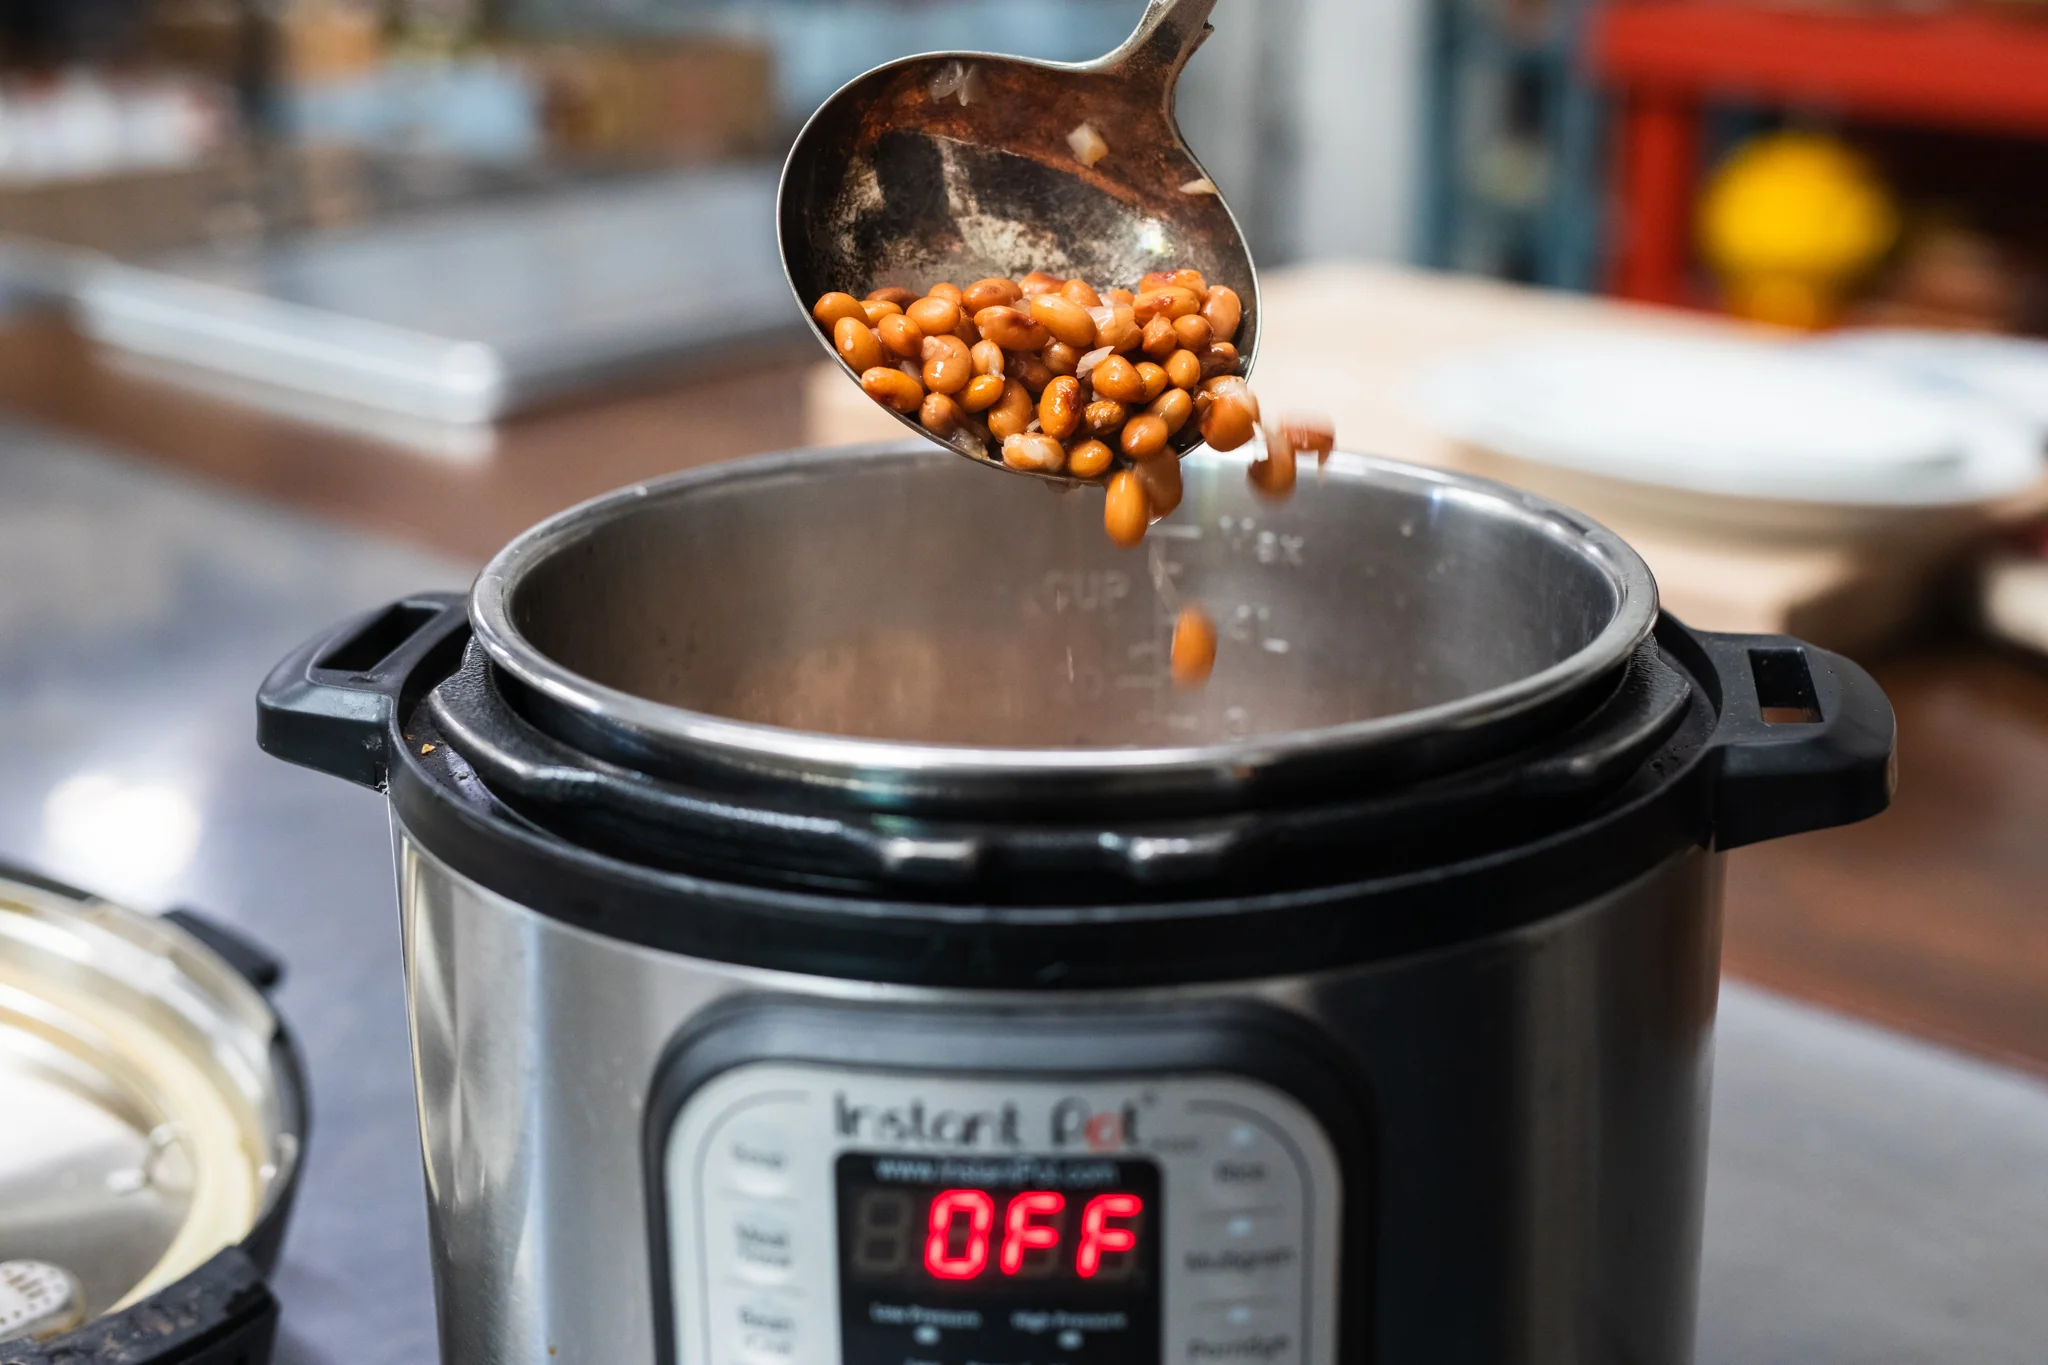

If you have a bag of dry beans staring you down from the pantry, your Instant Pot is the fastest, most hands-off way to turn them into weeknight gold. I love pressure-cooking beans because it is predictable, it does not heat up the kitchen for hours, and it gives you that dreamy, brothy pot liquor you can build soups and sauces around.
This page is designed to be a true batch-cooking reference: times for soaked and unsoaked black beans, pinto beans, and chickpeas, plus water ratios, natural release guidance, salt timing, yield, and storage.

The basic method
What you need
- Instant Pot or electric pressure cooker
- Dry beans
- Water
- Salt (see timing options below)
Step-by-step
- Sort and rinse. Pour beans onto a sheet pan or plate, pick out any small stones and any shriveled or damaged beans, then rinse well in a colander.
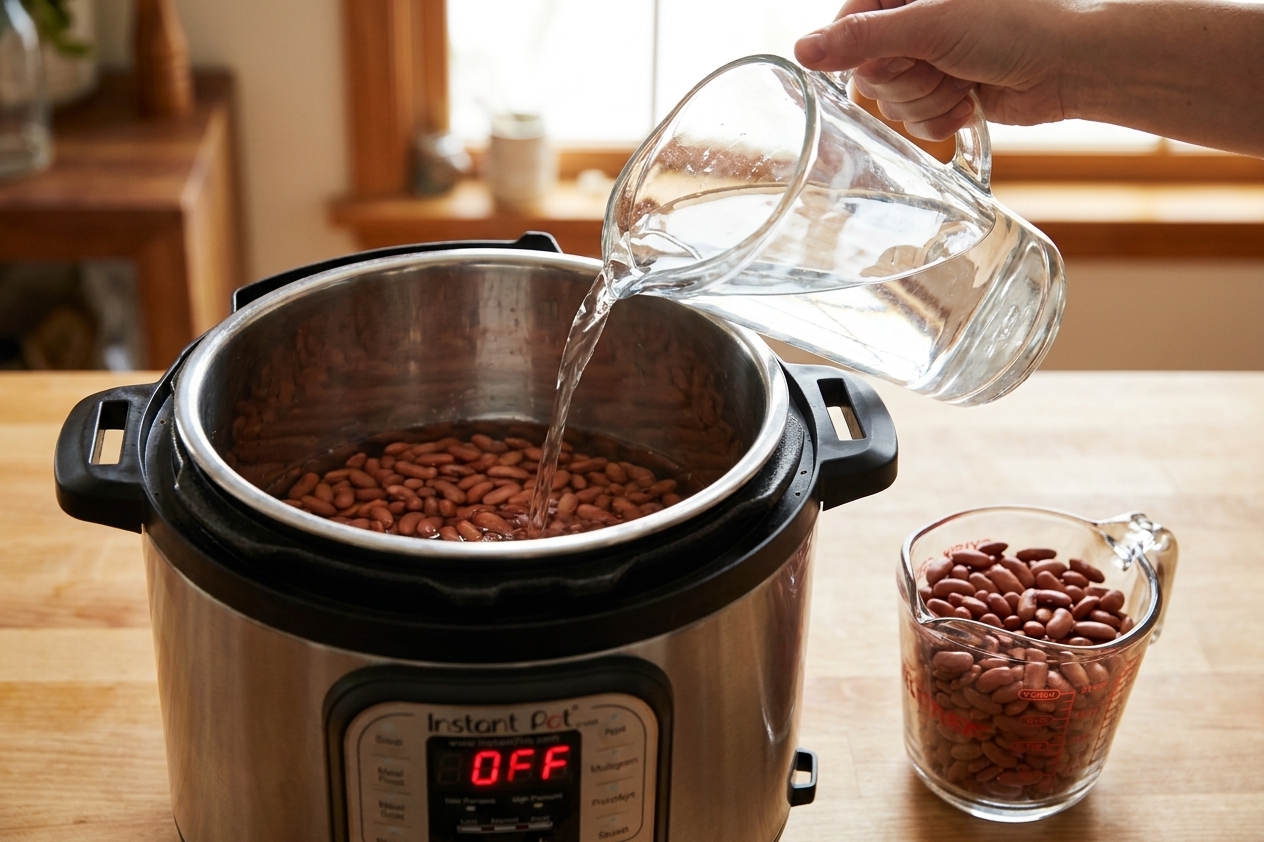
- Add beans and water to the pot. Use the ratios below. For beans that foam, do not fill the inner pot more than halfway (this matches common electric pressure cooker guidance for legumes). Also, always stay under your cooker’s max fill line.
- Pressure cook on High. Cook times are in the tables below. They are reliable starting points, but bean age, brand, and altitude can shift things.
- Natural release. Let pressure fall naturally for the time listed, then carefully quick-release any remaining pressure.
- Season. Once the lid comes off, season to taste and let the beans sit 5 to 10 minutes in their hot cooking liquid so the flavor can soak in. They often soften a little more as they rest.
Why natural release matters: Beans are starchy and bubbling hot. A natural release helps prevent starchy liquid from spurting out of the valve and gives beans time to finish cooking gently.
Water ratios
For most standard supermarket dry beans, I use a straightforward ratio that makes beans tender without turning them into soup.
- Unsoaked beans: 1 cup dry beans + 3 cups water
- Soaked beans: 1 cup dry beans + 2 1/2 cups water
Minimum liquid and scaling down: Most electric pressure cookers need at least 1 to 1 1/2 cups liquid to come to pressure. These ratios clear that minimum. If you cook less than 1 cup dry beans, do not scale the water all the way down past your cooker’s minimum, and keep an eye on the fill line.
Heads up: Older beans (especially ones that have lived in the pantry for a year or more) can take noticeably longer. I usually start by adding a few extra minutes, and I plan on doing a short extra cook at the end if needed.
Instant Pot times
All times below are for High Pressure. Timing starts once the pot reaches pressure. Results should be tender beans that hold their shape, not crunchy and not blown out. If you like very soft beans for refried beans or hummus, use the longer end of the range or add a few minutes.
Quick reference (1 cup dry)
| Bean | Unsoaked cook time | Soaked cook time | Natural release | Water |
|---|---|---|---|---|
| Black beans | 30 to 35 minutes | 12 to 15 minutes | 15 minutes | 3 cups unsoaked, 2 1/2 cups soaked |
| Pinto beans | 35 to 40 minutes | 15 to 18 minutes | 15 to 20 minutes | 3 cups unsoaked, 2 1/2 cups soaked |
| Chickpeas | 45 to 55 minutes | 18 to 22 minutes | 20 minutes | 3 cups unsoaked, 2 1/2 cups soaked |
Soaked means: soaked in plenty of water 8 to 12 hours, then drained and rinsed. If you do a quick-soak (boil 2 minutes, rest 1 hour, drain), use the soaked times above.
Altitude note: If you cook at high altitude, you may need a few extra minutes. I usually start with +3 to 5 minutes and adjust from there.
Chickpea note: Very large or older chickpeas can run longer. If they are not creamy inside after 55 minutes unsoaked, add 5 more minutes at High Pressure and do another 10 minute natural release.
Salt and flavor
There are two good ways to handle salt with beans, and I use both depending on what I am making.
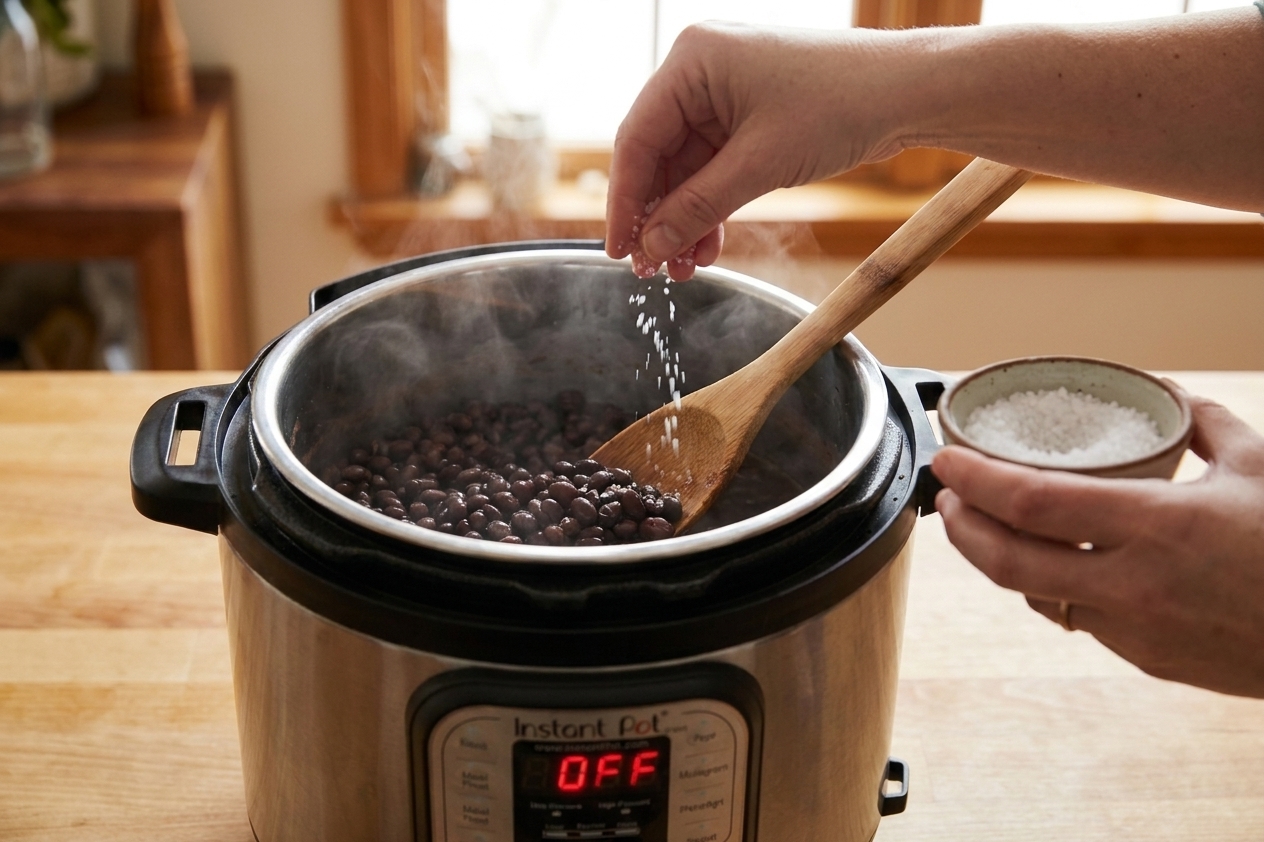
- Option 1 (my default): salt after cooking. It is simple, it lets you adjust more precisely, and it avoids blaming salt for problems that are usually caused by old beans, hard water, or adding acidic ingredients too early.
- Option 2: salt ahead. Many cooks swear by salting the soaking water (or doing a light brine) for more evenly seasoned beans. If you do this, drain and rinse before pressure cooking, then taste and adjust salt at the end.
My go-to starting point is:
- 1 1/4 to 1 1/2 teaspoons fine salt per 1 cup dry beans total seasoning, added after cooking, or split between a salted soak and final seasoning
Want restaurant-style beans? Salt them, then add a splash of acid at the end of whatever dish you are making. Lime juice, vinegar, or tomatoes can wait until the beans are tender. Acid too early can slow softening.
Optional aromatics: If you do not want to keep it plain, add non-acidic aromatics like onion, garlic, bay leaf, cumin, or a pinch of chile. Save acidic ingredients (tomatoes, citrus, vinegar) for after the beans are tender.
Kidney bean safety
Dry red kidney beans contain a natural toxin (phytohaemagglutinin) that is destroyed by proper high-heat cooking. The classic warning is about undercooking, especially in slow cookers that never reach a full boil.
If you cook kidney beans, use a validated pressure cooker method (follow a trusted recipe and do not under-time them). If you are ever unsure, the most conservative route is to boil soaked kidney beans hard for at least 10 minutes on the stovetop, then pressure cook or simmer until fully tender. For quick weeknight meals, canned kidney beans are a safe, easy option.
How to tell when beans are done
- Taste, do not guess. Beans should be creamy inside with no chalky center.
- Skins matter. If skins are splitting but centers are still firm, your beans may be old. Add 5 minutes at High Pressure and try again.
- Too firm: Put the lid back on and cook 3 to 8 minutes more at High Pressure, then do a 10 minute natural release.
- Too soft: Next time reduce time by 3 to 5 minutes and shorten the natural release a bit.
Yield
Here is the planning math I use when I batch-cook:
- 1 cup dry beans yields about 2 1/2 to 3 cups cooked beans, plus cooking liquid
- 1 pound (about 2 cups) dry beans yields about 5 to 6 cups cooked beans
Yield varies by bean variety and age. Chickpeas often land closer to 2 1/2 cups cooked per cup dry; pintos and black beans often push toward 3 cups.
Fridge storage
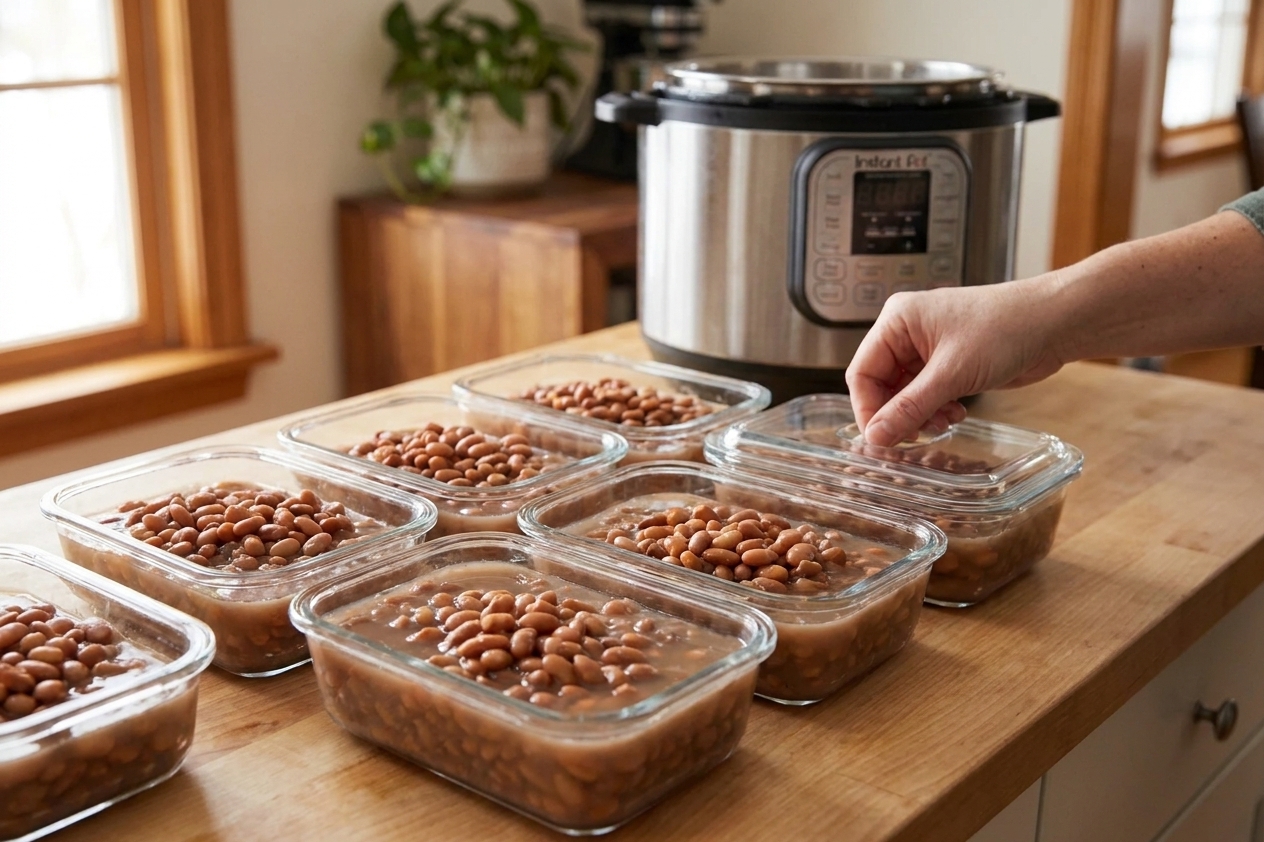
Store beans in the refrigerator in an airtight container for up to 5 days. Always include enough of their cooking liquid to keep them submerged. That liquid is flavor and it keeps beans from drying out.
Reheating tip: Warm gently with a splash of water or broth. If you blast beans on high heat, skins split and the bottoms scorch before the centers heat through.
Freezer storage
Cooked beans freeze beautifully. Cool completely, then freeze in 1 1/2 cup portions (roughly a can of beans) with a little liquid.
- Freeze: up to 3 months for best flavor
- Thaw: overnight in the fridge, or warm straight from frozen over low heat with a splash of water
Troubleshooting
My beans are still hard
Common causes are old beans, hard water, or acidic ingredients in the pot. Cook 5 to 10 minutes more at High Pressure with a 10 minute natural release. If you added tomatoes, vinegar, or lemon early, wait until the beans are tender next time.
My beans are mushy
Reduce pressure time by 3 to 5 minutes next time and shorten the natural release. Also, avoid stirring aggressively right after cooking. Beans are delicate when very hot.
Do I need oil to reduce foam?
You can add 1 teaspoon neutral oil if you like, but I usually skip it and rely on not overfilling the pot and using a natural release. Foam tends to be more noticeable with chickpeas and other starchy beans, especially if your pot is filled too high.
Batch-cooking notes
- Keep it simple. Cook beans with water only, then season for whatever meal you are making.
- Choose your salt strategy. Salt after cooking for maximum control, or salt the soak for more even seasoning. Both work.
- Label your containers. Future-you will not remember if those are black beans or small red beans once frozen.
If you want, tell me what brand and approximate age your beans are, plus your altitude, and I can help you dial in the exact time for your kitchen.