Cooking a pot of beans from scratch is one of those small kitchen skills that pays you back all week. The beans taste creamier and less salty (and often less metallic) than many canned options, you control the seasoning, and you get a bonus: that silky bean broth that turns soups, stews, and weekday grains into something special.
Below is the exact stovetop method I teach, plus soaking options, salting timing, and practical doneness cues. I will also call out what changes (and what does not) for black beans, pinto beans, and chickpeas.
Quick safety note: This guide is for most common beans, but dry red kidney beans need a hard boil to neutralize a natural toxin (phytohaemagglutinin). If you cook kidney beans, boil them vigorously for at least 10 minutes before reducing to a simmer. Do not rely on low-temp cooking methods for kidney beans.
Before you start
Equipment
- A heavy pot with a lid (Dutch oven or stockpot)
- A fine-mesh strainer
- A spoon for stirring and skimming
Basic ingredients
- Dry beans (black beans, pinto beans, chickpeas, or your choice)
- Water
- Salt
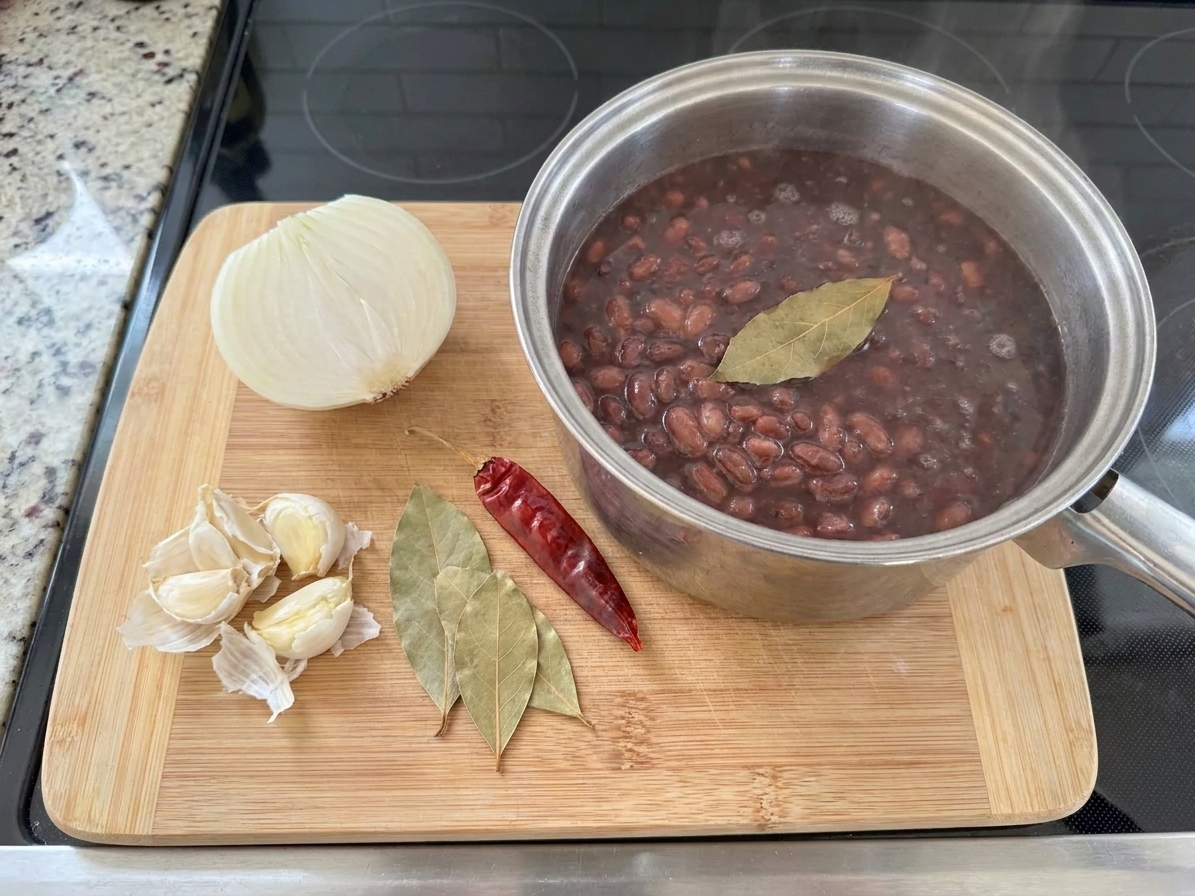
- Optional aromatics: onion, garlic, bay leaf, citrus peel, dried chile, black peppercorns
Water note: If your tap water is very hard or heavily chlorinated, beans can take longer to soften. Filtered water can help, but you can absolutely still make great beans with tap water. Just plan for a wider timing window.
Altitude note: At higher elevations, beans can take longer to cook. Use the doneness cues below and give yourself extra time.
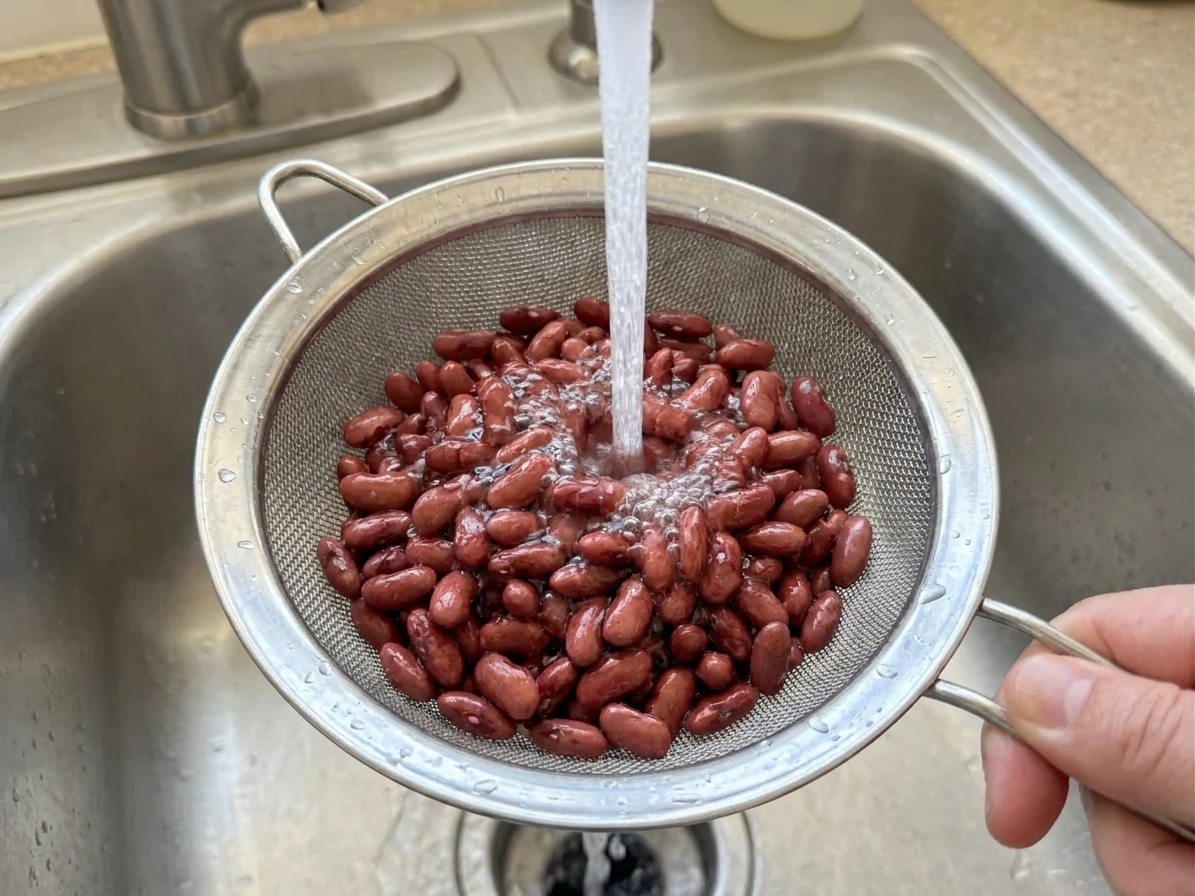
Step 1: Sort and rinse
Pour the dry beans onto a sheet pan or large plate and quickly scan for tiny stones, shriveled beans, or anything that looks off. Then rinse well in a strainer until the water runs mostly clear.
This takes two minutes and saves your teeth. I have found stones in even very nice bags of beans.
Soaking options
Soaking is not mandatory for every bean, but it can shorten cook time and help beans cook more evenly. Here are your options.
Option A: No soak
Rinsed beans go straight into the pot. Expect a longer simmer and a slightly wider doneness window. This is totally fine for black beans and pinto beans, and it is doable for chickpeas if you have time.
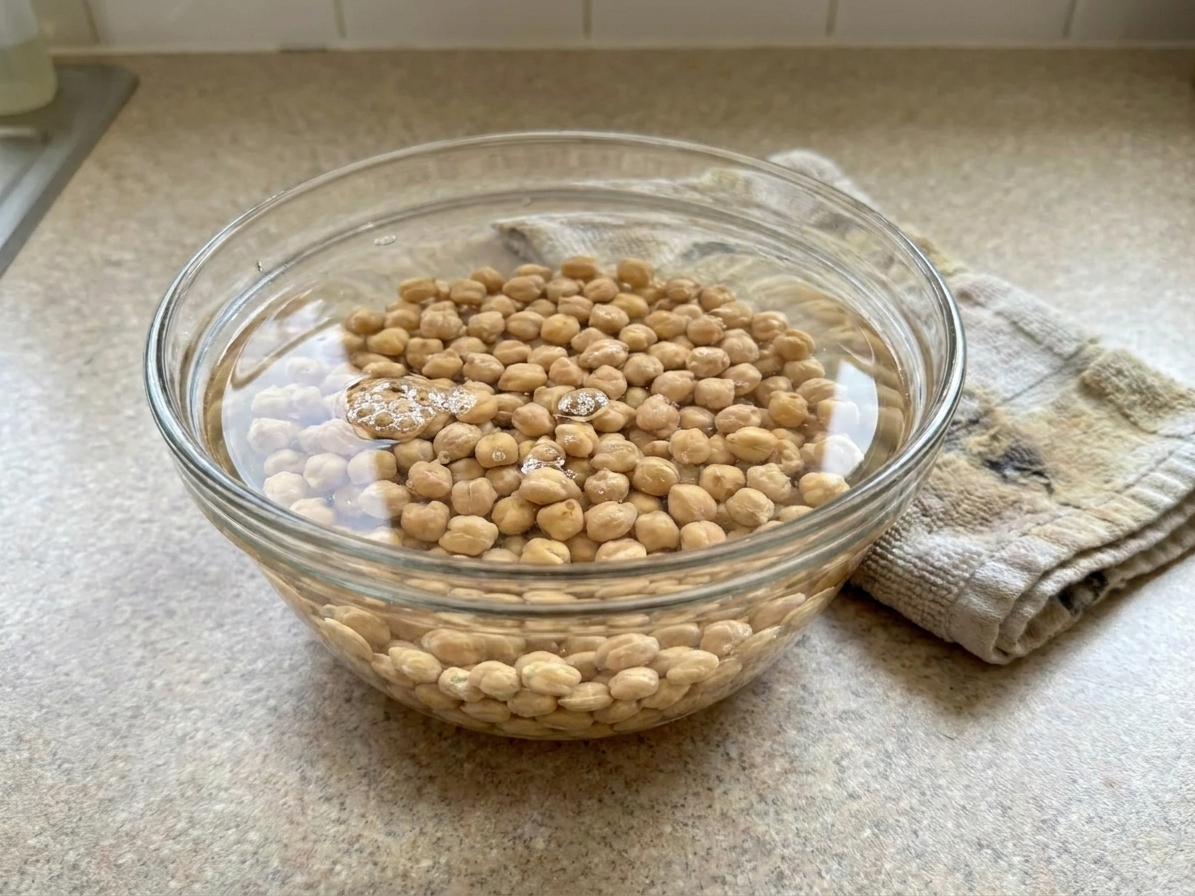
Option B: Overnight soak
Cover beans with 3 to 4 inches of cool water and soak 8 to 12 hours. In a very warm kitchen, soak for up to about 8 hours or move the bowl to the fridge to avoid off flavors.
Drain and rinse before cooking.
Best for: chickpeas, older beans, and any time you want the most even texture.
Option C: Quick soak
- Put rinsed beans in a pot and cover with 2 to 3 inches of water.
- Bring to a full boil for 2 minutes.
- Turn off the heat, cover, and let stand 1 hour.
- Drain, rinse, then cook as usual.
Best for: when you forgot to soak but want to shave time off the simmer.
Soaking water: Many people drain soaking water for a cleaner-tasting broth and, for some, a more comfortable bowl of beans. You can also cook in it if you prefer and it tastes fine. I typically drain and add fresh water because I like the flavor and the clearer broth.
Core stovetop method
This is the method I use for a 1 pound bag of beans. Scale up or down as needed, keeping the beans comfortably covered by water.
Ingredients (for 1 pound dry beans)
- 1 pound dry beans, rinsed (about 2 cups, depending on the bean)
- 8 to 10 cups water, plus more as needed (this usually gives about 2 inches of coverage in a 5 to 6 quart pot)
- 1 to 2 teaspoons kosher salt to start, plus more to finish
- Optional aromatics: 1 small onion (halved), 2 to 4 garlic cloves (smashed), 1 bay leaf, 1 dried chile, a strip of lemon or orange peel
Instructions
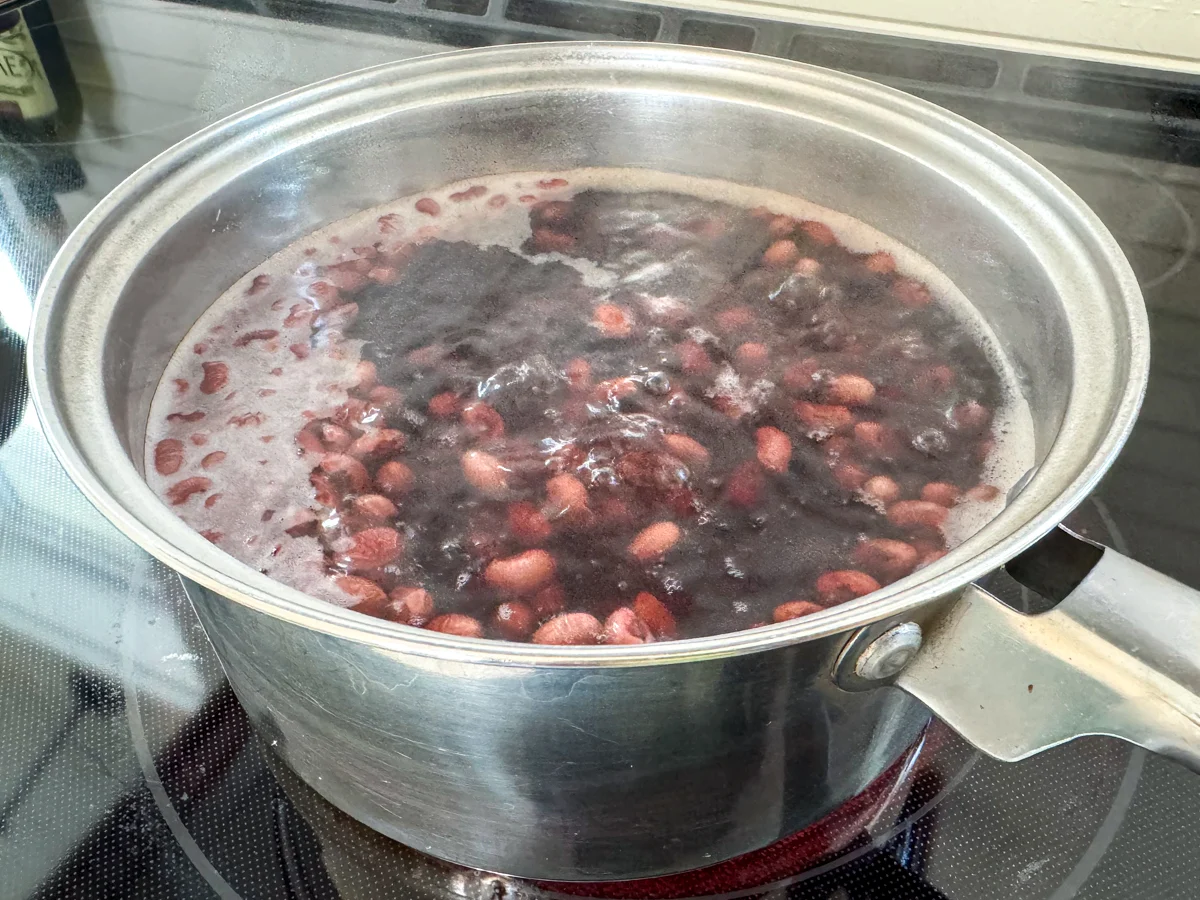
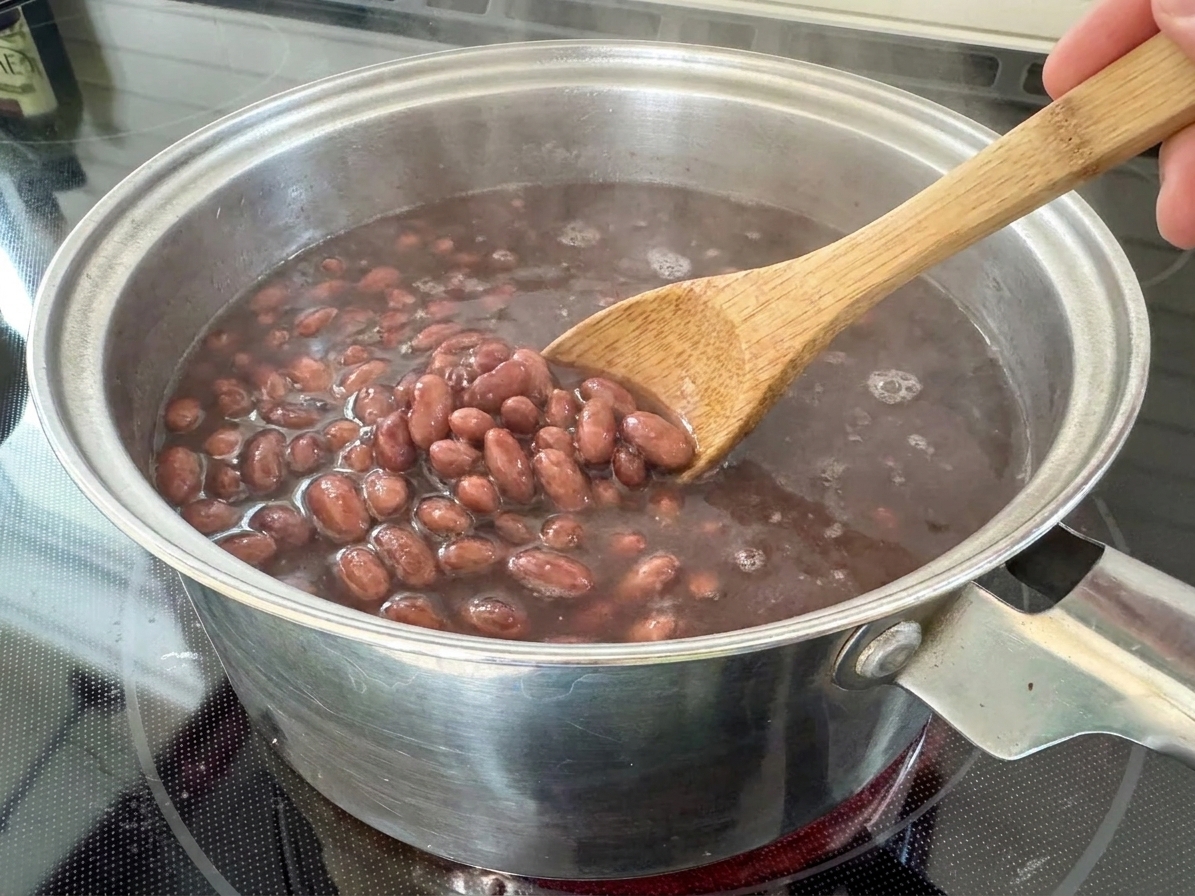
- Cover and bring to a simmer. Put beans in a pot and add water so the beans are covered by about 2 inches. Add aromatics if using. Bring to a boil, then immediately reduce to a gentle simmer. You want small, steady bubbles, not a rolling boil.
- Skim the foam. In the first 10 minutes, you may see some foam. Skim it off with a spoon. Not mandatory, but it keeps the broth clearer.
- Partially cover and cook. Simmer partially covered, stirring occasionally, until tender. Add hot water as needed to keep beans covered by at least 1 inch. (If the pot looks dry, beans will cook unevenly and can split.)
- Salt smartly. I usually add 1 to 2 teaspoons of kosher salt once the pot is simmering steadily (or about 20 minutes in), then adjust at the end.
- Rest for better texture. When beans are tender, turn off heat and let them sit in the cooking liquid 15 to 30 minutes. This helps the centers finish hydrating and evens out seasoning.
Gentle simmer matters: A hard boil makes beans smack into each other, which can split skins and turn the pot cloudy. Low and steady is how you get creamy interiors with intact beans.
When to salt
You might have heard that salting too early makes beans tough. In practice, moderate salting during cooking helps beans taste seasoned all the way through. The bigger culprit behind tough beans is often old beans, very hard water, or acidic ingredients added too early.
- My approach: Add a modest amount of salt once beans are simmering, then adjust near the end.
- What to save for later: Big splashes of vinegar, lots of tomatoes, wine, or citrus juice. Acid can slow softening. Add them once the beans are tender.
- Leafy herbs: Add delicate herbs at the end so they stay fresh tasting.
Quick sensory cue: If the broth tastes pleasantly seasoned and the beans still need another 30 to 45 minutes, you are right where you should be. If the broth tastes salty while the beans are still firm, add more water and keep simmering.
How to tell when beans are done
Timing charts help you plan, but beans are done when they are done. Here is what I look for.
- Texture: A bean should be creamy inside, not chalky, with a tender skin. Bite a few, not just one. Beans in the same pot can finish at slightly different times.
- No white core: Cut one open. If you see a pale, dry center, keep cooking.
- Hold their shape: For most uses, you want beans that are tender but not falling apart. If you are making refried beans or hummus, you can push a little softer.
- Broth looks richer: As beans finish, the liquid often turns slightly thicker and more golden or cloudy from released starch. That is a good sign.
Important: If beans have been simmering a long time and still feel stubbornly firm, do not just crank the heat. Keep the simmer gentle and troubleshoot with the tips below.
Simmer times by bean
These are broad ranges for a gentle simmer on the stovetop. Older beans can take longer.
Black beans
- No soak: 75 to 120 minutes
- Soaked: 45 to 75 minutes
- Notes: Black beans make a naturally dark, flavorful broth. Great for freezing with their liquid.
Pinto beans
- No soak: 90 to 150 minutes
- Soaked: 60 to 90 minutes
- Notes: Pinto beans can go from tender to blown-out quickly. Start tasting early if you want intact beans for salads or burrito bowls.
Chickpeas (garbanzos)
- No soak: 2 to 3.5 hours
- Soaked: 60 to 120 minutes
- Notes: Chickpeas are dense and benefit most from soaking. For hummus, cook until very soft, then let them rest in the hot liquid.
Flavoring without problems
Think of bean cooking as two phases: soften first, then brighten and deepen.
Add early
- Onion or scallion whites
- Garlic cloves (whole or smashed)
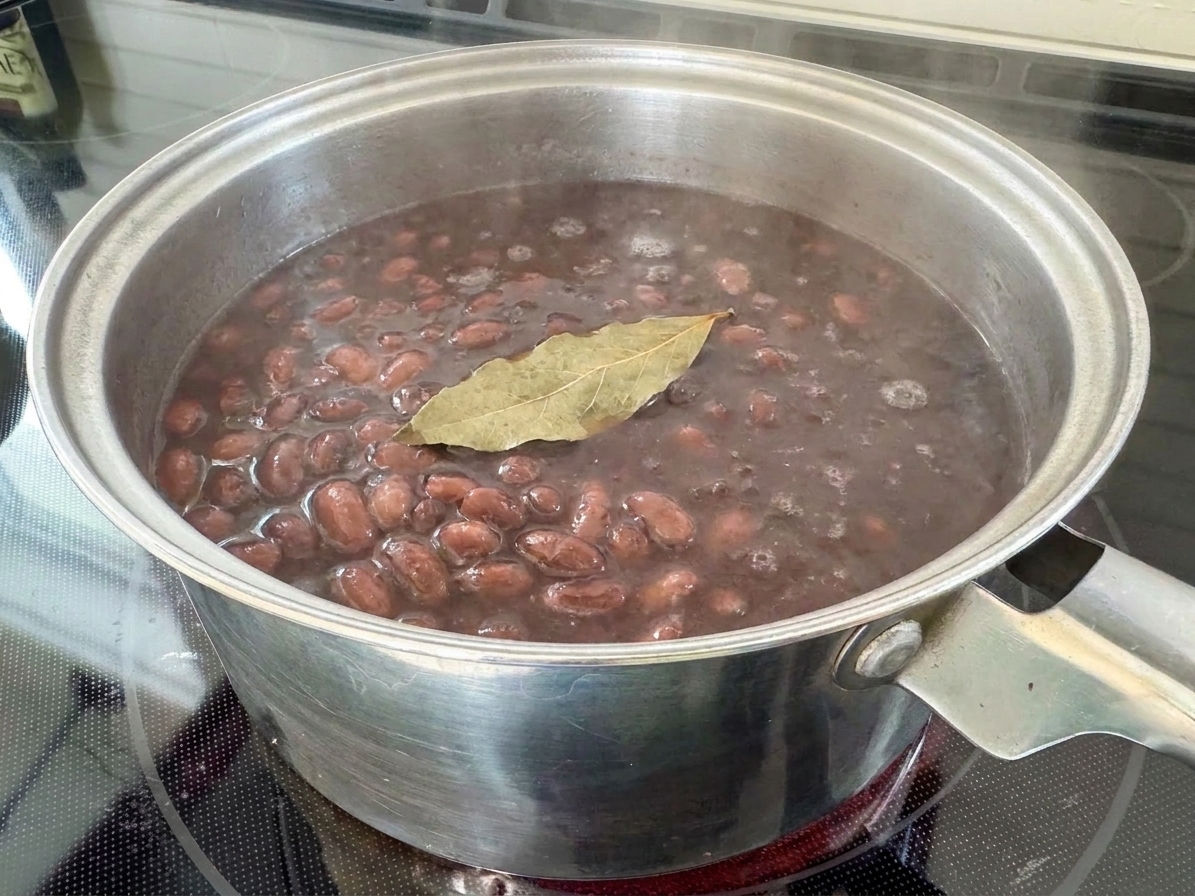
- Bay leaf
- Dried chiles
- Peppercorns
- A small piece of kombu (optional, and it can help keep foam down)
Add late
- Tomatoes and tomato paste
- Vinegar, citrus juice
- Wine
- Lots of salty cured meats (taste first, then season)
- Fresh herbs
My favorite low-effort combo: onion, bay leaf, and a strip of lemon peel. It makes beans taste quietly expensive with almost no work.
Troubleshooting
- Old beans: The number one issue. If beans are more than a year old or have been stored warm, they can take much longer and may never get truly creamy.
- Hard water: Minerals can slow softening. Try filtered water next time.
- Acid too soon: Save acidic ingredients for the end.
- Not enough water: Keep beans covered. Dry spots cook unevenly.
Can I add baking soda?
You can, but use a light hand. A tiny pinch (about 1/8 teaspoon per pound of beans) can help soften beans, especially chickpeas for hummus. If you need more help, increase gradually up to about 1/4 teaspoon per pound. Too much can make beans taste flat and soapy and can cause skins to slough off.
Storage
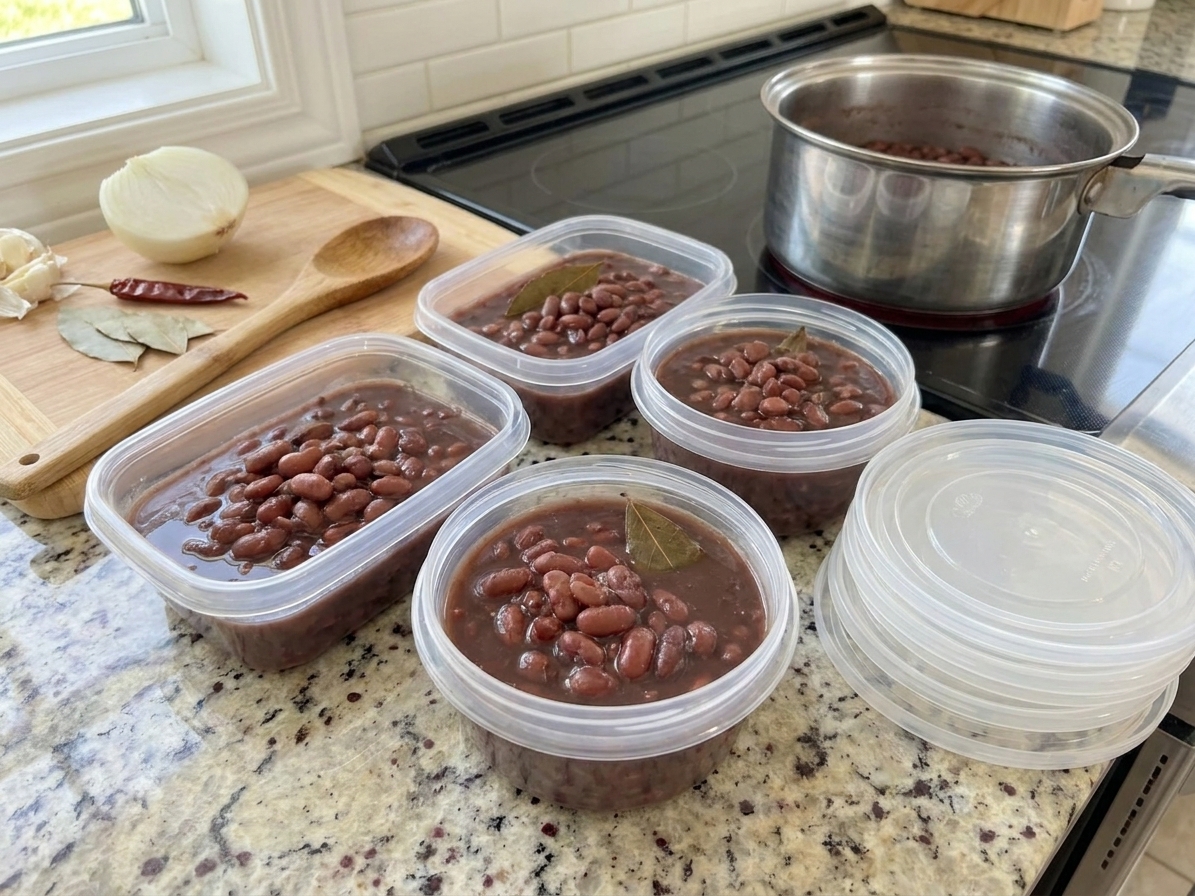
Cook once, eat three or four times. Here is how to store beans so they taste good later.
Refrigerator
- Cool beans in their cooking liquid. The liquid protects texture and keeps them from drying out.
- Refrigerate in a covered container for up to 4 to 5 days.
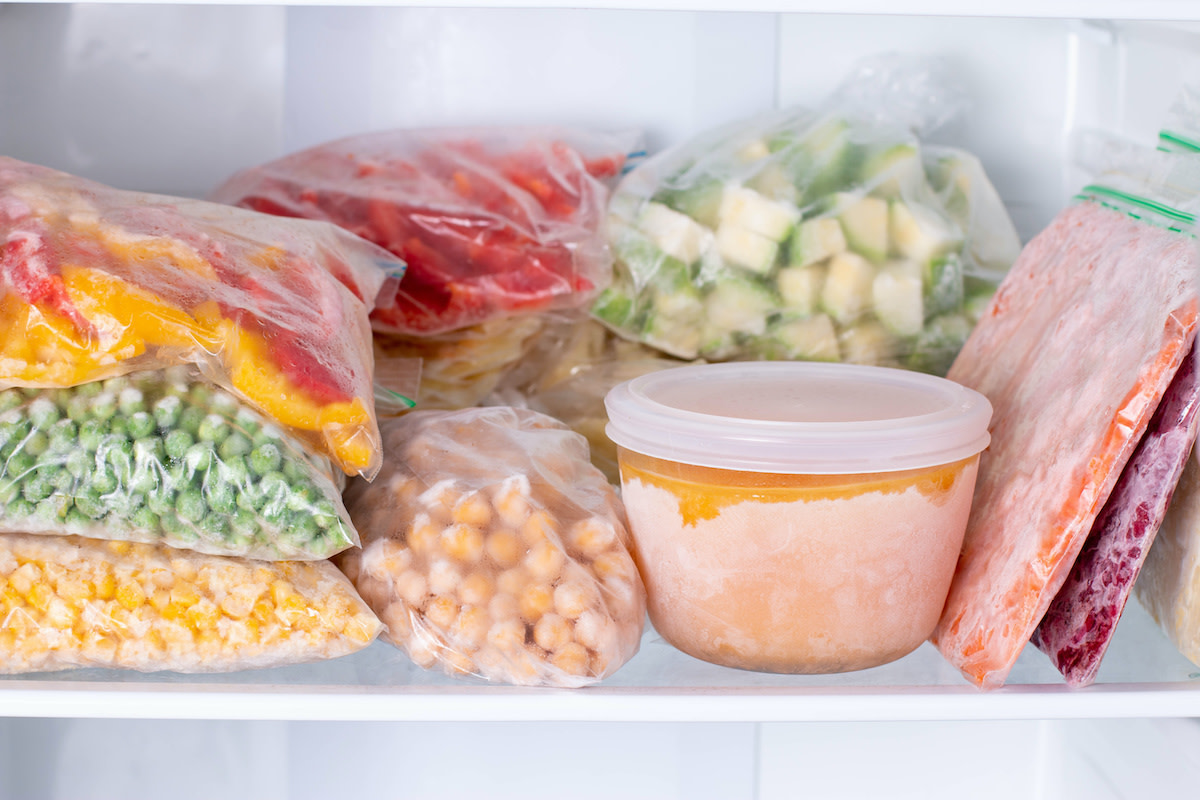
Freezer
- Freeze beans with enough liquid to cover.
- Portion into 1 1/2 to 2 cup containers (roughly a standard can of beans once drained).
- Freeze up to 3 months for best flavor.
Thawing tip: Thaw overnight in the fridge, or warm gently in a saucepan with a splash of water. Avoid hard boiling, which can burst beans that were already cooked.
FAQ
How much do dry beans yield once cooked?
As a rough average, 1 cup dry beans yields about 3 cups cooked. A 1 pound bag (often about 2 cups dry) yields around 6 cups cooked, depending on the bean and how soft you cook them.
Should I cook beans covered or uncovered?
Partially covered is the sweet spot. You want some evaporation to concentrate flavor, but not so much that beans get exposed and cook unevenly.
Do I need to skim foam?
Not strictly. Skimming can make the broth clearer and reduce foamy overflow. If you forget, your beans will still be delicious.
Why did my beans split?
Usually one of three things: too vigorous of a boil, not enough water during cooking, or beans were cooked past tender. Keep it at a gentle simmer and start tasting earlier than you think.
What beans are different?
Red kidney beans need a hard boil for at least 10 minutes before you lower the heat to a simmer. Lentils and split peas cook much faster and do not need soaking, so they are their own method. Fava beans are also a bit of a special case, often cooked and peeled depending on the recipe.