Cauliflower rice has a reputation for being… fine. Healthy. A little watery. Not exactly the thing you crave.
This version is different. It is sweet and simple in the best way: lightly caramel-kissed, buttery, and bright with just enough acid to make the flavors pop. It tastes like something you would get as a side at a cozy bistro, but you can pull it off on a Tuesday.
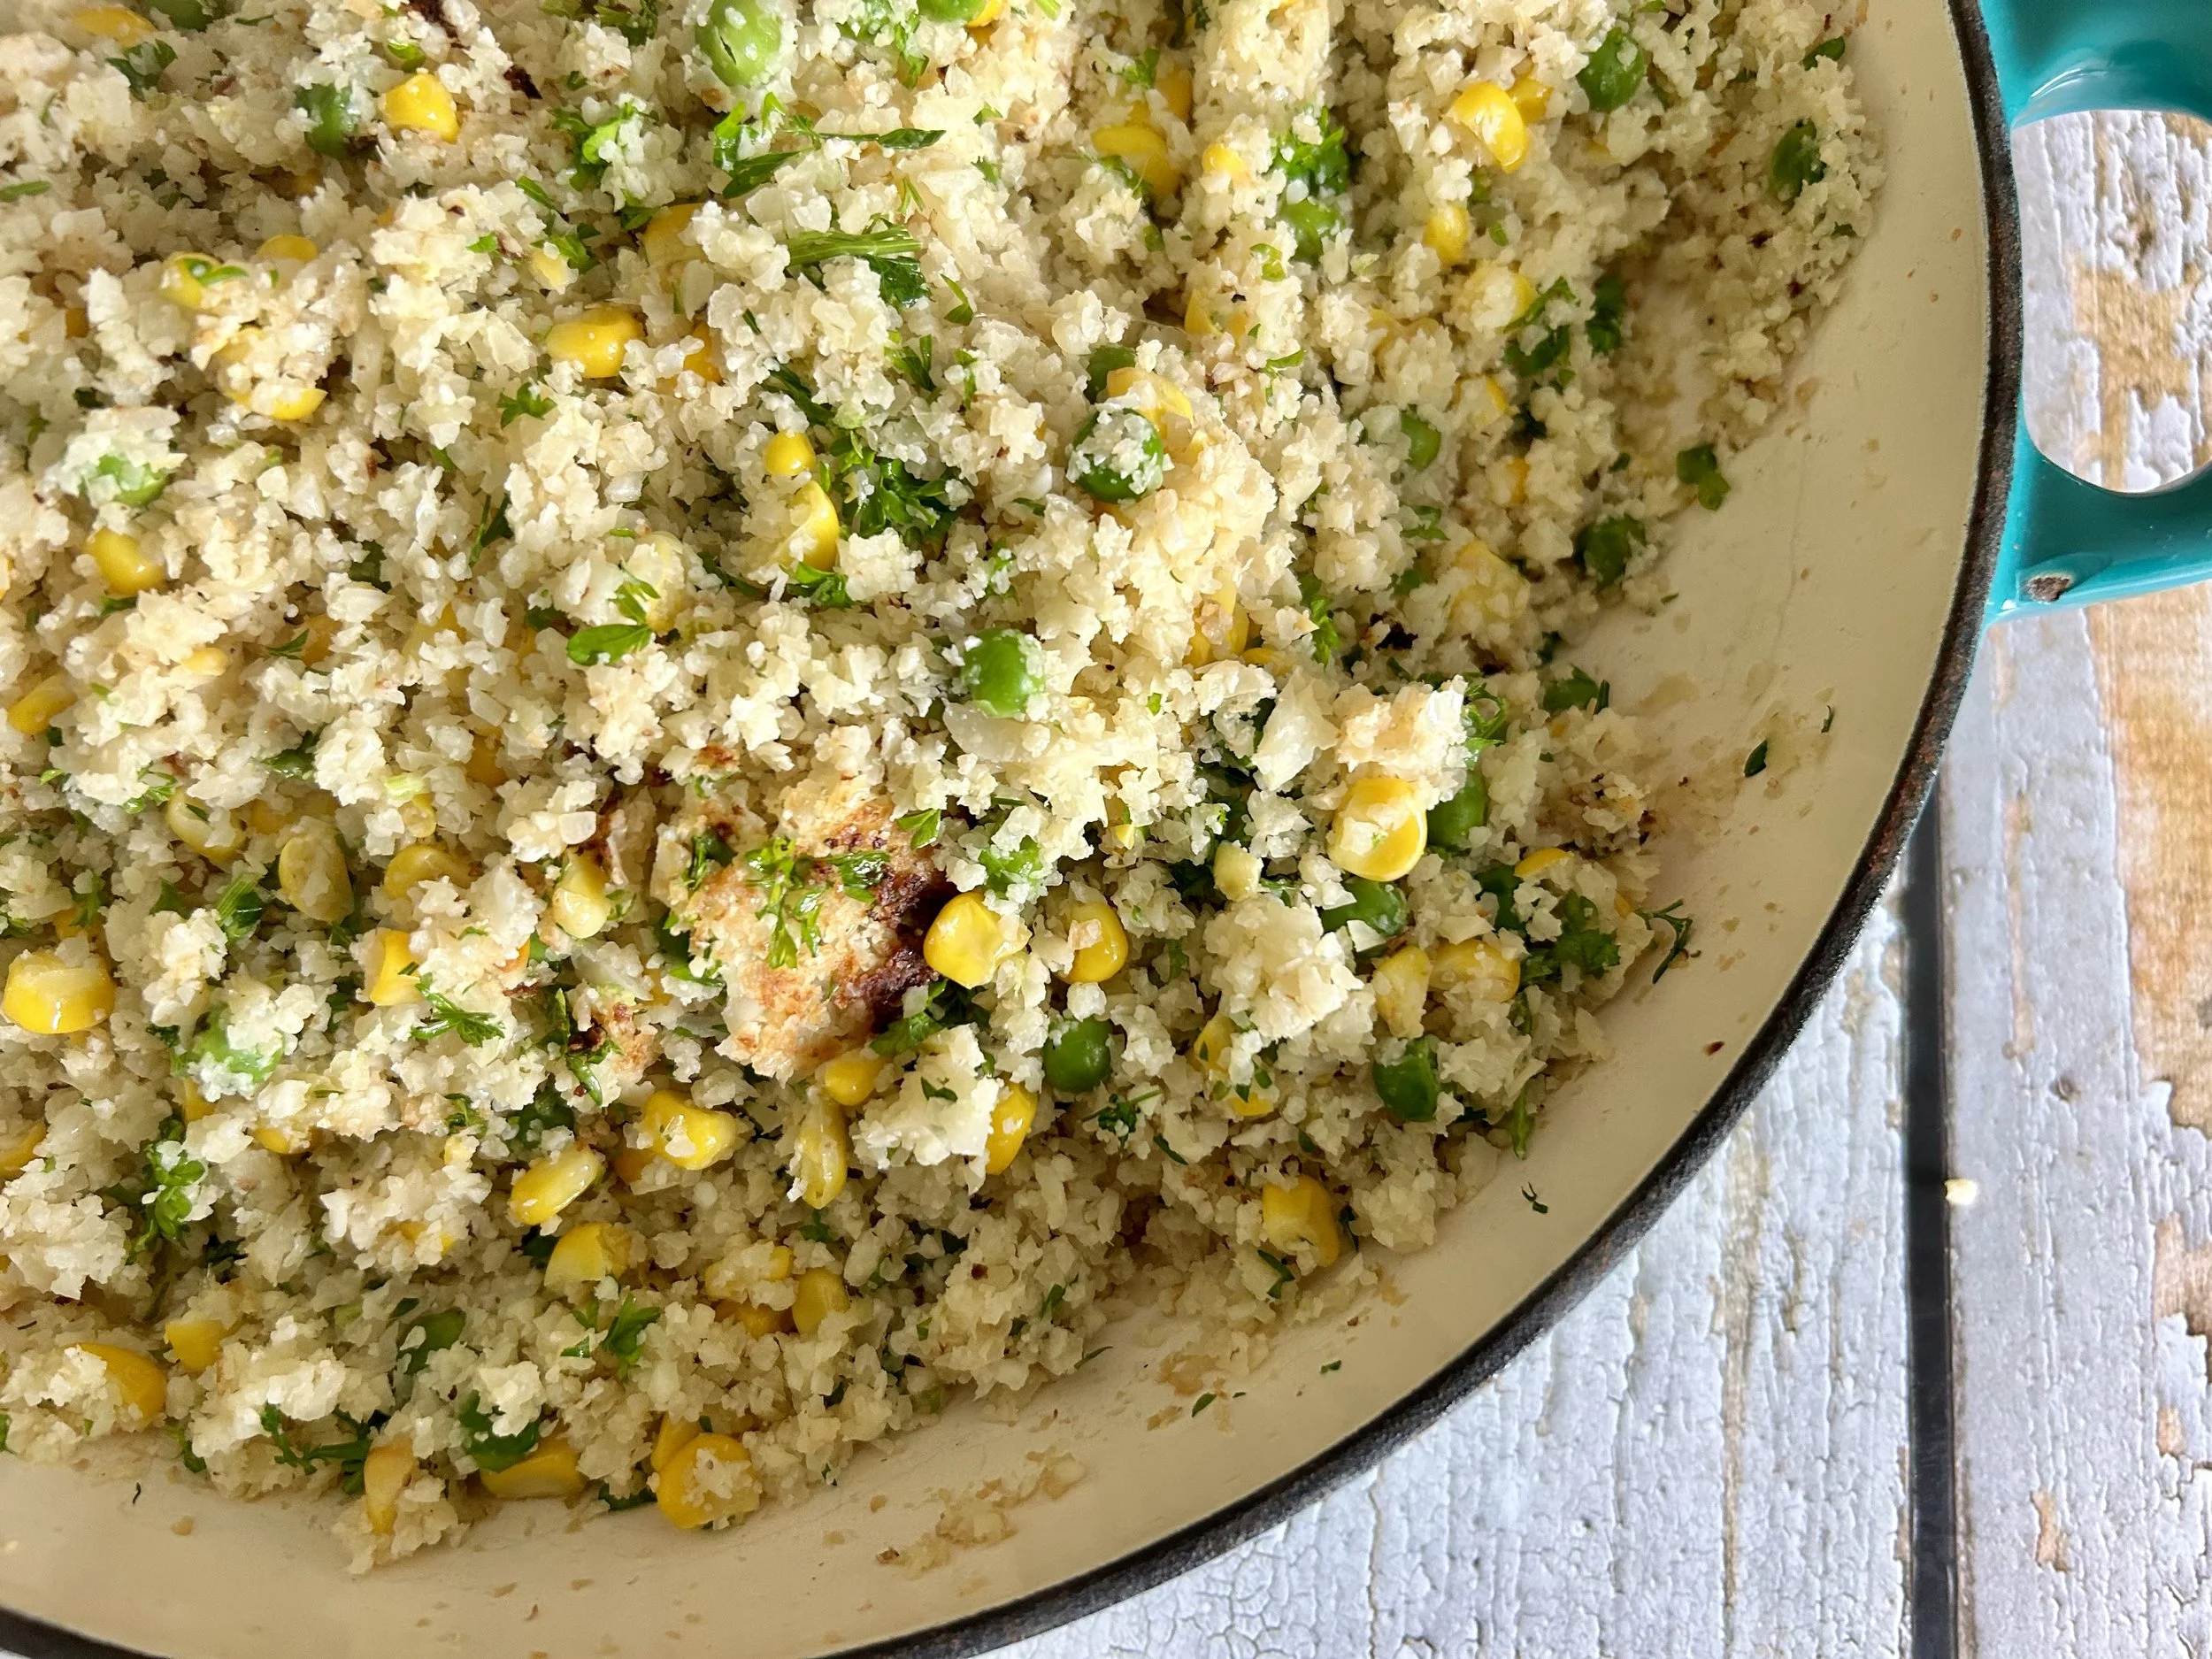
Why this recipe works
- We drive off moisture first so it fries instead of steams.
- A tiny touch of sweetness (honey or maple) helps browning and gives a rounded, savory-sweet finish. Stir it in quickly and keep an eye on the heat so it does not scorch.
- Butter plus olive oil for flavor, and the oil helps keep the butter from scorching as quickly.
- Acid at the end (lemon or vinegar) so it tastes lively, not flat.
- Salt in layers with a small pinch early, then adjust at the end for a clean, seasoned finish.
Ingredient notes
This is intentionally short. The technique does the heavy lifting.
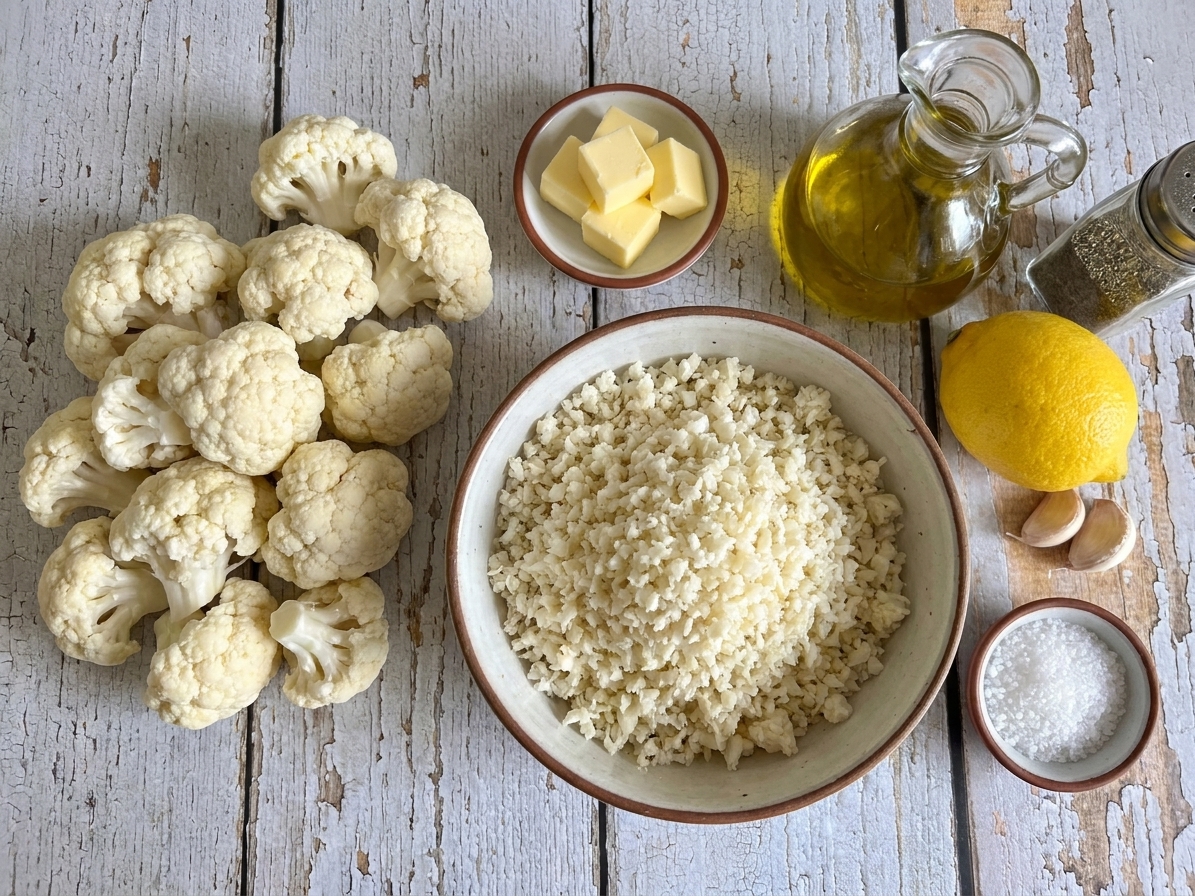
- Cauliflower rice: 4 packed cups (about 1 medium head), or 10 to 24 oz frozen (about 1 to 2 bags)
- Olive oil: 1 tablespoon
- Butter: 2 tablespoons
- Garlic: 1 small clove, finely grated or minced (optional but lovely)
- Sweetener: 1 to 2 teaspoons honey or maple syrup
- Salt: 1/2 teaspoon kosher salt, divided, plus more to taste
- Black pepper: several twists, to taste
- Acid: 1 to 2 teaspoons lemon juice or white wine vinegar
- Fresh herbs: 1 to 2 tablespoons chopped parsley, chives, or dill (optional)
Equipment you will need
The key is using a big pan and not overcrowding it. A 12-inch skillet is ideal.
- Large skillet (12-inch ideal)
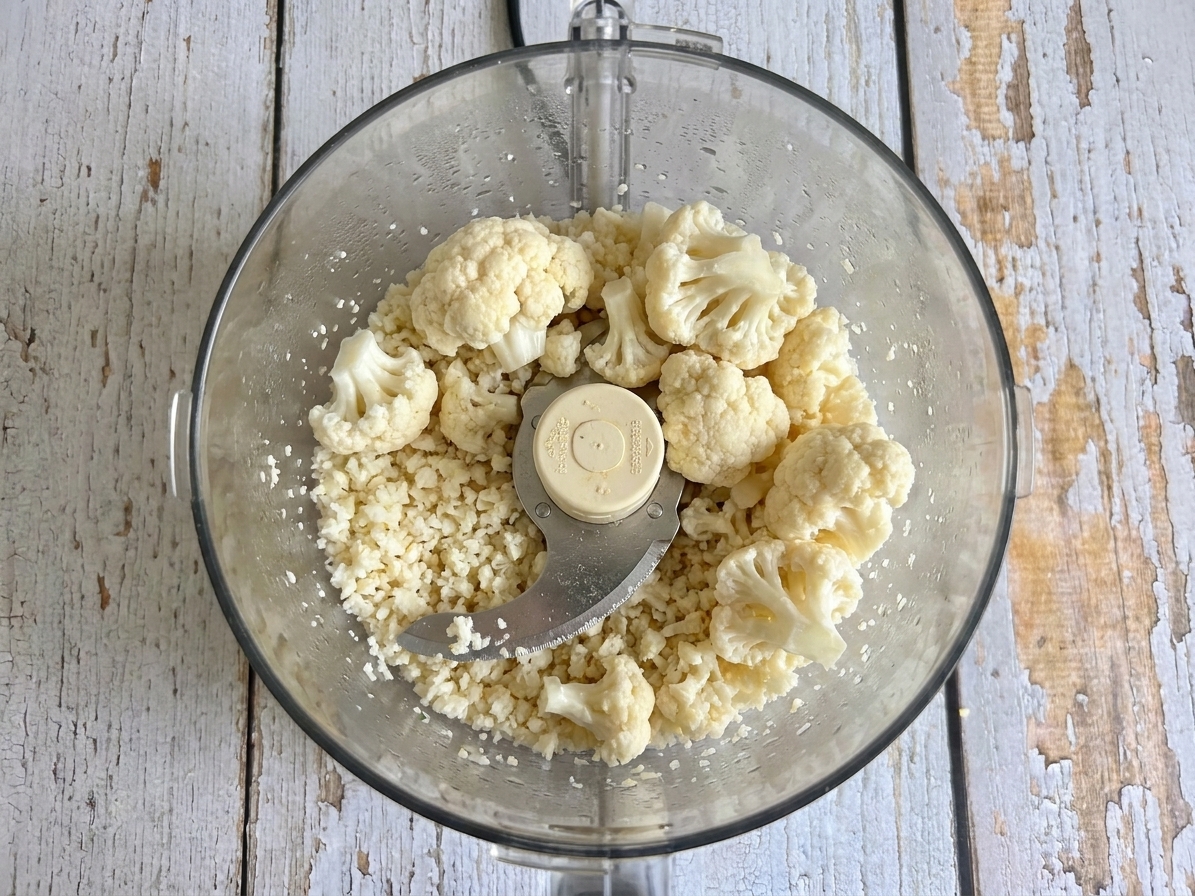
- Food processor (optional) for ricing cauliflower, or a box grater as an alternative
Pro tips
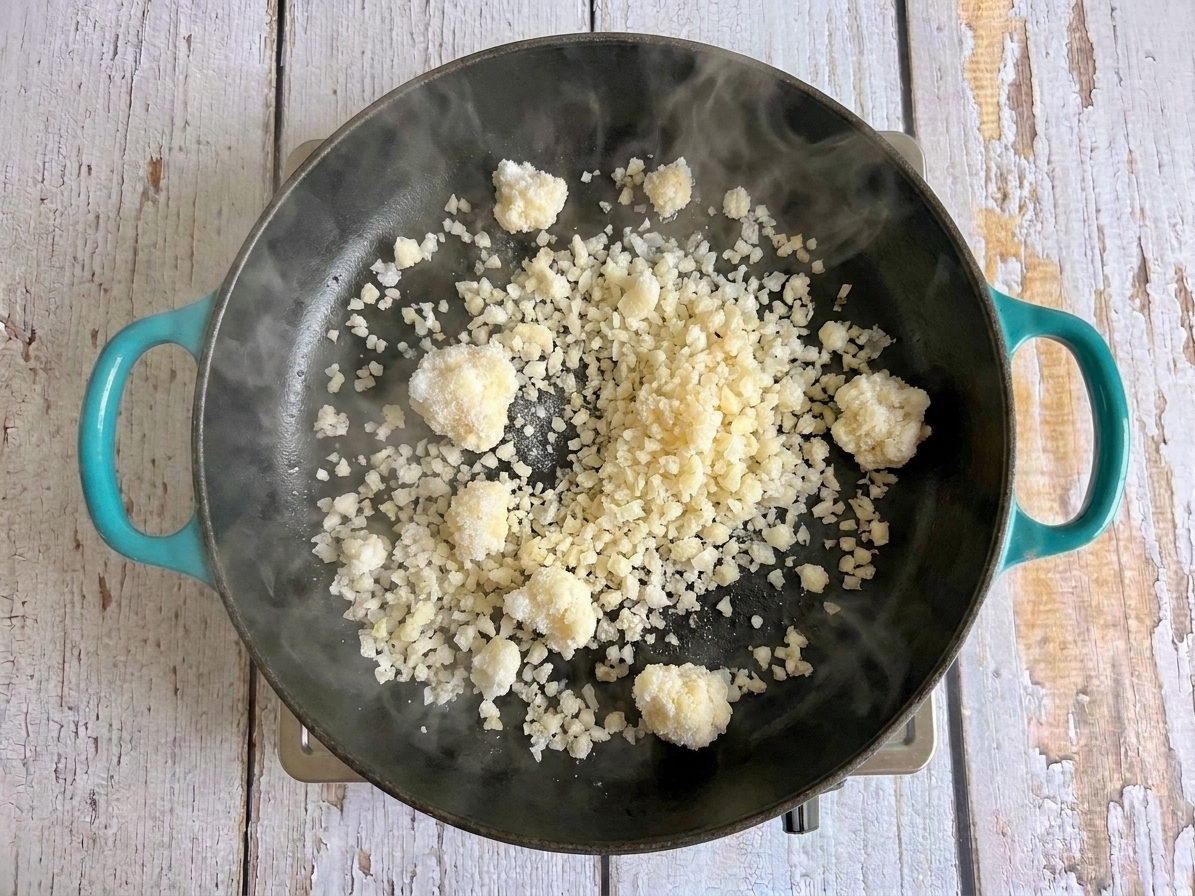
- Dry-fry first. Cook the cauliflower rice in the hot skillet with no oil at the start so it goes from “wet snow” to “fluffy grains.”
- Do not overcrowd the pan. If your skillet is not wide, cook in two batches for better browning.
- Let it sit between stirs. After adding the fat, give it 30 to 60 seconds at a time in contact with the pan so it can brown.
- Watch the sweetener. If your pan runs hot, lower the heat slightly while you stir so honey or maple does not burn.
- Add acid at the end. Lemon juice or vinegar tastes bright when added off heat; cooked hard, it can taste sharp instead.
- Restaurant-y finish. Toss in herbs, and if you want, add a little lemon zest and a tiny extra pat of butter right before serving.
Substitutes that work
- Dairy-free: use vegan butter or more olive oil. Add a pinch of nutritional yeast for a buttery vibe.
- No honey or maple: a pinch of sugar is fine. Even 1/2 teaspoon helps browning.
- Garlic sensitive: skip it and add lemon zest at the end instead.
- Want extra rich: finish with 1 tablespoon grated Parmesan or a spoon of pesto.
Variations
Once you have the technique, you can pivot this base in a dozen directions.
- Brown butter sage: brown the butter, then add chopped sage and a pinch of nutmeg. Finish with lemon.
- Miso maple: whisk 1 teaspoon white miso with the maple syrup, then toss in at the end.
- Lemony herb: skip sweetener, double the lemon zest, add dill or parsley.
- Toasted coconut: add 2 tablespoons unsweetened shredded coconut during the browning step, finish with lime.
- Spicy-sweet: add a pinch of chili flakes with the garlic, then honey.
Serving ideas
This side is mild, glossy, and a little sweet, so it plays well with bold mains and saucy things.
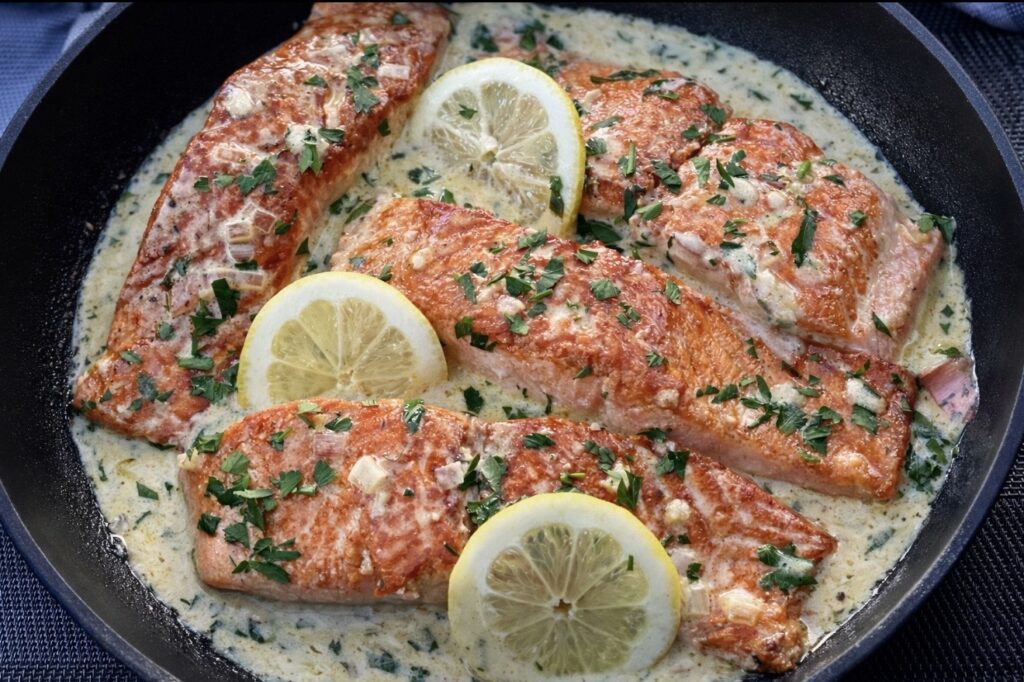
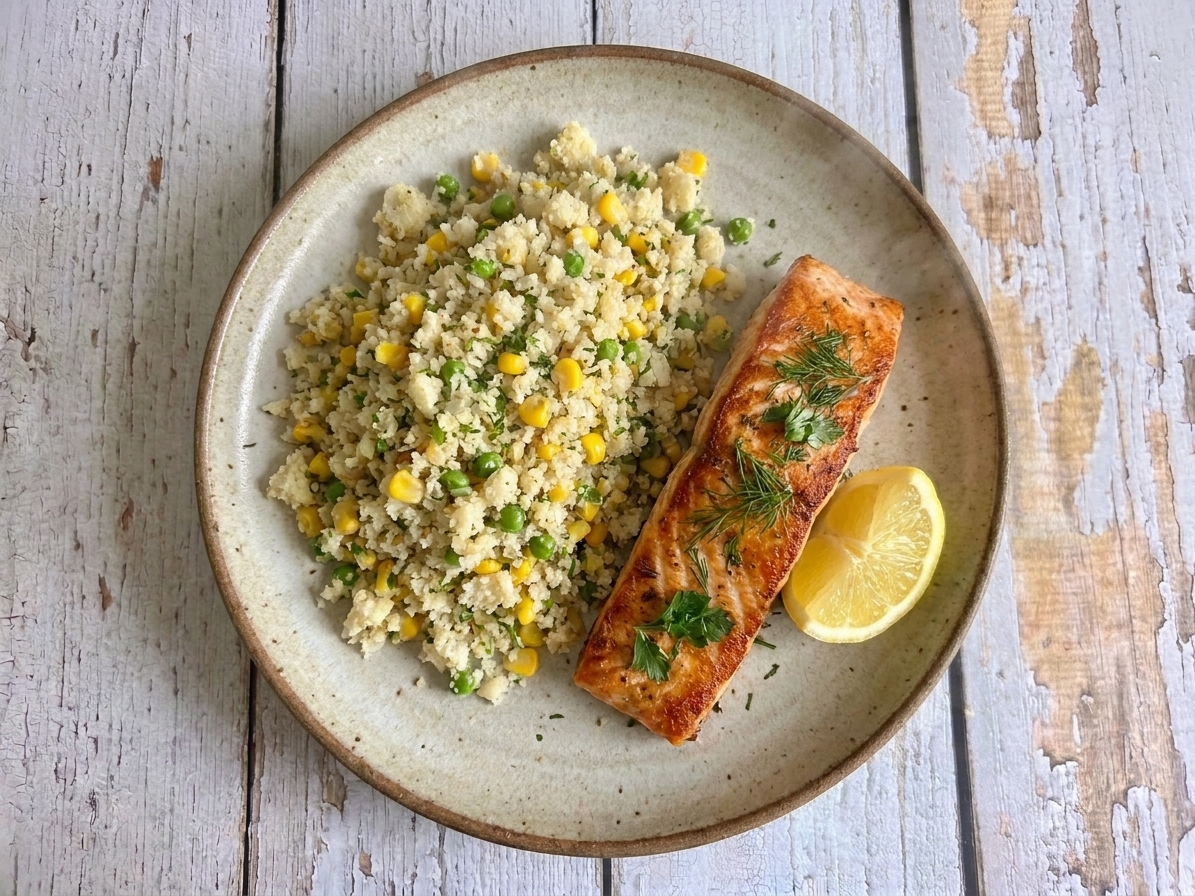
- Salmon (pan-seared, blackened, or miso-glazed)
- Chicken thighs (lemony, garlicky, or barbecue)
- Stir-fried tofu or tempeh with soy and ginger
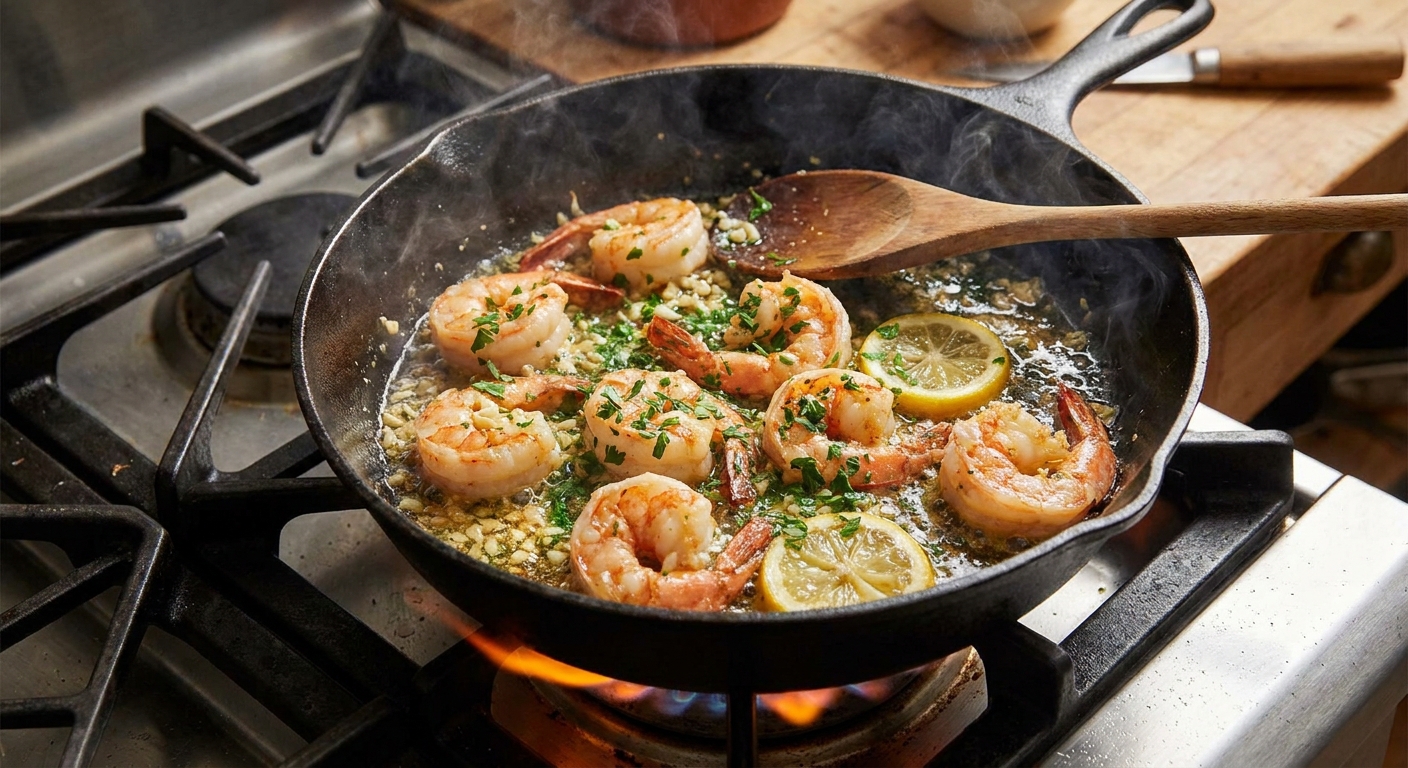
- Shrimp in a quick garlic butter sauce
- Roasted vegetables and a fried egg for a cozy bowl
Storage and reheating
I treat leftover cauliflower rice like a shortcut ingredient for tomorrow.
- Store: cool quickly, then refrigerate in an airtight container for 3 to 4 days.
- Reheat: best in a hot skillet with a tiny splash of oil, 2 to 4 minutes, until steaming hot. Microwave works, but it can soften the texture.
- Freeze: you can freeze cooked cauliflower rice, but texture is softer after thawing. It is great for soups, fried rice, or casseroles.
Use-it-up idea: stir leftovers into scrambled eggs, fold into a quesadilla with cheese, or toss into a soup right at the end for a veggie boost.
Common mistakes
- It is watery. Pan was too small or heat too low. Next time dry-fry longer and cook in batches.
- It tastes bland. Add salt and acid. Those two fix 90 percent of “meh” cauliflower rice.
- It is mushy. Pieces are too small or you over-stirred. Pulse less in the processor and let it sit to brown.
- It is too sweet. Add more lemon or vinegar and a pinch of salt. Acid pulls sweetness back into balance.
Frozen cauliflower rice note: Do not thaw (it turns watery fast). Use high heat and a wide pan, and dry-fry longer (expect 6 to 8 minutes). If water pools, keep cooking until it evaporates and resist the urge to cover the pan.
FAQ
Is cauliflower rice actually healthy?
It is a great way to add vegetables and fiber with fewer carbs than grain rice. I still treat it like food, not a rule. Make it delicious so you actually want to eat it.
Can I make it ahead?
Yes. Cook it, cool it quickly, refrigerate, then reheat in a hot skillet until steaming hot. Add the lemon or vinegar after reheating for the freshest flavor.
Can I make it taste more like real rice?
Texture-wise, the closest trick is dry-frying first and not over-processing. Flavor-wise, a little butter, salt, and a tiny touch of sweetness gives it that comforting, rounded taste people miss.
Gourmet Cauliflower Rice (Sweet and Simple)
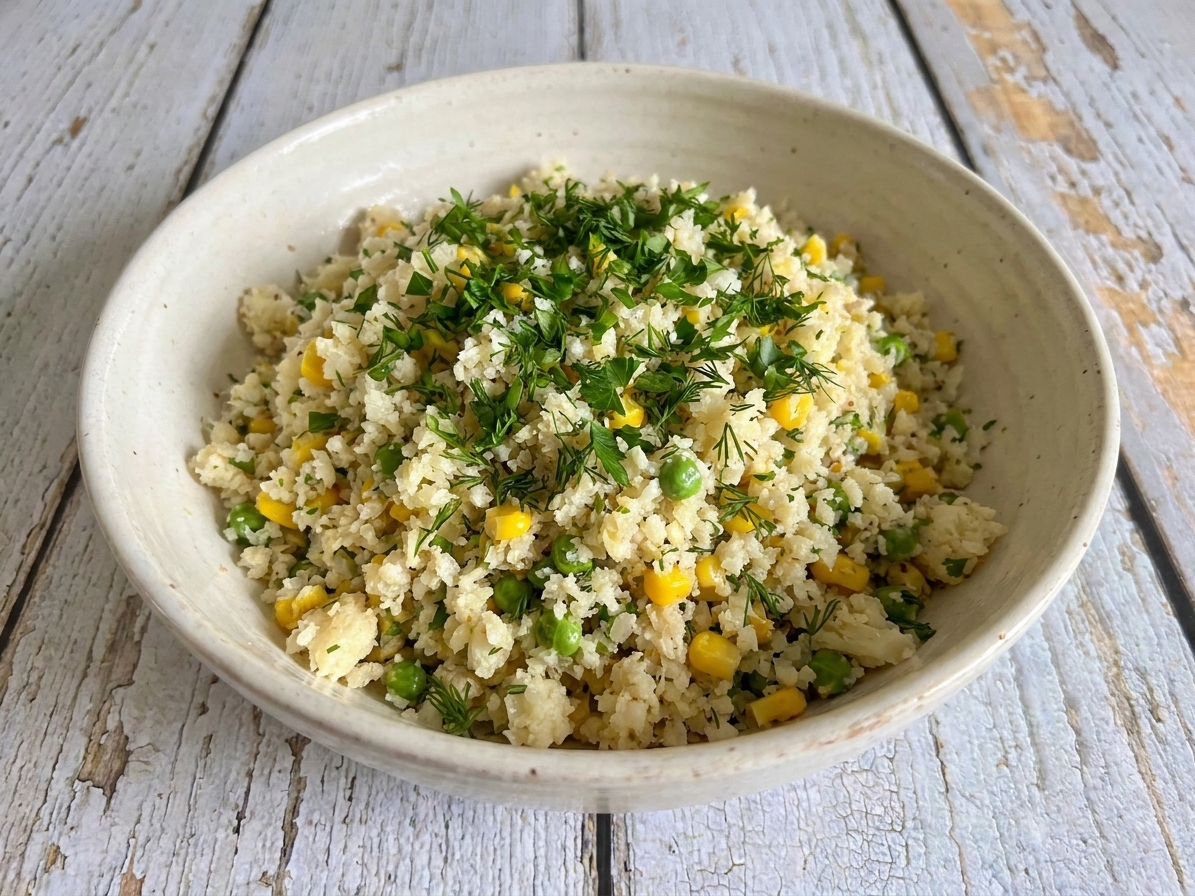
Gourmet Cauliflower Rice (Sweet and Simple) is a buttery, lightly caramel-kissed cauliflower rice finished with a touch of honey or maple and a bright hit of lemon or vinegar. The key is dry-frying first so it browns instead of steaming.
- Prep
- 5 minutes
- Cook
- 10 minutes
- Total
- 15 minutes
- Yield
- About 4 servings
Ingredients
- 4 packed cups cauliflower rice (fresh) or 10 to 24 oz frozen cauliflower rice (about 1 to 2 bags)
- 1 tablespoon olive oil
- 2 tablespoons butter
- 1 small garlic clove, minced or grated (optional)
- 1 to 2 teaspoons honey or maple syrup
- 1/2 teaspoon kosher salt, divided, plus more to taste
- Black pepper, several twists, to taste
- 1 to 2 teaspoons lemon juice or white wine vinegar
- 1 to 2 tablespoons chopped herbs (optional)
Instructions
- Heat a large skillet (12-inch if you have it) over medium-high. Add cauliflower rice dry and cook 3 to 5 minutes (6 to 8 minutes for frozen), stirring occasionally, until drier and fluffy.
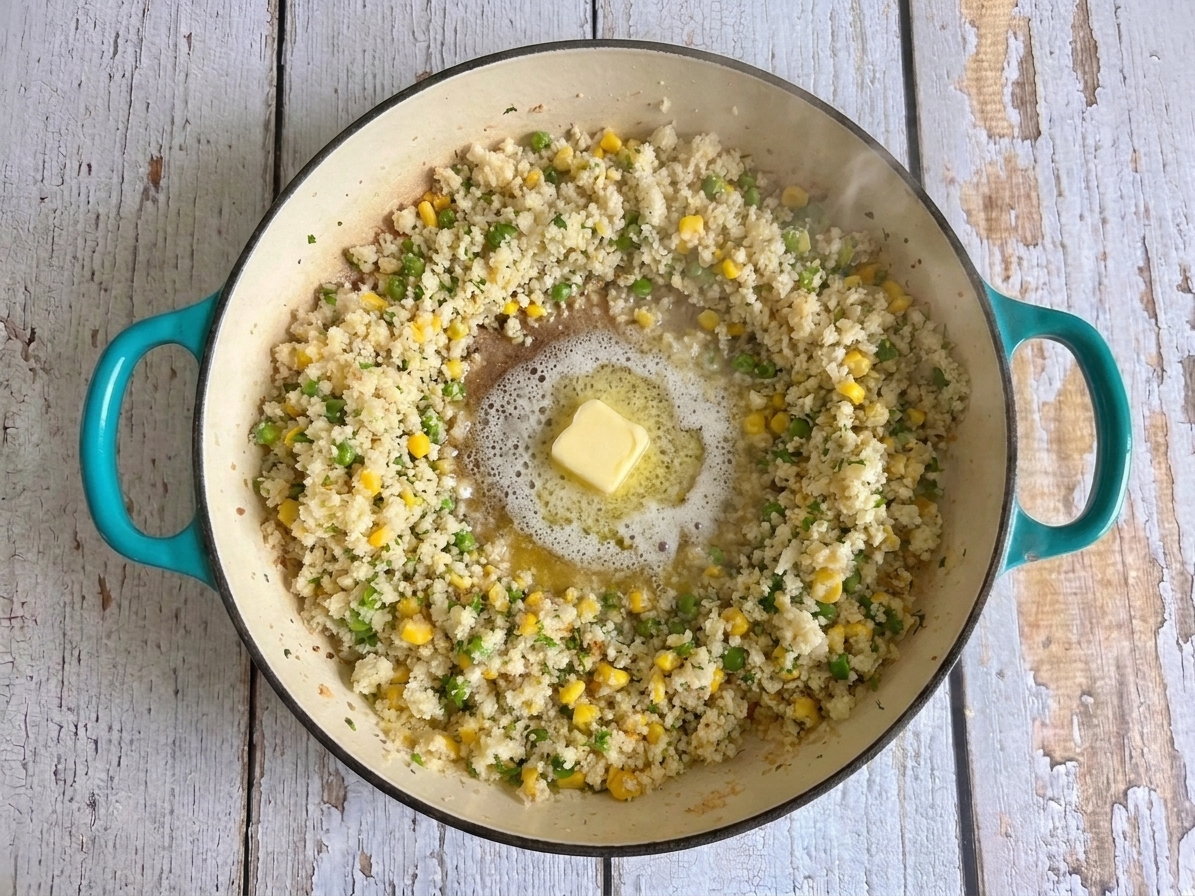
- Push cauliflower to the edges. Add olive oil and butter to the center. When melted, add garlic and stir 15 seconds.
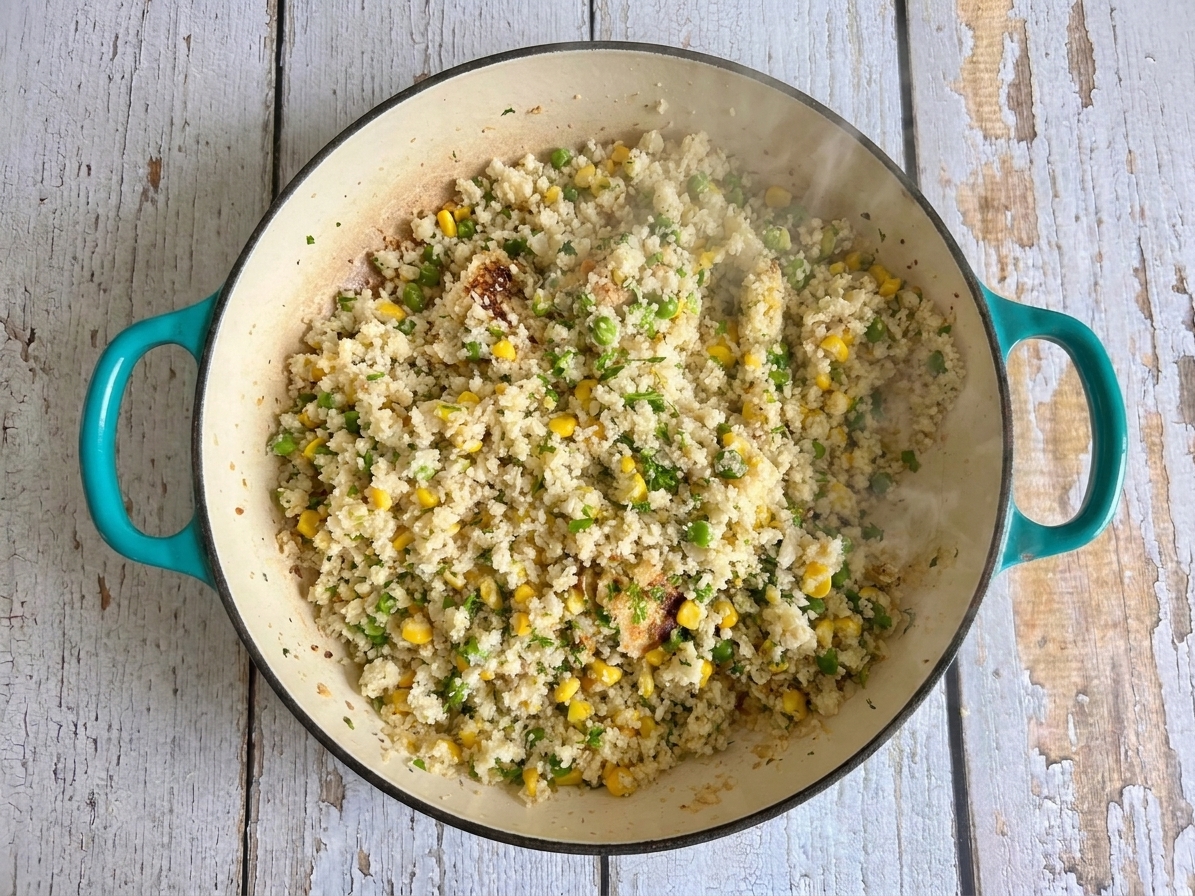
- Stir together and cook 2 to 4 minutes, letting it sit in the pan between stirs to brown.
- Add a small pinch of salt (about 1/8 teaspoon), then add honey or maple and black pepper. Toss well. Lower heat slightly if needed and cook 30 seconds.
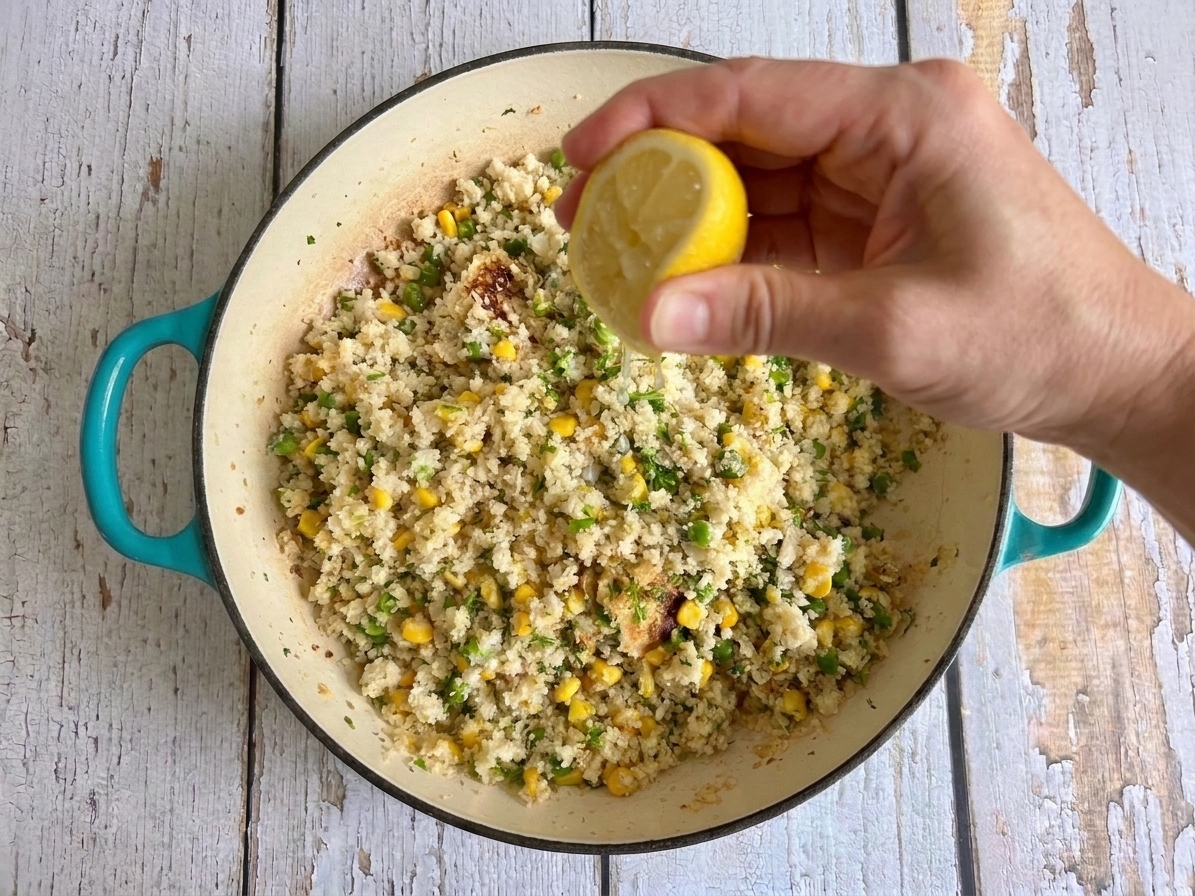
- Turn off heat. Add lemon juice or vinegar. Taste and adjust with remaining salt. Finish with herbs if using.
Notes
- Ricing fresh cauliflower: Cut cauliflower into florets and pulse in a food processor until it looks like fluffy couscous. Aim for small, even pieces, not cauliflower puree. No food processor? Use the large holes on a box grater, or buy pre-riced cauliflower.
- Frozen cauliflower rice: Do not thaw. Use high heat and a wide pan; if your skillet is small, cook in two batches. Dry-fry longer (6 to 8 minutes) before you try to brown it with fat.
- Tip: If your pan is not wide, cook in two batches for better browning.
Nutrition
- Calories: ~100
- Fat: ~8 g
- Carbs: ~7 g
- Protein: ~2 g
- Fiber: ~3 g
- Sugar: ~3 g
- Sodium: ~300 mg
Nutrition values are approximate and will vary by brands used, cauliflower size, and how much sweetener and salt you add.