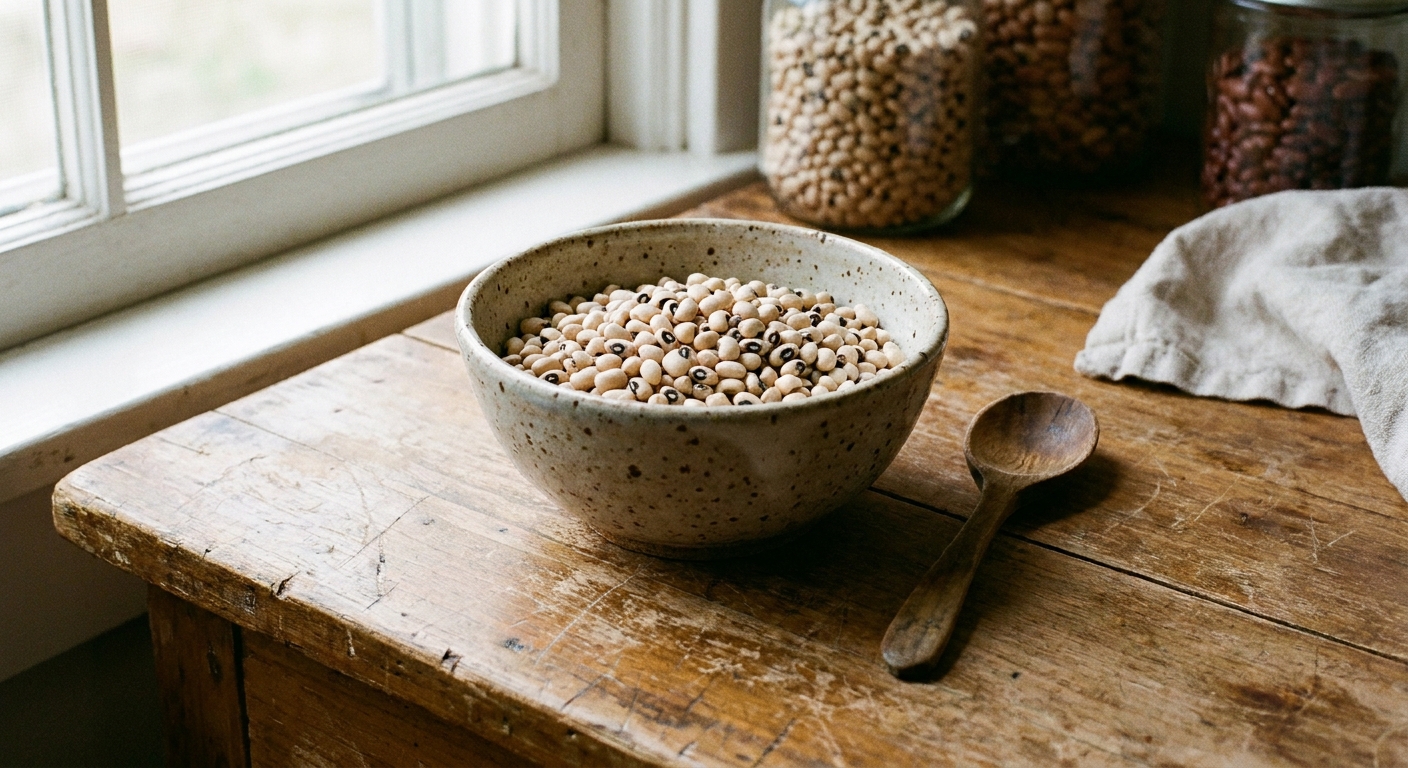

Black-eyed peas are my weeknight bean MVP. They cook faster than most dried beans, they turn creamy without falling apart, and their broth has this cozy, savory vibe that basically begs for cornbread. If you have ever ended up with tough skins or mealy centers, it is usually one of three things: old beans, hard water, or boiling too aggressively.

Below is my no-stress stovetop method with the exact water ratios, timing, a short soak option, and my favorite way to turn the cooking liquid into a simple potlikker.
At-a-glance ratios and timing
- 1 cup dried black-eyed peas (about 190 to 200 g) yields about 2 1/2 to 3 1/2 cups cooked, depending on age and how brothy you keep them
- Cooking liquid: start with 4 cups water or broth per 1 cup dried peas
- Stovetop simmer time (no soak): 25 to 60 minutes
- Stovetop simmer time (short soak): 15 to 35 minutes
- Salt timing: I salt after 10 minutes of simmering, then adjust at the end.
Heads up: Age matters. Fresher beans cook faster and more evenly. If your bag has been in the pantry for years (or you live at a higher altitude), expect the longer end of the range, and plan on topping up the liquid as you go.
What you need
Ingredients
- 1 cup dried black-eyed peas, picked over and rinsed
- 4 cups water (or 3 cups water plus 1 cup broth for extra flavor)
- 1 small onion, halved (or 1/2 teaspoon onion powder)
- 2 cloves garlic, smashed (optional but lovely)
- 1 bay leaf (optional)
- 1 tablespoon neutral oil or olive oil
- Salt (start with 3/4 teaspoon kosher salt, then adjust)
Optional traditional add-ins
- 1 to 2 strips bacon, chopped
- 1 small smoked ham hock or smoked turkey wing
- A pinch of red pepper flakes
If you add meat, simmer it with the beans from the start. You may need a little more time, and you will almost certainly want less salt until the end.
Equipment
- Medium pot with lid
- Fine-mesh strainer
- Spoon for tasting
Short soak option
Black-eyed peas do not require soaking, but a short soak helps them cook more evenly and reduces split beans. This is my go-to if I have even 30 minutes.
How to short soak
- Rinse 1 cup dried black-eyed peas, then add them to a pot with 4 cups water.
- Bring just to a boil and boil for 2 minutes.
- Turn off the heat, cover, and let stand 30 minutes.
- Drain and rinse (optional). I do this to keep the final broth a little cleaner tasting. If you want maximum bean flavor in the pot, you can skip draining and go straight to cooking.
- Proceed with the cooking instructions below using 4 cups fresh water or broth (or the soaking liquid, if you kept it).
If you are short on time, skip the soak and jump straight to cooking. Just plan for the longer simmer window.
How to cook black-eyed peas
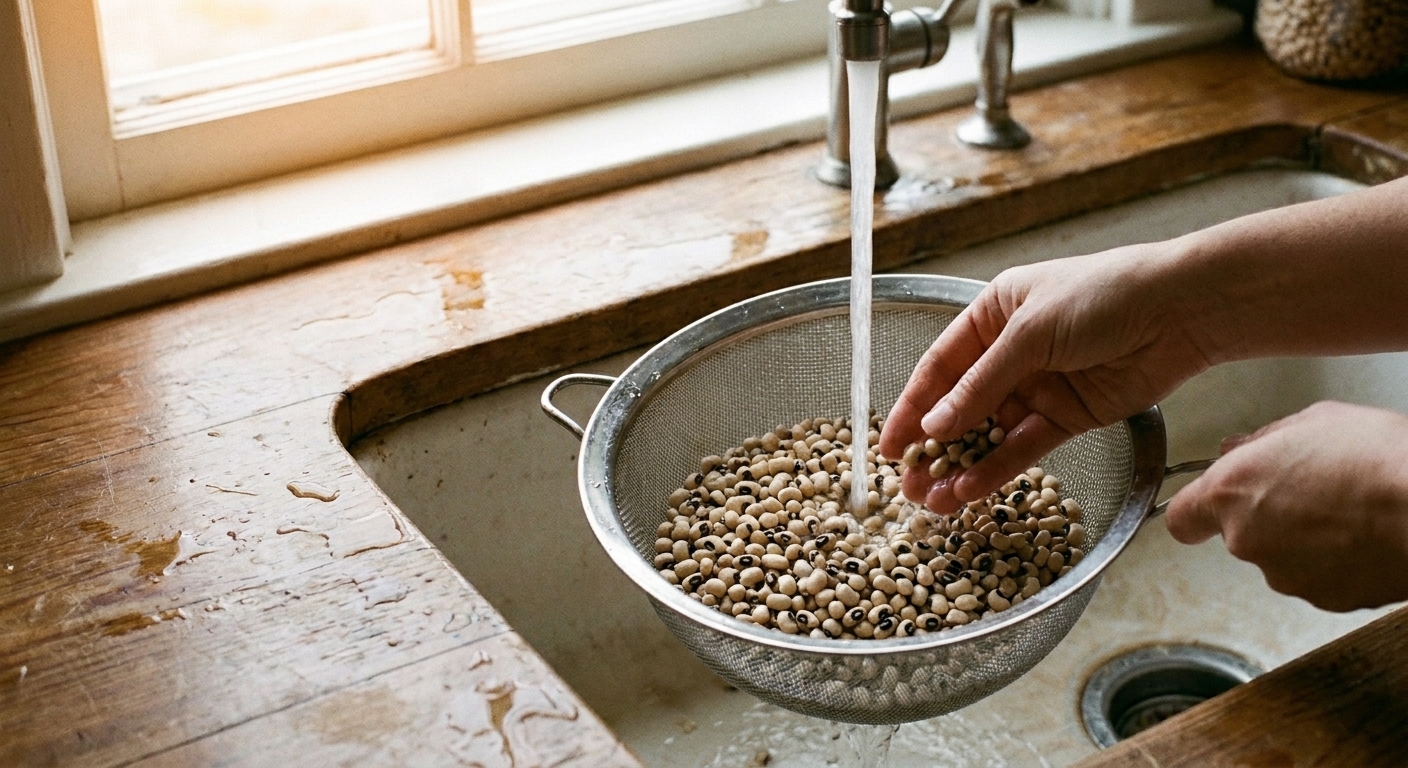
- Sort and rinse. Pick out any shriveled peas or tiny stones. Rinse until the water runs mostly clear.
- Combine in a pot. Add the peas and 4 cups water or broth to a medium pot. Add the onion, garlic, bay leaf, and oil.
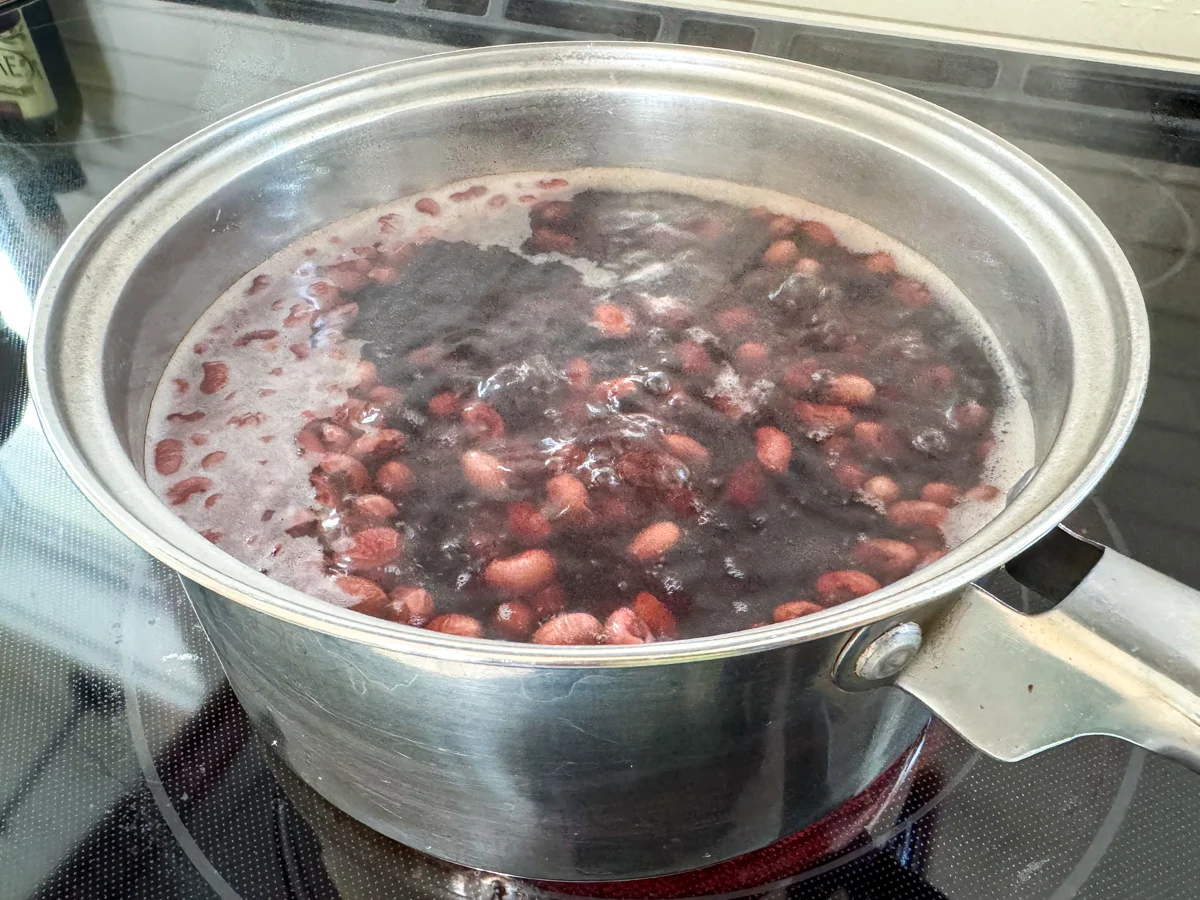
- Bring just to a boil, then reduce. Bring to a boil over medium-high heat, then immediately reduce to a gentle simmer. Aim for a bare simmer with a few lazy bubbles, usually low to medium-low. Partially cover with the lid slightly ajar.
- Simmer. Cook 25 to 60 minutes (no soak) or 15 to 35 minutes (short soak), stirring occasionally and adding a splash of water if the liquid drops below the peas.
- Salt partway through. After 10 minutes of simmering, stir in 3/4 teaspoon kosher salt. Keep simmering until tender.
- Taste and finish. When done, remove the onion and bay leaf. Taste and add more salt, 1 pinch at a time. Let the peas rest off heat for 5 minutes to finish hydrating.
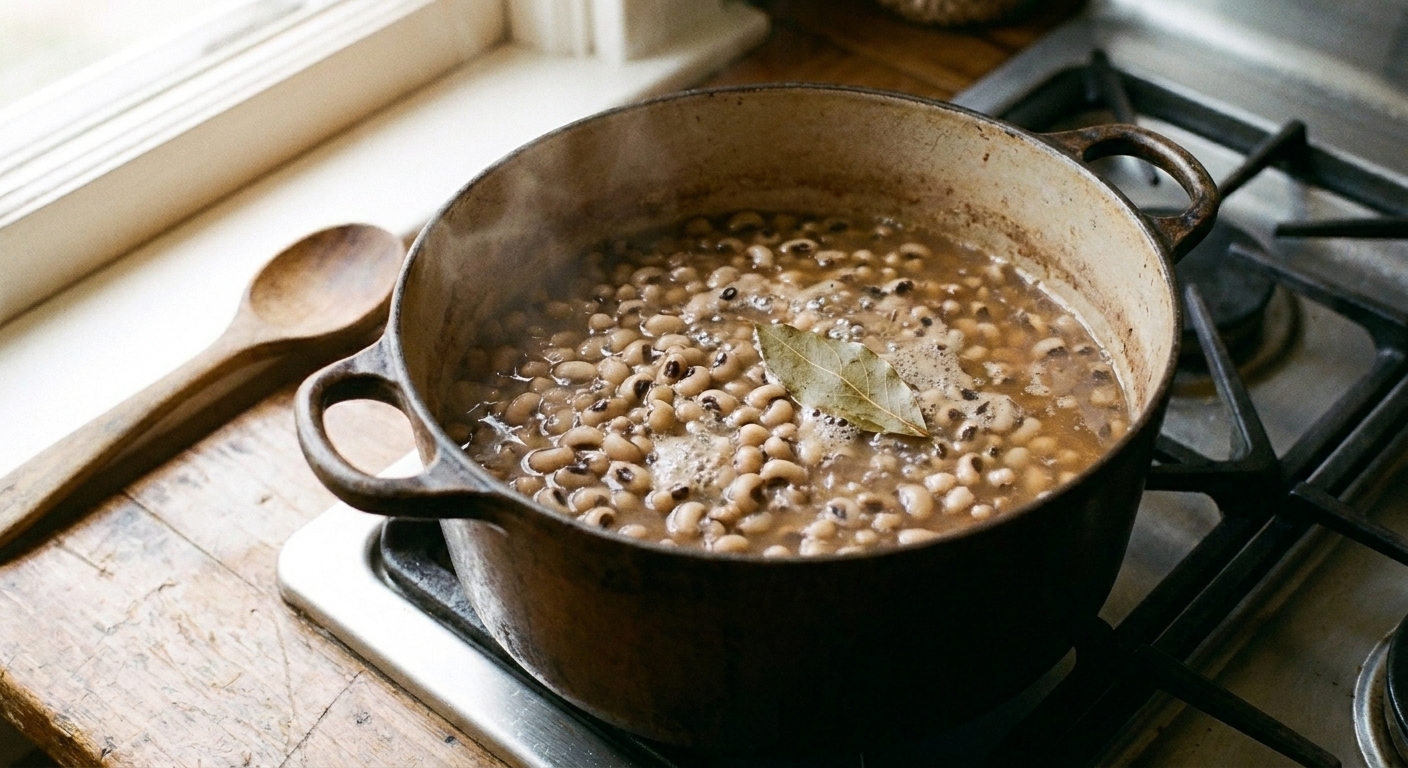
If your pot looks foamy: skim if you want a clearer broth, but it is not required.
When are they done?
You are aiming for peas that are creamy inside but still whole, with skins that are tender, not papery.
- Visual cue: The peas look plump and hydrated, and the liquid is lightly cloudy from starch.
- Bite cue: Split one with a spoon. The center should be creamy, not chalky. The skin should not squeak when you bite.
- Pot cue: When you stir, the pot should look a little thicker, like a brothy stew, not clear water.
If they are tender on the outside but still firm in the middle, keep simmering and check every 5 minutes. Black-eyed peas can go from almost to perfect quickly.
Salt and acid
I do not overthink it, but here is what consistently works for me: get the peas simmering, let them start to soften, then salt so the seasoning has time to soak in.
About salt: Salt does not reliably toughen beans on its own, but hard water (high in calcium and magnesium) can make any bean take longer to soften. If you know your tap water is hard and your beans always fight you, try filtered water next time. My middle path is still my favorite: simmer 10 minutes, then salt.
Avoid acids until tender. Save tomatoes, vinegar, wine, and lots of citrus for after the peas are cooked. Acid can keep the skins firm.
Easy potlikker
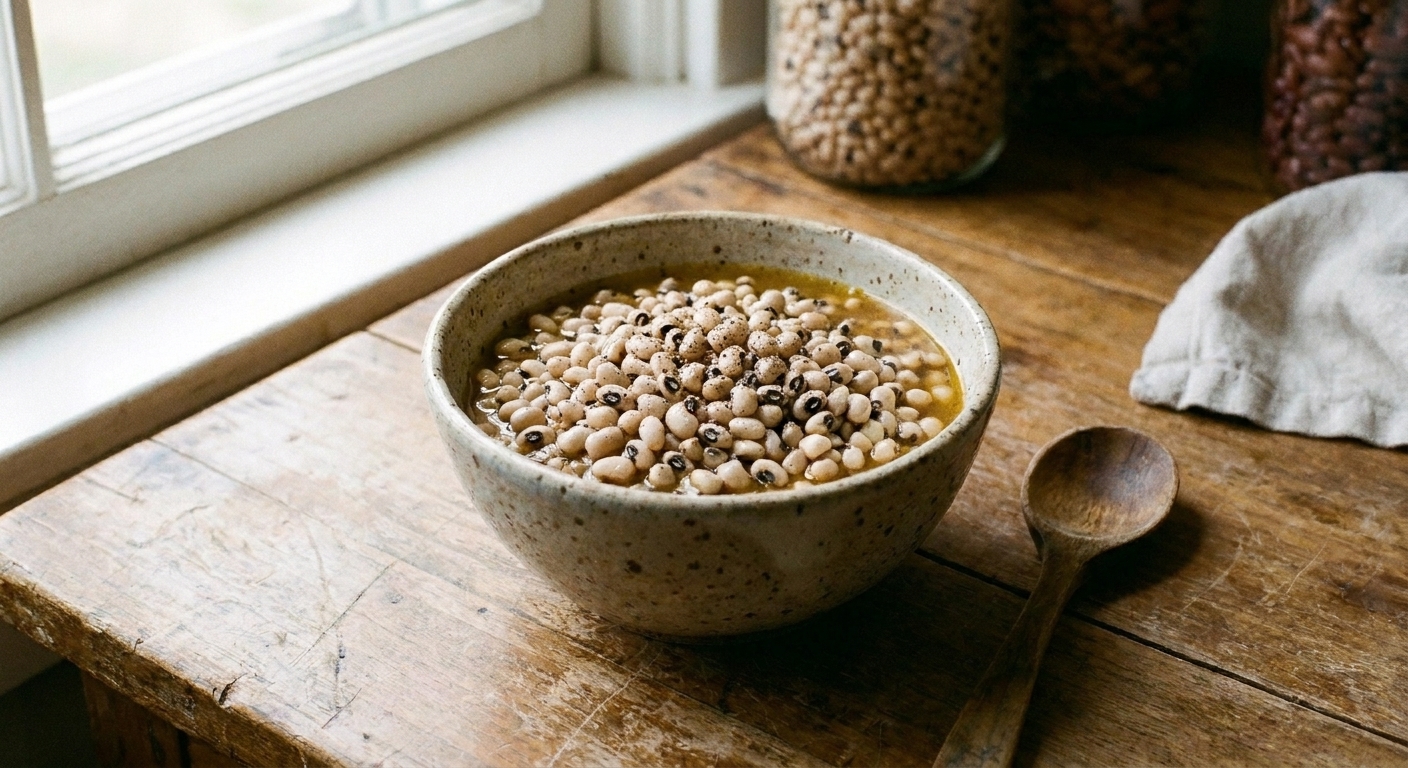
Potlikker is the savory, seasoned cooking liquid you get from beans or greens. When black-eyed peas simmer with onion and bay leaf, you are basically halfway there.
Simple add-ins
After the peas are tender, keep them in their broth and add:
- 1 tablespoon butter or 1 tablespoon olive oil
- 1/2 teaspoon black pepper
- 1/2 teaspoon smoked paprika (optional, for gentle smokiness)
- 1 to 2 teaspoons hot sauce (optional)
- 1 teaspoon apple cider vinegar (add at the end, for brightness)
Simmer 2 minutes, then taste. The goal is a broth that is deeply savory, lightly spicy if you like, and balanced with just enough acid to make the flavors pop.
Troubleshooting
Still tough after a long simmer
- Old beans: they simply take longer. Keep simmering, top up water, and be patient.
- Hard water: try using filtered water next time. For this batch, keep going and maintain a bare simmer.
- Too vigorous boil: can cause split skins before the center softens. Lower the heat and partially cover.
They are falling apart
- They were cooked a bit too long or simmered too hard. Next time, keep it gentler and start checking early.
- A short soak helps reduce blowouts and splits.
The liquid dried up
- Add hot water 1/2 cup at a time and keep simmering. Dried black-eyed peas should always be comfortably submerged during cooking.
Storing and using leftovers
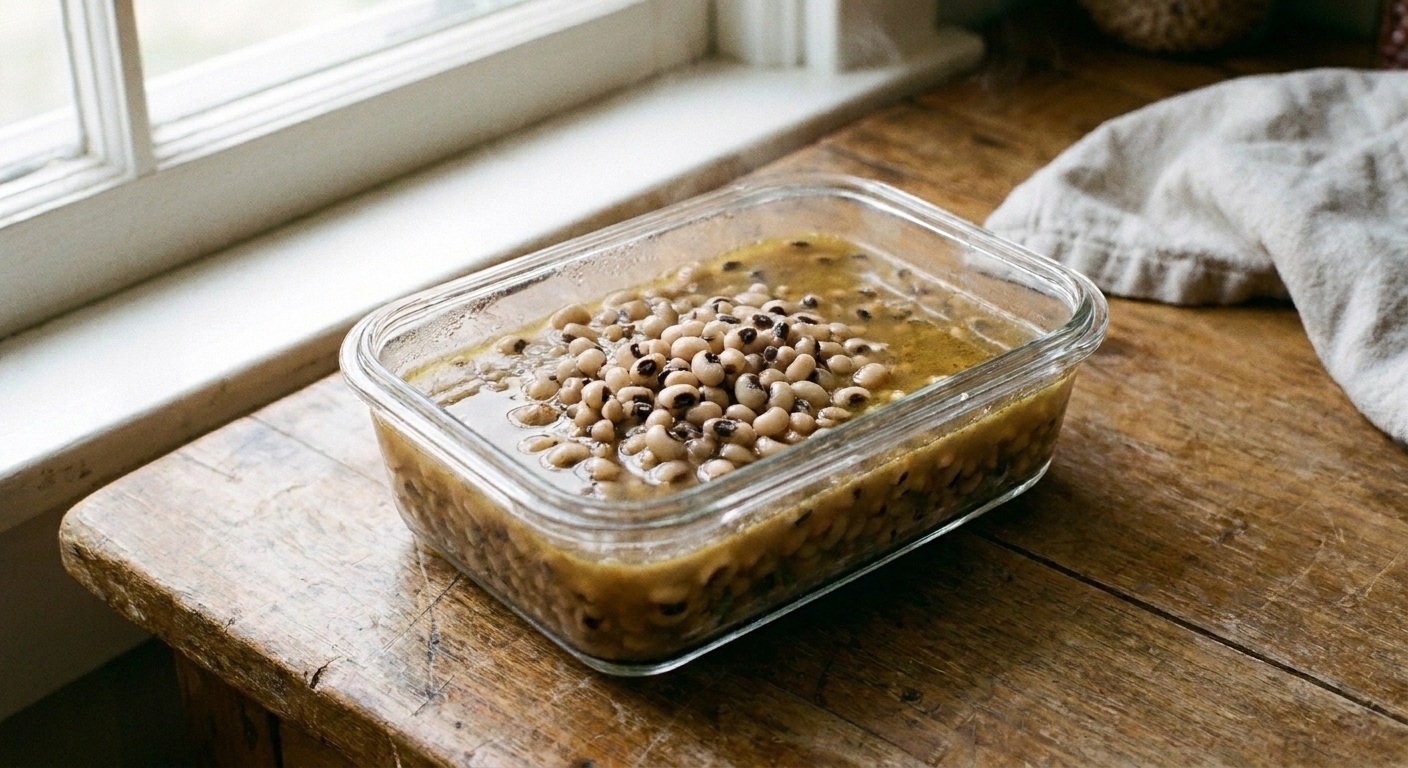
Store black-eyed peas in their potlikker. It keeps them moist and flavorful.
- Refrigerate: 3 to 5 days in an airtight container (I try to use them within 3 to 4 for best quality)
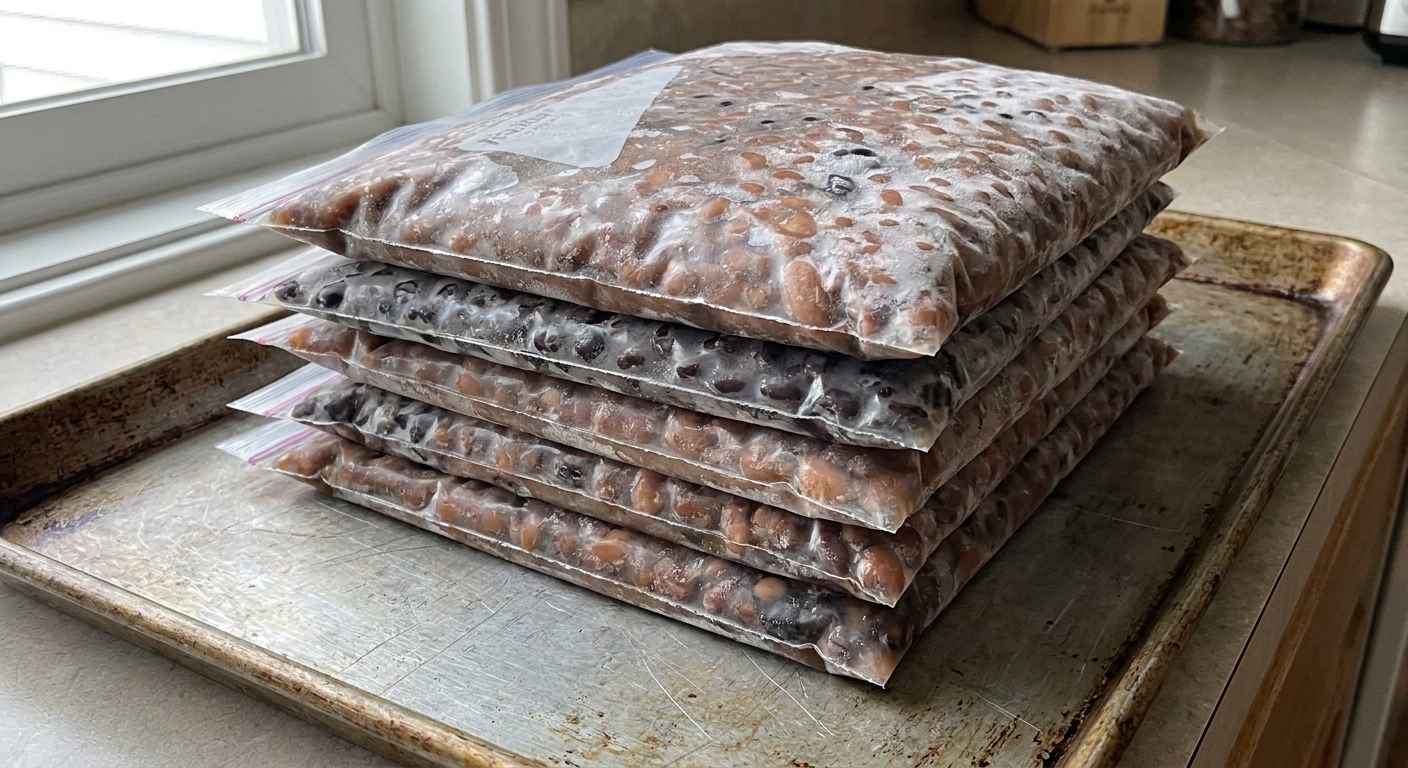
- Freeze: up to 3 months, with plenty of broth to protect the beans
Quick weeknight uses: spoon over rice, fold into a skillet of sautéed greens, toss with chopped herbs and a squeeze of lemon, or warm with a splash of broth and serve with cornbread.
FAQ
Do they need to be soaked?
No. They cook relatively quickly without soaking. A short soak makes cooking more even and can shave off time.
Cook covered or uncovered?
Partially covered is the sweet spot. It reduces evaporation while still letting you control the simmer and concentrate the broth a little.
Can I use broth instead of water?
Yes. Broth adds flavor, but it can also add salt. If your broth is salty, start with less added salt and adjust at the end.