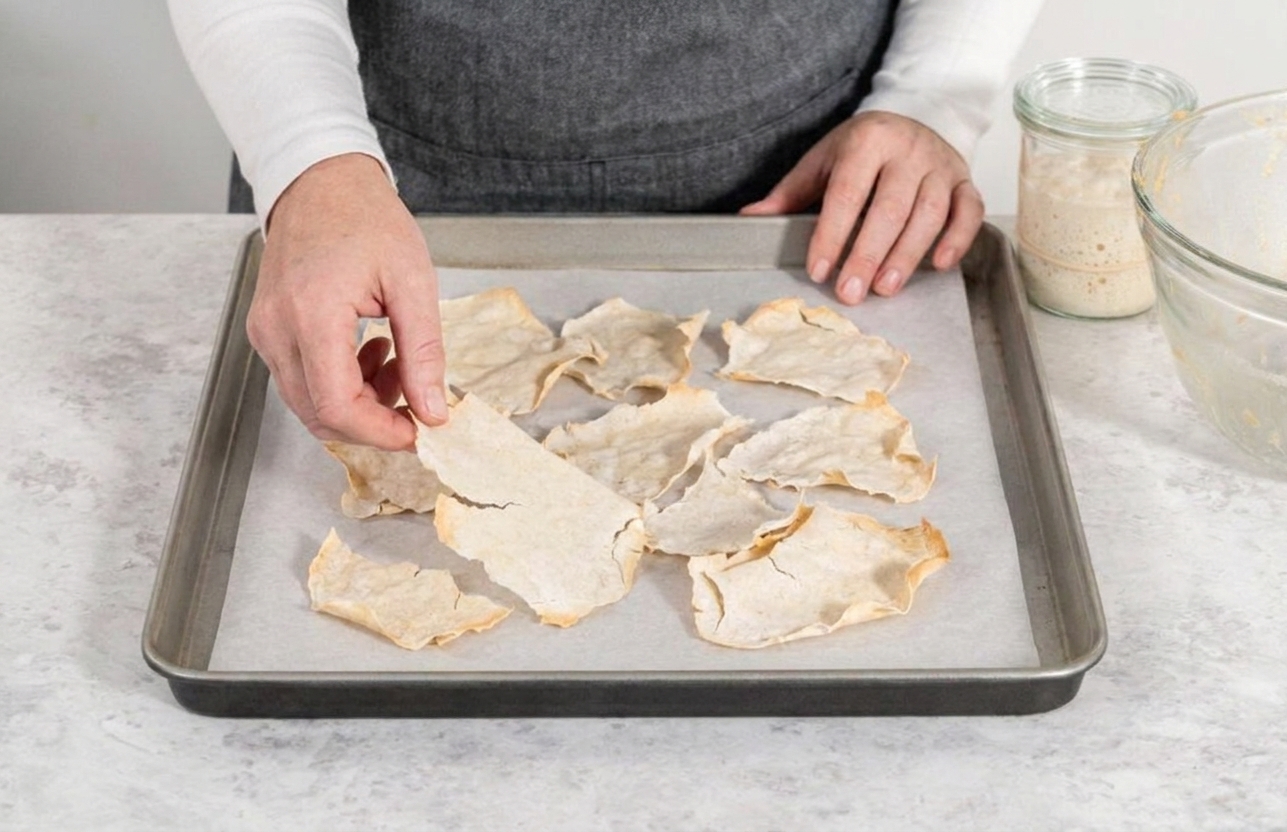

I keep a sourdough starter the way some people keep a houseplant. It is alive, it has moods, and it rewards consistent care. But it is also shockingly easy to lose. A power outage, a vacation that runs long, a jar you meant to feed that gets pushed behind the pickles. Drying your starter is the simplest insurance policy I know.

When you dry a mature, active starter into brittle flakes, you are putting it to sleep. Those dormant yeast and bacteria can be rehydrated later, which makes dried starter perfect for backups, gifting, or traveling.
And yes, it stores far longer than a wet starter: a fully dried starter kept airtight in a cool, dark, low-humidity spot can stay viable for months to years, while a wet starter needs ongoing feeding and attention, even in the fridge.
This page is only about drying a mature starter you already have. If you need to create a starter from scratch or revive a neglected jar from the fridge, those are their own separate topics.
What drying does and does not do
Drying is preservation, not repair. It helps you store a healthy culture long-term, but it cannot fix a culture that is already compromised.
- Drying does: make starter portable, reduce the risk of losing it, and pause activity so you can store it far longer than a wet starter.
- Drying does not: remove mold, eliminate harmful contamination, or make an unhealthy starter safe again.
- Drying does not: fix underlying issues in a weak starter. For the smoothest revival, dry a culture that is already rising reliably and smells clean and pleasantly tangy.
Quick overview
Think of this as turning your starter into a shelf-stable backup. A starter that is fully dried and protected from moisture becomes something you can tuck into the pantry and forget about until you need it.
In the recipe card below, you will find the specifics that matter most in real kitchens: how thin to spread for even drying, the texture cues that tell you it is truly done, how to store it so it stays viable for months to years, and what a normal wake-up looks like when you rehydrate it. If anything ever smells musty or shows mold, skip the heroics and toss it.
Why this recipe works
- Thin spread equals fast, safe drying. The quicker the water leaves, the less time your starter spends in a damp zone where spoilage can happen.
- Fully brittle flakes store better. If there is any flexibility or gumminess, there is still moisture and moisture is the enemy of shelf stability.
- Small airtight storage protects flavor and viability. Dried starter readily absorbs humidity and odors, so a tight seal and a cool, dark spot keep it dormant and clean.
- Rehydrating a pinch keeps it low-waste. You can rebuild a full jar from a very small amount, which is perfect for backups and gifting.
Ingredient notes
Drying starter is pleasantly minimal. You are really working with one ingredient.
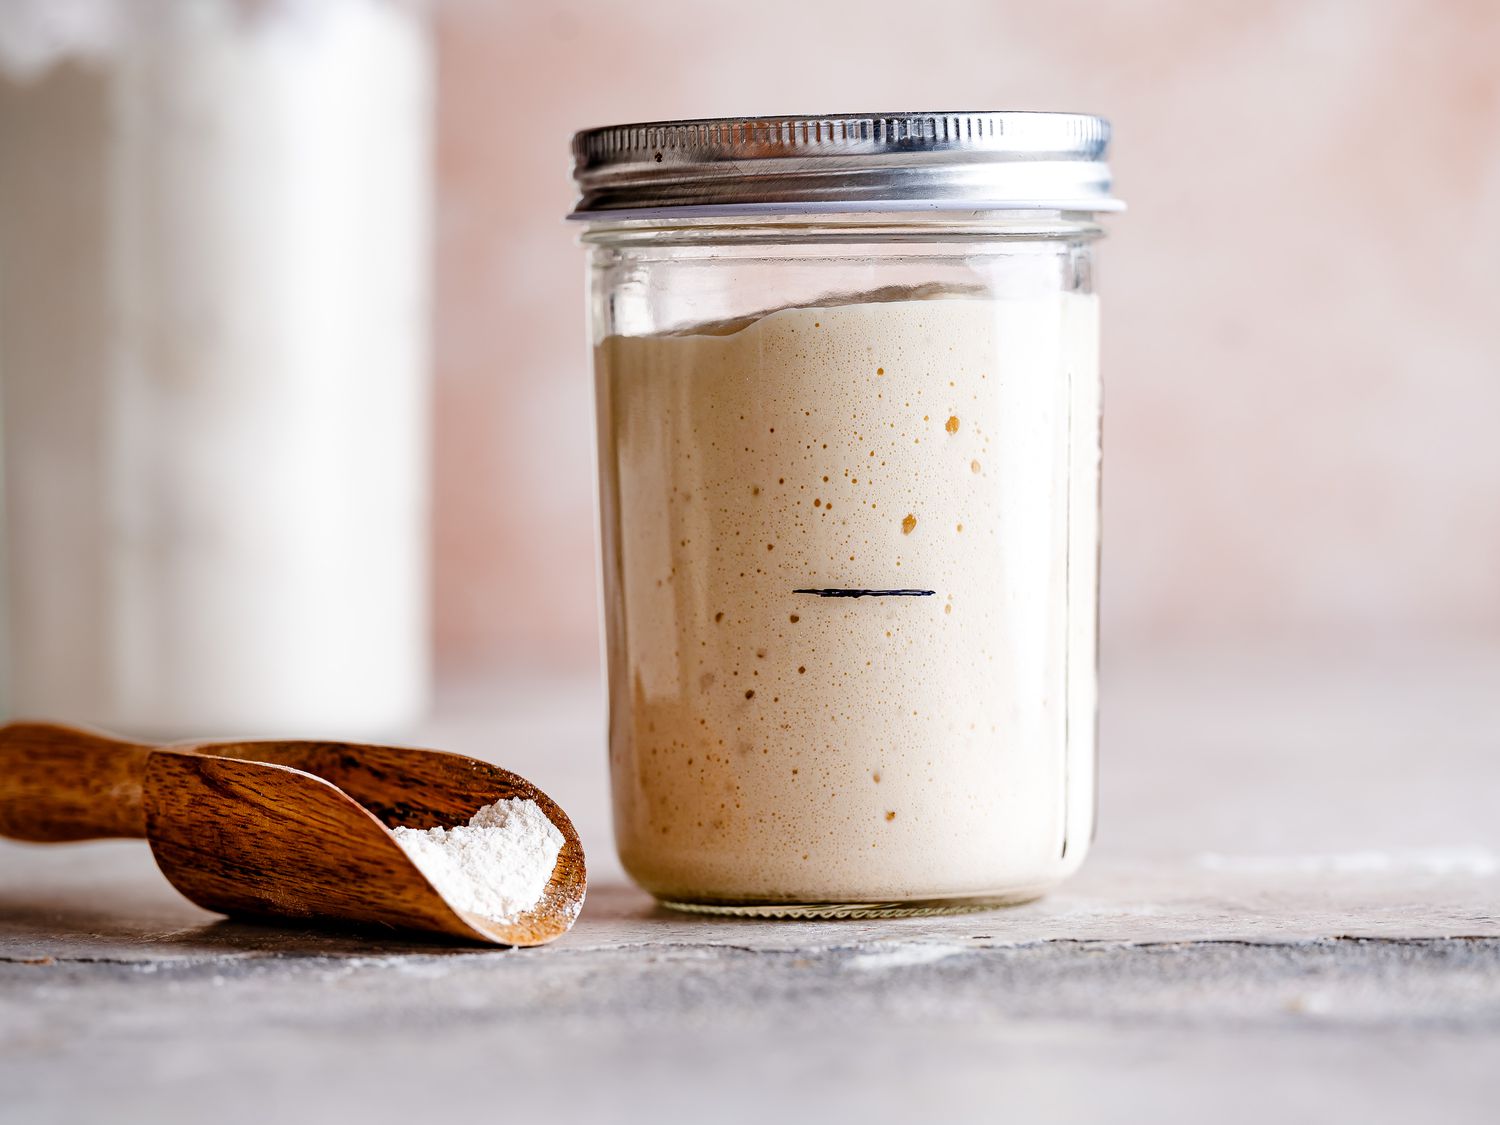
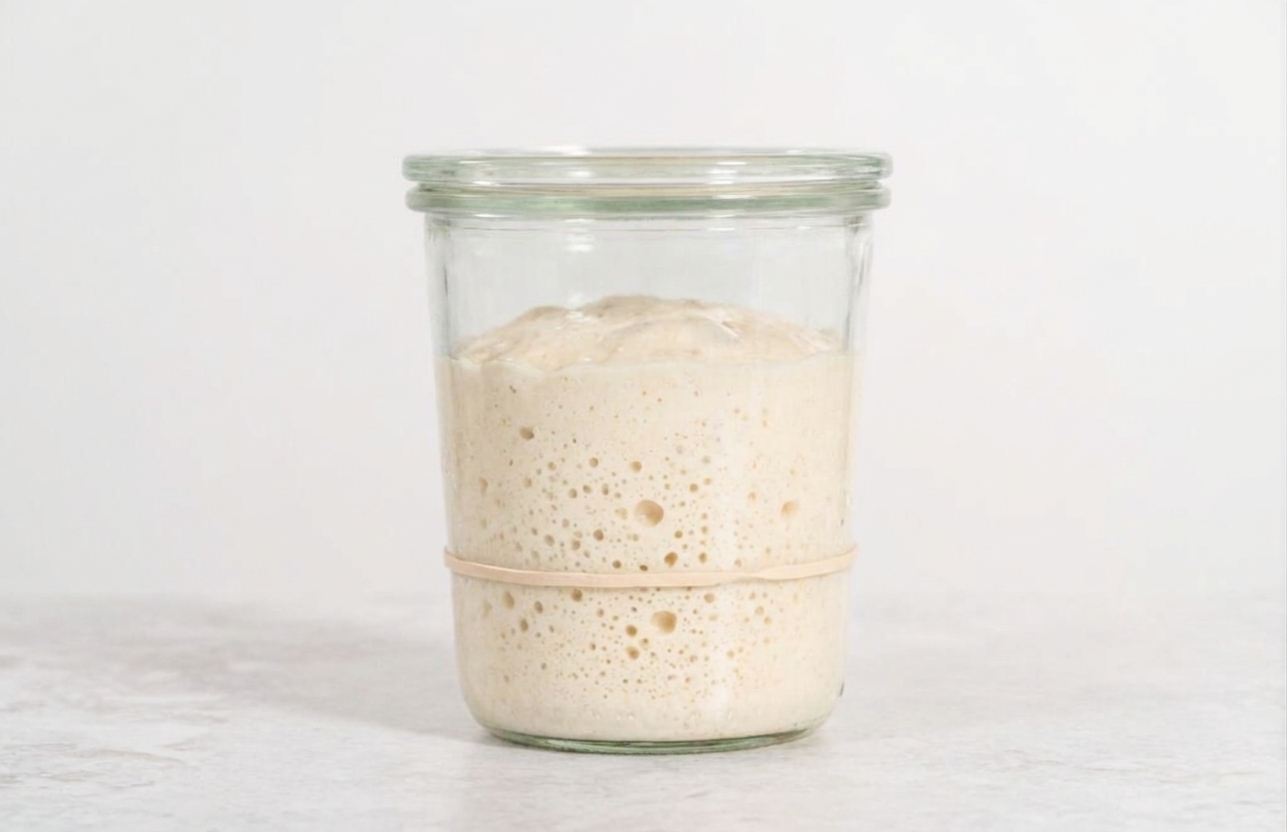
- Mature, active sourdough starter: Use starter that has been fed recently and is showing clear signs of strength: lots of bubbles, a pleasant tangy aroma, and predictable rise and fall. If you can time it, spread it when it is at peak or just starting to recede.
- Optional, for later revival: The same flour you normally feed with works best because your culture is already adapted to it. If you feed with whole wheat or rye, expect faster fermentation when you wake it up.
Equipment you will need
- Parchment paper or a silicone baking mat
- Sheet pan (makes it easy to move without spilling)
- Offset spatula or silicone spatula for spreading
- Clean hands or a spoon for breaking into flakes
- Airtight container (small jar with a tight lid is ideal)
- Optional: food-safe desiccant packet (only if you already have one, and only kept separate from the flakes)
Pro tips
Spread thinner than you think
A good target is about 1/16 inch thick, roughly 1 to 2 millimeters. If you spread it like pancake batter, it will take forever to dry and may dry unevenly.
Dry time depends on your kitchen
Most home kitchens take 12 to 48 hours at room temperature. Humid weather takes longer. The goal is not a specific number of hours, it is the texture cue: completely dry and brittle, snapping cleanly when you break it.
Use low heat only if you must
If you choose to speed things up with an oven, you need to keep it very low. High heat can kill the organisms you are trying to preserve. Many ovens do not reliably hold low enough temperatures, so room temperature drying is the safest default.
Label the jar like Future You is a stranger
Date it and note the flour you feed with. Dried starter looks like a lot of other beige kitchen mysteries.
Substitutes that work
- Parchment paper: A silicone baking mat works beautifully and releases flakes easily.
- Offset spatula: The back of a spoon works fine, just aim for an even thin layer.
- Airtight jar: A zip-top freezer bag works in a pinch, but store it inside another container to prevent crushing and to reduce humidity swings.
Variations
- Powder vs flakes: You can crush fully dried flakes into a powder for faster dissolving. Only do this if your flakes are truly brittle. Any lingering moisture plus powder equals clumps.
- Giftable starter packet: Portion flakes into small airtight jars so you can share without repeatedly opening your main stash.
- Travel kit: Pack flakes in a tiny screw-top jar, then tuck that jar into a second container for leak protection and to keep humidity out.
Serving ideas
Dried starter itself is not something you serve. The payoff is what you can do after you revive it. Once your culture is bubbly and reliably rising again, you can use it for:
- Sourdough boules and batards
- Sandwich bread
- Pizza dough
- Pancakes and waffles
- Crackers and flatbreads
Storage and reheating
How to store dried starter flakes
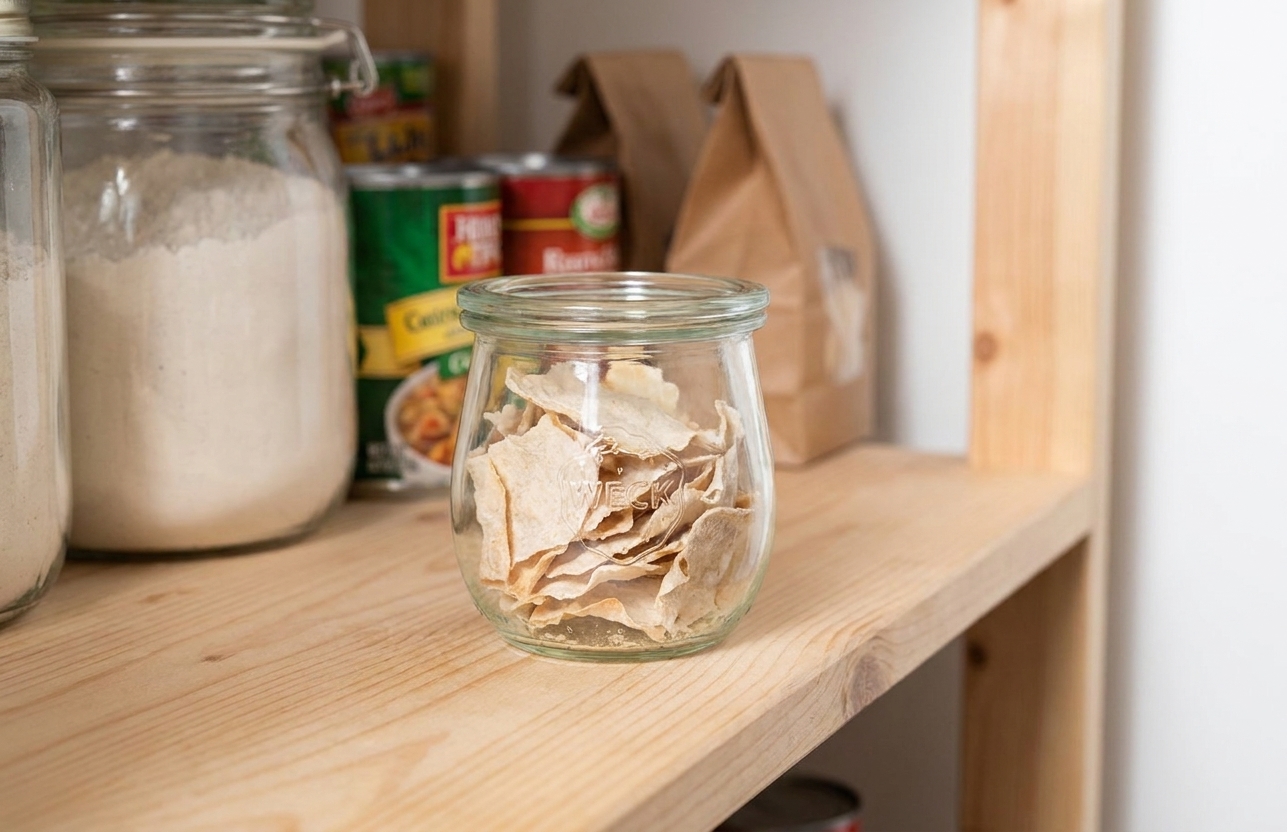
- Cool and dry: Pantry is fine if it is not steamy. Avoid storing near the stove, dishwasher, or kettle.
- Dark is better: Light is not a huge issue, but a cabinet is preferable to a sunny windowsill.
- Airtight: Your #1 job is to keep humidity out.
- Hands off: Open the container as little as possible. Moist air enters every time.
How long do dried starter flakes last?
When thoroughly dried and stored airtight, dried starter can remain viable for a long time, often months to years. Practically, I recommend refreshing your backup periodically by drying a new batch and using up the old one first.
Can you freeze dried starter?
You can, but it is usually unnecessary. If you freeze it, airtight packaging is critical because freezers are humid and full of odor. Let the sealed container come to room temperature before opening so condensation does not form on the flakes.
Common mistakes
Drying starter that is not healthy
If your starter smells off, shows mold, or has suspicious colors, drying is not the move. Start with a strong, clean culture.
Spreading too thick
Thick starter dries slowly and unevenly. The top can feel dry while the underside stays tacky, which shortens shelf life.
Storing before it is fully brittle
If you can bend it at all, it is not done. Any leftover moisture can lead to spoilage in storage.
Using high heat to speed things up
It is tempting, especially in a humid Portland winter, but heat can reduce viability. If you use warmth, keep it gentle.
Rehydrating with chlorinated water
Some municipal water is heavily chlorinated and can slow revival. If your starter struggles, try filtered water.
FAQ
How do I know the flakes are dry enough?
They should be uniformly pale, not darker in thick areas, and they should snap when you break them. If any part feels leathery, cool-tacky, or flexible, keep drying.
What spread thickness is best?
About 1/16 inch is the sweet spot. Thin enough to dry quickly, thick enough to peel up easily in big sheets.
How do I wake dried starter back up?
Start small. Dissolve a pinch of flakes in water, then feed with flour to make a tiny starter. Keep it warm-ish and feed it consistently until it is bubbling and rising predictably. Expect it to take a few days to fully regain strength.
What are spoilage signs that mean I should toss the flakes?
- Visible mold of any kind
- Musty, damp-basement odor instead of clean tang
- Clumping that feels soft or sticky, suggesting moisture got in
- Unusual colors like pink, orange, or fuzzy growth
If you see mold or smell mustiness, do not try to salvage it. Toss it and dry a new backup from a healthy starter.
Does drying kill bad bacteria or mold?
No. Drying is not sterilization. If the starter was contaminated before drying, it can still be unsafe after drying.
My revived starter is bubbling but not rising. What now?
Bubbles mean life, but rise takes strength. Keep feeding at consistent intervals, use a jar with straight sides so you can track volume, and consider slightly warmer temps. If you changed flours, give it time to adapt.
How to Dry a Sourdough Starter
A simple method for drying a mature sourdough starter into brittle flakes you can store as a backup, then rehydrate later to rebuild an active culture.
- Prep
- Cook
- Total
- Yield
Ingredients
- 1/2 cup (about 120 g) mature, active sourdough starter
- Parchment paper or a silicone baking mat
Instructions
- Start with active starter. Use a mature starter that has been fed recently and is clearly bubbly and healthy. If possible, work when it is at peak activity or just beginning to recede.
- Prep your drying surface. Line a sheet pan with parchment paper or place a silicone baking mat on the pan so you can move it easily.
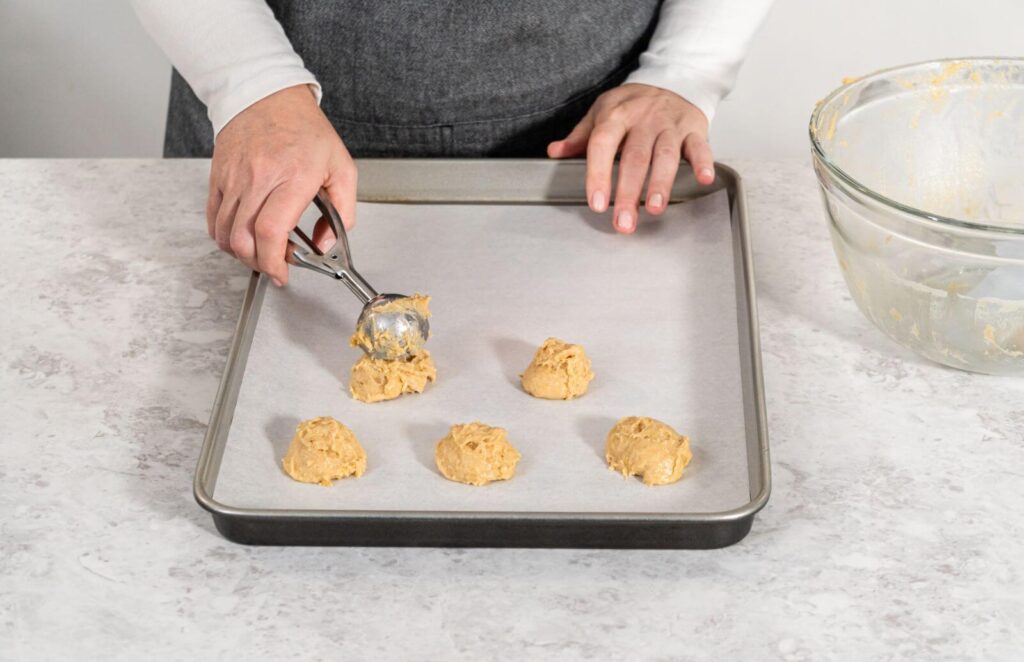
- Spread the starter thinly. Dollop the starter onto the lined pan and spread it into a very thin, even layer, about 1/16 inch (1 to 2 mm) thick. Thinner is better than thicker as long as you can still peel it up later.
- Air-dry until brittle. Leave the pan uncovered at room temperature until the starter is fully dry. Depending on humidity and thickness, this typically takes 12 to 48 hours. It is done when it feels completely dry and snaps cleanly when you break it.
- Break into flakes. Peel the dried sheet off the parchment or mat and break it into small flakes with clean, dry hands. If any pieces feel leathery or bendy, return them to the pan and continue drying.
- Store airtight. Transfer flakes to a clean, completely dry airtight jar. Store in a cool, dark, dry place. Open as little as possible to keep humidity out.
- To revive (overview). Place a pinch of flakes in a clean jar, add enough water to cover, and let sit until softened, then stir and begin feeding with flour and water to rebuild a small starter. Continue regular feedings until it is bubbling and rising reliably.
Notes
Dryness test: If the flakes bend, they are not done. Brittle and snappy is the goal.
Food safety: Do not dry starter that shows mold, strange colors, or a musty odor. Drying does not make a compromised starter safe.
Best storage tip: Moisture is the enemy. Use a small jar with a tight lid and store it away from steam and heat.