
If you have a jar of sourdough starter sulking in the back of your fridge with a grayish liquid on top and a smell that makes you nervous, you are in the right place. I have revived more “oops, I forgot” starters than I can count, both at home and when I was teaching beginner bakers. Most starters are tougher than they look.
This guide is specifically for reviving an existing starter that has been left unfed in the refrigerator. If you are starting from scratch with flour and water, use our starter creation page for the day-by-day build. Today, we are rescuing what you already have.

First: Hooch or spoiled?
When a starter sits, the yeast and bacteria keep doing their thing slowly. They eat, they run out of easy food, and the mixture separates. That separation is often completely normal.
What hooch is (and what it means)
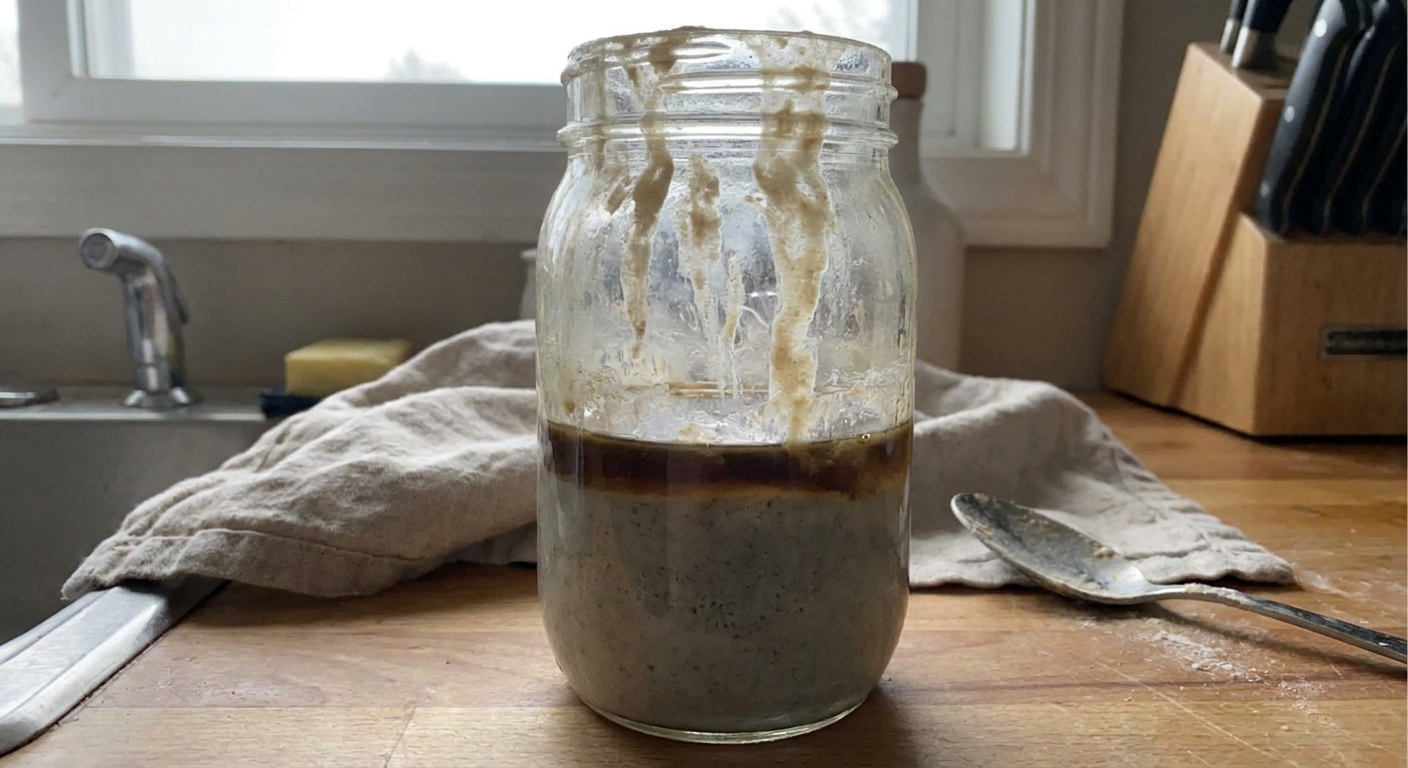
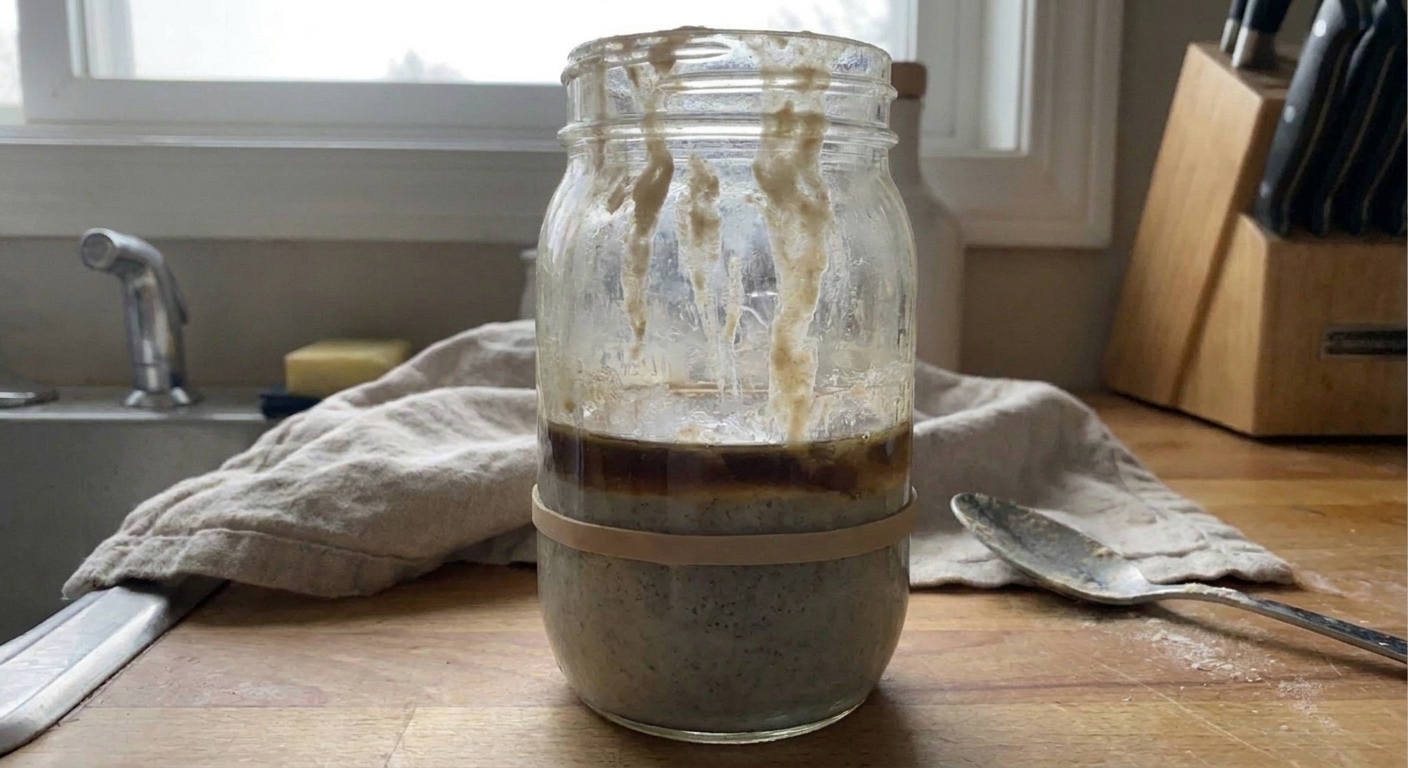
Hooch is the liquid that collects on top of an unfed starter. It can be clear, gray, tan, or quite dark. It is basically separated fermentation liquid: mostly water, plus alcohol and organic acids produced over time.
- A thin liquid layer on top is a sign your starter is hungry, not necessarily dead.
- Darker hooch often means it has been sitting longer, it got warmer than ideal (fridge door shelves do this), or more pigments and acids have dissolved into the liquid. Color varies from starter to starter.
- A sharp smell is common. Starters get more acidic when they are underfed.
Normal starter smells
These can be intense when the starter is neglected, but they are typically safe signs:
- Tangy like yogurt, kefir, or sour cream
- Vinegary like mild vinegar
- Fruity like overripe apples, pineapple, or wine
- Beery or boozy, especially if there is hooch
- Acetone like nail polish remover. This is common in very hungry starters and usually resolves with regular feedings.
When to throw it out
Use your eyes and nose together. If you see any of the following, I would not try to revive it:
- Fuzzy mold anywhere (white, green, blue, or black fuzz)
- Pink, orange, or red streaks or patches. Do not try to diagnose it. Treat any of these colors as a discard signal.
- Putrid odors like rotting meat, sewage, or rancid trash that do not fade after stirring
- Visible insects or contamination from something non food-safe
Important note: dark hooch and a gray film are not the same as mold. Mold is usually fuzzy, raised, or clearly spotty. When in doubt, err on the side of safety and start fresh.
Before you feed: quick triage
A few small moves make a huge difference. Think of this as setting your starter up for a clean restart.
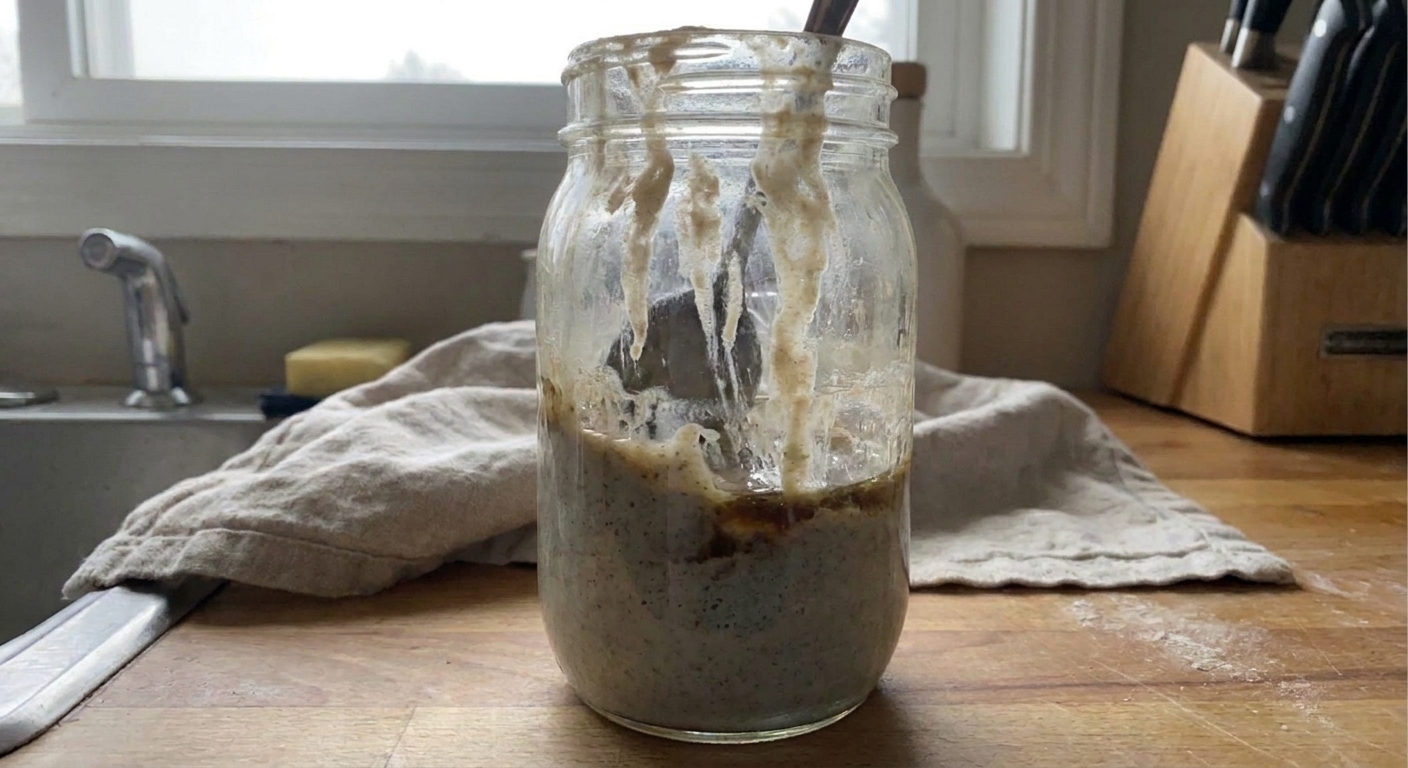
1) Stir or pour off the hooch
You can do either. Here is how I decide:
- Stir it in if you want to keep more acidity and flavor. This can be useful if you like a tangier loaf.
- Pour it off if it smells extremely sharp or solvent-like. Pouring it off can help the starter bounce back faster and smell milder.
2) Move a small amount to a clean jar
This is my number one rescue trick, especially if the jar has a lot of dried starter on the sides.
- Use a clean jar or deli container. Hot water and a good rinse are great. Avoid lingering soap residue.
- Transfer 10 to 20 grams of starter (about 1 heaping teaspoon to 1 tablespoon).
- Feed the small amount instead of trying to “fix” the whole jar. Less volume means less waste and a quicker turnaround.
- Use clean utensils. Starters are resilient, but clean tools prevent the kind of weird contamination nobody wants.
3) Warm water and a cozy spot
For reviving, I like water that feels neutral to slightly warm on your wrist, roughly 75 to 80°F. Let the starter rise at 70 to 78°F if you can. In Portland winters, that sometimes means the oven light (oven off) or the top of the fridge.
4) Keep the lid loose
During active fermentation, do not seal the jar tightly. Use a lid set on top, loosely screwed on, or a breathable cover. You want gases to escape.
Restart feeding schedule
The goal is not just bubbles. The goal is a starter that rises and falls on a schedule so you can actually bake with it. For most neglected fridge starters, plan on 2 to 5 days to get it behaving predictably again, sometimes longer if it was neglected for months.
Below is a simple schedule that works well for many home kitchens. It is written in weights because it is more consistent, but I will include a practical no-scale option too.
Tools and ingredients
- Kitchen scale (highly recommended)
- Clean jar with a lid (lid set on top or loosely screwed on)
- All-purpose flour or bread flour
- Water
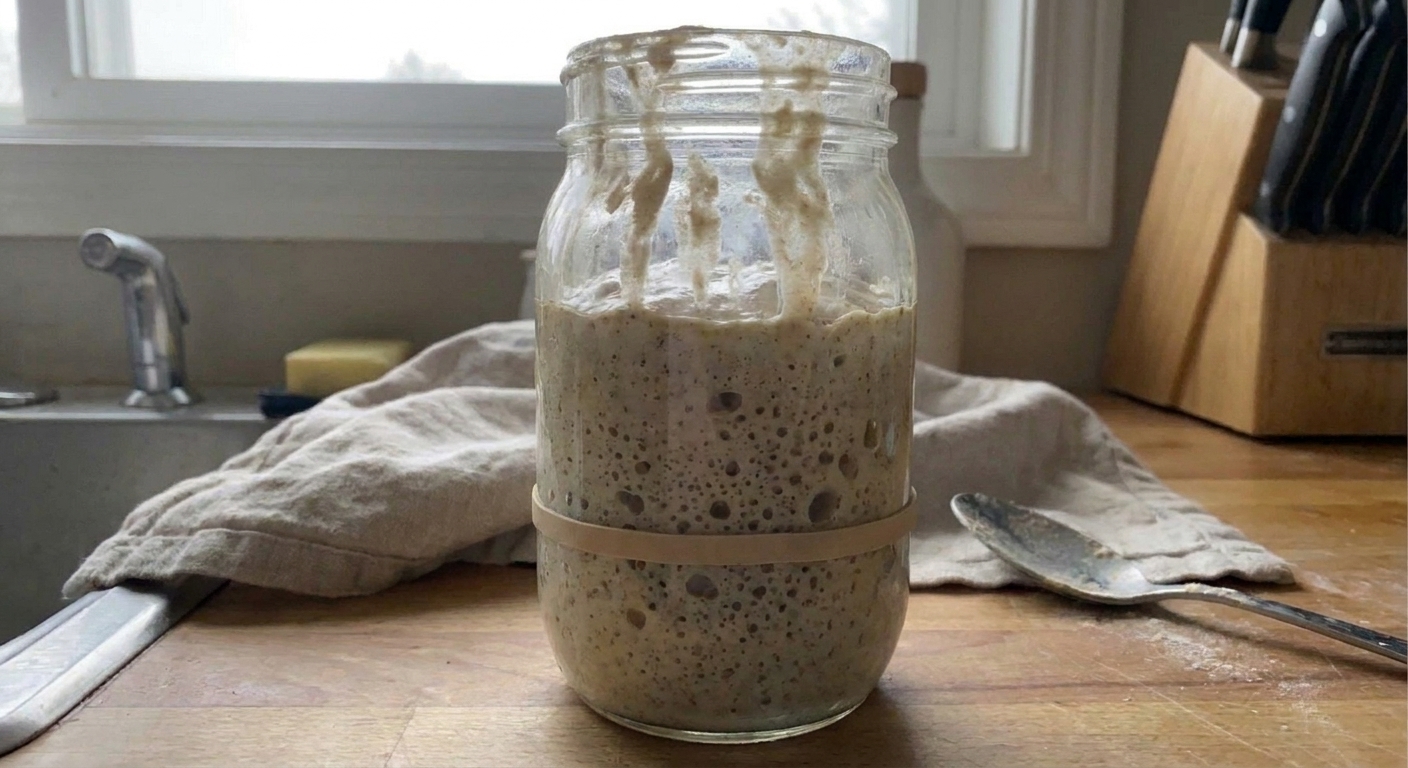
- Rubber band or dry-erase marker to track rise
Day 1: Reset feed
Morning or evening is fine. Pick a time you can repeat.
- Keep: 15g starter (about 1 tablespoon).
- Add: 30g water + 30g flour. This is a 1:2:2 feeding (starter:water:flour).
- Mix until no dry flour remains. Scrape down the sides. Mark the level.
- Cover loosely and leave at room temp.
What you are looking for: some bubbles within 12 to 24 hours and a smell that shifts from harsh to pleasantly tangy.
Day 2: Feed again
If it is bubbly but not rising much, that is still progress. If it rose a bit then fell, also good.
- Discard down to 15g starter.
- Feed 30g water + 30g flour.
- Keep at room temp.
Sensory cue: the starter should smell less like acetone and more like yogurt or ripe fruit. Texture should look aerated, not soupy and flat.
Day 3: Boost if needed
If the starter is waking up but still sluggish, you can do one of two things:
- Option A (steady): continue 1:2:2 once per day.
- Option B (boost): do two feedings 12 hours apart at 1:2:2.
Two feedings in one day is often the tipping point for a starter that has been ignored for a long time.
Day 4 and 5: Aim for a predictable rise
Once your starter can reliably double in volume after a feeding, you are close. Keep feeding on a schedule until it doubles consistently.
- If it doubles in 4 to 8 hours at around 75°F after a 1:2:2 feed, it is generally strong enough to bake most loaves.
- If it takes 10 to 12+ hours, keep feeding and keep it warmer, or switch to twice daily feedings for a couple days.
No-scale feeding note: do not do equal parts flour and water by volume. It tends to make a very wet starter. Instead, aim for a thick paste. A workable starting point is about 1/4 cup flour plus 2 tablespoons water (then adjust). If it pours like pancake batter, add a spoonful of flour. If it is so stiff you cannot mix, add a drizzle of water.
How to know it’s back
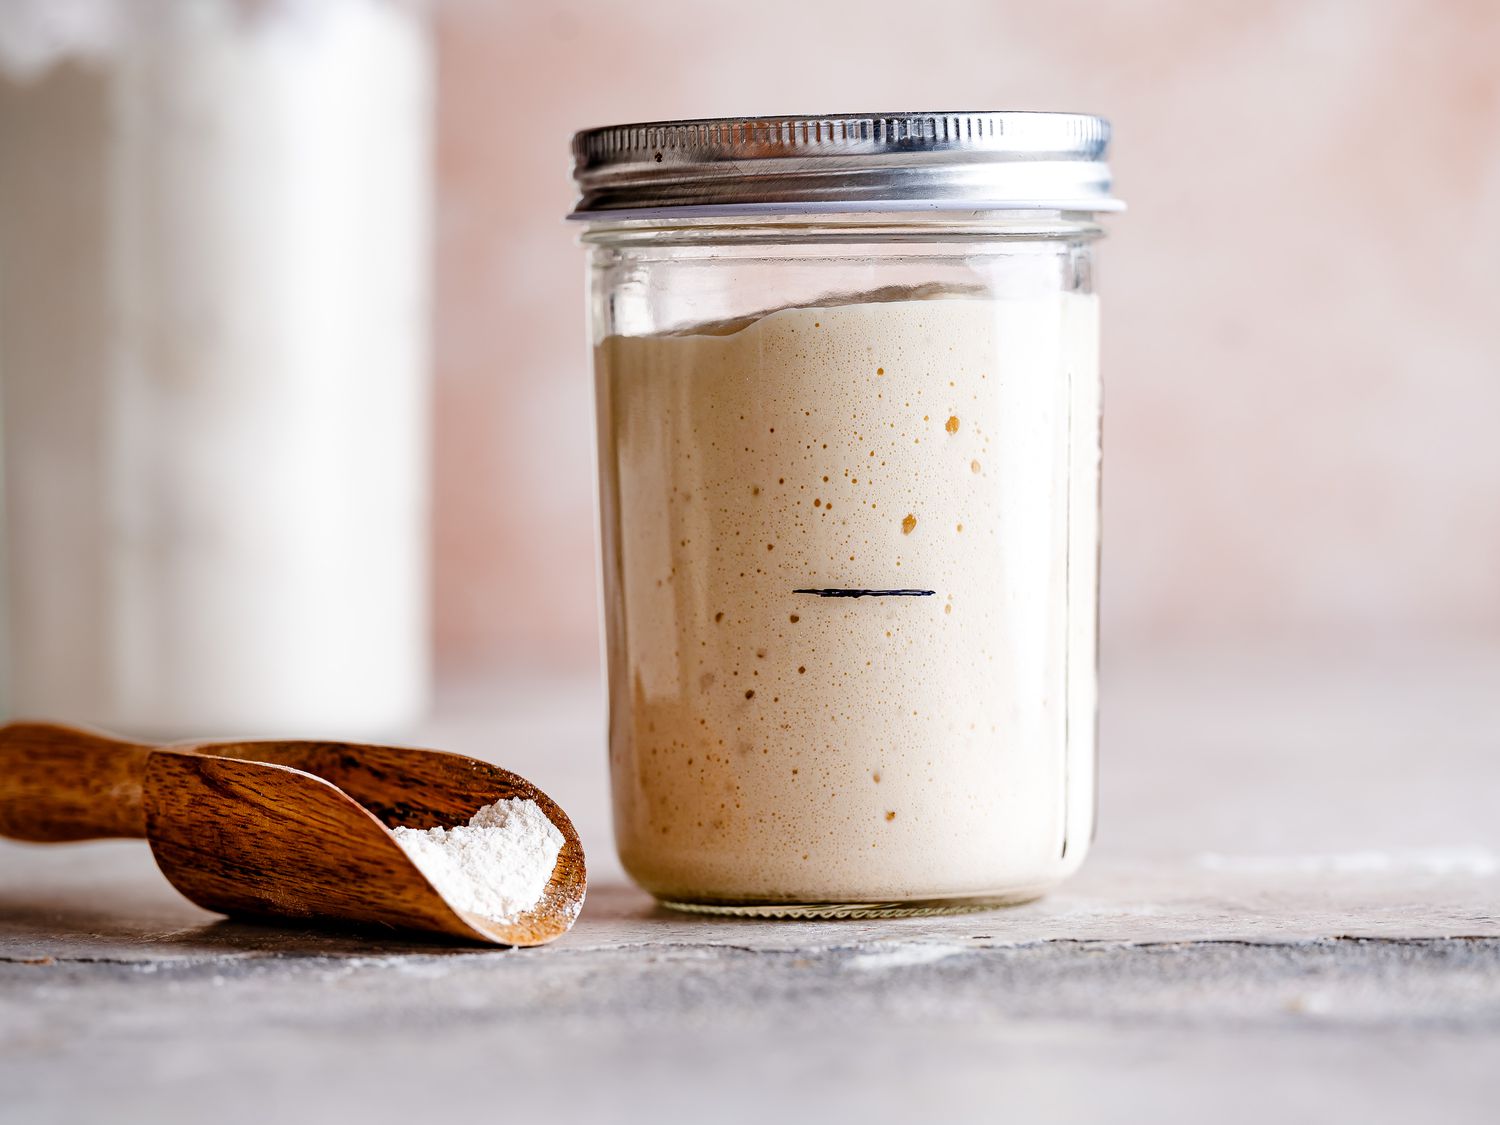
Bubbles are nice, but they are not the whole story. A revived starter is ready when it behaves consistently.
Signs your starter is healthy again
- It doubles after feeding (at least once, ideally for 2 to 3 feedings in a row).
- The rise is even with lots of small bubbles, not just a few big ones on top.
- The smell is clean: tangy, lightly fruity, pleasantly fermented. Not putrid.
- It reaches a peak then begins to deflate. That rise and fall pattern is what you want to learn.
A simple timing test
Feed it 1:2:2 and note:
- Time to show visible activity (bubbles on the sides)
- Time to double
- Time it starts to fall
If those times are similar from one day to the next, your starter is back in a rhythm.
Troubleshooting
“It bubbles, but it won’t rise.”
This usually means the starter is too thin, too cold, or your flour is not giving enough structure.
- Warm it up: aim for 75 to 78°F.
- Thicken the feed: use slightly more flour than water by weight for a couple feedings, like 15g starter + 30g water + 40g flour.
- Try bread flour: higher protein can help trap gas better than some all-purpose flours.
“It smells like nail polish remover.”
Classic hungry starter. Not pleasant, but usually fixable.
- Pour off hooch if present.
- Feed more often for 24 to 48 hours (twice daily).
- Use a slightly higher feeding ratio if it is very acidic, like 1:3:3 (15g starter + 45g water + 45g flour).
“There’s a gray layer on top.”
Often just hooch residue and oxidation. If there is no fuzzy mold and the smell is within normal sour territory, scrape it off or stir it in, then proceed with clean-jar feedings.
“I forgot it for months. Can I still save it?”
Sometimes, yes. If there is no mold and no pink, orange, or red discoloration, try the clean-jar method with a tiny inoculation (10g starter) and do twice daily feedings for several days. If nothing improves by day 5 to 7, it is reasonable to restart from scratch.
Storage after revival
Once it is strong, you have two easy maintenance paths. Pick the one that matches how often you bake.
If you bake often
- Keep it at room temp.
- Feed every 12 to 24 hours depending on how warm your kitchen is.
If you bake occasionally
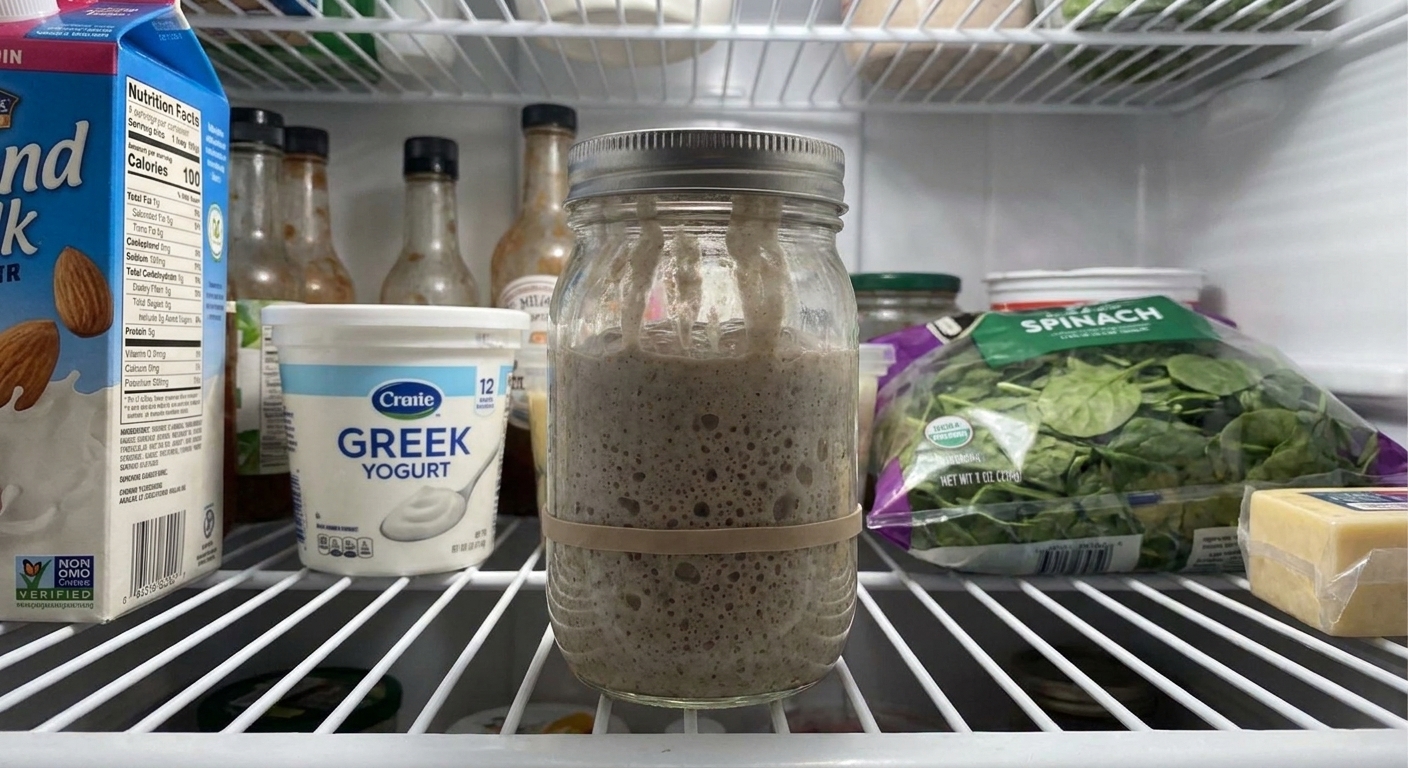
- Feed it, let it start to rise for 1 to 2 hours at room temp, then refrigerate.
- Before baking, bring it back to room temp and give it 2 to 3 strong peaks (usually 1 to 2 days of feedings) so it is lively again.
My favorite low-waste tip
Keep a small starter. You do not need a giant jar unless you are baking for a crowd.
A great “small but mighty” routine is:
- Keep 15g starter
- Feed 30g water + 30g flour
That gives you enough starter to build up for a recipe without producing a mountain of discard on regular days.
FAQ
Should I stir hooch into my starter?
You can. Stirring hooch in increases acidity and keeps more of the fermented flavor. If the smell is extremely sharp, I prefer pouring it off and feeding in a clean jar.
Can I bake with a revived starter right away?
I wait until it doubles predictably after feedings. If you bake too early, your dough may ferment slowly and bake dense. A couple days of consistent feedings usually pays off.
What if I see a little dry crust on top?
Dry crust is common if the lid was not tight. Scrape it off and take starter from underneath, then move to a clean jar and feed. If the crust is fuzzy or colored, discard the whole starter.
Do I need rye flour to revive a starter?
No, but rye can speed things up because it tends to ferment vigorously. If you have it, you can replace 10 to 20 percent of the flour in your feedings with rye for a day or two. All-purpose or bread flour works fine.
Trust the pattern
A neglected starter can look dramatic, especially with hooch and that sharp, fridgey smell. But if there is no mold and no pink, orange, or red discoloration, it is usually a simple case of hunger.
Reset with a small amount, feed it consistently, keep it warm, and watch for the rise and fall rhythm. Once you see that predictable peak again, you are officially back in business.