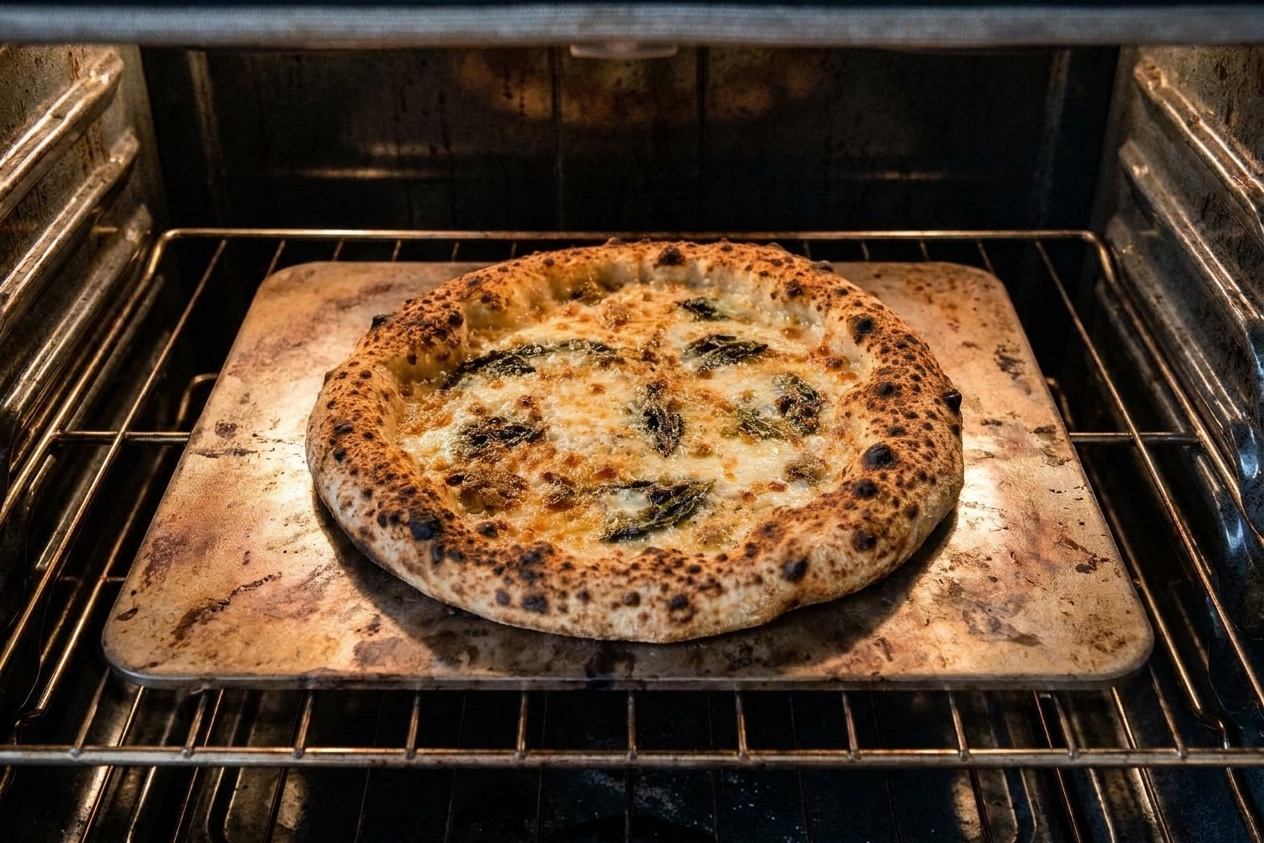

If you have an active sourdough starter in the fridge and a craving for a blistered, crackly pizza rim, this dough is your weeknight upgrade. It is leavened only with sourdough starter, no commercial yeast, and it bakes up with that signature tangy depth, a chewy center, and a crisp bottom when you hit it with serious heat.

I wrote this like I teach in real life: the clock matters, but your dough is the boss. I will give you timing windows, then the sensory cues that tell you when to move on. You will learn what properly fermented pizza dough feels like, how to stretch it without tearing, and how to top it so the crust stays crisp instead of turning into a soggy regret.
Fermentation timing you can actually use
Sourdough pizza is forgiving if you understand the goal. You are building strength first, then letting the dough fill with gas slowly so it bakes up light. Here are two schedules that work well in a normal home kitchen.
Same-day schedule (warmer kitchen, more starter)
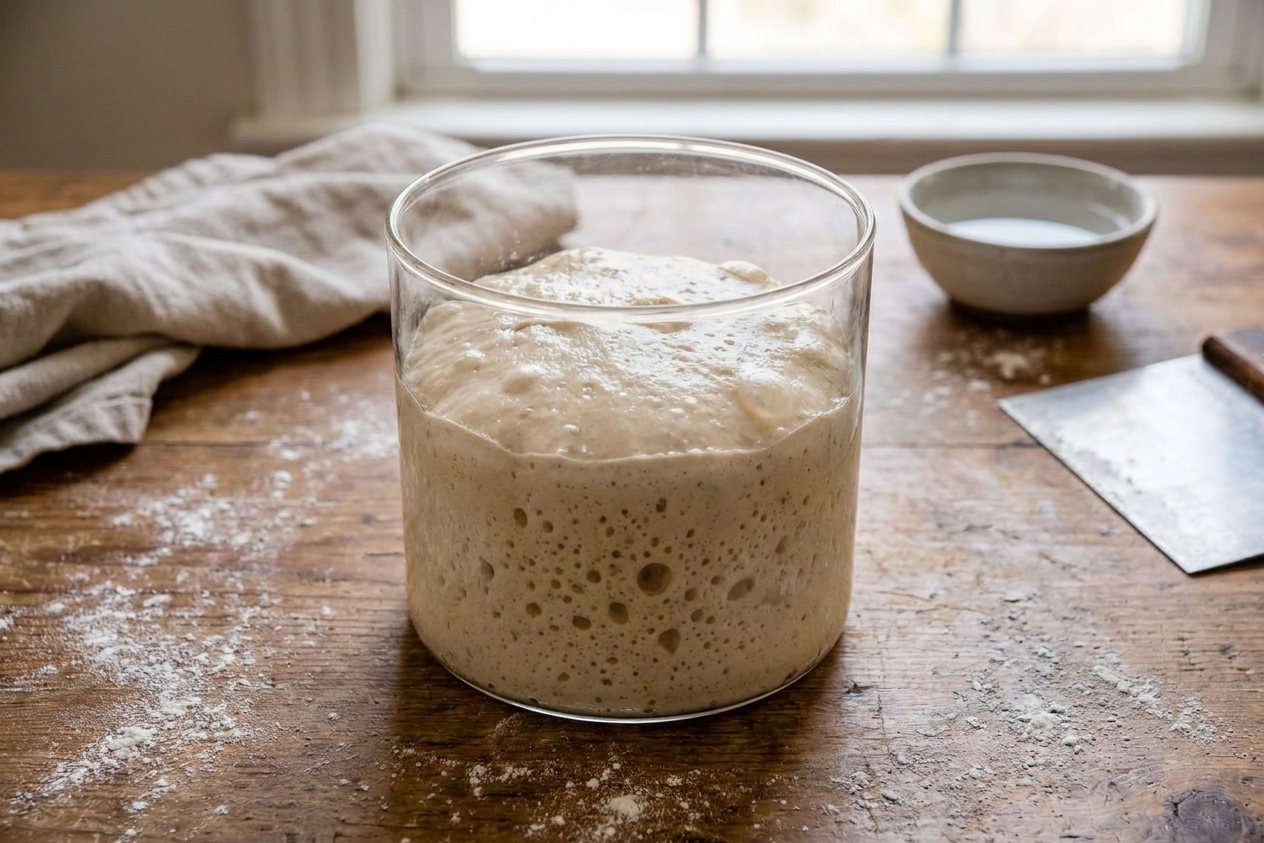
Mix in the morning, do a few folds, let it rise until it looks noticeably puffier, then ball and proof until relaxed and airy. You are aiming for a dough ball that feels buoyant, not tight.
Overnight schedule (best flavor, easiest stretching)
Do the bulk rise at room temp just long enough to get fermentation moving, then refrigerate. Cold dough develops flavor and becomes easier to handle. The next day, bring the dough balls to room temp until they feel soft and extensible before stretching.
Stretch cues for an airy rim
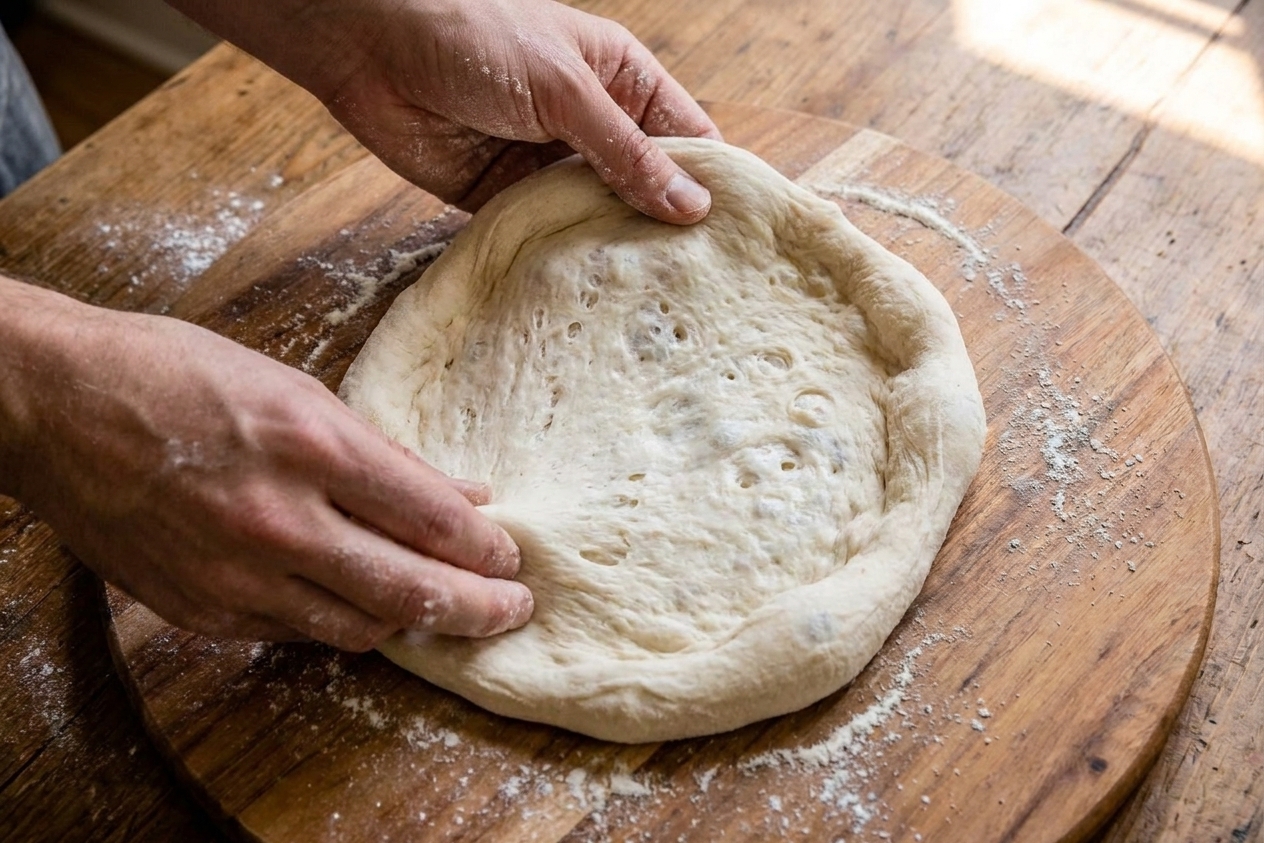
Great sourdough pizza is less about rolling pins and more about protecting the gas you worked so hard to ferment. When your dough is ready, it should feel elastic but cooperative, like it wants to stretch. If it keeps snapping back, it needs more rest. If it tears easily, it is overproofed or under-strengthened.
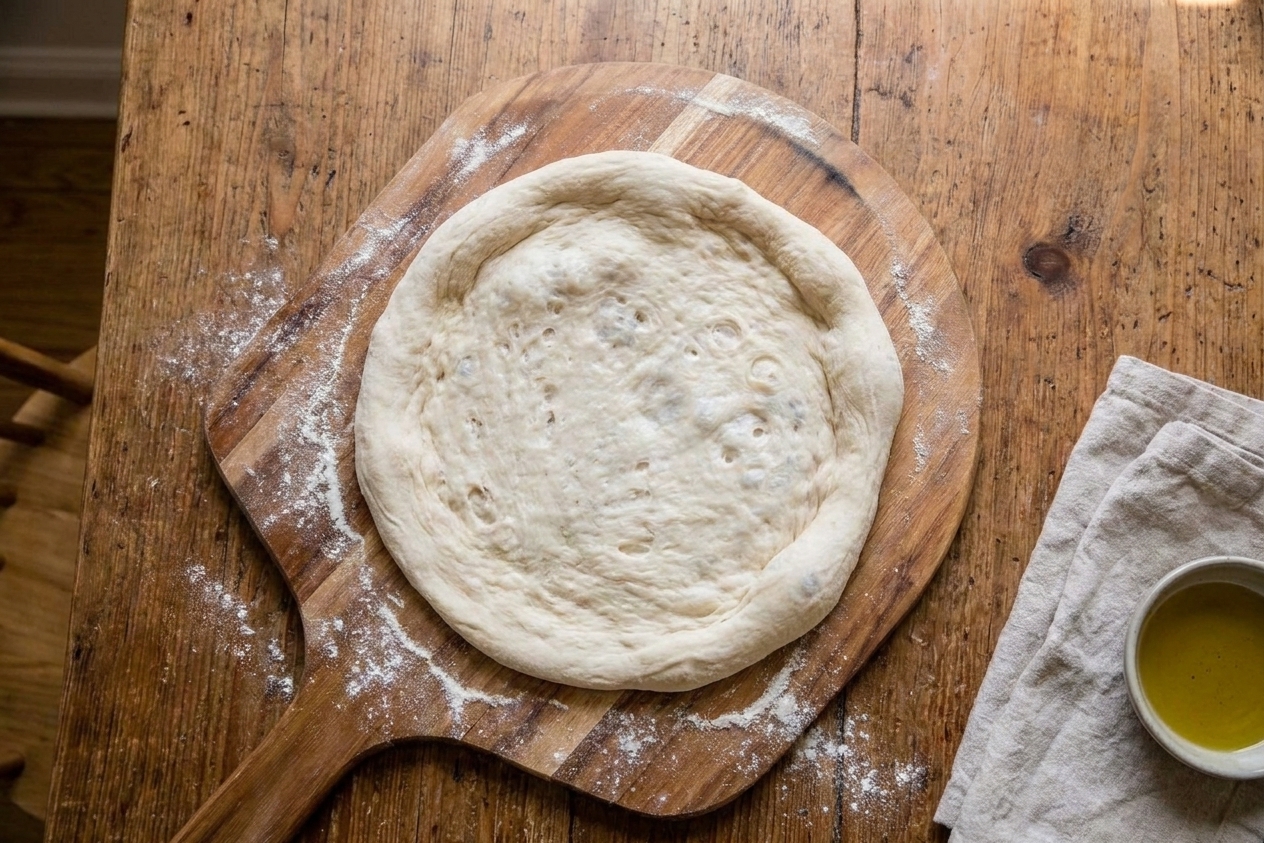
- Press, do not smash: Start by pressing from the center outward, leaving a thicker ring at the edge for the cornicione.
- Lift and stretch: Pick up the dough and let gravity help. Rotate as you go. If it fights you, set it down and rest 10 minutes.
- Stop at “thin enough”: You should be able to see a little light through the center without it feeling fragile.
Sauce and cheese order for a crisp bake
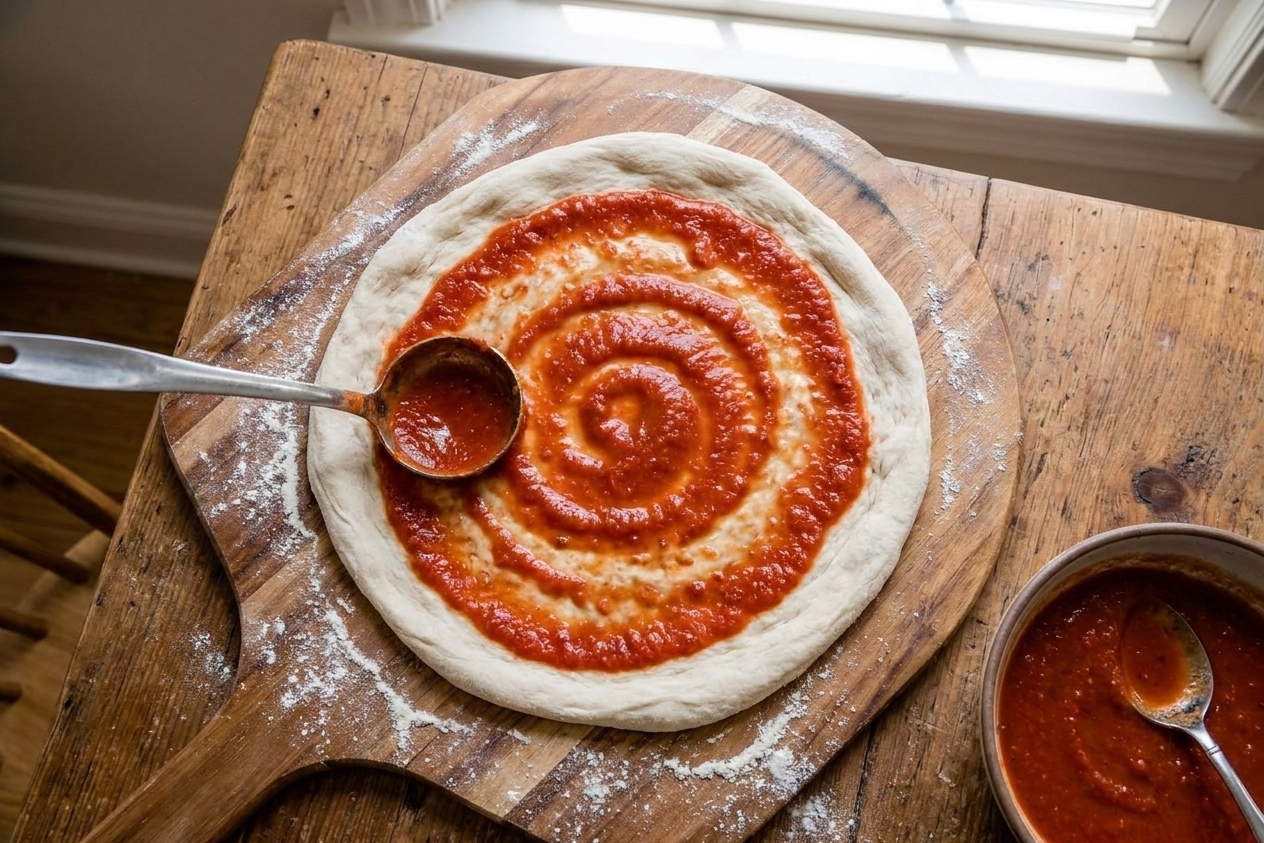
The fastest path to a soggy center is heavy toppings and wet sauce. With sourdough, I like a light hand and a hot, fast bake.
- For classic red sauce: Sauce first in a thin layer, then cheese, then toppings. Keep sauce away from the rim.
- For very wet toppings (fresh mozzarella, mushrooms): Use less sauce and scatter toppings sparingly. Pat fresh mozzarella dry and tear it into small pieces.
- For pesto or white pizza: Cheese first can help protect the dough, then dollops of pesto or ricotta, then toppings.
Hot oven strategy for a crisp rim
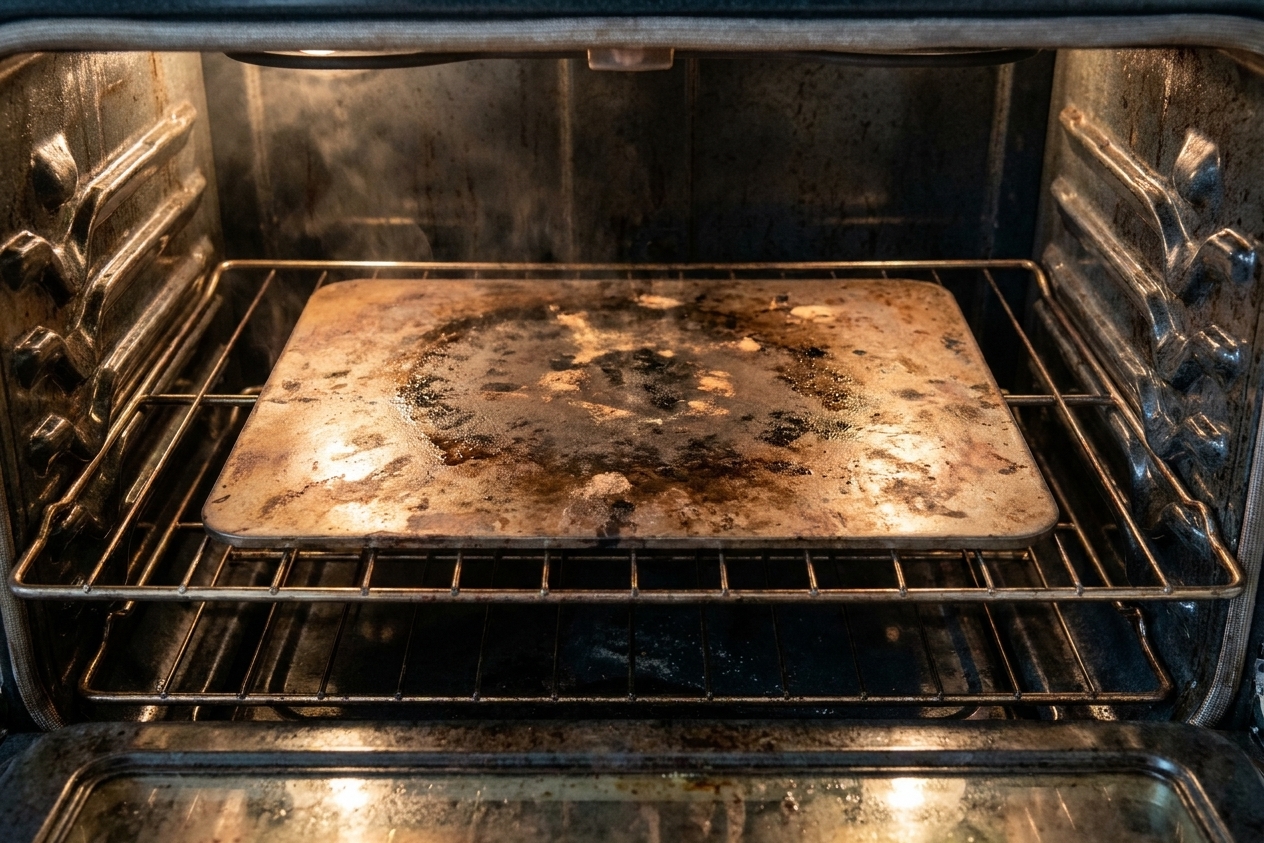
Home ovens can absolutely make great pizza, but you have to preheat longer than you think. A baking steel gives the strongest bottom heat and the best crisp, but a stone works too. The key is mass and time.
- Preheat at max temperature: Give your steel or stone at least 45 to 60 minutes to fully saturate with heat.
- Bake high in the oven: Upper third is my sweet spot for browning the rim without burning the bottom.
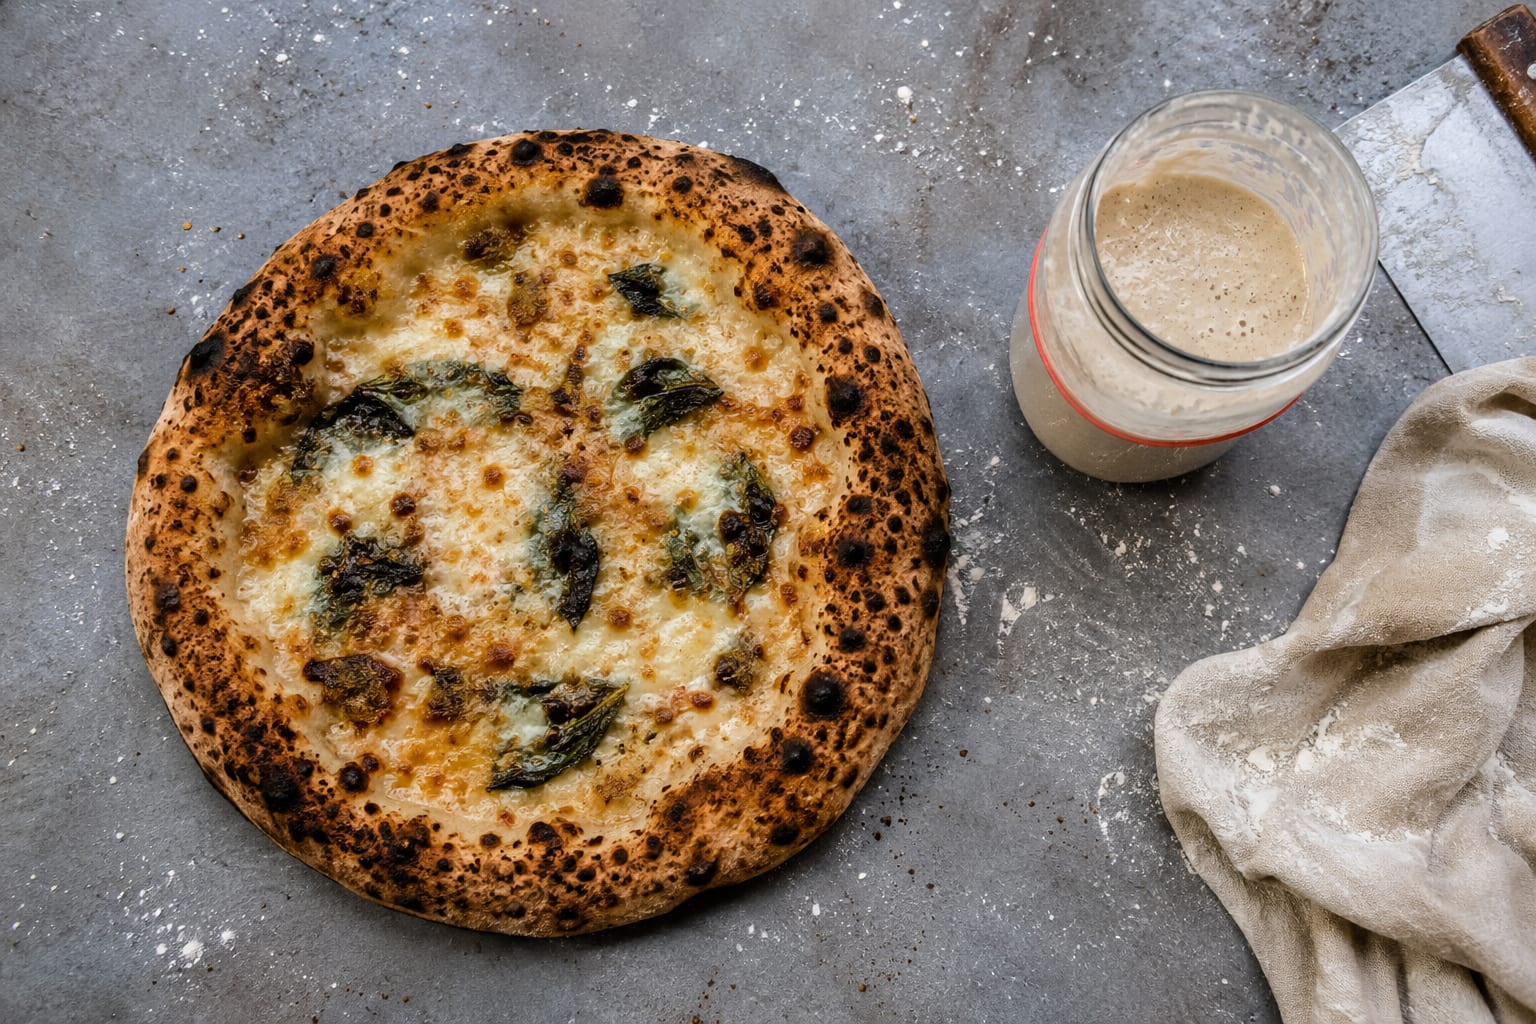
- Finish with broil if needed: If your bottom is crisp but the top needs color, a short broil at the end gets you those leopardy spots fast. Stay there and watch it.
Why this recipe works
- Sourdough starter only: An active starter provides the yeast and bacteria for lift and flavor, so you get a naturally leavened crust with real character.
- Strength plus time: Brief mixing and a few folds build gluten so the dough can trap gas, then fermentation does the rest.
- Cold fermentation option: An overnight rest deepens flavor and makes the dough easier to stretch without tearing.
- High-heat bake on steel or stone: Intense bottom heat sets the crust quickly, creating a crisp base and an airy, blistered rim.
- Smart topping order: Light sauce and mindful cheese placement reduce moisture and help the crust stay crisp.
Ingredient notes
You only need a handful of ingredients, but two details matter a lot: starter strength and salt. When pizza goes wrong, it is usually one of those.
Active sourdough starter
Use starter that is bubbly and recently fed. If it floats in water sometimes and sometimes not, do not panic. Look for volume increase and a webby, aerated texture. For this dough, starter can be used at peak or shortly after peak when it still smells pleasantly tangy and not harshly acetone-like.
Flour
Bread flour gives the chewiest, most resilient stretch. All-purpose flour works too, but the dough may feel slightly softer and less snappy. If you use whole wheat, start with a small portion since it absorbs more water and can make the dough feel tighter.
Water
Use cool to room temperature water. Warm water speeds fermentation, which is useful in a cold kitchen but can push things too fast in summer.
Salt
Salt is not just flavor. It strengthens gluten and helps control fermentation speed. Measure it. This is not the moment to freestyle.
Oil (optional for handling)
This dough does not rely on oil for its structure. A tiny amount can help with bowl and container sticking, especially if you are learning. You can also skip it and use a lightly damp hand for folds.
Equipment you will need
- Pizza steel or pizza stone: Steel bakes crisper and faster, stone still works well.
- Pizza peel: Wood for launching is easiest, metal works too if well floured.
- Digital scale: Strongly recommended for consistent hydration and salt.
- Large bowl or dough tub: Clear is helpful so you can see bubbles and rise.
- Bench scraper: Makes dividing and balling cleaner and faster.
- Instant-read thermometer (optional): Handy for checking water temp and dough temp if you like precision.
Pro tips
- Choose a schedule, then watch the dough: In Portland, my kitchen swings seasonally. In winter, fermentation can take longer. In summer, it moves fast. Look for visible puffing and a dough that feels airy and alive.
- Use the poke test for dough balls: Press a floured finger gently into the dough ball. If the dent springs back slowly and does not fully disappear, it is usually ready to stretch.
- Rest beats wrestling: If the dough snaps back while stretching, cover it and rest 10 minutes. You will save the gluten and your mood.
- Prevent peel sticking: Use a light dusting of flour or fine semolina on the peel, then shake the peel before launching. If the pizza slides, you are safe.
- Less sauce than you think: For a 10 to 12 inch pizza, a few tablespoons is often enough. You should still see dough through the sauce in spots.
- Dry fresh mozzarella: Pat it with paper towels, then tear into small pieces. This helps prevent puddles that steam the crust.
Substitutes that work
- All-purpose flour instead of bread flour: Works well. Expect slightly less chew and a softer dough. Hold back a small splash of water at mixing if your dough feels overly slack.
- Whole wheat flour (partial): Swap in 10 to 20% whole wheat for a nuttier flavor. Add water as needed since whole wheat is thirstier.
- Pizza stone instead of steel: Absolutely fine. Preheat longer and expect a minute or two more bake time.
- No peel: Shape on parchment, top quickly, then slide parchment and pizza onto the hot steel. After 2 to 3 minutes, you can tug the parchment out to finish directly on the steel.
Variations
Thicker pan-style sourdough pizza
Press the dough into a preheated cast iron skillet or sheet pan, let it relax and puff, then top lightly and bake until deeply browned. Keep toppings restrained so the center cooks through.
Extra-tangy dough
Use the overnight schedule and let the dough spend more time cold. The flavor deepens, and the dough becomes easier to stretch without tearing.
More blistered rim
Use a steel, bake high in the oven, and finish with a brief broil to spot the rim. The broil step is fast, so do not walk away.
Serving ideas
- Simple Margherita: Thin tomato sauce, low-moisture mozzarella, a few pieces of dried fresh mozzarella, then basil after baking.
- Fridge-cleanout pizza: Small amounts of odds and ends: roasted vegetables, a few slices of cured meat, scattered olives. Keep it light so the crust stays crisp.
- Acid finishes everything: A squeeze of lemon over a white pizza, pickled onions on veggie pizza, or a drizzle of good vinegar on mushrooms brings the whole thing into balance.
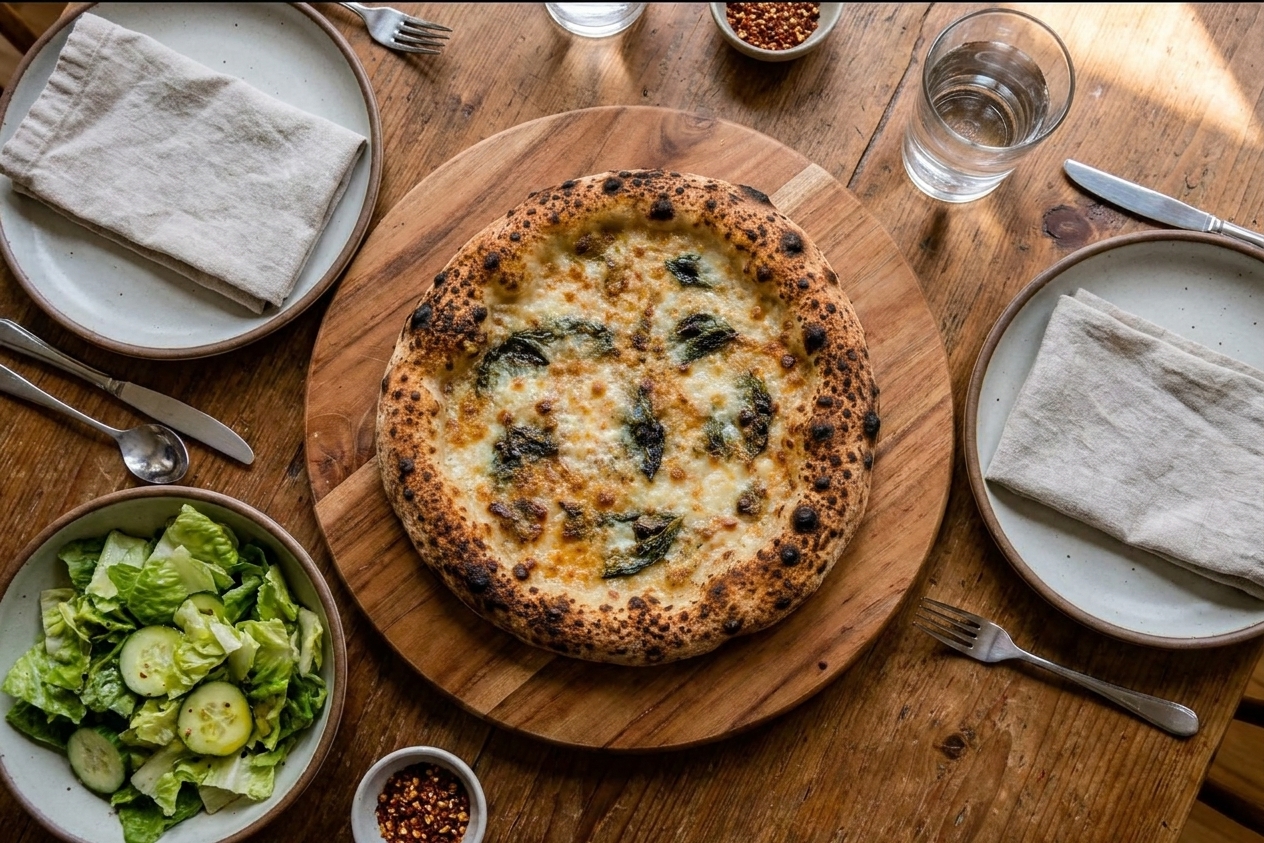
- Serve with crunch: A simple salad with a sharp vinaigrette is my favorite counterpoint to chewy crust and melty cheese.
Storage and reheating
Pizza is best right away, but leftovers can still be excellent if you reheat with dry heat.
- Refrigerate: Store slices in an airtight container for up to 3 days.
- Reheat for crispness: Warm slices in a dry skillet over medium heat until the bottom is crisp, then cover for 30 to 60 seconds to melt the cheese.
- Oven reheat: Place slices on a preheated steel or sheet pan at 450°F until hot and crisp.
- Freeze: Freeze slices in a single layer until firm, then bag. Reheat from frozen in a hot oven.
Common mistakes
- Using sleepy starter: If your starter has not been fed recently or looks flat, the dough will ferment slowly and bake dense. Feed it, wait for visible activity, then mix.
- Under-fermenting: Dough that feels tight and heavy will be hard to stretch and will bake up bready. Give it more time until it feels airy and relaxed.
- Overproofing the dough balls: If the dough tears easily and feels fragile, it may be overproofed. Chill briefly to firm it up, handle gently, and expect a slightly flatter rim.
- Too much flour during shaping: Excess bench flour can burn on the steel and make the crust bitter. Use just enough to prevent sticking.
- Not preheating long enough: A hot oven is not the same as a hot steel. Give it time or you will get pale crust and a soft bottom.
- Overloading toppings: Heavy toppings steam the dough and slow baking. Keep it light and balanced.
FAQ
Can I make this dough with 100% starter and no added water?
For pizza, I do not recommend it. Starter alone makes it hard to control hydration and salt, and the dough tends to ferment unpredictably. Using starter plus measured flour, water, and salt gives you repeatable results.
How do I know when bulk fermentation is done?
Look for a noticeable rise, bubbles along the sides, and a dough that feels smoother and lighter when you lift it. It should jiggle slightly and release from the bowl more easily.
Why is my dough snapping back when I stretch it?
It usually needs more rest. Cover it and wait 10 minutes. If it is consistently tight, it may also be underproofed or too cold.
Do I have to use a pizza steel?
No, but it helps. A stone works and so does an inverted sheet pan preheated thoroughly. The goal is strong bottom heat.
Should I par-bake the crust?
With a properly preheated steel and a reasonably topped pizza, you should not need to. If you like extra-crisp centers or you tend to overload toppings, a short par-bake can help.
Sourdough Pizza Crust
Naturally leavened sourdough pizza crust with a crisp bottom and chewy, blistered rim, baked hot on a steel or stone with clear fermentation and stretching cues.
- Prep
- 25 minutes
- Cook
- 8 to 12 minutes per pizza
- Total
- 8 to 24 hours (mostly fermentation)
- Yield
- 2 (makes two 10 to 12-inch crusts)
Ingredients
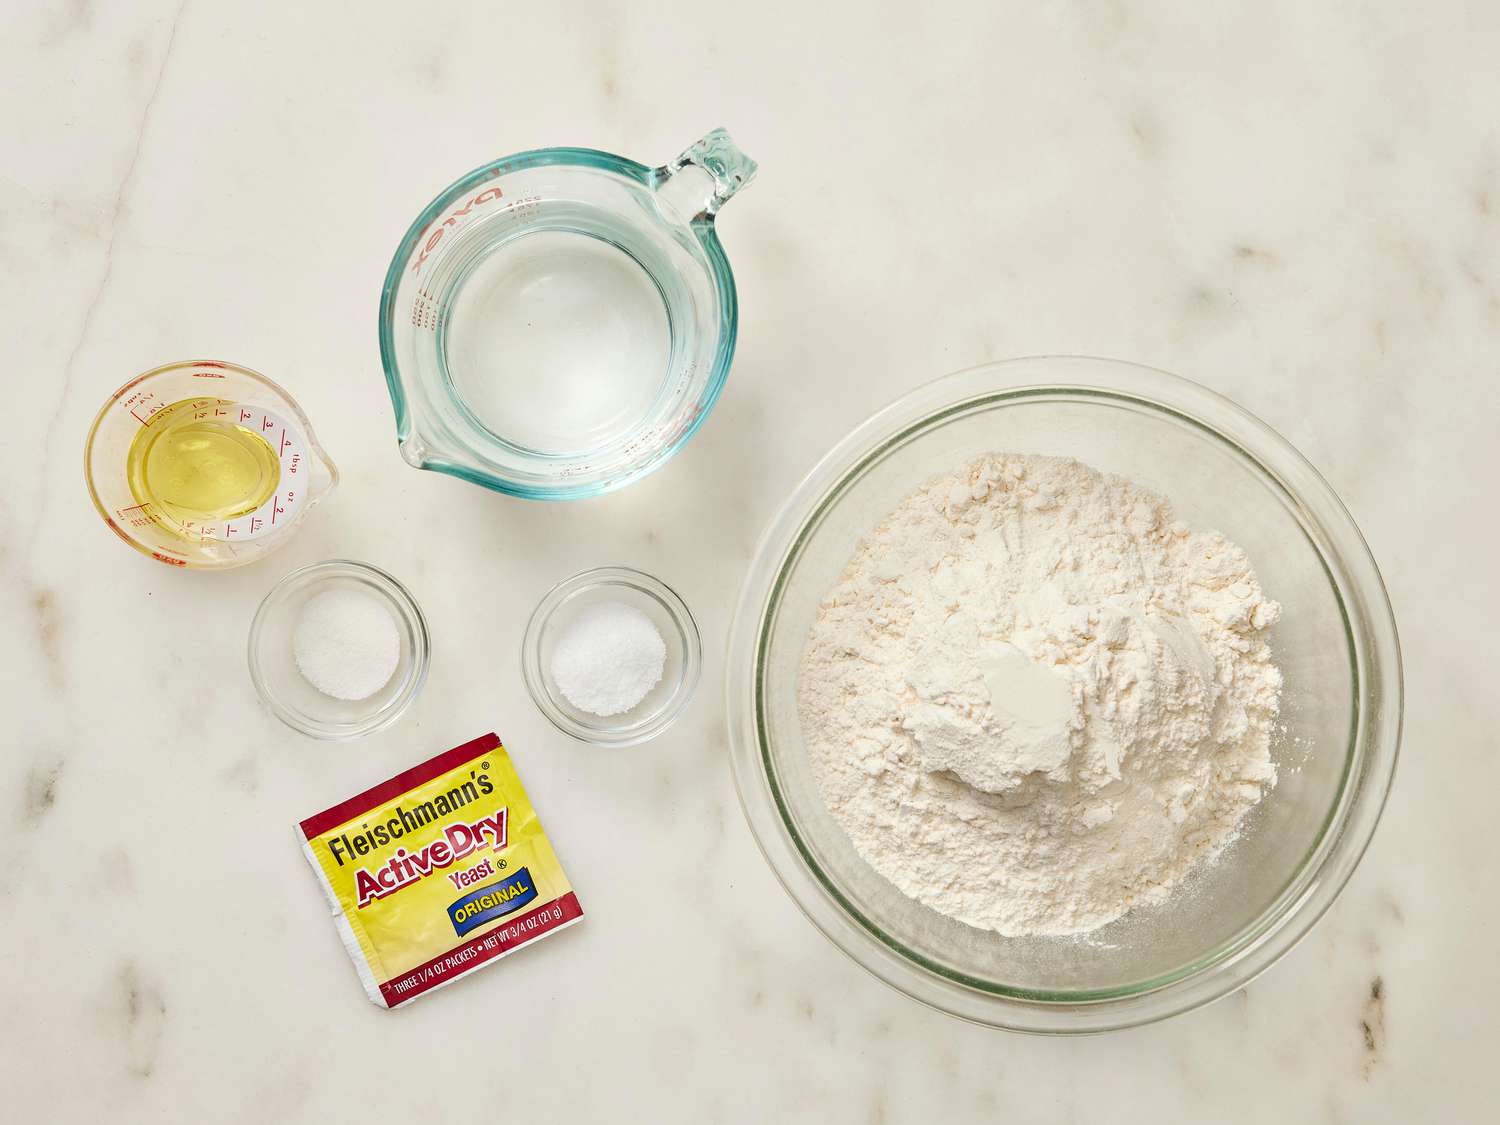
- 100 g active sourdough starter (100% hydration)
- 350 g warm to room-temperature water
- 500 g bread flour (or all-purpose flour)
- 10 g fine sea salt
- 5 g olive oil, optional (for container and handling)
- Semolina or flour, for dusting the peel
Instructions
- Mix the dough. In a large bowl or dough tub, whisk together the starter and water until mostly dissolved. Add the flour and mix until no dry flour remains. Cover and rest 20 minutes.
- Add salt. Sprinkle the salt over the dough. Wet your hand and squeeze and fold the dough until the salt is fully incorporated and the dough feels more cohesive, 1 to 2 minutes. If using the olive oil, drizzle it into the bowl now and fold once or twice to coat lightly.
- Build strength with folds. Over the next 1 1/2 to 2 hours, do 3 to 4 sets of stretch-and-folds (or coil folds) every 30 minutes. The dough should go from shaggy to smooth and elastic.
- Bulk ferment. Let the dough rise at room temperature until it looks noticeably puffier and shows bubbles along the sides, 3 to 6 hours depending on starter strength and kitchen temperature. It should feel lighter and more airy when you lift an edge.
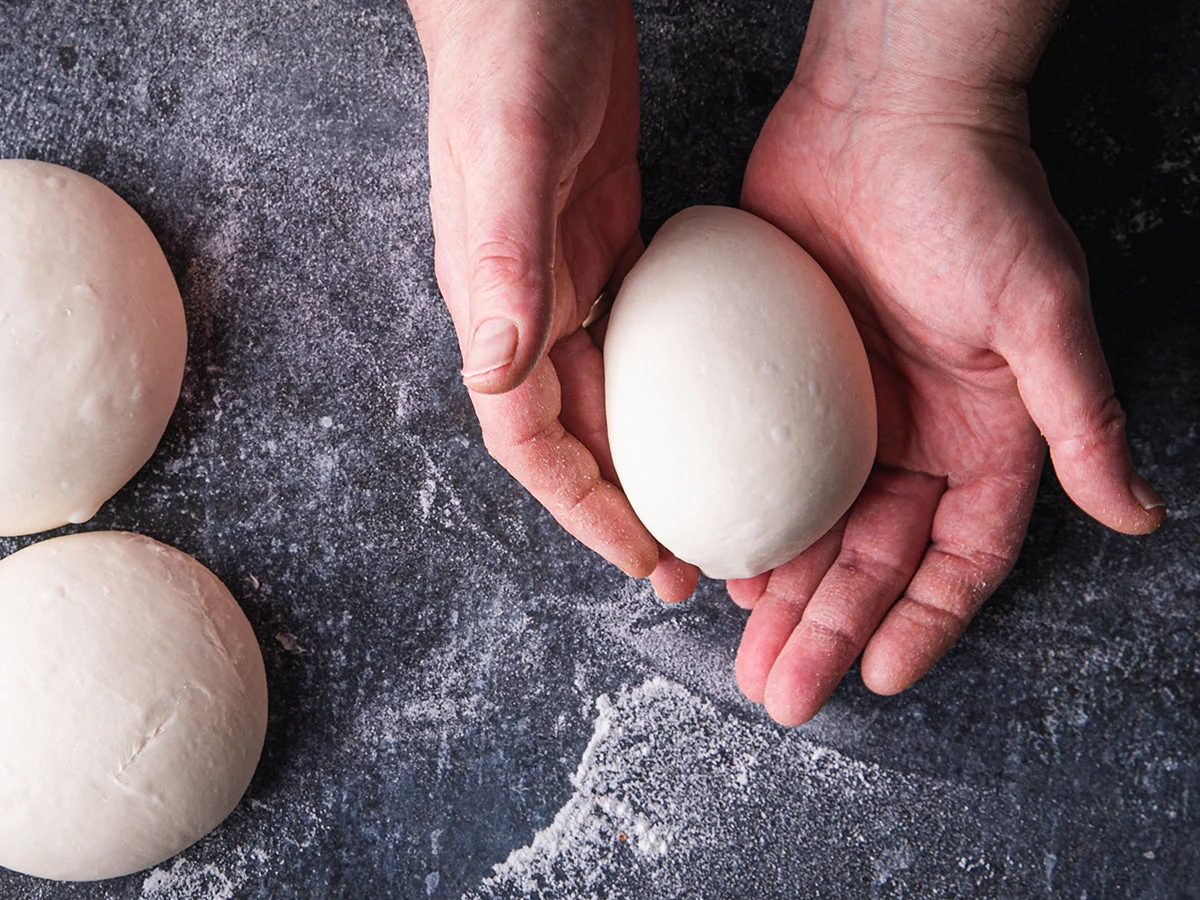
- Divide and ball. Turn the dough out onto a lightly floured counter. Divide into 2 equal pieces (about 480 g each). Shape each into a tight dough ball by tucking edges under until the top is smooth. Place in lightly oiled containers or on a tray covered well.
- Final proof. Let dough balls proof until relaxed and puffy, 1 to 3 hours at room temperature. A gentle poke should spring back slowly and leave a slight dent. (For overnight fermentation, cover and refrigerate 12 to 48 hours, then bring to room temperature until soft and stretchy, usually 1 1/2 to 3 hours.)
- Preheat the oven and steel. Place a pizza steel or stone on a rack in the upper third of the oven. Preheat to the oven’s maximum temperature, ideally 500 to 550°F, for 45 to 60 minutes.
- Shape the dough. Dust the counter and the top of a dough ball lightly with flour. Flip it out and gently press from the center outward, leaving a thicker rim. Lift and stretch, rotating as you go, until 10 to 12 inches. If it resists, rest the dough 10 minutes and continue.
- Transfer to the peel. Dust the peel lightly with semolina or flour. Lay the stretched dough on the peel and give it a quick shake to confirm it slides freely.
- Top strategically. Add a thin layer of sauce, then cheese, then toppings, keeping everything light and sauce away from the rim. Pat wet ingredients dry and avoid piling toppings in the center.
- Bake. Launch the pizza onto the hot steel or stone. Bake until the rim is blistered and deeply golden and the bottom is crisp, 8 to 12 minutes. Rotate once if your oven has hot spots.
- Optional broil finish. If you want more color on top, switch to broil for 30 to 90 seconds at the end. Watch continuously.
- Cool briefly, then slice. Let the pizza rest 1 to 2 minutes so cheese sets slightly, then slice and serve. Repeat with the second dough ball.
Notes
Fermentation is temperature-dependent: If your kitchen is cool, expect longer rises. If it is warm, shorten the times and watch the dough closely.
Best dough feel: Properly proofed dough balls feel soft, airy, and easy to stretch. Tight dough needs more rest. Fragile, tearing dough is likely overproofed.
Stone vs steel: A steel usually bakes faster and crisper. With a stone, add a minute or two as needed and preheat thoroughly.