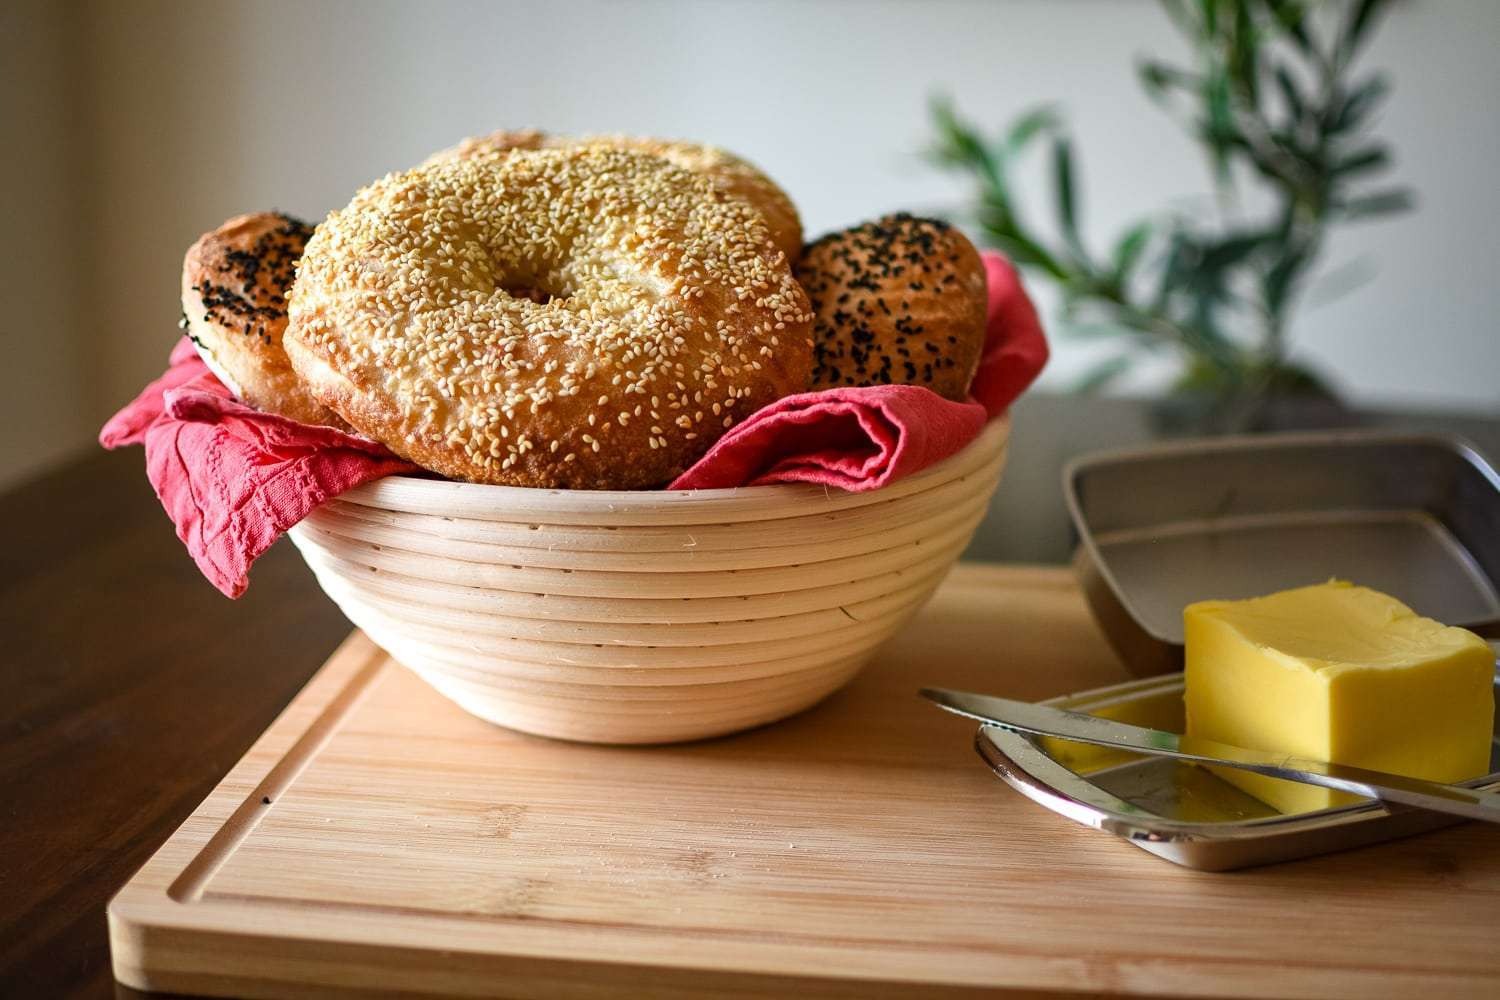

Bagels are one of those breads that feel like a flex, but the process is actually very teachable once you know what you are aiming for: a stiff dough (which helps the bagels hold their shape), a tight shape (so you get that smooth skin), and a brief boil before baking (so you get that classic chew and a crust that sets fast).

I stopped being intimidated by bagels when I started treating them like a simple checklist: develop gluten, rest, shape tightly, proof briefly, boil briefly, bake hot. The boil is the defining bagel move, not the only thing that matters, but it is the step that keeps them from turning into round bread rolls with a hole. It sets the exterior early, which is where that satisfying chew begins.
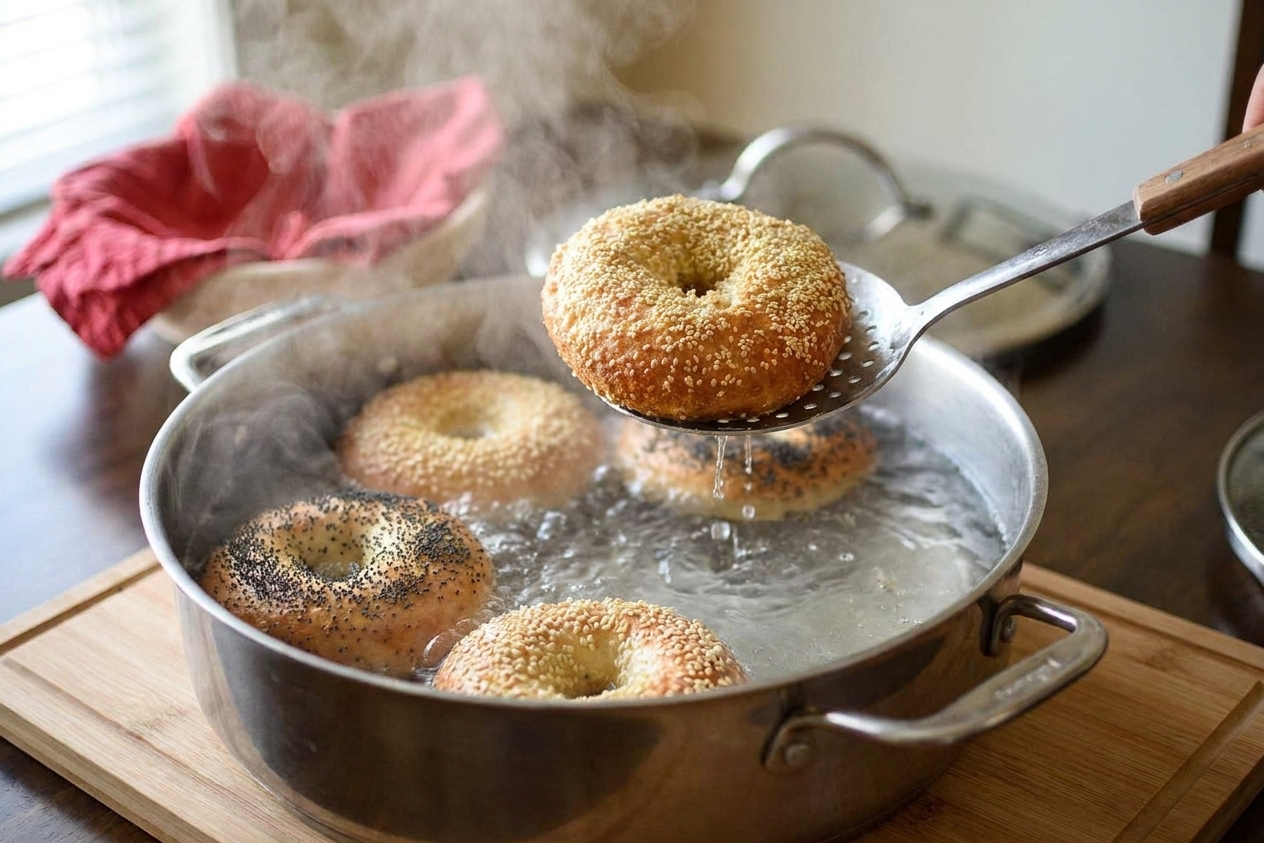
In this recipe, the boil water gets a spoonful of barley malt syrup or honey. That little bit of sugar helps with browning and adds a subtle classic bagel-shop sweetness. The shine mostly comes from the boil itself, when the surface starches gelatinize, then bake into a smooth, lacquered crust.
This dough uses an active sourdough starter for flavor and lift. You can bake the same day, but my favorite schedule is the overnight option because it spreads the work out and, in most kitchens, builds a deeper tang while keeping the dough easy to handle. Cold fermentation slows things down and can help keep the dough more structured, though flour choice, hydration, starter acidity, and fridge temperature still matter.
Expect a dough that feels firm and a little stubborn at first. That's perfect. You should be able to pick up a piece and feel it hold its shape rather than drape. If you have only ever baked high hydration loaves, this will feel like a new sport. Stick with it, and you will be rewarded with that classic bagel chew.
Why this recipe works
- Stiff dough equals true bagel chew. Lower hydration keeps the crumb tight and the shape clean, so the bagels do not balloon like rolls.
- Strong gluten development gives you a smooth skin. That taut outer layer is what bakes up shiny and crisp after the boil.
- A brief boil sets the crust. The simmer gelatinizes surface starches and helps create that signature chewy exterior.
- A little sugar in the boil boosts browning. Barley malt syrup or honey helps push the bagels toward that deep, golden finish.
- Short, controlled proofing prevents flat bagels. Bagels should feel slightly puffy, not airy. Underproofed bagels tear. Overproofed bagels can collapse in the water.
- Overnight fermentation boosts flavor and flexibility. A cold rest slows things down so you can bake when it fits your day.
Ingredient notes
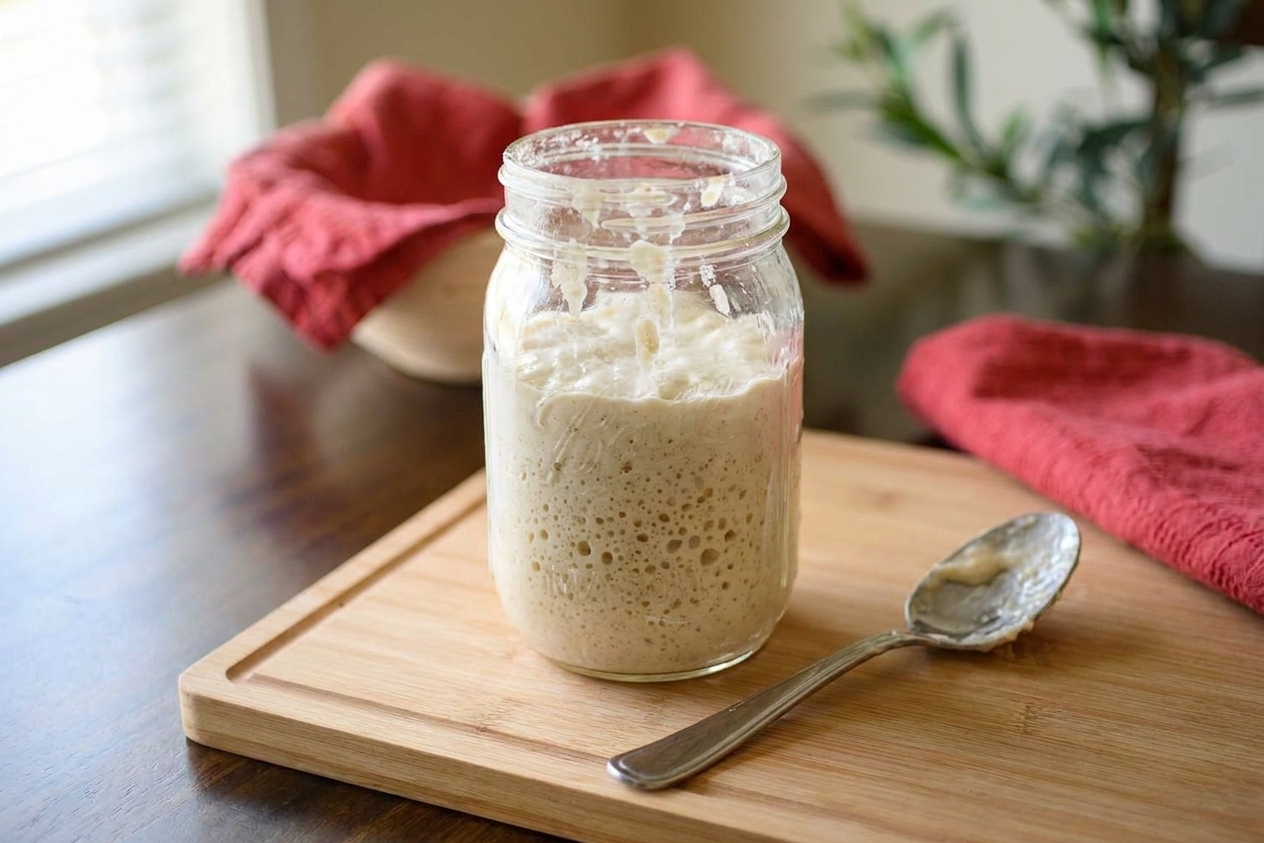
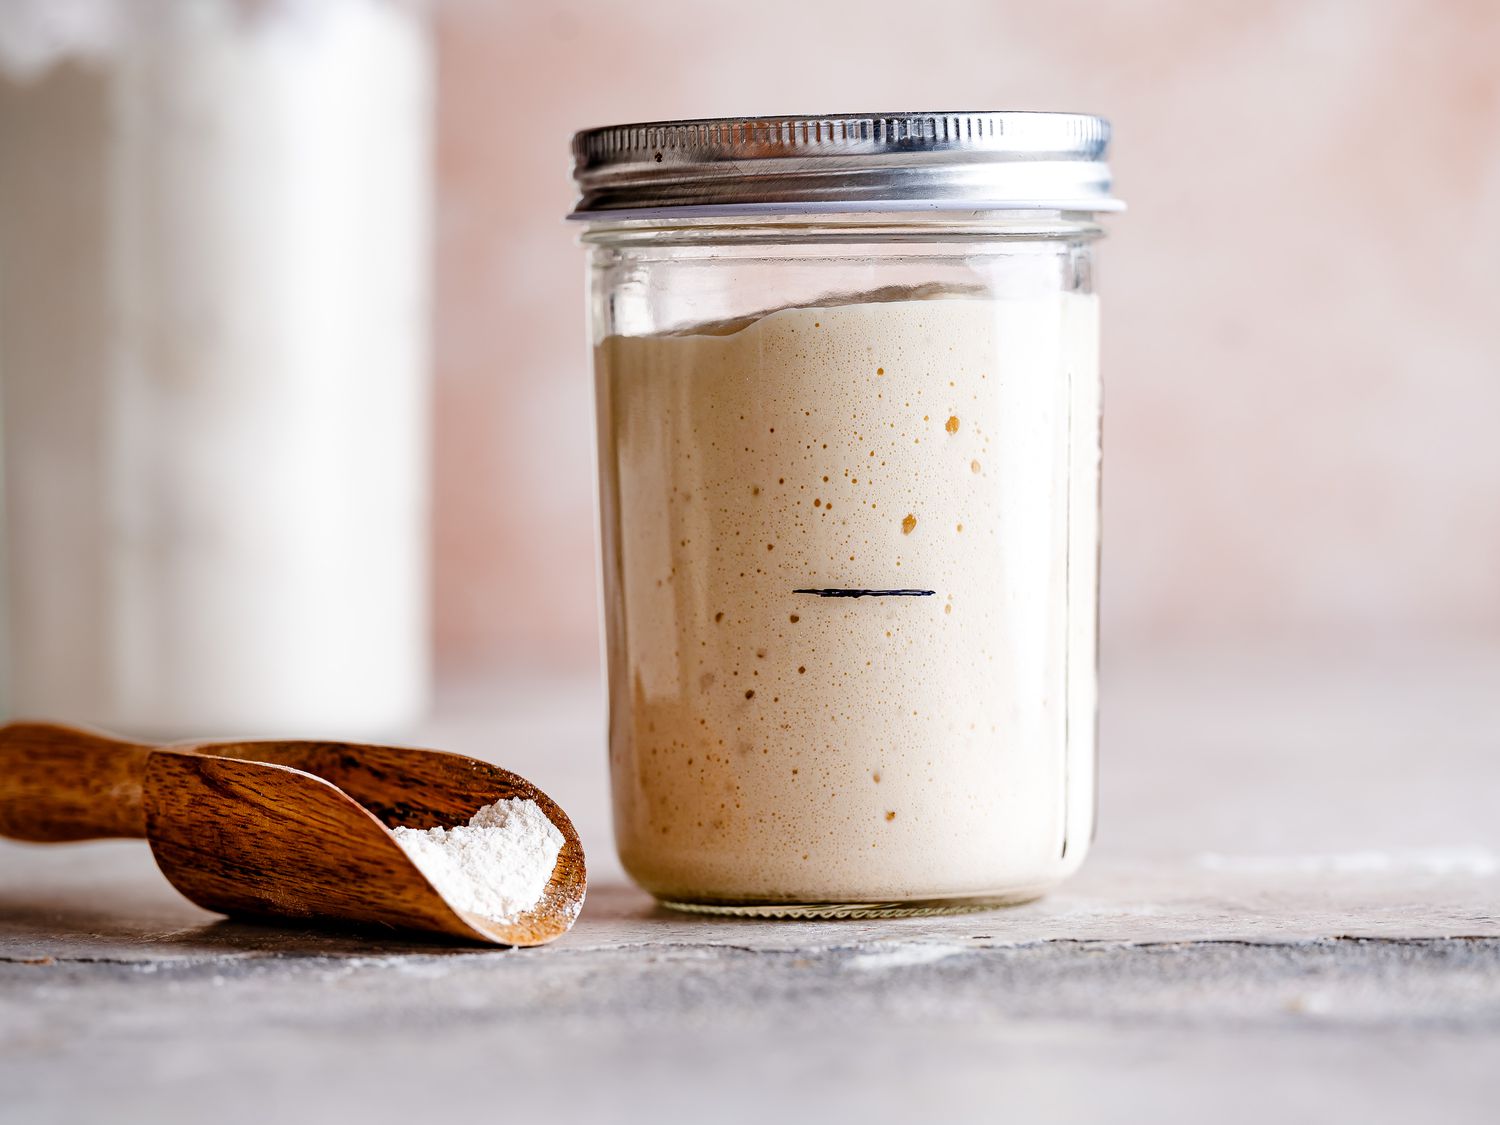
- Active sourdough starter: Use starter that is at or near peak and smells pleasantly tangy, not sharply acidic. If it floats in water, great, but bubbles and rise are the real indicators.
- Bread flour: Higher protein helps chew and structure. All purpose works in a pinch, but the bagels will be a touch softer.
- Salt: Bagels need enough salt to taste like something. If your bagels taste bland, it is usually not fermentation. It is salt.
- Sweetener for the boil (barley malt syrup or honey): Barley malt syrup gives the most classic bagel shop flavor and color. Honey is an easy, widely available substitute and still encourages browning.
- Optional toppings: Sesame, poppy, everything seasoning, dehydrated onion or garlic. Add toppings right after boiling while the surface is still tacky.
Equipment you will need
- Kitchen scale: A stiff dough is much easier to get right by weight.
- Stand mixer (optional): Helpful because bagel dough is tough, but you can knead by hand.
- Bench scraper: Makes dividing and rounding cleaner.
- Large wide pot: Wide enough to boil several bagels without crowding.
- Slotted spoon or spider: For safe transfers in and out of boiling water.
- Sheet pans + parchment: Parchment helps prevent sticking. If you have it, a light dusting of semolina on the parchment is extra insurance.
- Wire rack (optional): Useful for draining briefly after the boil.
Pro tips
- Aim for firm, not dry. The dough should feel dense and smooth. If it is crumbling, give it a 10 minute rest and continue kneading. Resting lets flour hydrate.
- Use the poke test before boiling. Gently press a fingertip into a shaped bagel. If it springs back quickly, it needs more time. If it springs back slowly and leaves a slight dent, it is ready.
- Boil time controls chew. Longer boils create a thicker, chewier crust. Shorter boils bake up a little lighter. Keep it consistent across the batch.
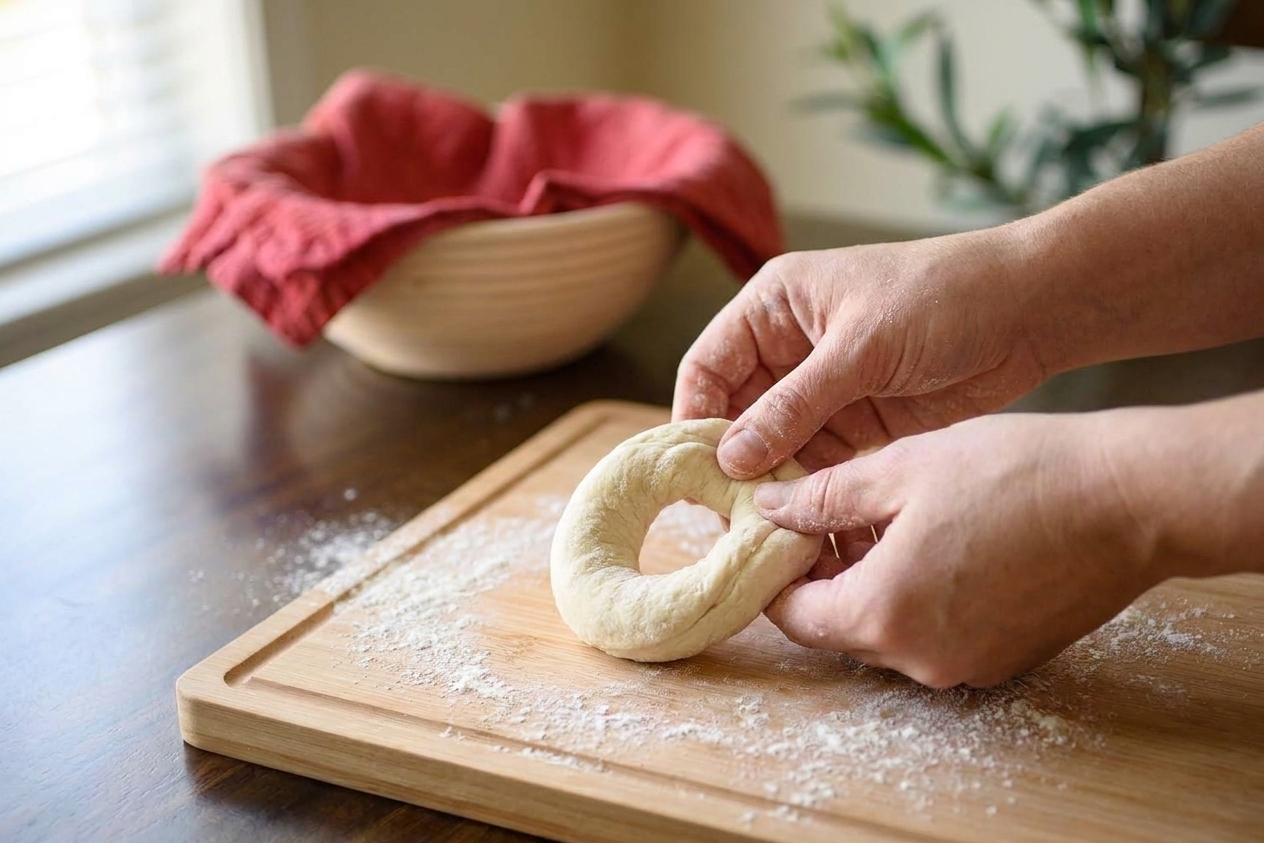
- Seal the ring well. If you do the rope method, overlap generously and pinch hard, then roll the seam under your palm to lock it in.
- For extra shine: Do not skip the boil. The shine comes from gelatinized starch, not from egg wash.
Substitutes that work
- Barley malt syrup: Swap in honey or brown sugar in the boil. You will still get color and gloss, just a slightly different flavor.
- Bread flour: All purpose flour works. Expect slightly less chew and a bit more spread.
- Everything seasoning: Use a mix of sesame seeds, poppy seeds, flaky salt, and dried onion and garlic, or just choose one topping.
Variations
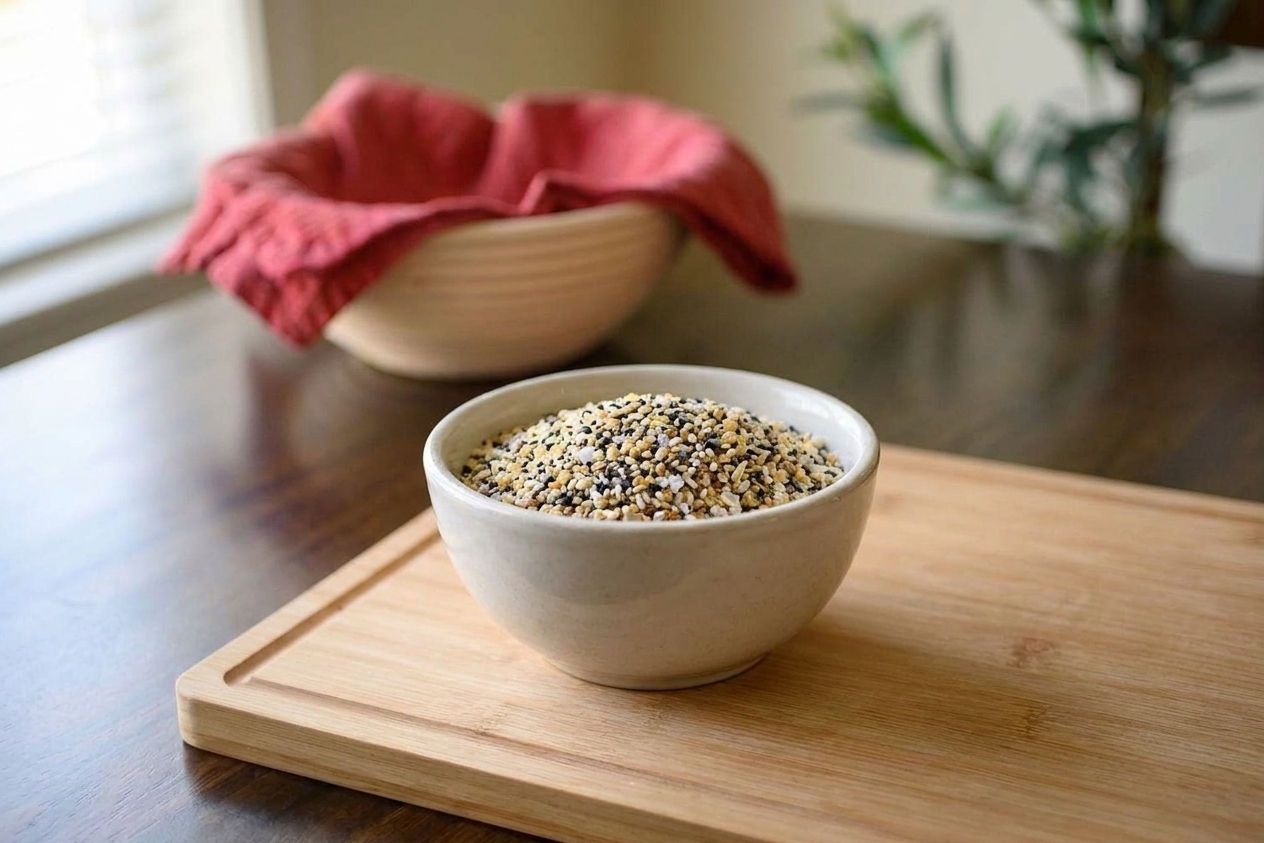
- Everything bagels: Top immediately after boiling so the seasoning sticks well.
- Sesame or poppy: Dip the top of each wet bagel into a shallow plate of seeds.
- Cinnamon raisin: Knead raisins in at the end of mixing, then add a little cinnamon with the dry ingredients. Keep the boil sweetener as honey for a nice aroma.
- Whole wheat (partial): Replace a portion of the flour with whole wheat for a nuttier flavor. Whole wheat absorbs more water, so watch dough feel and add water only if needed.
Serving ideas
- Classic: Toasted bagel with cream cheese, flaky salt, and lemon zest for brightness.
- Breakfast sandwich: Egg, sharp cheddar, and something acidic like pickled onions or hot sauce.
- Smoked fish board: Cream cheese, capers, sliced tomato, cucumber, red onion, and lots of black pepper.
- Food waste win: Use day old bagels for bagel chips or savory bread pudding. Stale bagels are basically croutons waiting to happen.
Storage and reheating
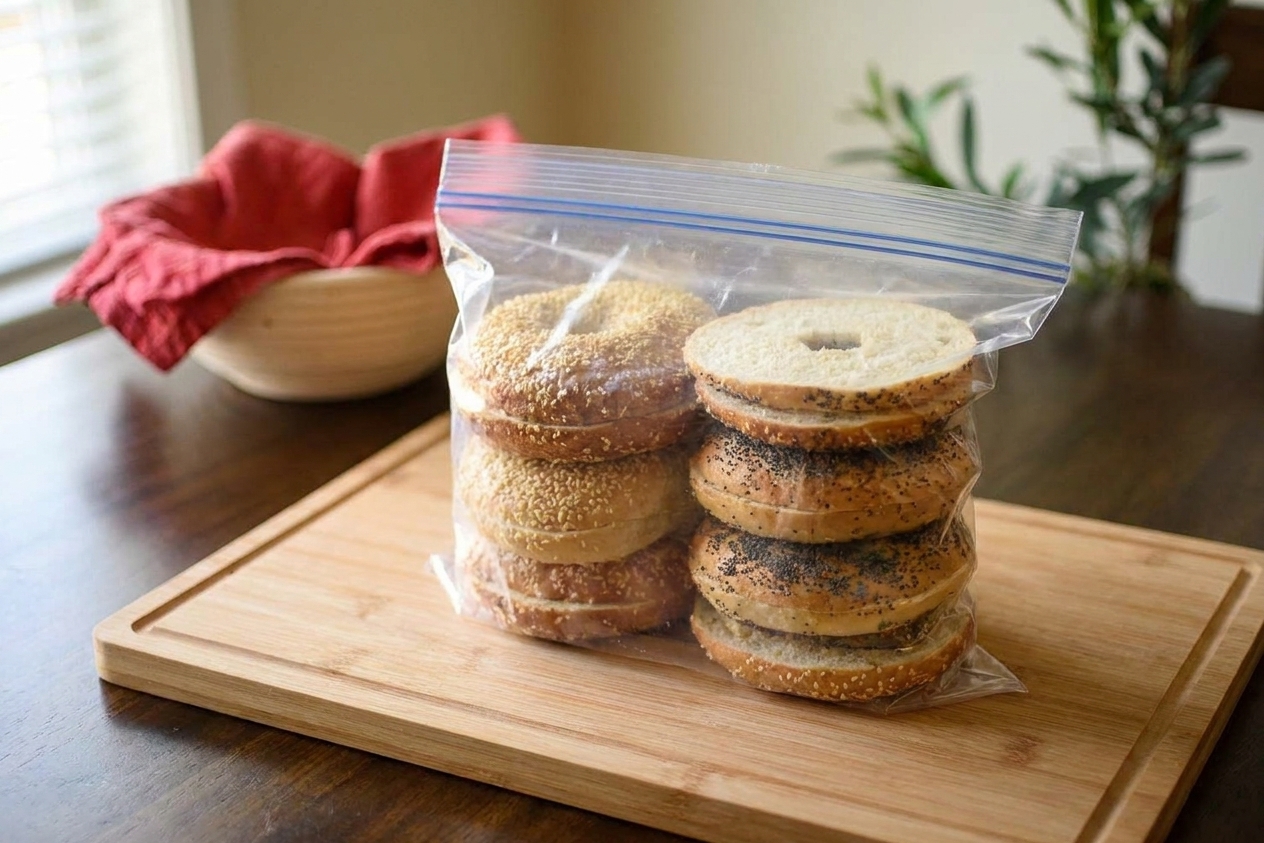
- Same day: Bagels are at their absolute best within the first 8 to 12 hours.
- Room temperature: Store in a paper bag for 1 day to help preserve crust, or in an airtight bag for 2 days for a softer exterior.
- Freeze: Slice first, then freeze in an airtight bag. Toast from frozen for the best texture.
- Reheat: Toasting is easiest. For an extra crisp crust, spritz lightly with water and warm in a hot oven for a few minutes.
Common mistakes
- Dough is too sticky to shape: Most often this is extra water or underdeveloped gluten. Keep kneading until smooth and elastic. If needed, rest 10 minutes, then continue. Avoid adding lots of flour late, which can create a dry, streaky dough.
- Bagels came out flat: Overproofing, too warm proofing, or a weak seal at the seam can do this. Next time, shorten proof or proof cooler and make the ring tighter.
- Bagels wrinkled after boiling: Usually overproofed. They can also wrinkle if they sit too long after boiling before baking. Boil and bake promptly.
- Hole closed up: The ring was shaped too small or the dough was too slack. Make a larger center hole than you think you need and keep the dough stiff.
- Pale crust: Water not simmering steadily, boil too short, or no sugar in the water. Also check your oven temperature.
FAQ
Do I have to use barley malt syrup?
No. Barley malt syrup gives the most classic bagel shop vibe, but honey works beautifully and is what I use most often at home. Brown sugar is also a solid backup.
Can I do an overnight option without sacrificing the shape?
Yes, as long as the dough is stiff and the bagels are not overproofed before chilling. Cold slows fermentation and helps bagels hold their clean outline.
How do I know my starter is strong enough for bagels?
Look for predictable doubling after feeding and lots of bubbles. If your starter is sluggish, do one or two feedings at room temperature before you mix dough.
Why did my bagels stick to the parchment?
It can happen if the bagels proof too long, especially in a humid kitchen. Use parchment, optionally dust with semolina, and chill the shaped bagels briefly if they feel too puffy or sticky.
Can I make these without a stand mixer?
Yes. It is a workout, but totally doable. Use a rest and knead approach: knead a few minutes, rest 5 to 10 minutes, then knead again until smooth.
Sourdough Bagels
Stiff, chewy sourdough bagels that are boiled with malt or honey, then baked until glossy and golden. Includes a same day path and an overnight option for deeper flavor and easier scheduling.
- Prep
- Cook
- Total
- Yield
Ingredients
- 200 g active sourdough starter (100% hydration, at or near peak)
- 280 g warm water (about 90 to 95 F)
- 20 g sugar
- 12 g fine sea salt
- 500 g bread flour, plus more for the counter as needed
- 1 tbsp neutral oil (optional, for slightly easier handling)
- For the boil: 2 to 3 quarts water
- For the boil: 1 tbsp barley malt syrup or 1 tbsp honey (up to 2 tbsp for deeper color)
- Optional toppings: sesame seeds, poppy seeds, everything seasoning, dehydrated onion or garlic, flaky salt
Instructions
- Mix the dough. In a large bowl (or the bowl of a stand mixer), whisk the starter, warm water, and sugar until the starter loosens. Add the flour and salt (and oil, if using). Mix until no dry flour remains. The dough will look rough and feel stiff.
- Rest, then knead until smooth. Cover and rest 10 minutes to hydrate. Knead by hand on an unfloured counter for 8 to 12 minutes, or mix with a dough hook on medium low for 6 to 8 minutes, until the dough is smooth, dense, and elastic. It should feel firm and slightly tacky, not sticky. If it is very sticky, dust the counter lightly with flour and keep kneading.
- Bulk ferment. Place dough in a lightly oiled bowl, cover, and let rise at room temperature until slightly puffy and expanded by about 30 to 50 percent. Depending on starter strength and room temperature, this can take several hours. You are not looking for a dramatic double.
- Divide. Turn dough out onto a clean counter. Divide into 8 equal pieces for standard bagels (or 10 for smaller). Cover pieces with a towel and rest 10 minutes so the dough relaxes.
- Shape tight rings. Choose your method.
Rope method: Roll a piece into a rope about 8 to 10 inches long. Wrap around your hand, overlap ends by about 2 inches, pinch firmly, then roll the seam under your palm on the counter to seal.
Poke method: Roll into a tight ball, then poke a hole through the center with a floured finger and gently stretch to widen.
Place shaped bagels on a parchment lined sheet pan, spaced apart. - Proof. Cover and proof at room temperature until slightly puffy. Use the poke test. A gentle press should spring back slowly and leave a slight dent. Do not let them get airy.
- Overnight option (recommended). After shaping, cover the sheet pan well and refrigerate 8 to 16 hours. The next day, let bagels sit at room temperature 20 to 60 minutes while you preheat the oven and prepare the boil. They should pass the poke test before boiling.
- Preheat the oven. Heat oven to 450 F. Position a rack in the middle. Line a second sheet pan if needed, and set out toppings in shallow bowls if using.
- Prepare the boil. Bring water to a steady simmer in a wide pot. Stir in barley malt syrup or honey until dissolved. Keep it at a gentle boil or strong simmer.
- Boil. Boil bagels in batches, without crowding. Simmer 30 to 60 seconds per side (longer for thicker chew). Flip with a slotted spoon. Lift out, let excess water drip off, then return to the parchment. While still wet, add toppings.
- Bake. Bake 18 to 24 minutes, rotating the pan once, until deeply golden brown and glossy. For extra color, bake a few minutes longer. Cool on a rack at least 20 minutes before slicing for the best texture.
Notes
Dough feel matters more than the clock: Bagel dough should be firm. If your kitchen is dry, you may need a small splash of water. If your starter is looser than 100% hydration, you may need a touch more flour.
Proofing cue: Bagels should look slightly puffed, not doubled. Overproofed bagels can wrinkle after boiling or go flat.
Boil sweetener: Barley malt syrup gives classic flavor and browning. Honey is an easy swap and still makes a beautifully browned crust.