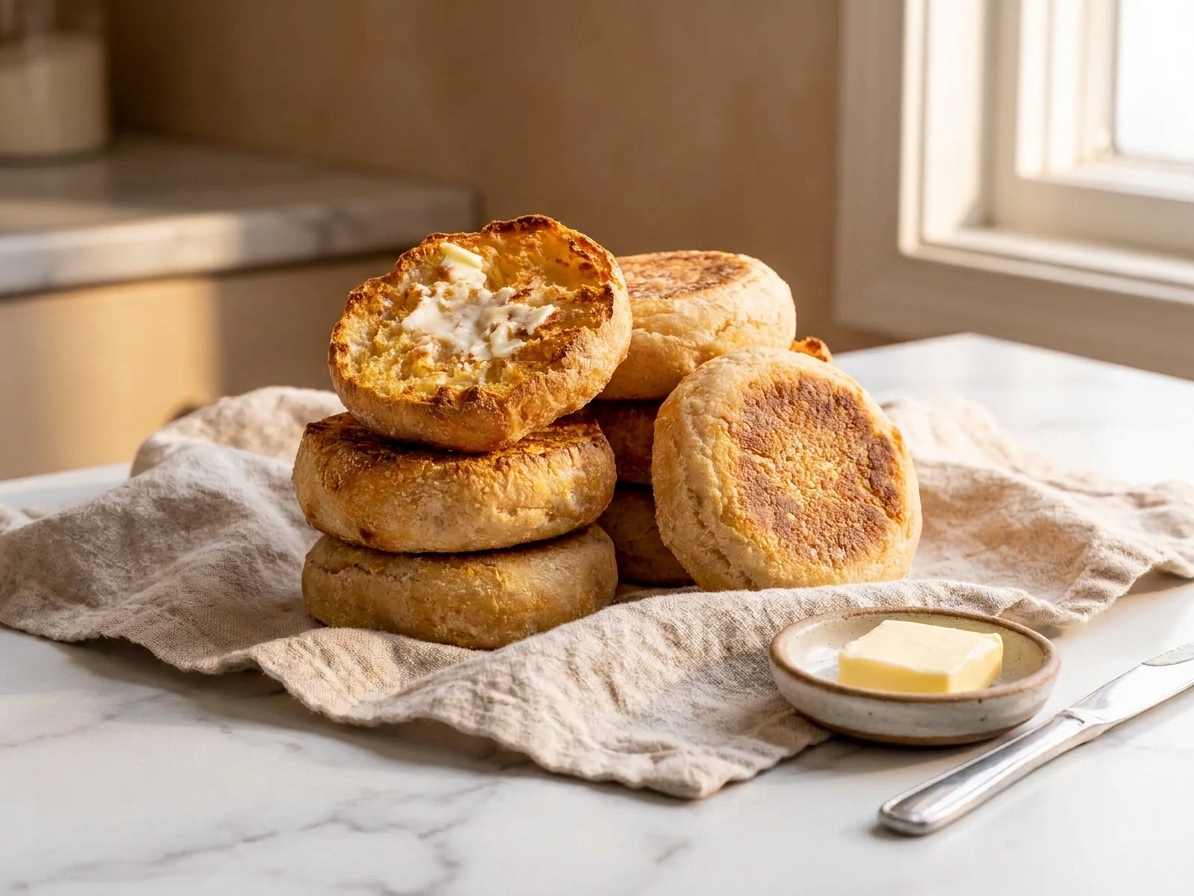

I love a bread project that feels a little magical but still fits into real life. Sourdough English muffins are exactly that: a simple dough, a patient fermentation and proof, and then you cook them right on a griddle until they puff and brown. When you split one open and see those irregular tunnels and crags, it is extremely satisfying.

This recipe is designed for that classic nook-filled crumb, not a biscuit-like, bready interior. Two of the biggest variables are dough stiffness and heat control, but proofing and thickness matter too. If the dough is too soft, it spreads and cooks up dense with fewer nooks. If the pan is too hot, the exterior browns before the center sets and you get gummy middles. If the rounds are under-proofed, they can stay tight inside. If they are over-proofed, they can collapse when you move them.
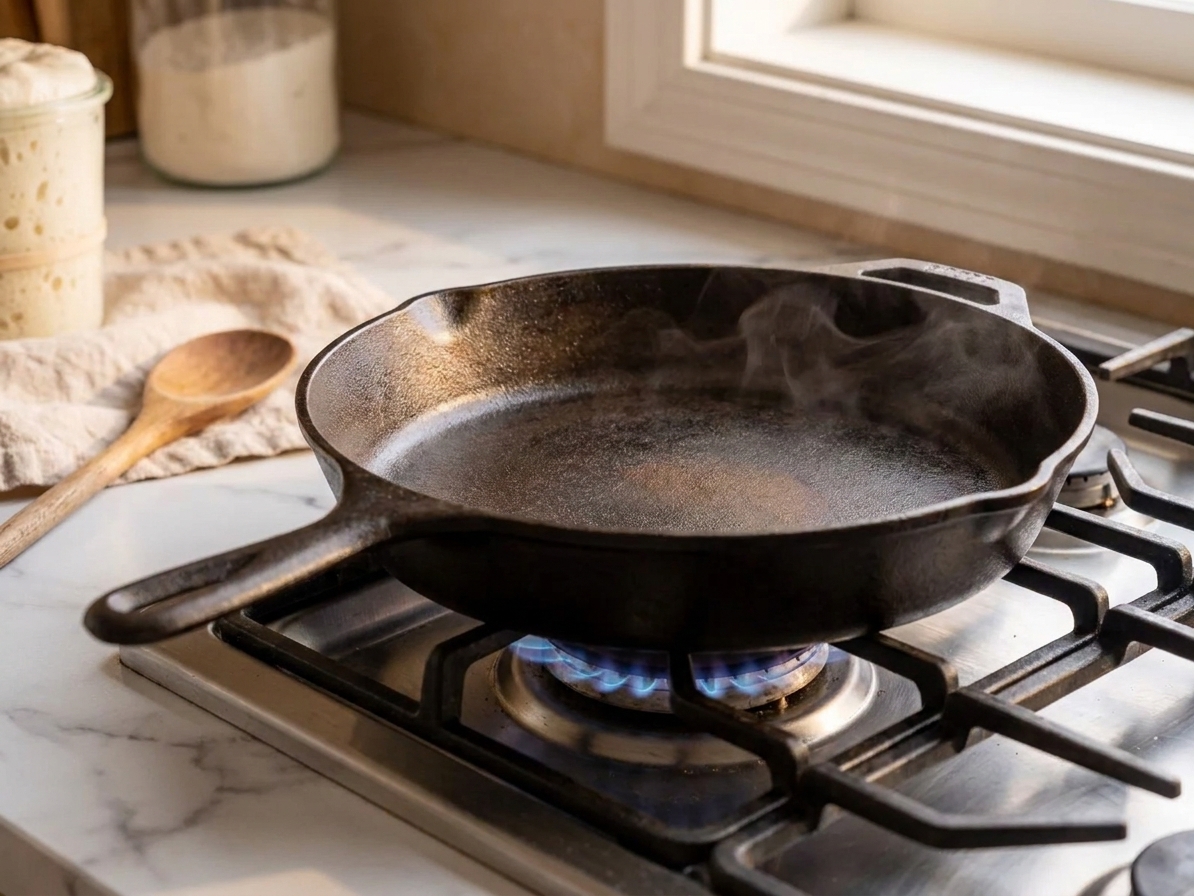
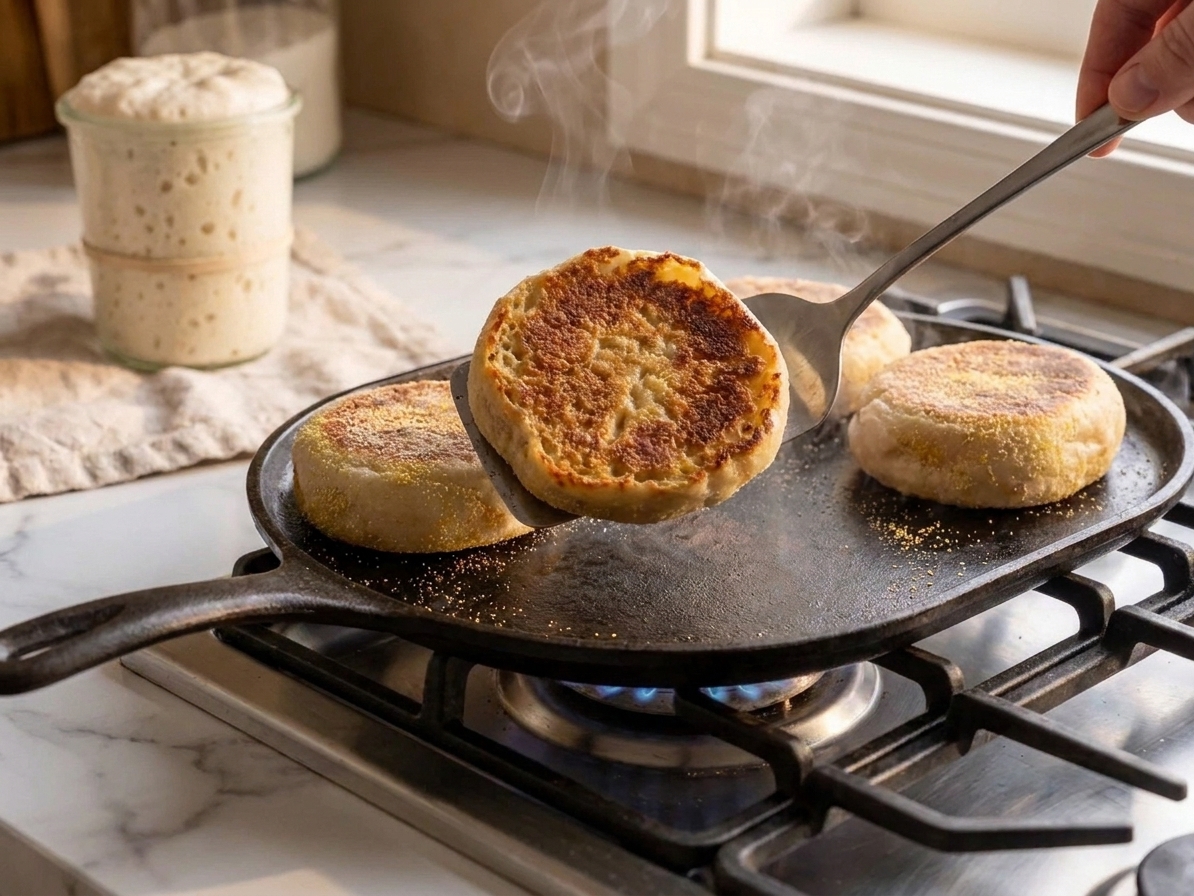
I will walk you through the tactile stuff that recipes often skip: how the dough should feel in the bowl (soft and tacky, but able to hold a mound), how long to preheat your skillet on medium-low (often 5 to 10 minutes, depending on your pan and stove), simple temperature cues you can use if you do not have an infrared thermometer (a pinch of cornmeal should start to toast in about 30 to 60 seconds, not smoke right away), when to flip, and how to split muffins with a fork so you keep those beautiful holes intact.
Why this recipe works
- A stiffer dough encourages nooks. English muffins want a dough that holds its shape on the bench. That structure helps trap gases during fermentation, so you get irregular pockets instead of a fine, sandwich-bread crumb.
- Sourdough fermentation builds flavor without extra steps. A bubbly, active starter provides lift and that gentle tang, while an overnight chill option deepens flavor and makes timing flexible.
- Low, steady griddle heat cooks them through. Moderate heat gives the interior time to set before the crust gets too dark, preventing gumminess and keeping the crumb light.
- Cornmeal is functional, not just traditional. It reduces sticking, adds crunch, and keeps the bottoms from steaming, which can collapse the crumb.
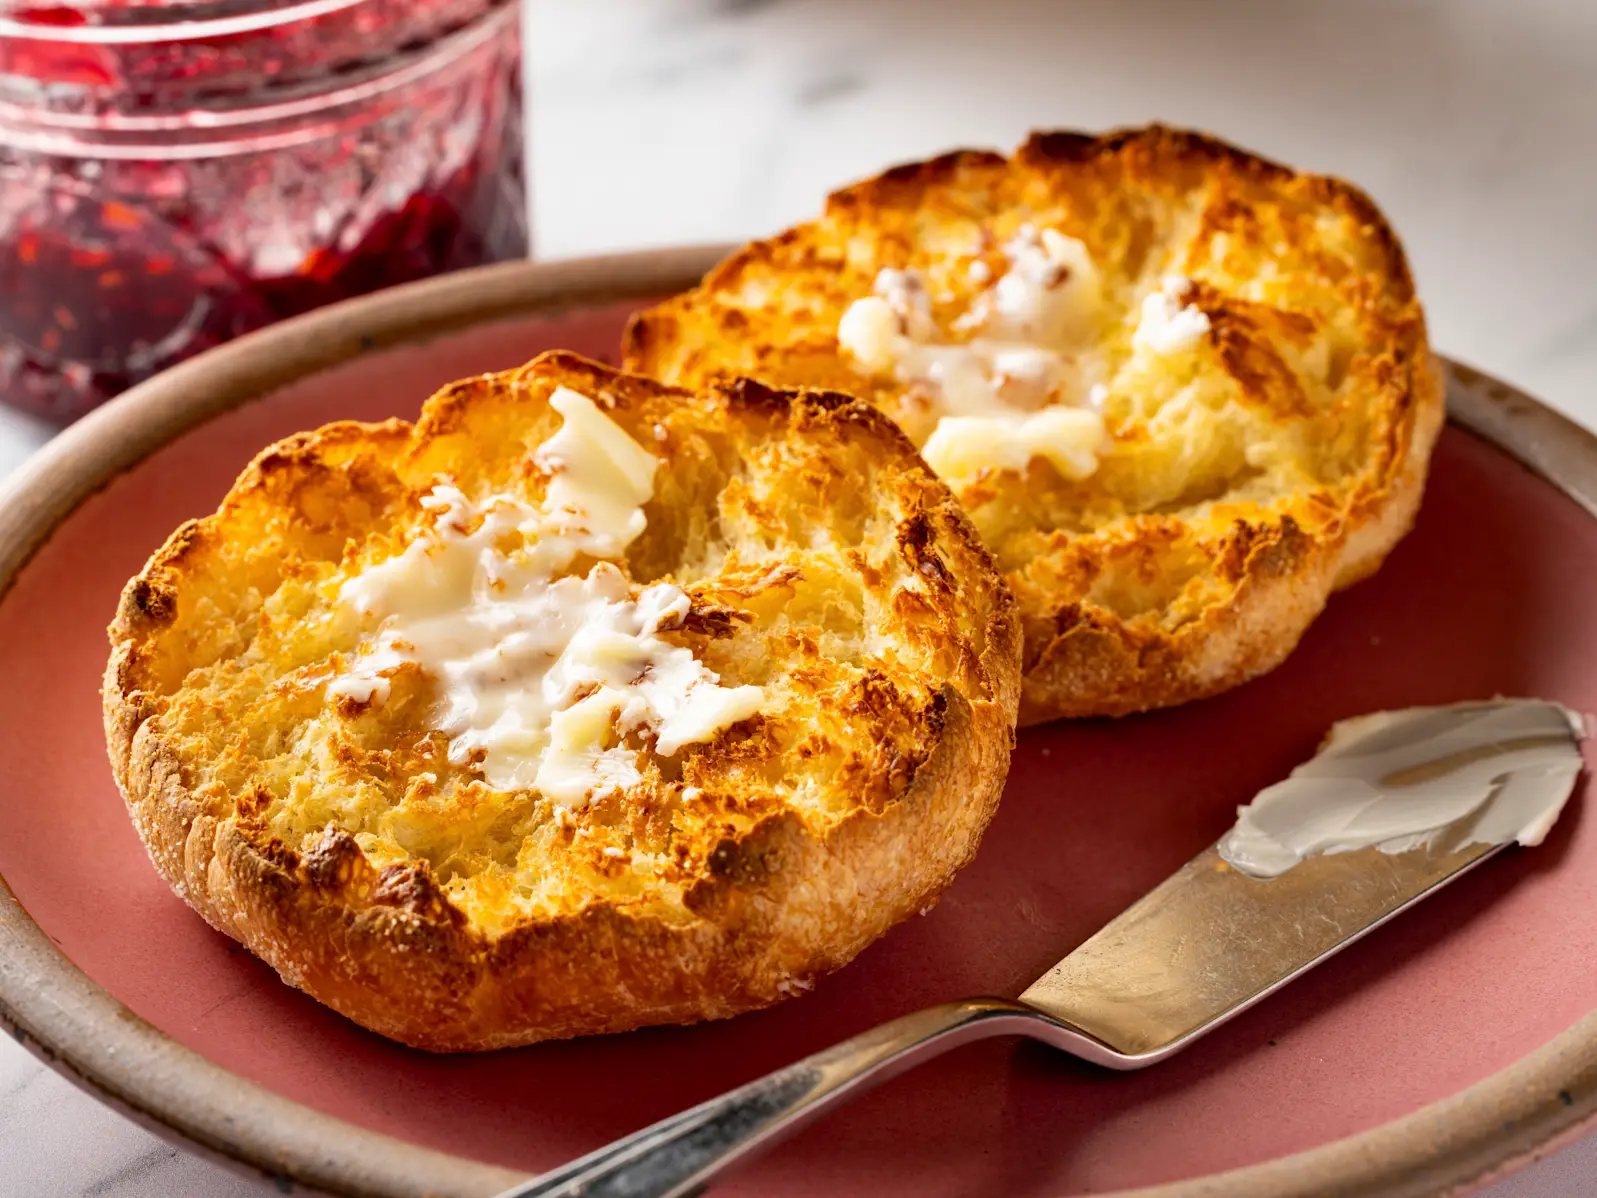
- Fork-splitting protects the holes. Cutting with a knife compresses the crumb. A fork pries it open along natural weak spots, preserving nooks for butter to melt into.
Ingredient notes
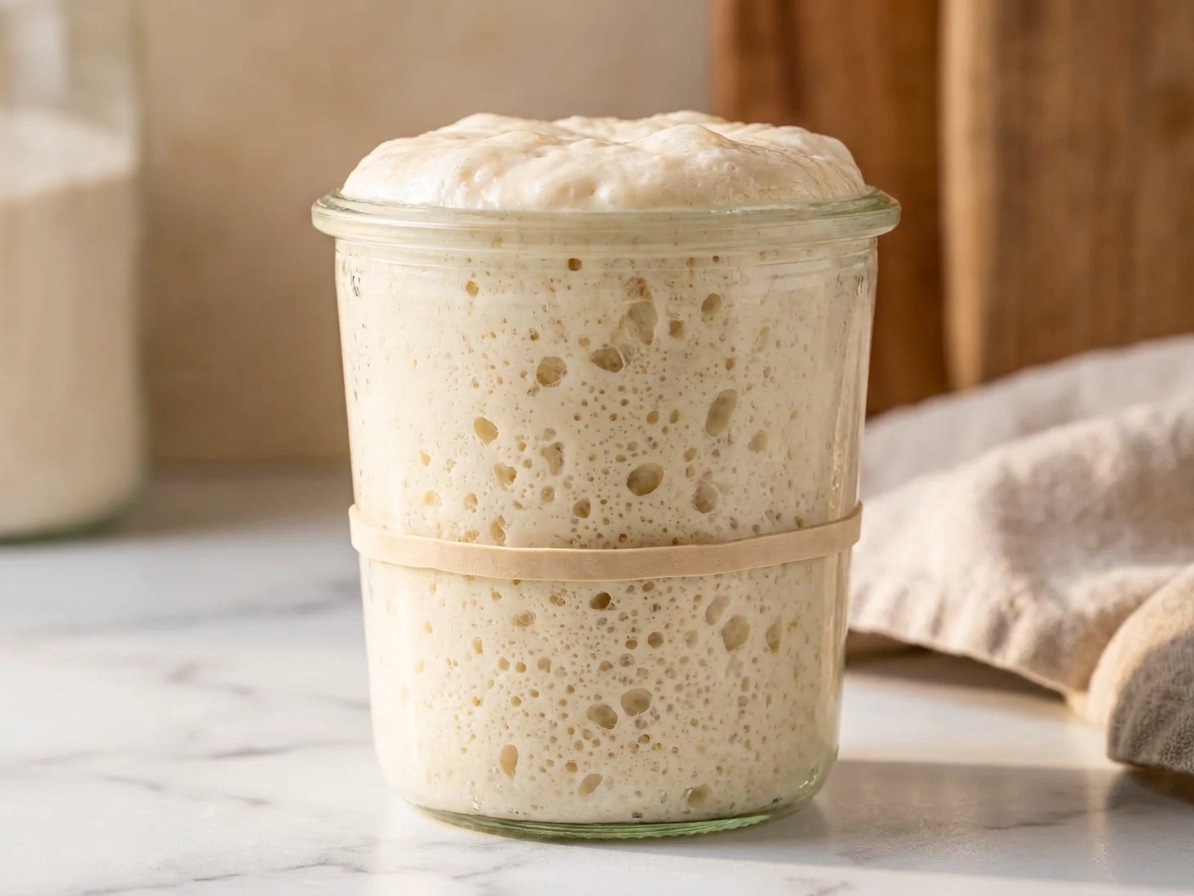
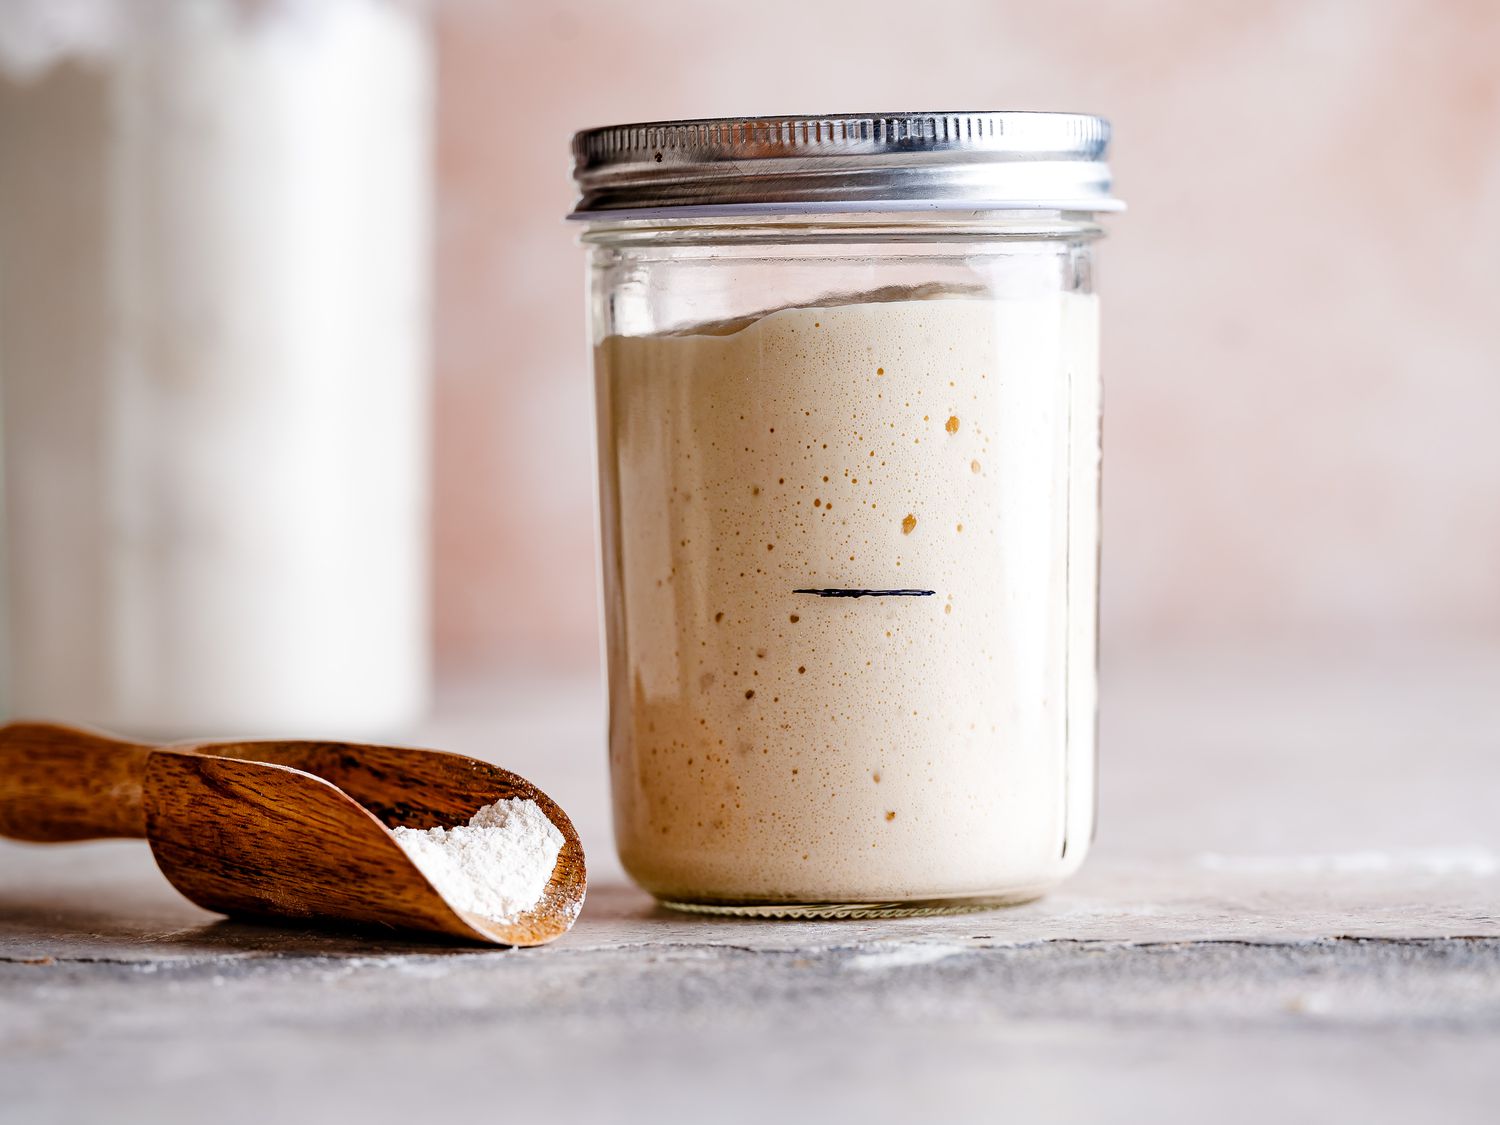
- Active sourdough starter: Use starter at or near peak, when it is domed and bubbly and passes the float test if you like using it. A sluggish starter makes dense muffins.
- Flour: Bread flour gives the most chew and height, but unbleached all-purpose works too. If using all-purpose, the dough may feel a touch softer. Resist adding lots of extra flour. Add just enough to reach the cues in the recipe.
- Milk (or buttermilk): Milk makes a tender interior. Buttermilk adds a subtle tang and can speed fermentation slightly. Either is great.
- Butter: Adds flavor and softness. Neutral oil can substitute if needed.
- Sugar or honey: Just a little helps browning on the griddle and rounds out sourness. You will not taste it as sweet.
- Salt: Essential for flavor and dough strength. Under-salted muffins taste flat and can ferment too fast.
- Cornmeal (or semolina): For dusting. You can use fine or medium grind. Semolina is my favorite “no-stick insurance” if you have it.
- Baking soda (optional): A small amount can increase tenderness and browning. It is optional. Sourdough alone will work.
Equipment you will need
- Cast iron skillet or griddle: Best for stable, even heat.
- Instant-read thermometer: Helpful for checking internal doneness and taking the guesswork out.
- Bench scraper: For clean dividing and shaping with minimal degassing.
- Ring cutter (optional): Useful if you want very uniform muffins, but not required.
- Sheet pan: For proofing the rounds.
- Parchment (optional): Can make transfer easier if your kitchen runs warm and the dough feels sticky.
- Fork: For splitting without crushing the crumb.
Pro tips
- Dough stiffness cue: After mixing and a short rest, the dough should feel soft but hold a mound. When you press a finger in, it should slowly spring back. If it flows like thick batter, add flour 1 tablespoon at a time during the first mix only.
- Proofing cue: The rounds are ready when they look slightly taller, feel airy, and a gentle poke springs back slowly but does not fully fill in. Over-proofed rounds can collapse when moved.
- Skillet heat cue: Start medium-low. You want steady sizzling, not aggressive frying. If cornmeal smokes quickly or the first muffin browns in under 3 minutes, your pan is too hot.
- Cook covered for a taller muffin: A lid traps gentle heat and helps the centers set without cranking the burner.
- Do not press them. Pressing flattens bubbles and you lose nooks. Let the heat do the work.
- Use an internal temp if you are unsure: Aim for about 200 to 205 F in the center. If they brown too fast, lower heat and finish a few minutes longer.
- Split with a fork: Insert the tines around the circumference, twisting a little each time, then pull apart. This keeps the interior rugged and holey.
Substitutes that work
- Milk: Use oat milk or almond milk for dairy-free. Choose unsweetened. Add 1 teaspoon vinegar or lemon juice for a slight buttermilk effect if you like.
- Butter: Swap with neutral oil (same amount) or dairy-free butter.
- Cornmeal for dusting: Semolina, polenta (fine), or even rice flour work well.
- Bread flour: All-purpose flour works. If the dough feels overly slack after resting, add a small amount of flour during mixing only, not during shaping.
- Sweetener: Sugar, honey, or maple syrup all work. Keep it minimal for browning and balance.
Variations
- Whole wheat: Replace up to 25 percent of the flour with whole wheat for a nutty flavor. Expect slightly less dramatic nooks and a thirstier dough.
- Cinnamon raisin: Knead in plump raisins and a little cinnamon near the end of mixing. Keep additions modest so the muffins still puff well.
- Sesame crust: After shaping, lightly mist the tops and press into sesame seeds plus cornmeal before proofing.
- Extra tang: Cold proof the shaped rounds in the fridge overnight, covered, then griddle straight from the fridge on slightly lower heat.
Serving ideas
- Classic: Toast, then butter and flaky salt. Simple, perfect.
- Breakfast sandwich: Fried egg, sharp cheddar, and a little hot sauce. Toast well so the edges get crisp.
- Sweet: Peanut butter and jam, or ricotta with honey and a pinch of salt.
- Mini pizzas: Split, toast, then top with sauce and cheese and broil briefly.
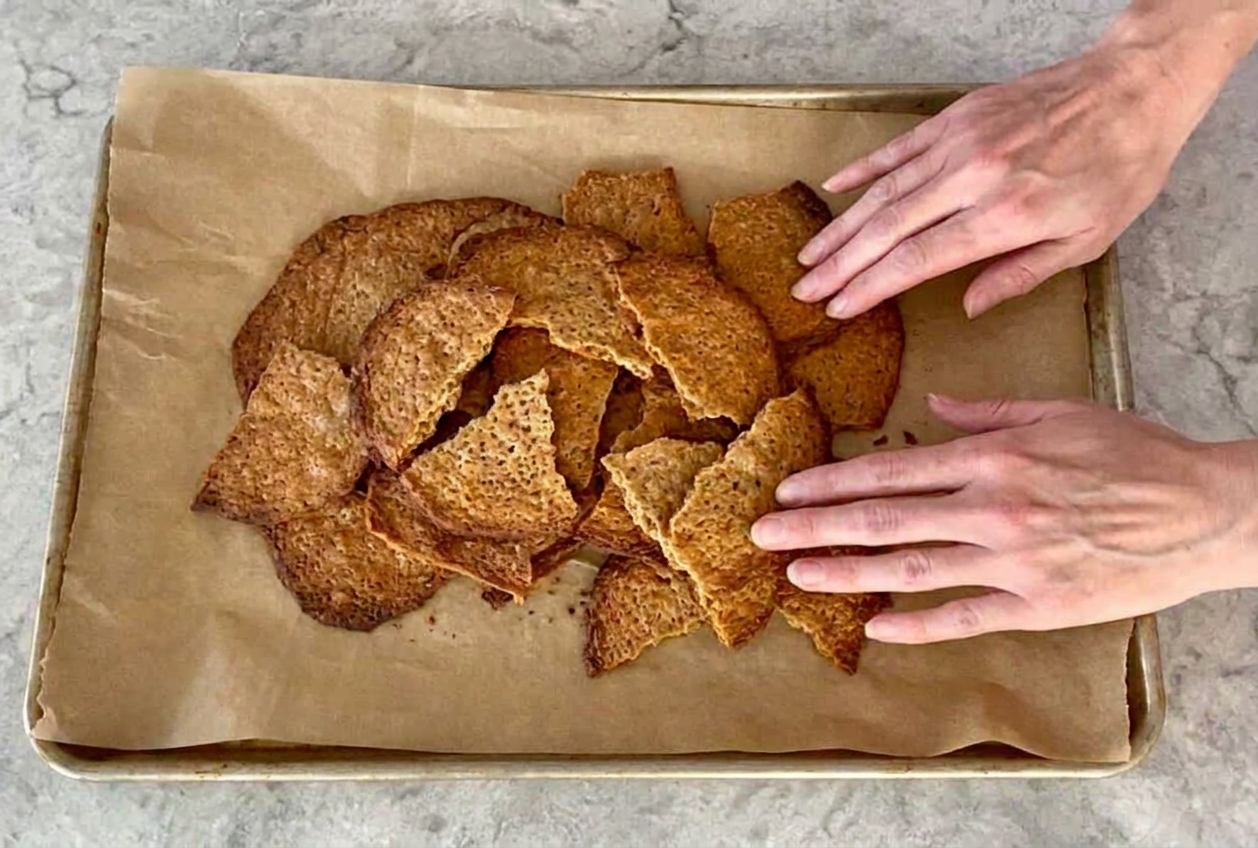
- Crouton-style: If a couple go stale, cube them and toast in a skillet with olive oil for salad toppers. Great food-waste win.
Storage and reheating
- Cool completely first: Warm muffins trapped in a bag will sweat and soften.
- Room temperature: Store in a breathable bag or container for 2 days.
- Freeze: Fork-split first, then freeze in a sealed bag with parchment between halves for easy toasting straight from frozen. Best within 2 months.
- Reheat: Toast is the move. It re-crisps the edges and brings the nooks back to life.
Common mistakes
- Dough too wet: Spreading dough cooks up flat with a dense crumb. You want a soft dough that still holds a shape.
- Pan too hot: Dark bottoms, gummy centers. Lower heat and extend cook time. Covering the pan helps the inside set.
- Over-proofing: The rounds look very puffy and fragile and may deflate when moved. Aim for airy, not wobbling.
- Flipping too early: If the first side is pale, it can stick and tear. Wait until you see a golden ring around the edges and the muffin releases easily.
- Cutting with a knife: It compresses the crumb. Fork-splitting is worth the extra 30 seconds.
FAQ
Why are my sourdough English muffins not full of nooks?
The usual culprits are a dough that is too soft, too much degassing during shaping, under-proofing, or pressing them while cooking. Keep the dough on the stiffer side, handle gently, proof until airy, and do not smash them down on the griddle.
How do I know the skillet temperature is right?
Preheat on medium-low for several minutes. A pinch of cornmeal should start to toast in about 30 to 60 seconds, not smoke right away. Your first muffin should take roughly 5 to 7 minutes per side. If it browns faster than that, turn the heat down.
Can I cook these on a nonstick pan?
Yes, but the heat is usually less steady than cast iron. Keep it on medium-low and watch browning closely. Avoid high heat which can warp some nonstick pans.
Do I need English muffin rings?
No. Rings make perfectly round muffins, but a well-shaped dough round will cook up nicely without them. If your dough spreads, rings can help, but spreading usually points back to dough stiffness.
Should I split before or after toasting?
Split first, then toast. Fork-splitting gives you that rugged surface area that gets crisp and holds butter beautifully.
Sourdough English Muffins
These griddled sourdough English muffins cook up golden with a chewy edge and a classic nook-filled interior. The recipe focuses on dough stiffness, gentle handling, and steady skillet heat for the best rise and texture.
- Prep
- Cook
- Total
- Yield
Ingredients
- 100 g active sourdough starter (100% hydration)
- 240 g milk, room temperature or slightly warm
- 25 g granulated sugar or honey
- 30 g unsalted butter, melted and cooled slightly (or neutral oil)
- 360 g bread flour (or unbleached all-purpose), plus more only if needed
- 7 g fine sea salt
- 1/2 tsp baking soda (optional)
- Cornmeal or semolina, for dusting
Instructions
- Mix the dough. In a medium bowl, whisk together the starter, milk, sugar or honey, and melted butter until mostly smooth. Add the flour and salt (and baking soda, if using). Mix with a spoon or your hand until no dry flour remains and you have a shaggy dough.
- Rest, then tighten. Cover and rest 15 minutes, then fold the dough over itself a few times in the bowl until it feels smoother and more elastic. The dough should be soft and tacky, but still hold its shape in a mound. If it is very loose and spreading like batter, add flour 1 tablespoon at a time, mixing fully between additions.
- Bulk ferment. Cover and let rise at room temperature until puffed, airy, and roughly 50 to 75 percent larger. Depending on starter strength and kitchen temperature, this can take several hours. The dough should feel lighter and show bubbles along the sides of the bowl.
- Chill option (for scheduling and flavor). For more tang and easier shaping, refrigerate the covered dough for 8 to 24 hours after it has started to rise and shows some aeration. Let it sit at room temperature 30 to 60 minutes before shaping if it is very firm.
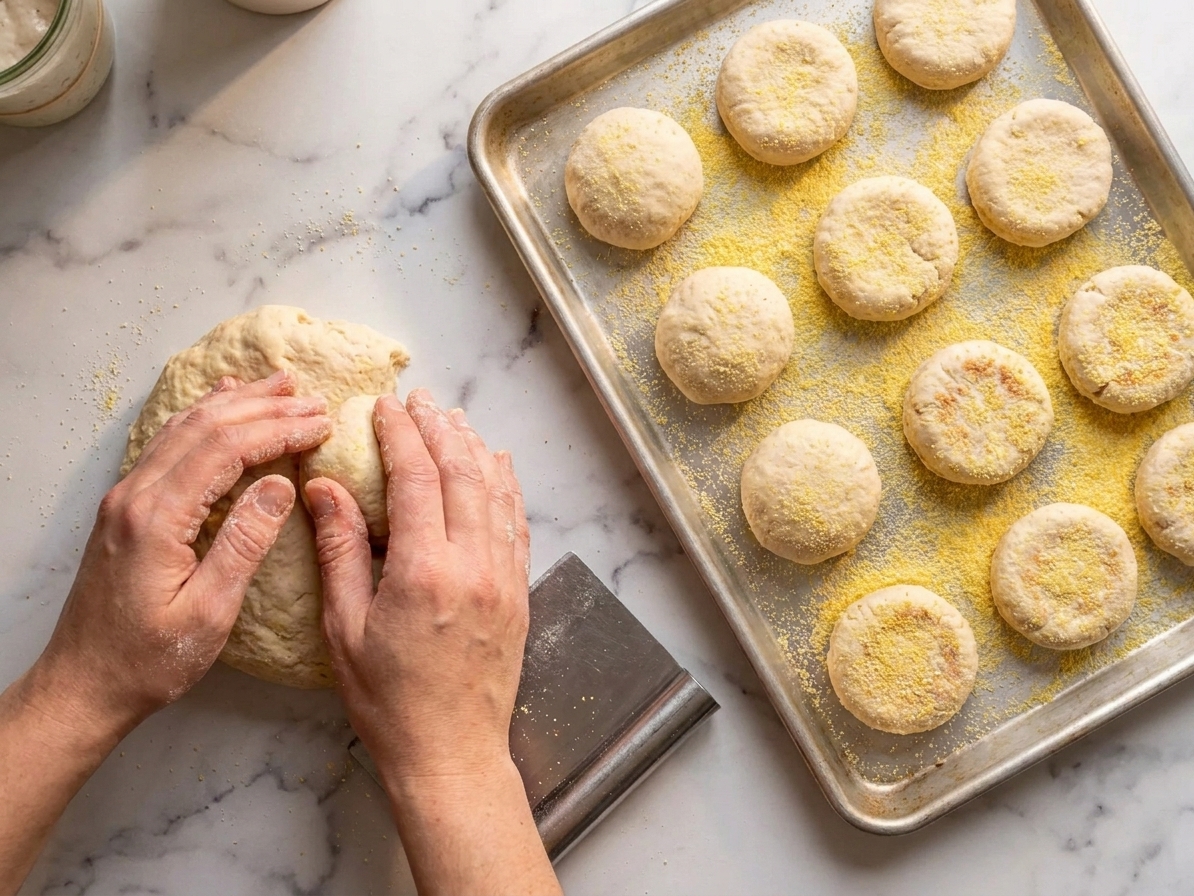
- Divide and shape. Dust a sheet pan generously with cornmeal or semolina. Turn the dough out onto a lightly floured surface. Use a bench scraper to divide into 8 equal pieces. Shape each into a taut round by tucking edges under and gently tightening against the counter without squeezing out the air. Place on the prepared pan and dust the tops with more cornmeal.
- Proof. Cover with a clean towel or lightly oiled plastic wrap and let the rounds rise until slightly taller and airy. A gentle poke should spring back slowly. They should feel light when you lift one carefully.
- Preheat the skillet. Heat a cast iron skillet or griddle over medium-low heat for 5 to 10 minutes. You want steady, gentle heat. If you have a lid, keep it nearby.
- Griddle the muffins. Transfer 3 to 4 rounds to the skillet, leaving space to expand. Cook 5 to 7 minutes on the first side until deeply golden on the bottom and the sides look a bit set. Covering the pan for part of the cook helps the centers set without over-browning.
- Flip and finish. Flip carefully and cook 5 to 7 minutes on the second side. Adjust heat as needed to prevent scorching. The muffins are done when they feel lighter, sound a little hollow when tapped, and the center reads about 200 to 205 F on an instant-read thermometer.
- Cool completely. Transfer to a rack and cool at least 1 hour before splitting. Cutting too early can make the interior gummy.
- Fork-split and toast. To keep the nooks intact, insert a fork around the edge and gently pry the muffin open. Toast before serving for the best texture.
Notes
Heat management matters: If your muffins are browning too fast, lower the heat and extend cooking time. If they are pale and taking forever, nudge the heat up slightly. Medium-low is usually the sweet spot.
Uniform muffins: If you prefer very even rounds, you can shape the dough slightly thicker and use greased English muffin rings on the griddle. Not required.
Food-waste note: Split and freeze any extras the day they are made. They toast beautifully from frozen and you will avoid the “mystery dry muffin” situation two days later.