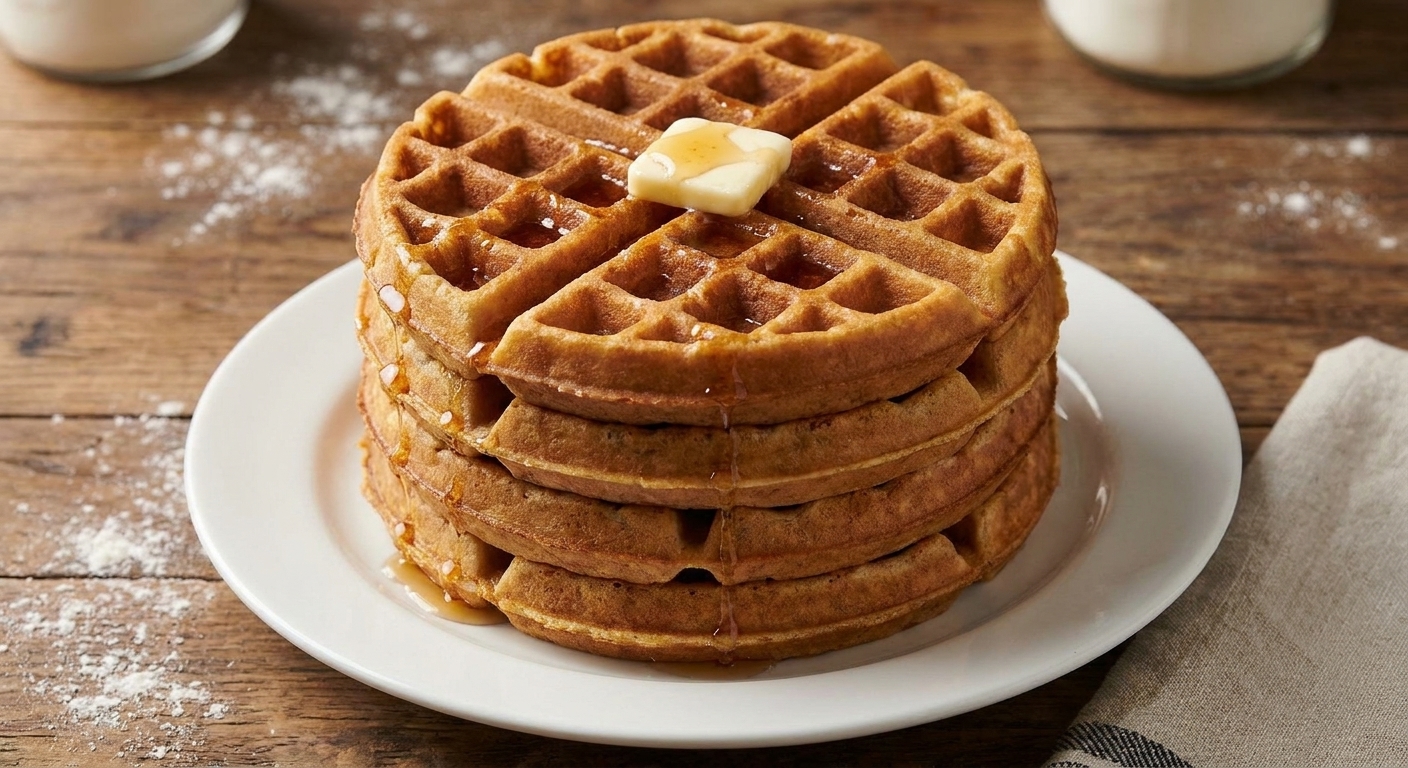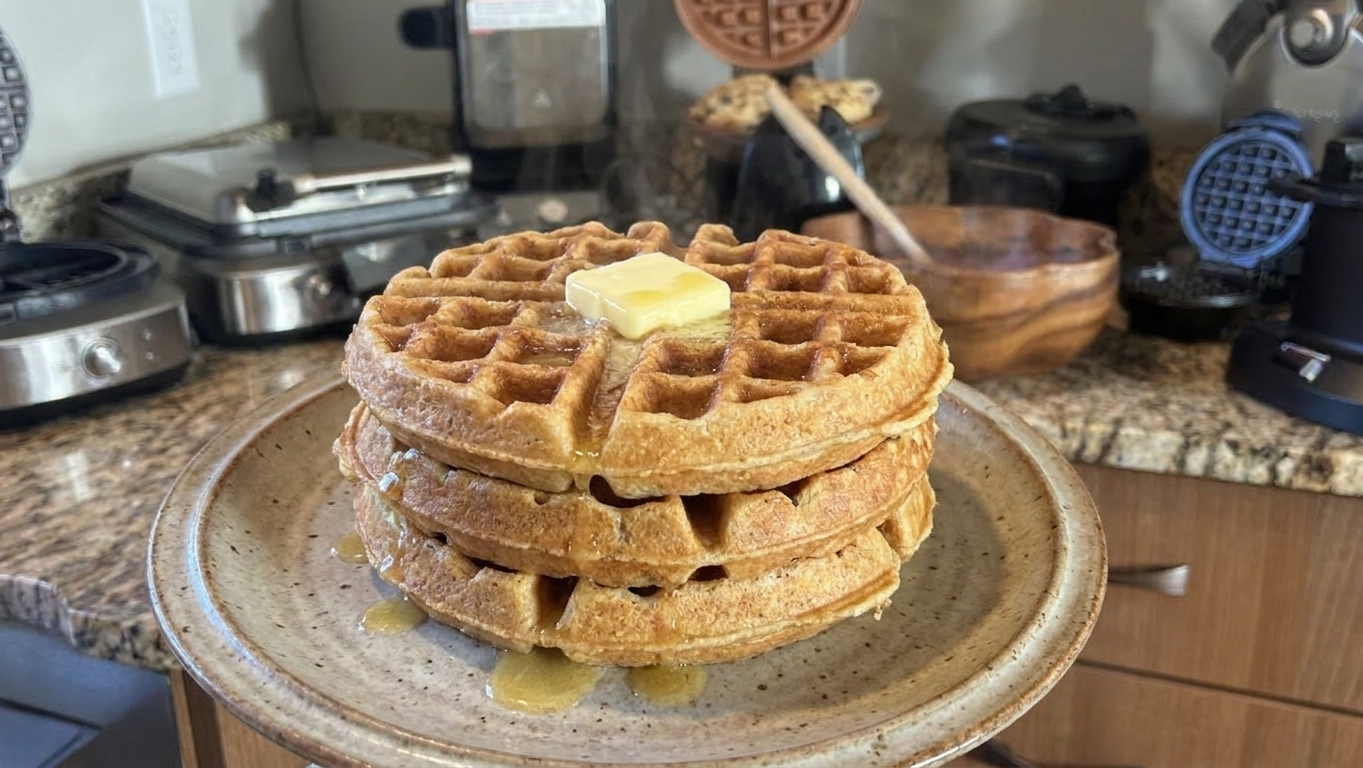

I love a recipe that feels like a tiny kitchen magic trick: you take that jar of unfed sourdough discard and, in around 30 to 40 minutes (depending on your waffle iron and how many you make), it turns into waffles with a deep golden grid and a gentle tang. These are the waffles I make when I want something special, but I also want my sink empty by the time the coffee is done.

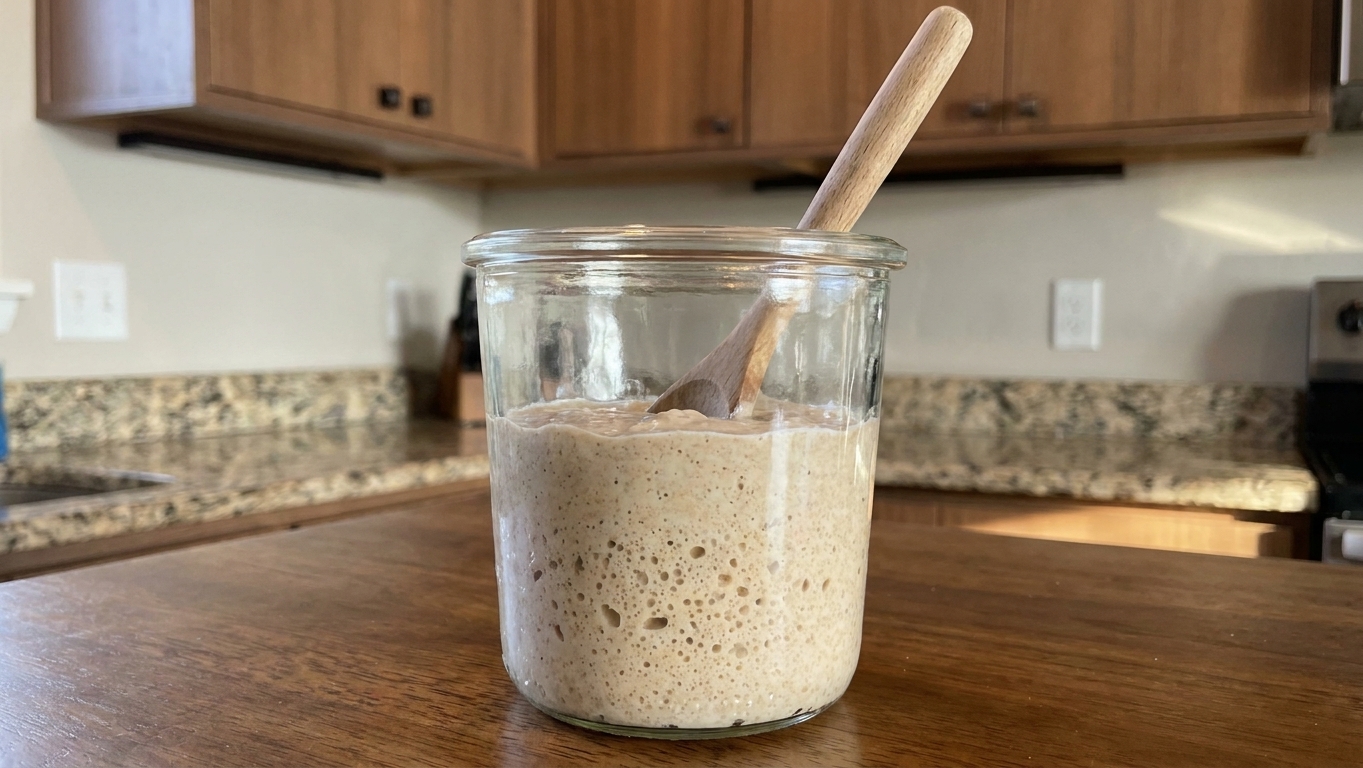
In this recipe, the discard is not just a little add-in. It is the backbone of the batter and the main flavor. I am talking about discard (the leftover starter from feeding). Because discard thickness can vary, this works best with a standard 100% hydration starter discard (equal parts flour and water by weight). If yours is thicker, just add a splash more milk or non-dairy milk until the batter is thick but pourable, like a sturdy pancake batter.
If you are new to waffles, here is the vibe: heat matters, steam tells the truth most of the time (when it slows down, the waffle is usually set and crisping), and release is your backup cue. When the waffle lifts cleanly and the lid stops hissing like crazy, you are in the right zone. Resting the cooked waffles on a rack keeps them crunchy. I also included a dairy-free liquid option, because everyone deserves a crisp waffle with a proud, clean grid.
Why this recipe works
- Discard does the heavy lifting. Using unfed sourdough discard as the backbone of the batter builds flavor and acidity right into it, so the waffles taste more interesting than standard ones.
- Thick batter equals defined pockets. A batter that pours slowly helps the waffle iron create crisp walls and deeper wells instead of a thin, bready slab.
- Hot iron plus patience makes it crisp. Waffles are done when the steam mostly stops and the shell feels dry and firm, not when the timer dings.
- Resting on a rack protects the grid. Airflow keeps the exterior crisp by preventing trapped steam from softening the surface.
Ingredient notes
- Unfed sourdough discard: Use it straight from the fridge. Thin, thick, very tangy, or mildly tangy all work. This recipe is easiest to nail with discard from a standard 100% hydration starter (equal parts flour and water by weight). If yours is extremely thick like paste, add an extra splash of your chosen liquid until the batter becomes thick but pourable.
- All-purpose flour: Keeps the waffles light while the discard brings chew and flavor. If you swap in whole wheat, expect a slightly denser waffle and add a touch more liquid.
- Sugar: Helps with browning and crisping. You can reduce it slightly, but do not remove it entirely if crispness is your goal.
- Baking powder: Gives lift. Check freshness if your waffles come out flat.
- Baking soda: Works with the discard’s acidity for extra rise and better browning. It also mellows overly sharp tang.
- Eggs: Provide structure and help the waffle set quickly so it releases cleanly.
- Fat: Melted butter gives the best flavor and browning, but a neutral oil or melted coconut oil works well too.
- Dairy-free liquid option: Unsweetened oat milk is my favorite for waffles because it browns nicely, but almond milk or soy milk also work.
Equipment you will need
- Waffle iron (Belgian or classic)
- Mixing bowl
- Whisk
- Measuring cups and spoons
- Heatproof spatula
- Wire rack (highly recommended for crisp waffles)
Pro tips
- Preheat longer than you think. Most waffle irons need a solid 5 to 10 minutes to truly get hot. A properly heated iron is the difference between crisp and pale.
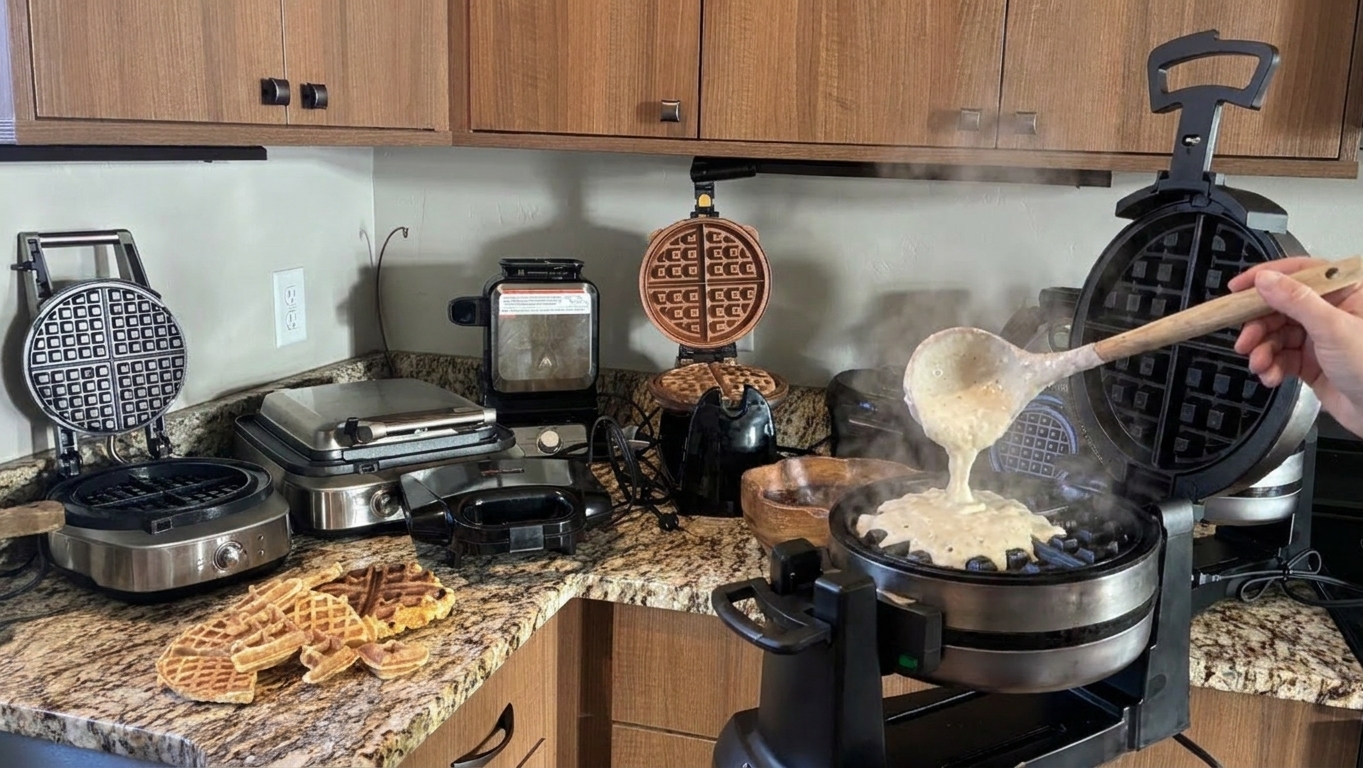
- Use steam as your doneness cue. After closing the lid, you will see lots of steam at first. When the steam slows way down and becomes faint, the waffle is usually set and crisping.
- Do not peek early. Opening the iron too soon can tear the waffle and vent heat. Give it at least 4 minutes before you even think about checking.
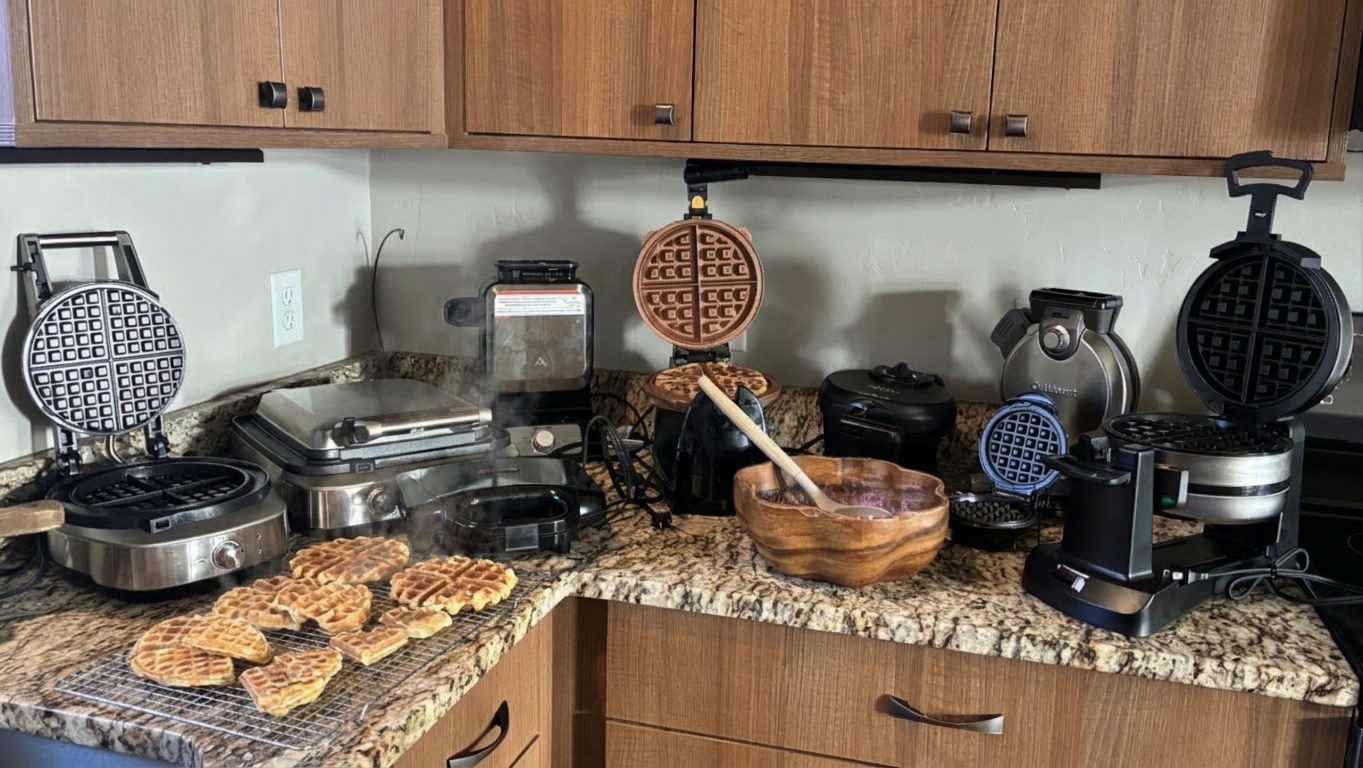
- Rack, not plate. Put cooked waffles on a wire rack, not stacked on a plate. Stacking traps steam and softens the crust.
- Keep them hot without getting soggy. Hold waffles in a 200°F oven directly on the oven rack or on a rack set over a sheet pan.
Substitutes that work
- Dairy-free: Use unsweetened oat milk, almond milk, or soy milk in place of milk. Use neutral oil or melted coconut oil instead of butter.
- Sugar: Swap with light brown sugar for a slightly deeper caramel note.
- Flour: Replace up to half the all-purpose flour with whole wheat flour. Add 1 to 2 tablespoons extra liquid if the batter gets too stiff.
- Egg-free: I have not tested this recipe without eggs. If you experiment, expect a softer waffle and consider cooking slightly longer for structure.
Variations
- Cinnamon vanilla: Add 1 teaspoon cinnamon and 2 teaspoons vanilla extract.
- Lemon poppy: Add 1 tablespoon lemon zest and 1 tablespoon poppy seeds.
- Chocolate chip: Fold in 1/2 cup chocolate chips after the batter rests.
- Savory: Reduce sugar to 1 tablespoon and fold in 1/2 cup shredded cheddar plus a few chopped chives. Great with eggs.
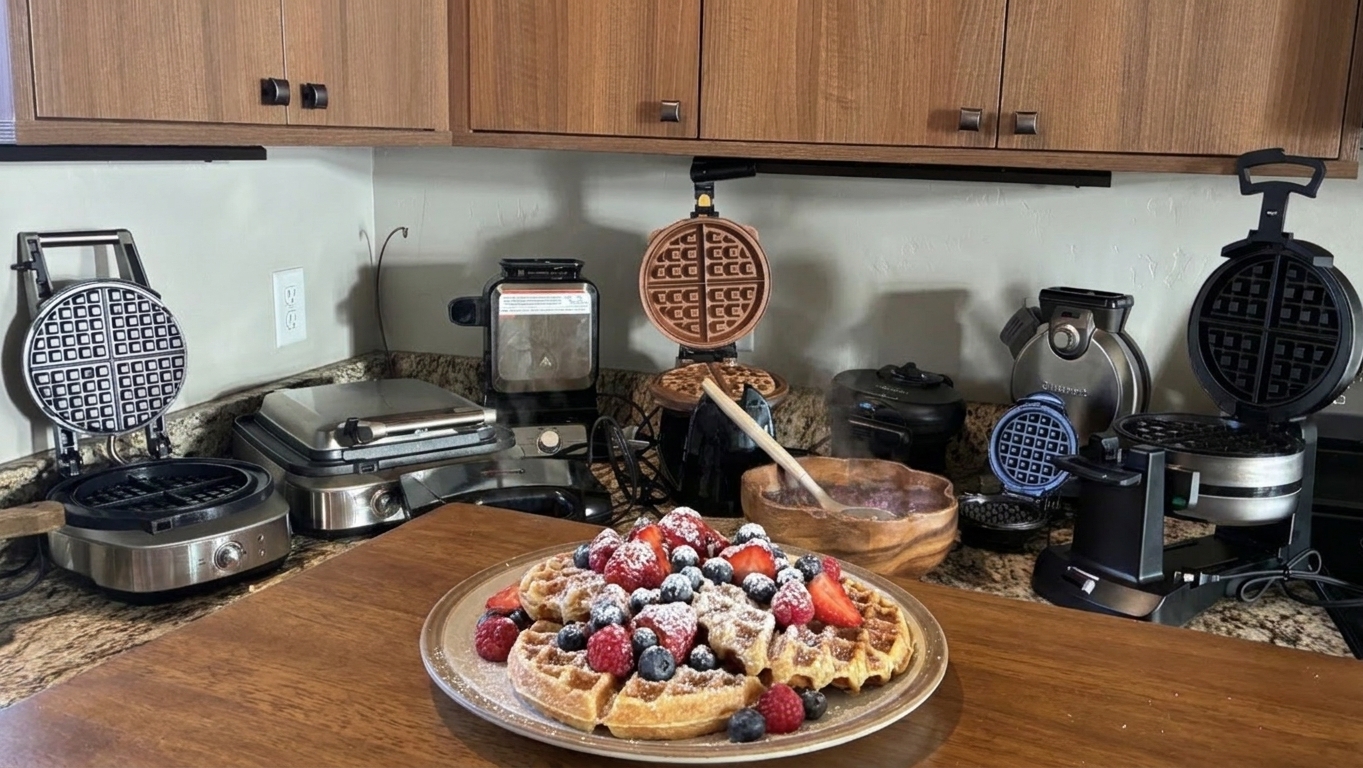
Serving ideas
- Maple syrup and a pinch of flaky salt
- Jam and almond butter
- Greek yogurt or coconut yogurt with fruit
- Fried egg and hot sauce for a savory brunch plate
- Quick citrus salad on the side to balance the richness
Storage and reheating
- Fridge: Cool completely, then store in an airtight container for up to 3 days.
- Freezer: Freeze in a single layer until solid, then transfer to a freezer bag and store up to 2 months.
- Reheat for crispness: Toast straight from the fridge or freezer until the outside is audibly crisp and the surface looks dry, not steamy. A 350°F oven works too, about 6 to 10 minutes depending on thickness.
Common mistakes
- Iron not hot enough: Leads to pale waffles that stick. Fully preheat and lightly grease if your iron needs it.
- Batter too thin: Can spread too fast and bake up limp. The batter should pour slowly and mound slightly before settling.
- Opening the lid too soon: Tears the waffle and ruins the grid. Wait for steam to slow down before checking.
- Stacking hot waffles: Traps steam and softens the crust. Always use a rack.
- Overmixing: Makes waffles tougher. Whisk just until the flour disappears, then stop.
FAQ
Can I use discard straight from the fridge?
Yes. Cold discard is fine. You might need an extra 30 to 60 seconds of cook time since the batter starts cooler.
How thick should the batter be?
Think thick pancake batter that pours slowly. If you lift the whisk, it should fall in a ribbon and sit on the surface for a second before melting back in.
How do I know when the waffles are done?
Watch the steam. When it goes from vigorous to minimal, the waffle is usually set and crisping. The top should look dry, and the waffle should release easily when you lift the lid.
Why are my waffles not crisp?
Usually it is a heat issue or a steam issue. Preheat the iron longer, cook until steam slows, and cool on a rack instead of a plate.
Do I need to grease the waffle iron?
Many nonstick waffle irons do not need it, but a light brush of oil can help with browning and release, especially on older irons.
Sourdough Discard Waffles
Crisp, tangy waffles that use unfed sourdough discard as the backbone of the batter. Thick batter, bold flavor, and clear steam cues so you know exactly when they are done.
- Prep
- 10 minutes
- Cook
- 15 minutes
- Total
- 25 minutes
- Yield
- 6 waffles
Ingredients
- 1 1/2 cups (360 g) unfed sourdough discard
- 1/4 cup (60 g) milk or unsweetened oat milk (dairy-free option)
- 2 large eggs
- 4 tablespoons (56 g) melted butter or neutral oil (dairy-free option)
- 1 tablespoon (12 g) sugar
- 1 teaspoon vanilla extract
- 1 1/4 cups (150 g) all-purpose flour
- 2 teaspoons baking powder
- 1/2 teaspoon baking soda
- 3/4 teaspoon fine salt
- Neutral oil or cooking spray, for the waffle iron (as needed)
Instructions
- Preheat the waffle iron. Turn your waffle iron to medium-high or your preferred setting for crisp waffles. Let it preheat fully, about 5 to 10 minutes depending on the model. If you are holding waffles for a group, preheat the oven to 200°F and set a wire rack on a sheet pan.
- Mix the wet ingredients. In a large bowl, whisk together the sourdough discard, milk (or oat milk), eggs, melted butter (or oil), sugar, and vanilla until smooth.
- Add the dry ingredients. Sprinkle in the flour, baking powder, baking soda, and salt. Whisk just until the flour disappears. The batter should be thick and pour slowly. If it feels spoonable like dough, add 1 to 2 tablespoons more milk. If it is thin and runny, add 1 to 2 tablespoons flour.
- Rest the batter. Let the batter sit for 5 minutes. This hydrates the flour and helps the waffles cook up with a better texture.
- Grease if needed, then add batter. Lightly oil the iron if your model tends to stick. Scoop or pour in batter until the wells are mostly filled. Close the lid and cook.
- Cook using steam cues. Cook until the steam is strong at first, then slows to a faint wisp and the waffle releases easily when you lift the lid, 4 to 7 minutes depending on your iron. If the waffle looks blond, close it and keep cooking another 30 to 60 seconds.
- Cool on a rack. Transfer the waffle to a wire rack (not a plate) to keep it crisp. Repeat with remaining batter. If desired, hold finished waffles in the 200°F oven directly on the rack or on the rack-lined sheet pan.
- Serve hot. Serve immediately with syrup, fruit, or your favorite toppings while the grid is at peak crunch.
Notes
Discard thickness varies: This recipe is written for discard from a standard 100% hydration starter (equal parts flour and water by weight). If your discard is very thick, you may need an extra splash of milk to get a thick but pourable batter. The batter should spread slowly when it hits the iron.
For extra crisp waffles: Choose a higher heat setting, cook until steam is minimal, and avoid stacking.
Make-ahead: These reheat beautifully in a toaster. Toast until the surface looks dry and feels crisp.