

If you have ever topped a pie, stepped away for a few hours, and come back to a soft puddle of cream, you already understand why stabilized whipped cream is worth learning. This is the version I make when I need whipped cream to behave on a holiday dessert table, on a cake that is waiting to be sliced, or in a piping bag for pretty rosettes that should stay crisp.
Stabilized whipped cream is simply heavy cream whipped with a small amount of extra structure. Depending on what you have in your pantry and what you are topping, you can stabilize it with gelatin, cornstarch, instant pudding mix, or cream cheese. Each option has a slightly different texture and best use case.
In the guide below, I will walk you through when to add each stabilizer, how long it holds at cool room temperature versus the fridge, and exactly how to pipe it cleanly without overwhipping. The recipe card at the bottom gives you my go-to gelatin method, plus quick notes so you can swap to a different stabilizer if that better fits your dessert.
Quick choose-your-method guide
- Gelatin: strongest hold and most neutral flavor. Best for piping, layer cakes, and make-ahead pies.
- Cornstarch: no gelatin needed, subtle “set” and slightly more matte finish. Great for casual pies and spooning.
- Instant pudding mix: easiest pantry shortcut, slightly thicker and a little sweeter. Great for kid-friendly desserts and creamy fruit dips.
- Cream cheese: tangy, rich, and super stable. Best for cupcakes, carrot cake, and anything that loves a little cheesecake vibe.
How long stabilized whipped cream holds
These times assume a typical indoor environment and a standard heavy cream (36 to 40 percent milk fat). Warmer rooms and lower-fat cream will shorten the hold time.
- Gelatin stabilized: about 4 to 6 hours at cool room temperature (around 68F), and 2 to 3 days in the fridge.
- Cornstarch stabilized: about 2 to 4 hours at cool room temperature, and 24 to 48 hours in the fridge.
- Instant pudding mix stabilized: about 2 to 4 hours at cool room temperature, and 2 days in the fridge.
- Cream cheese stabilized: about 4 to 6 hours at cool room temperature, and 3 to 4 days in the fridge.
Food safety note: For any dairy topping, I treat 2 hours at room temperature as the safe default if you are unsure of the temperature or if the dessert is sitting in a warm spot. When in doubt, refrigerate and top closer to serving.
When to add each stabilizer (timing matters)
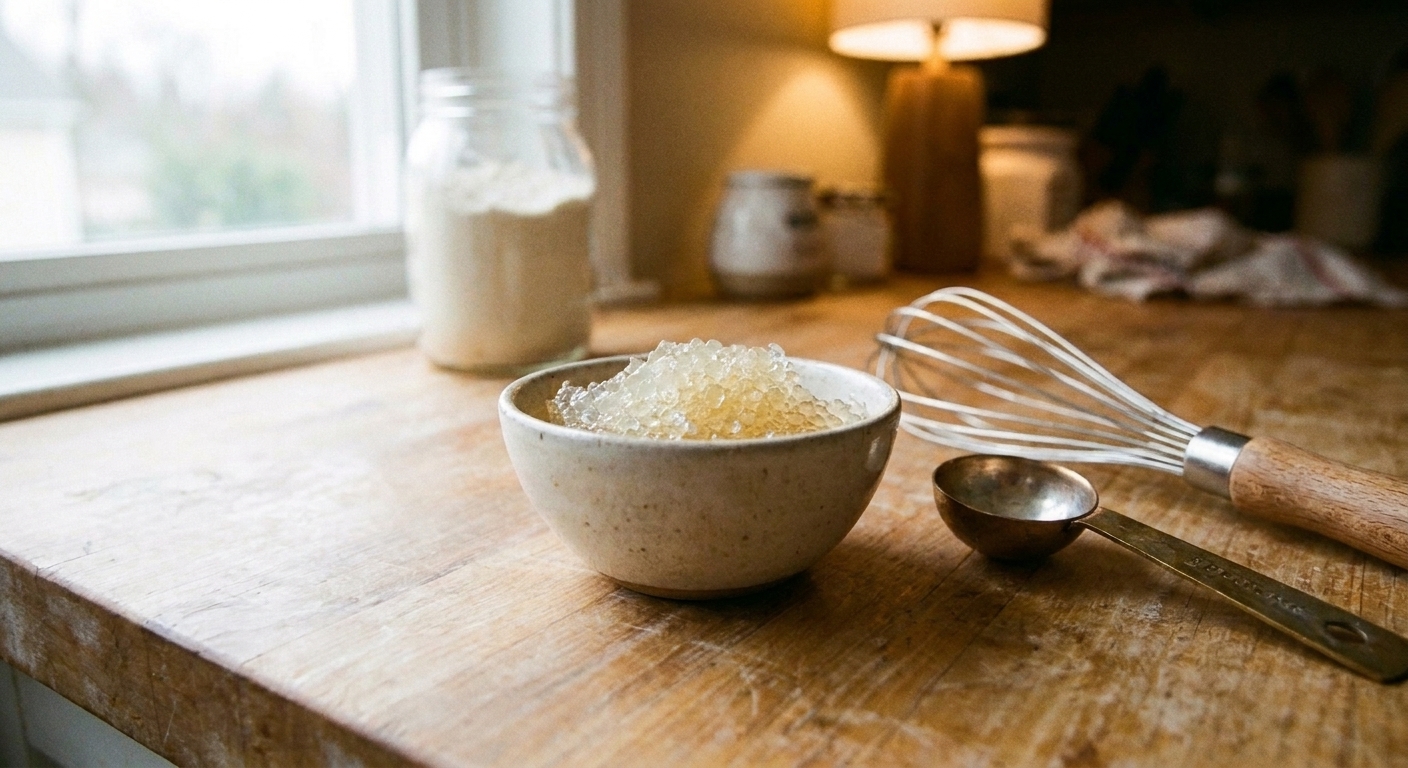
Gelatin
Add it after the cream is foamy and starting to thicken, but before you reach soft peaks. You want the gelatin mixture to stream in smoothly and disperse quickly.
Cornstarch
Cook it first into a quick slurry so it can thicken. Add the cooled slurry once the cream is slightly thickened, then continue whipping to soft or medium peaks.
Instant pudding mix
Whisk the dry mix with the sugar first, then add it once the cream is foamy. Pudding mix thickens fast, so go slowly and watch the peaks.
Cream cheese
Beat the cream cheese with the sugar first until smooth, then stream in the cream and whip. Cream cheese needs to be fully smooth before the cream goes in or you can end up with little lumps.
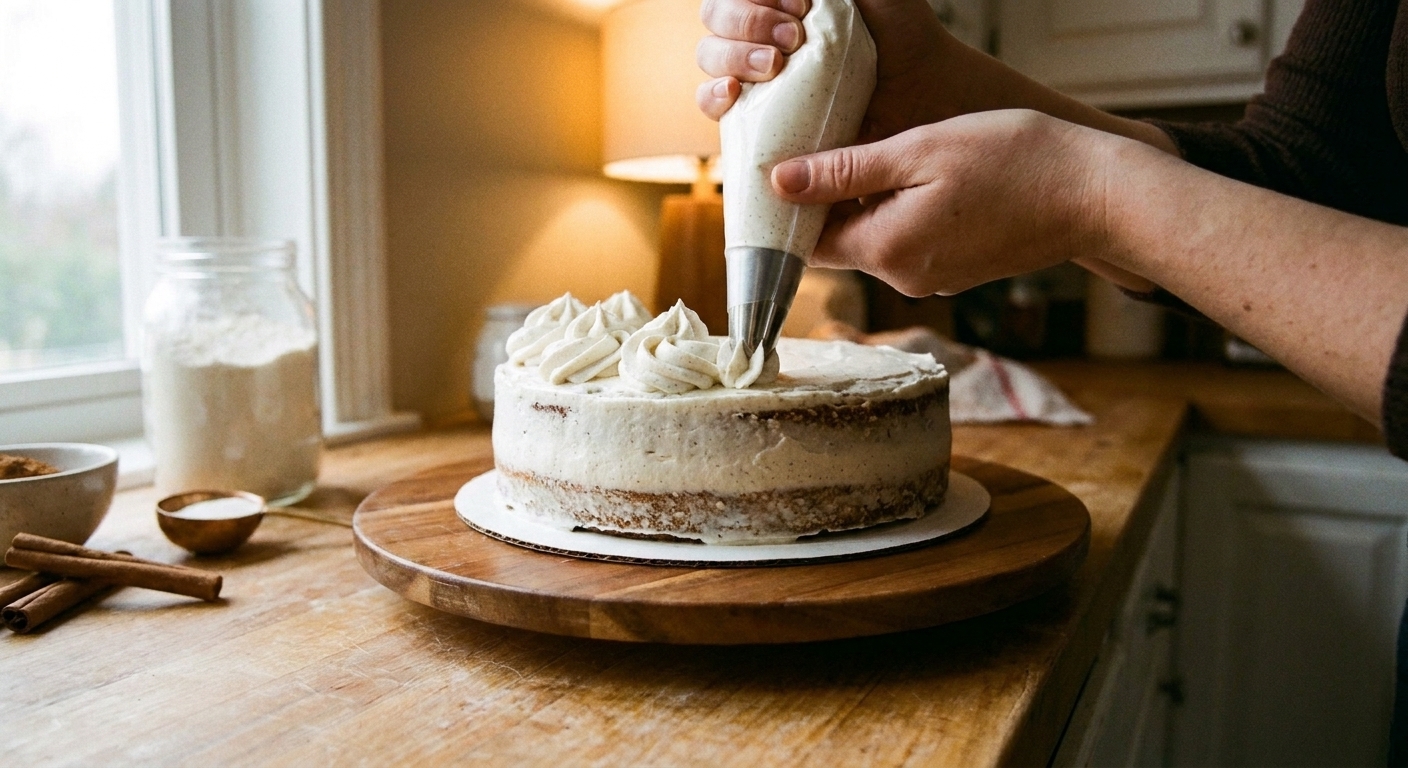
Piping stabilized whipped cream
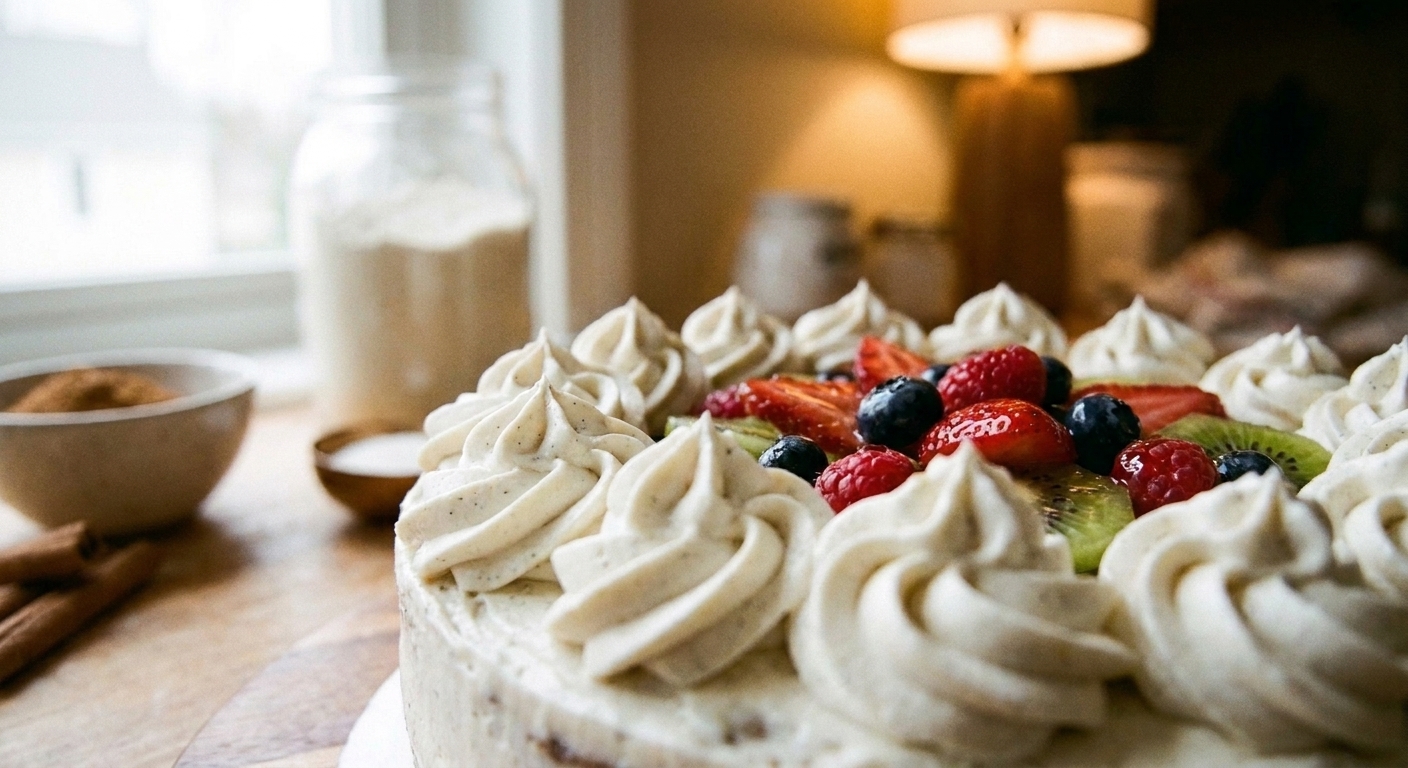
Stabilized whipped cream pipes beautifully as long as you stop at the right peak.
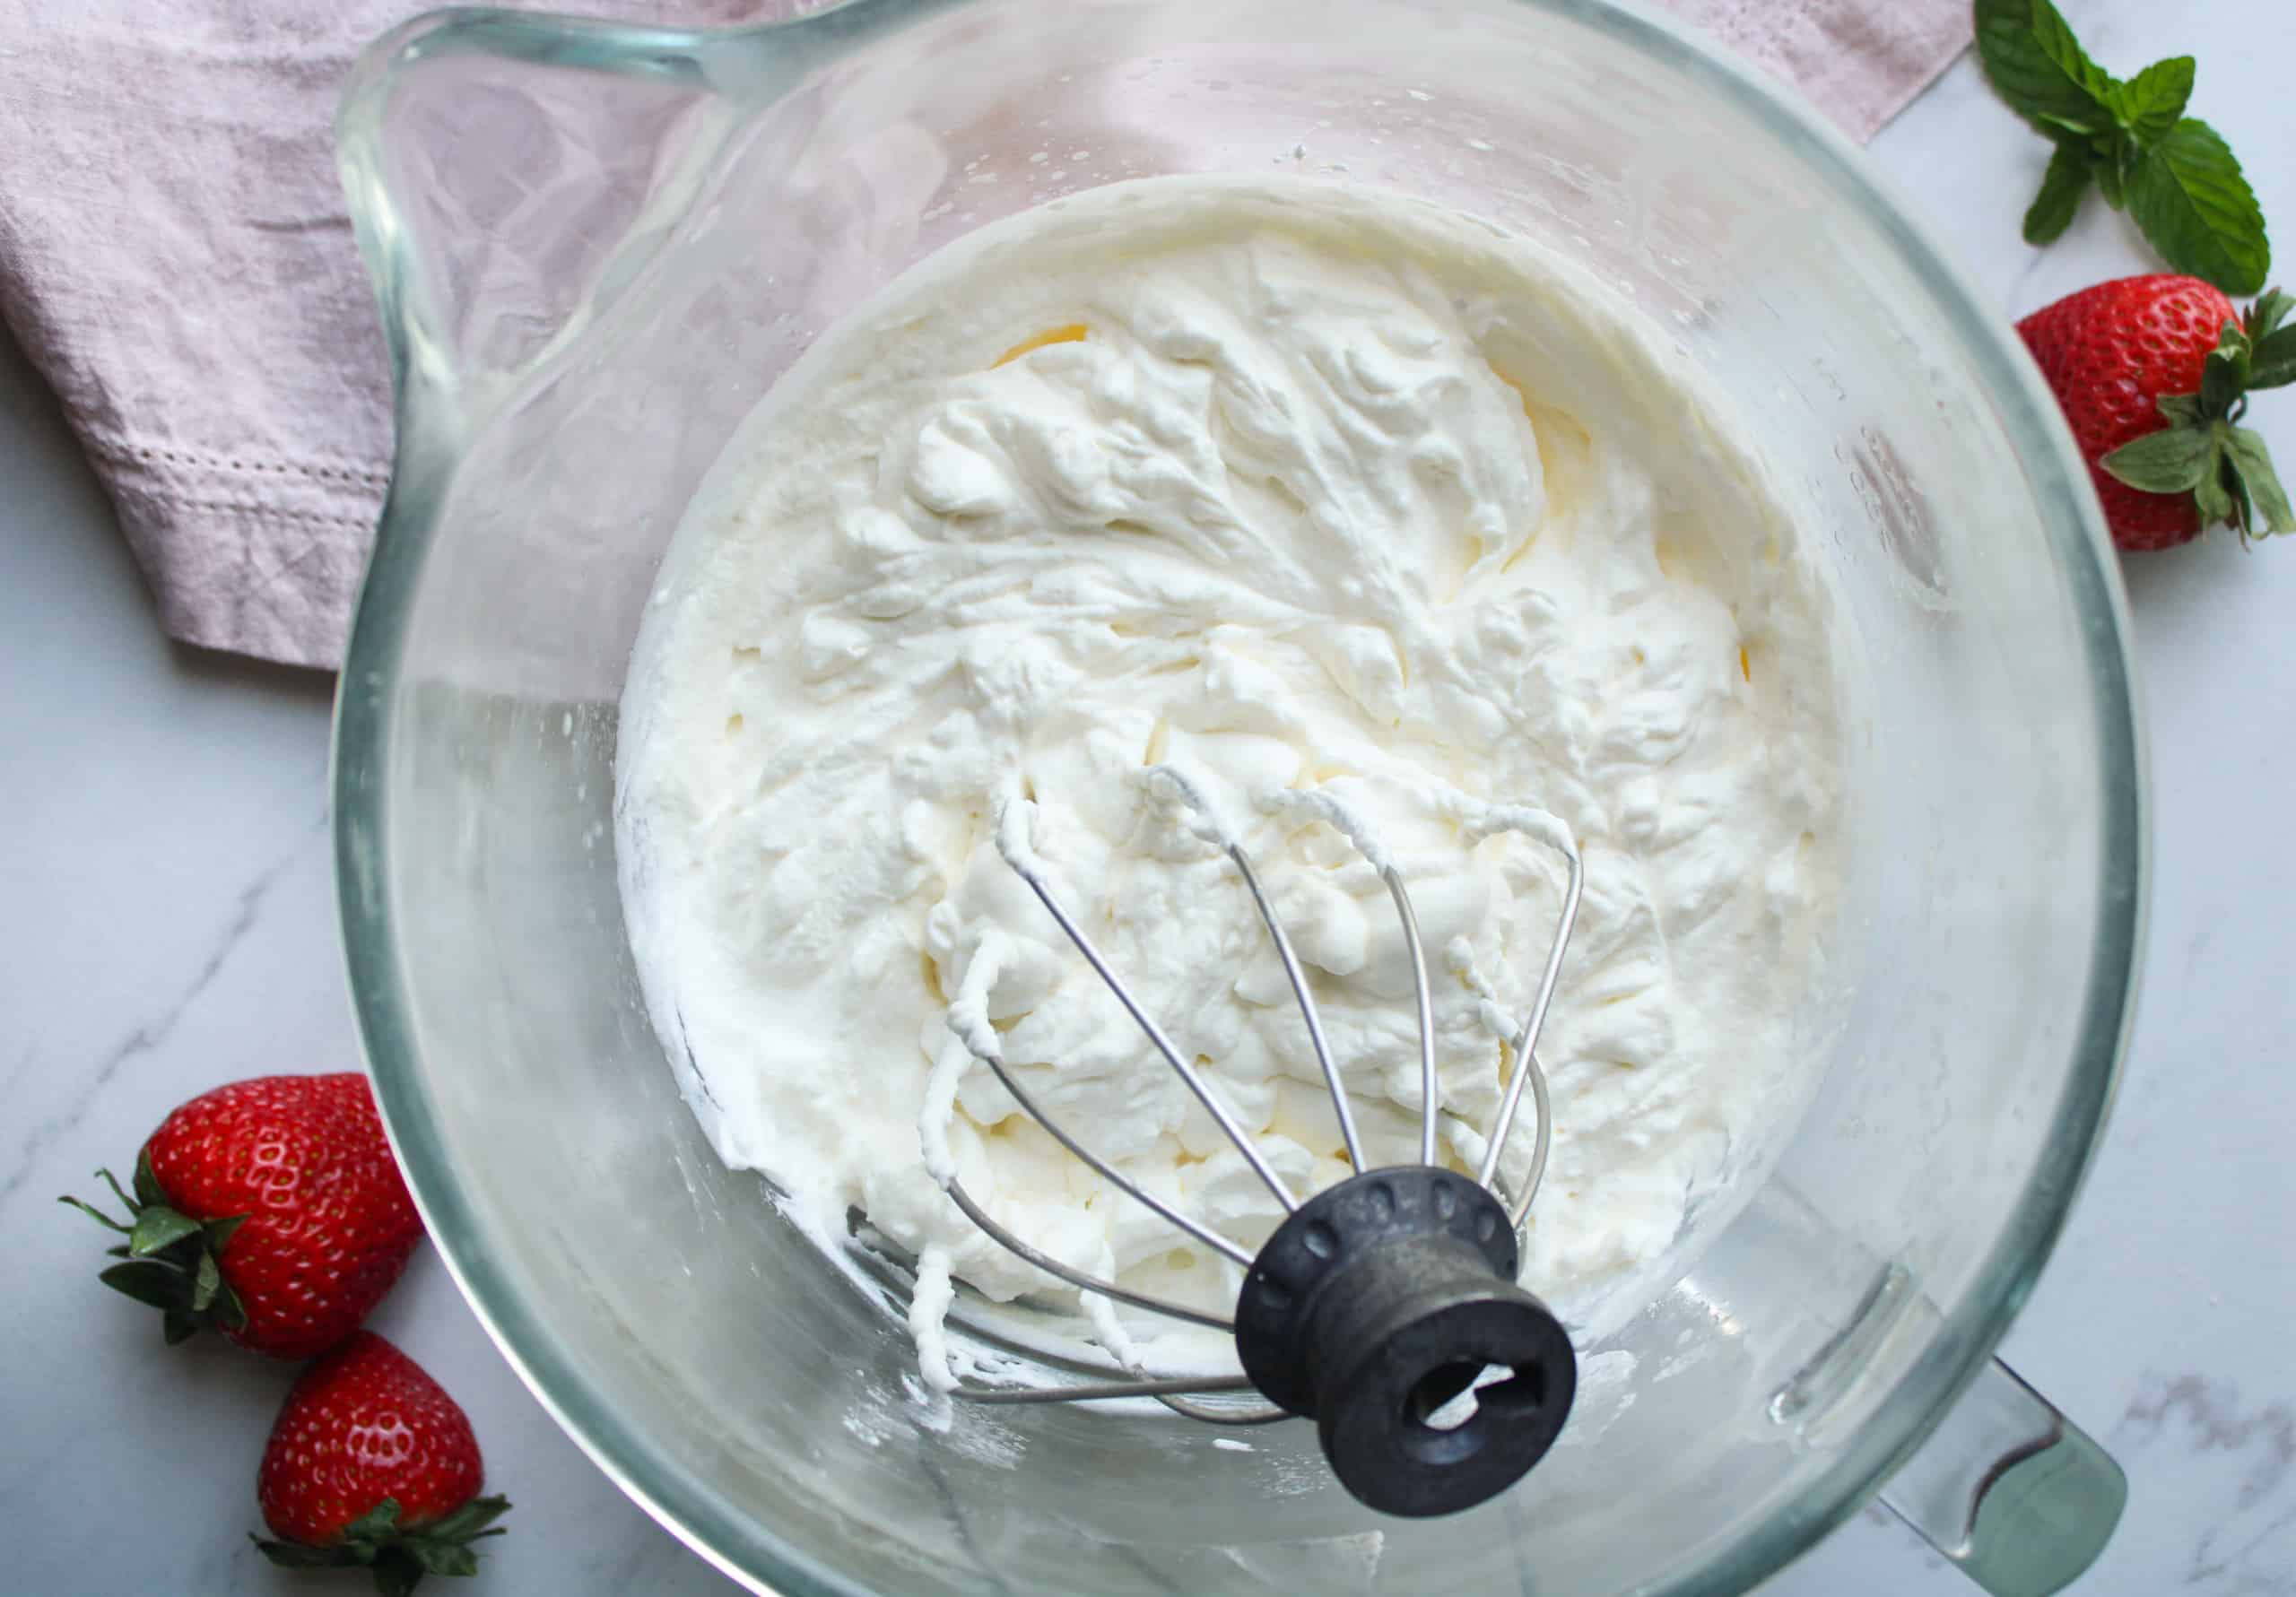
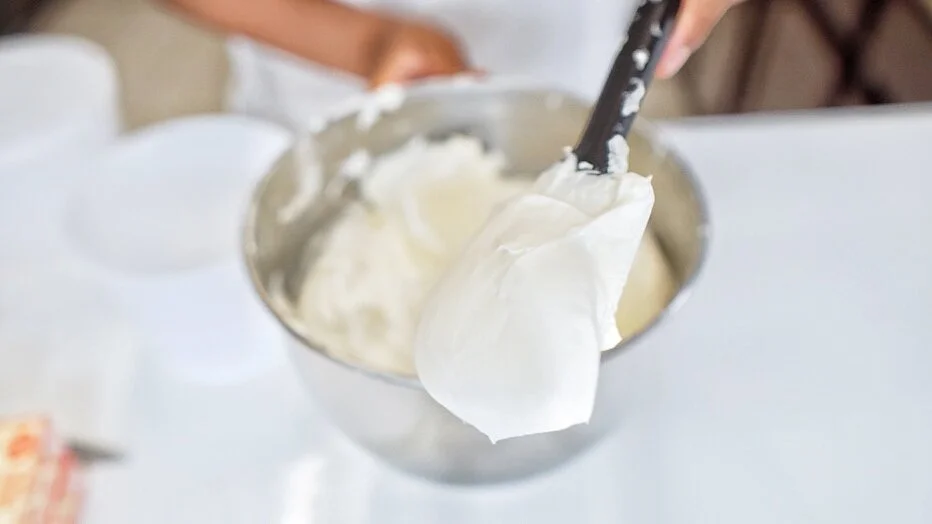
- Best peak for piping: medium peaks. The whipped cream should hold a defined ridge, but the tip of the peak will curl slightly.
- Chill your tools: If your kitchen runs warm, chill the mixing bowl and whisk for 10 minutes. Cold tools buy you time.
- Load the bag cleanly: Stand the piping bag in a tall glass, fold the top over the rim, then spoon the cream in. Unfold and twist the top firmly to build pressure.
- Keep it cool: If you are piping a lot of decorations, pop the bag in the fridge for a few minutes whenever it starts to feel soft.
Why this recipe works
- Stability without heaviness: A small amount of stabilizer reinforces the foam structure so the cream holds peaks longer without turning dense.
- Gelatin method is the most predictable: Blooming then gently dissolving gelatin lets it disperse evenly, giving you a smooth, pipeable whipped cream that stays fluffy.
- Clear stopping point: Whipping to medium peaks gives you definition for piping and spreading, with a cushiony mouthfeel instead of a butter-like finish.
- Make-ahead friendly: You can top pies and cakes in advance and still get clean slices and sharp swirls later.
Ingredient notes
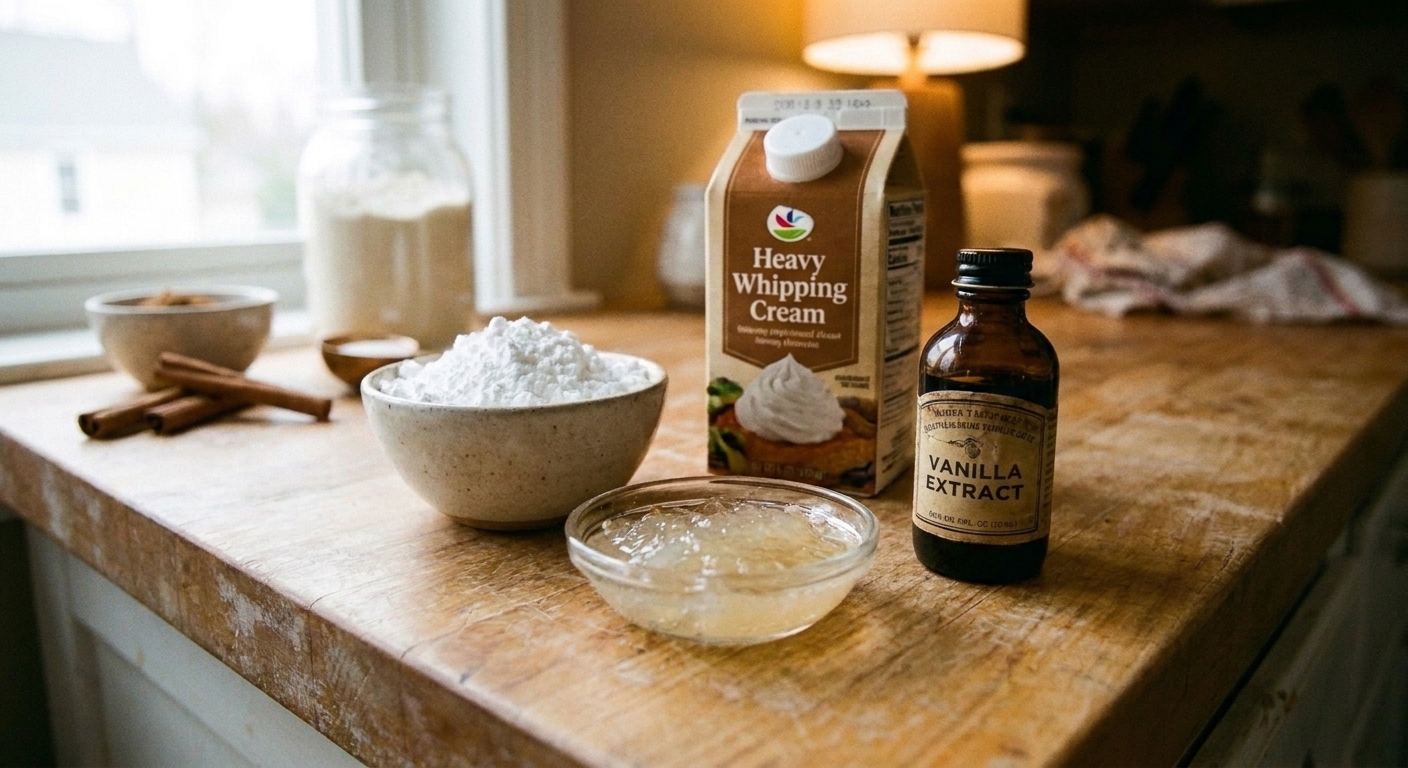
Heavy cream: Use heavy cream or heavy whipping cream, ideally 36 percent milk fat or higher. Cream labeled “whipping cream” can be lower fat and will not hold as well.
Powdered sugar: Sweetens and helps slightly with stability thanks to its starch. It also dissolves instantly so the texture stays silky.
Gelatin: Unflavored powdered gelatin is the most neutral. You will bloom it in cold water, then warm it just until melted. If it gets too hot, let it cool briefly so it is fluid but not warm.
Vanilla and salt: A small pinch of fine salt makes whipped cream taste more like itself. Vanilla is optional, but lovely on most pies and cakes.
Equipment you will need
- Stand mixer with whisk attachment, or hand mixer
- Large mixing bowl (metal chills quickly, but any bowl works)
- Small microwave-safe bowl or small saucepan (for melting gelatin)
- Measuring spoons and cups
- Rubber spatula
- Piping bag and tip (optional for decorating)
Pro tips
- Start on medium speed: Begin whisking on medium to build smaller, more stable bubbles, then increase speed once the cream thickens.
- Temper the gelatin: If you are nervous about streaks, whisk a spoonful of semi-whipped cream into the melted gelatin first, then pour that mixture back into the bowl while mixing.
- Watch the texture, not the clock: Stop when the whisk leaves clear trails and the peaks stand up with a slight curl. Overwhipped cream looks grainy and starts to clump.
- For ultra-clean piping: Chill the filled piping bag for 10 minutes, then pipe. Cold cream holds sharper ridges.
- Acid balance tip: If your dessert is very sweet, a tiny squeeze of lemon juice can brighten the whipped cream. Start with 1/4 teaspoon and taste.
Substitutes that work
- No powdered sugar: Use granulated sugar, but whip a little longer to dissolve it. Expect a slightly less silky texture.
- No gelatin: Use the cornstarch, pudding mix, or cream cheese methods described in the article. Gelatin gives the strongest, most neutral hold, but the others work for many desserts.
- Dairy-free: Coconut cream can be whipped and stabilized, but it behaves differently and can soften quickly in warmth. If you go this route, keep it cold and plan to serve sooner.
Variations
- Citrus: Add 1 teaspoon finely grated lemon or orange zest with the powdered sugar.
- Spiced: Add 1/2 teaspoon cinnamon or pumpkin pie spice for fall pies.
- Chocolate: Sift in 2 tablespoons cocoa powder with the powdered sugar.
- Maple: Replace half the powdered sugar with maple syrup. Whip slightly longer and keep it colder since added liquid can soften peaks.
Serving ideas
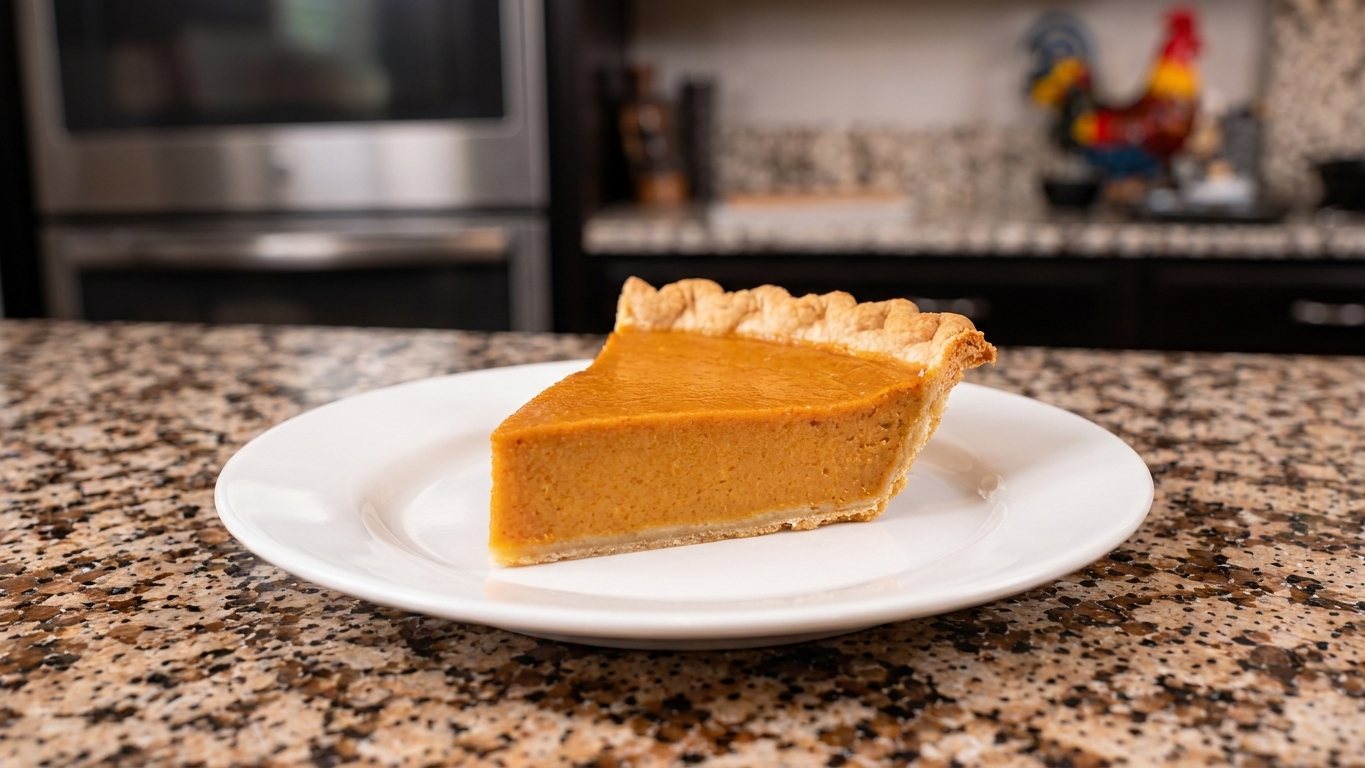
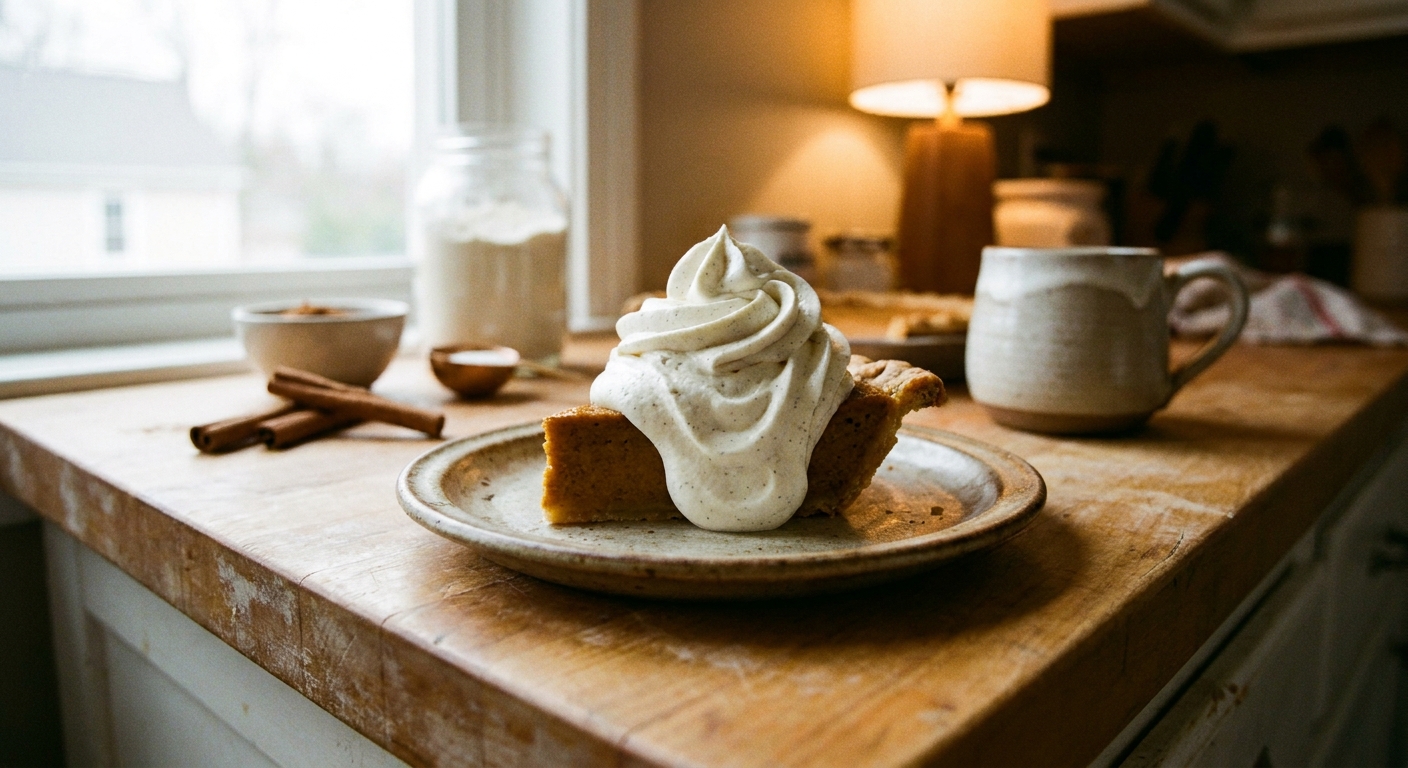
- Pipe onto pumpkin pie, pecan pie, and chocolate cream pie for slices that stay neat.
- Frost cupcakes with a large star tip for a light, mousse-like finish.
- Use as a filling layer for sponge cake with berries.
- Dollop over hot cocoa, affogato, or fruit crisps right before serving.
Storage and reheating
- Fridge: Store stabilized whipped cream in an airtight container for up to 2 to 3 days (gelatin method). If it is piped onto a dessert, loosely tent with plastic wrap if possible to protect the ridges.
- After chilling: If the texture tightens slightly, give it a gentle stir or a few quick whisks by hand to loosen. Do not rewhip aggressively or it can turn grainy.
- Freezing: I do not recommend freezing classic dairy whipped cream for a smooth, fresh texture. It can weep when thawed.
Common mistakes
- Pouring gelatin in too hot: Hot gelatin can partially melt the foam and create streaks. It should be fluid, not steaming or hot to the touch.
- Adding gelatin too late: If you wait until stiff peaks, the gelatin does not incorporate evenly and you risk little set bits.
- Overwhipping: Grainy, clumpy cream is on its way to butter. Stop at medium peaks for piping, or soft peaks for spooning.
- Using low-fat cream: Half-and-half and light cream will not whip to a stable structure.
- Warm kitchen drift: If the bowl feels warm, pause and chill the bowl and mixture for 10 minutes, then continue.
FAQ
Does stabilized whipped cream taste like gelatin?
Not when you use a small amount. The goal is structure, not a set dessert. If you can taste gelatin, it is usually too much or the gelatin was not dissolved fully.
Soft peaks or stiff peaks for stabilized whipped cream?
For topping and spooning, stop at soft peaks. For piping borders and rosettes, stop at medium peaks. I avoid true stiff peaks because the texture starts to feel heavy and can turn grainy faster.
Can I make it the day before?
Yes. Gelatin stabilized whipped cream is the best choice for making it a day ahead. Store it airtight in the fridge, then give it a quick, gentle whisk before using if needed.
Why is my whipped cream watery the next day?
Common culprits are underwhipping, using lower-fat cream, or temperature swings. Stabilizers help a lot, but cold storage and proper peaks matter just as much.
Can I color stabilized whipped cream?
Yes. Use gel food coloring and add it near the end of whipping. Liquid coloring can thin the cream.
Stabilized Whipped Cream
My go-to stabilized whipped cream using gelatin. It pipes cleanly, stays fluffy for hours, and holds up beautifully on pies and cakes.
- Prep
- 10 minutes
- Cook
- 1 minute
- Total
- 11 minutes
- Yield
- About 3 cups
Ingredients
- 1 teaspoon unflavored powdered gelatin
- 4 teaspoons cold water
- 1 cup cold heavy cream
- 1/4 cup powdered sugar
- 1 teaspoon vanilla extract (optional)
- Pinch of fine salt
Instructions
- Bloom the gelatin. In a small microwave-safe bowl, sprinkle the gelatin over the cold water. Let stand 5 minutes until the gelatin absorbs the water and looks firm and wrinkled.
- Start whipping the cream. Add the cold heavy cream, powdered sugar, vanilla (if using), and salt to a large bowl or the bowl of a stand mixer. Whip on medium speed until the cream is foamy and just starting to thicken, about 30 to 60 seconds.
- Melt the gelatin. Microwave the bloomed gelatin in 5-second bursts, stirring between each, just until melted and fluid. It should be liquid, not hot.
- Stream in the gelatin. With the mixer running on medium-low, slowly drizzle the melted gelatin into the cream (aim for the side of the bowl, not directly onto the whisk). Once added, increase to medium-high and whip until soft to medium peaks, 30 to 90 seconds more. For piping, stop at medium peaks.
- Use immediately or chill briefly. Spoon onto desserts, or transfer to a piping bag and pipe right away. If it feels a touch soft, chill the bowl or piping bag for 10 minutes, then pipe.
Notes
Peak cues: Soft peaks gently droop. Medium peaks hold their shape with a slight curl at the tip and show clear ridges.
If you see gelatin specks: The gelatin cooled too much before going in, or it hit the cold whisk. Next time, drizzle more slowly and consider tempering by whisking 1 tablespoon partially whipped cream into the melted gelatin before adding it back.
Alternative stabilizers: For a non-gelatin option, use cornstarch, instant pudding mix, or cream cheese methods described in the article. Each changes the flavor and texture slightly.