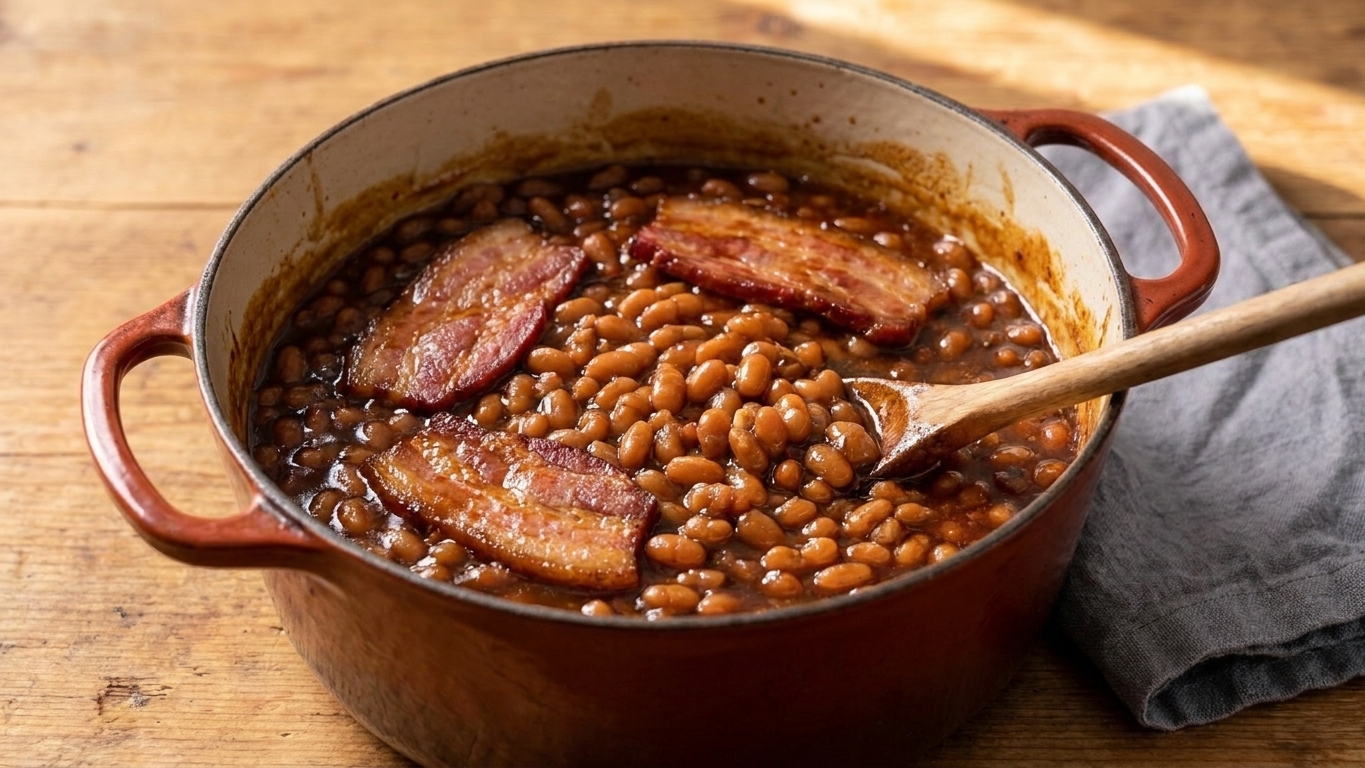

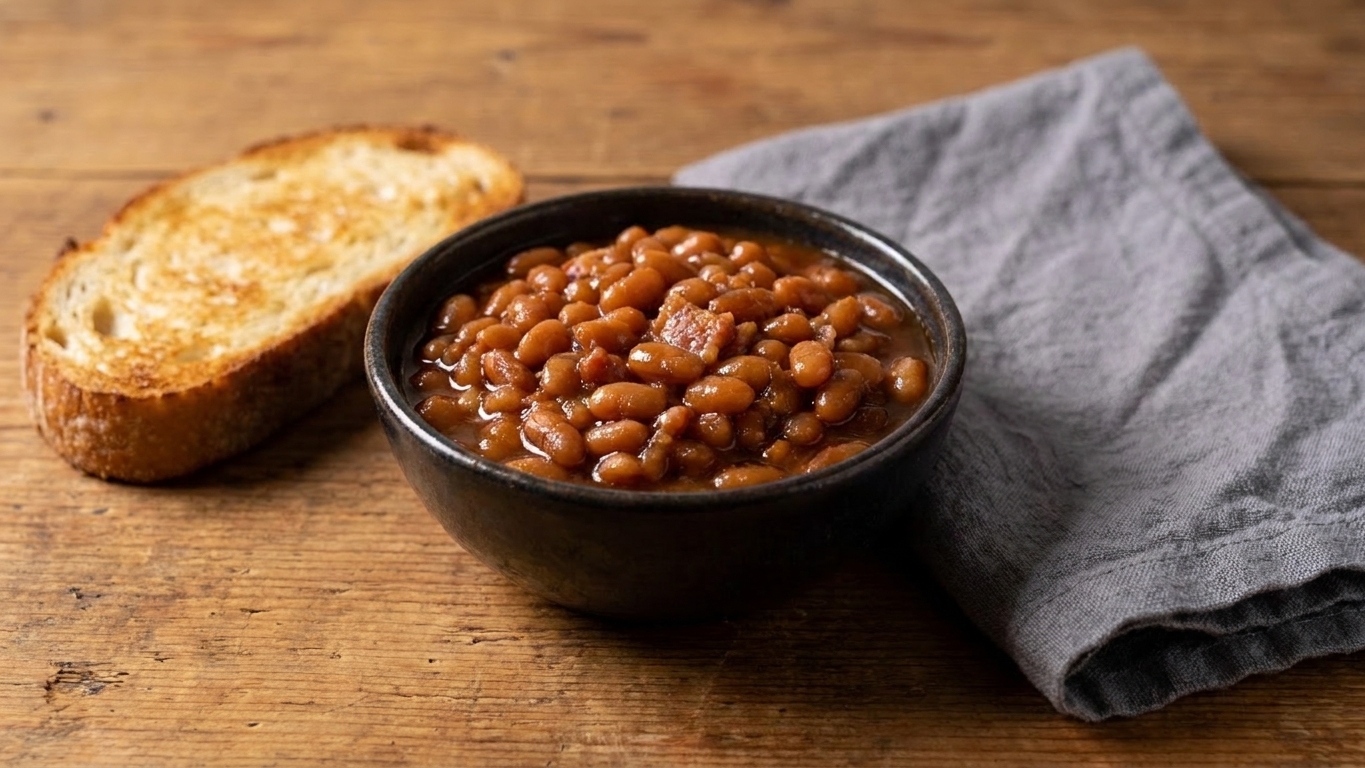
Boston baked beans are what I make when I want the house to smell like comfort for hours: navy beans tucked under a tight lid in a Dutch oven (or any heavy, lidded oven-safe pot), slowly turning tender in a molasses and mustard sauce while salt pork (or bacon) does its rich, savory thing. The goal is not soup and not dry beans. It is a thick, glossy pot where the sauce clings to every bean.

Two decisions make or break the texture: your soak choice and how you manage the liquid during the bake. I will walk you through both, with sensory cues so you can keep the beans saucy rather than brothy.
One more thing that makes this feel easy instead of fussy: I am a big fan of a short pre-simmer after soaking. It is optional, but it gives you a more predictable bake and creamier beans, especially if your bag has been in the pantry for a while.
This is a fantastic make-ahead dish. Like most slow-cooked bean recipes, it gets even better after a night in the fridge, when the sauce tightens and the flavors settle into each other. When you reheat, be ready with a splash of hot water to bring back that glossy, spoon-coating consistency.
Soak options
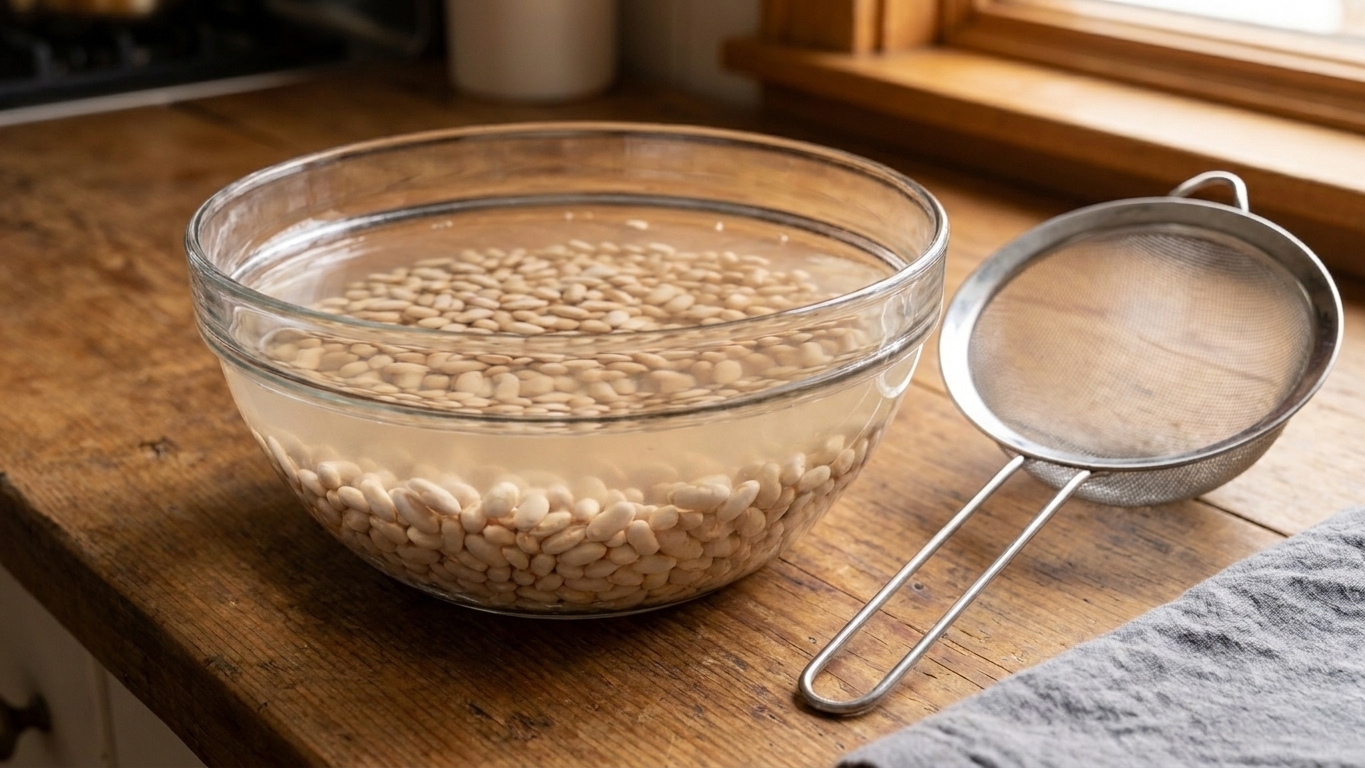
Overnight soak (best texture, most predictable): Cover the beans with plenty of cold water and soak 8 to 12 hours. Drain and rinse.
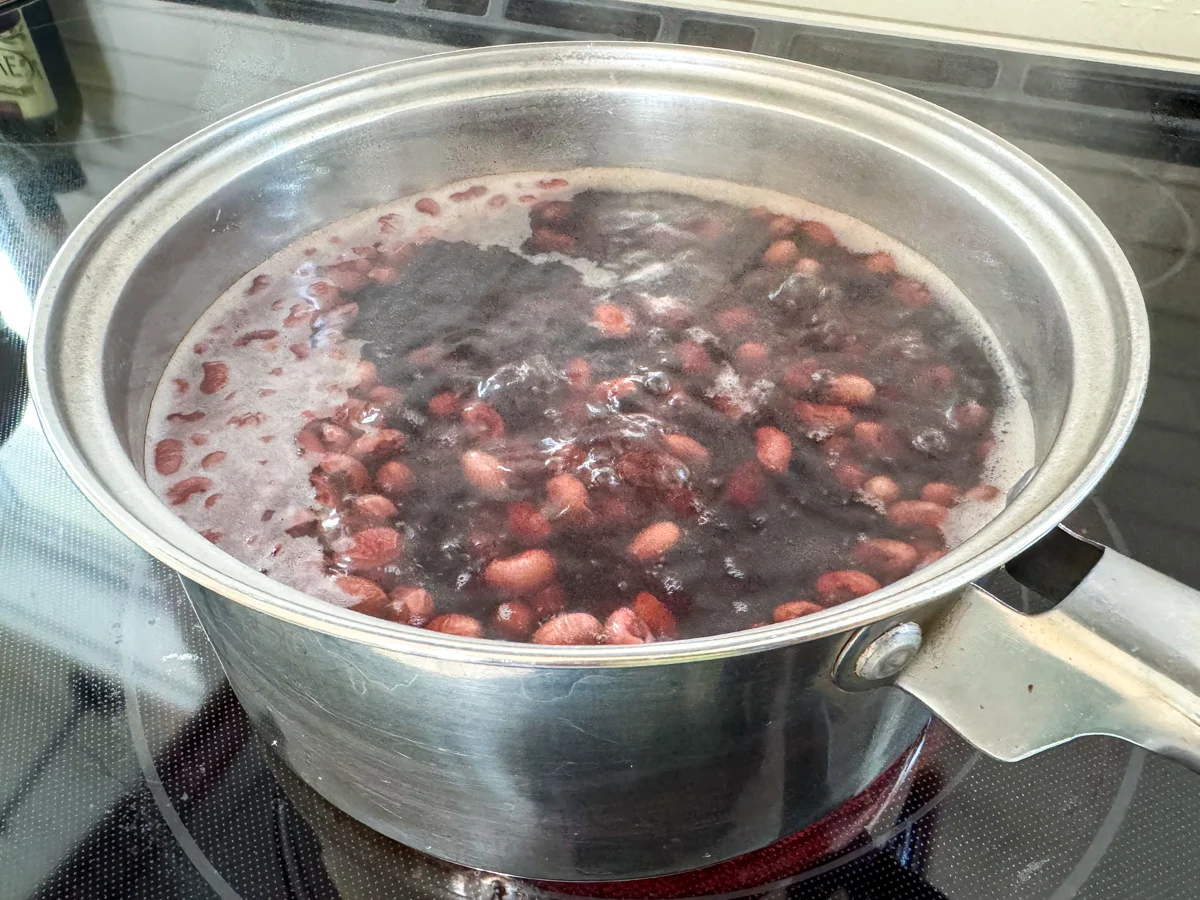
Quick soak (same-day, very reliable): Cover beans with water by a few inches, bring to a boil for 2 to 5 minutes, then cover and let sit 1 hour. Drain and rinse.
No soak (works, but least predictable): You can bake from dry, but plan extra time and expect more liquid adjustments. If your beans are older, they may take a very long time to soften without a soak or a short simmer first. If you are new to baked beans, I recommend the quick soak for the best odds of perfectly tender beans.
Flavor basics
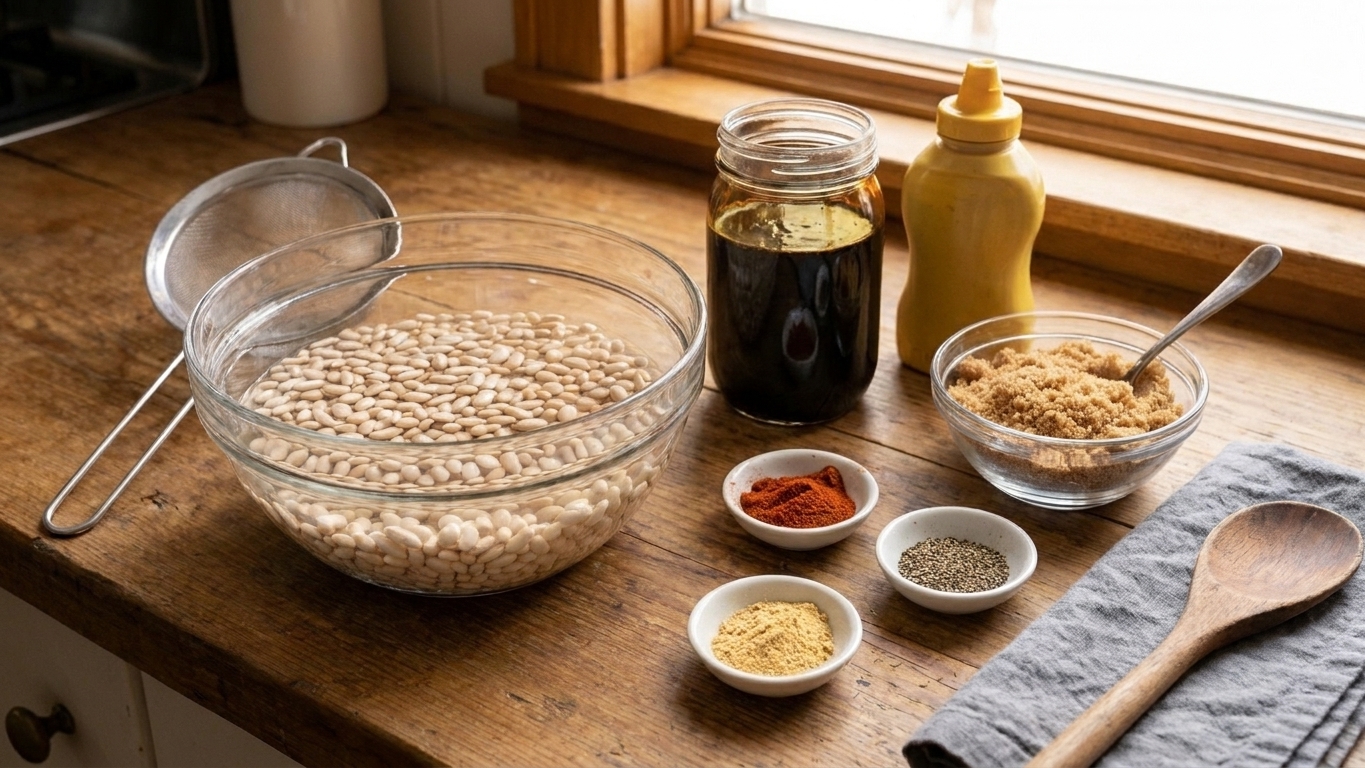
The classic Boston baked beans profile is sweet, salty, and just sharp enough to keep you going back for another spoonful. Molasses is the heart of it. Brown sugar rounds it out. Mustard keeps it from tasting flat. Onion melts into the sauce and makes it taste like it has been cooking all day, because it has.
If you like to tinker, the traditional flavor set has a lot of wiggle room. Yellow mustard tastes most classic, Dijon reads a little sharper, and a couple of cloves (or even just a whisper of black pepper) can lean the whole pot in an old-school direction without changing the spirit of the dish.
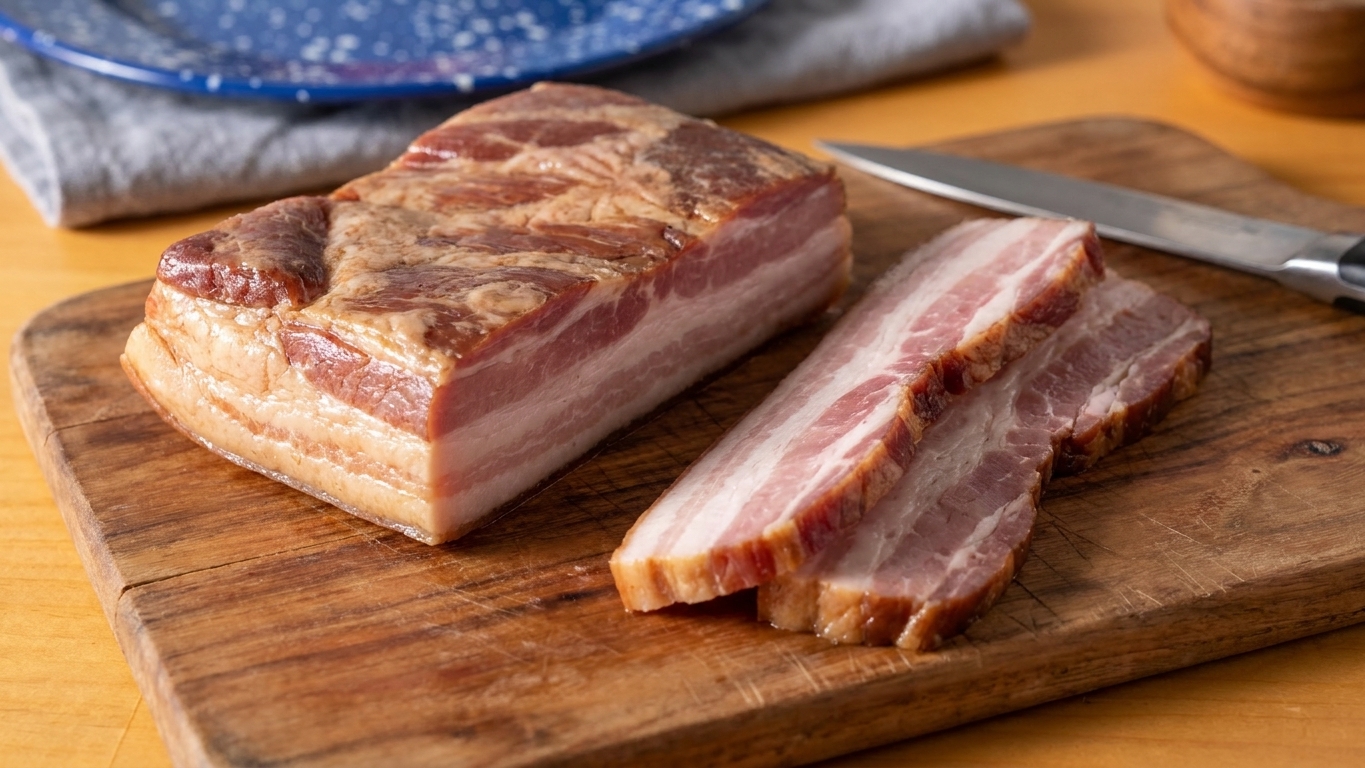
Salt pork is traditional and gives you that deep, savory richness. Bacon is easier to find and a little smokier. Either way, I like laying it right on top so the fat renders down into the beans as they bake.
A quick note on salt: because salt pork and bacon vary a lot, and because the sauce reduces as it bakes, I season lightly at the start and do my real salting at the end, when the sauce is where I want it.
Timing and checkpoints
Low and slow is the whole point here. I like a 300°F oven because it softens the beans gently without beating up the skins. Total bake time is usually 3 to 6 hours depending on bean age, pot shape, and whether you soaked and pre-simmered. I start checking in earnest around the 3-hour mark.
My checkpoints are simple.
Early on: The pot will look loose and a little watery. That is normal.
Midway: Check that the beans are still nestled in liquid. If the level has dropped below the beans, add hot water. Hot water keeps the pot temperature steady so the bake does not lose momentum.
Near the end: Once the beans are tender, that is when you decide how thick you want the sauce and manage the lid accordingly.
Saucy, not brothy
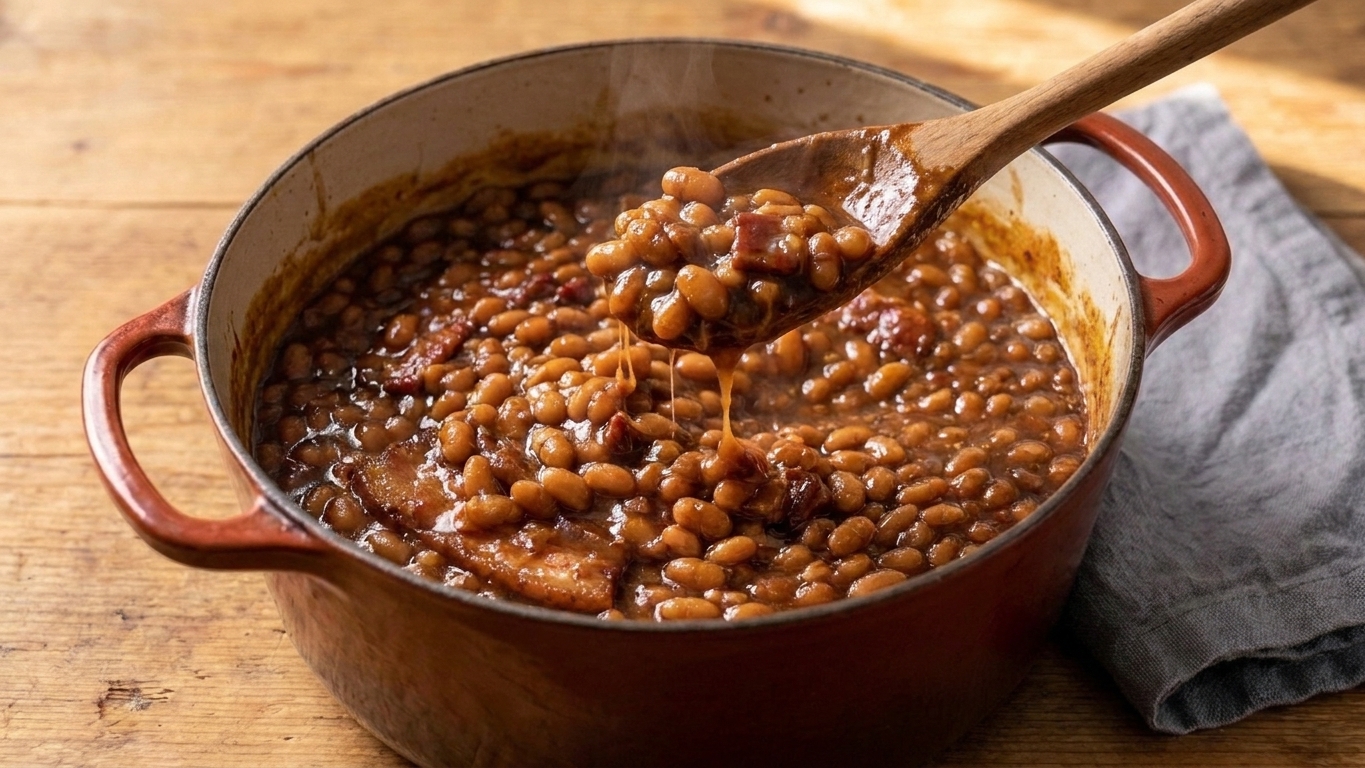
As the beans soften and release starch, the liquid turns silky and starts to thicken. By the end, you want a spoon to drag through the pot and leave a trail that slowly fills back in.
If it looks like bean soup, you need more evaporation. Crack the lid for the final stretch, or remove it for the last 20 to 40 minutes once the beans are fully tender.
If it looks dry or the beans are peeking out with no liquid around them, add hot water a splash at a time and keep the lid tight until everything looks plush again.
Why this recipe works
- Low oven heat + a tight lid keeps the beans tender and intact while the sauce reduces gently.
- Molasses and brown sugar bring sweetness and a deep, caramel-like bitterness that tastes distinctly New England.
- Mustard and a small hit of acid keep the flavor from turning flat or cloying.
- Salt pork or bacon on top bastes the beans as it renders, building savory depth without complicated steps.
- End-of-bake lid management lets you choose your final texture: glossy and saucy, not thin and brothy.
Ingredient notes
- Navy beans: The classic choice. Small, creamy, and they thicken the sauce naturally. Pick through for tiny stones and rinse well.
- Salt pork or thick-cut bacon: Salt pork is traditional and very rich. Bacon is easier to find and adds smoke. Either works.
- Molasses: Use unsulphured molasses. Blackstrap can be harsh and overly bitter here.
- Brown sugar: Supports the molasses and helps the sauce turn glossy.
- Yellow mustard (or Dijon): Yellow is classic. Dijon tastes a bit sharper and more modern.
- Onion: A whole small onion studded with cloves is old-school and subtle, but chopped onion also works and melts into the sauce.
- Salt: Go easy at first, especially if using salt pork. Adjust at the end when the sauce has reduced.
Equipment you will need
- Heavy Dutch oven or bean pot with a lid (enameled cast iron is great)
- Fine mesh strainer for draining soaked beans
- Large bowl (if soaking overnight)
- Kettle or saucepan to keep hot water ready for adjustments
- Wooden spoon for gentle stirring near the end
Pro tips
- Start with hot water for adjustments: Hot water keeps the pot temperature steady so the beans keep cooking at the same pace. Keep a kettle on.
- Do not boil the beans hard: A vigorous boil can split skins. Aim for a lazy, gentle bubble in the oven.
- Stir only near the end: Early stirring can break beans. I stir once the beans are tender, just to check thickness.
- Control thickness with the lid: Tight lid for tenderness. Lid cracked for reduction. No lid for the last 10 to 20 minutes if you need a thicker finish.
- Taste at the finish line: Once the sauce is reduced, adjust salt and acid. A teaspoon of vinegar can make the whole pot pop.

Substitutes that work
- No salt pork: Use thick-cut bacon, or a mix of bacon and a tablespoon of butter for richness.
- No molasses: You can use dark corn syrup in a pinch, but the flavor will be less classic. If you do this, consider adding an extra teaspoon of vinegar at the end for balance.
- Vegetarian option: Skip the pork and use 2 tablespoons neutral oil plus 1 teaspoon smoked paprika for a little depth. You will likely need a bit more salt at the end.
- Mustard: Yellow, Dijon, or a mix of both works.
Variations
- Maple baked beans: Replace a portion of the brown sugar with maple syrup for a softer, woodsy sweetness.
- Extra savory: Add a bay leaf and a pinch of black pepper. Keep it subtle so the molasses still leads.
- Spicy-sweet: Add a small pinch of cayenne or a few shakes of hot sauce. The heat should whisper, not shout.
Serving ideas
- With brown bread or toast for the most classic pairing
- Alongside grilled hot dogs or sausages
- With roasted chicken and a crisp, vinegary slaw
- Spooned over a baked potato for a cozy, low-waste dinner
- As a brunch side with eggs and fruit
Storage and reheating
- Refrigerate: Cool, then store airtight for up to 5 days. The beans will thicken as they sit.
- Reheat: Warm gently on the stovetop or in a low oven. Add hot water a tablespoon at a time to bring back a saucy texture.
- Freeze: Freeze in portions for up to 3 months. Thaw overnight in the fridge, then reheat slowly and loosen with a splash of hot water.
Common mistakes
- Ending up with bean soup: Crack the lid for the last 30 to 60 minutes and let the sauce reduce. Stir gently once the beans are tender.
- Beans turn dry and stiff: The pot likely needed more liquid or the lid was off too long. Add hot water, cover tightly, and keep baking until creamy again.
- Tough beans that never soften: Old beans can take much longer, and sometimes they need a soak plus a short simmer before baking. Also avoid adding lots of acidic ingredients too early. Keep vinegar for the end.
- Over-salting early: Salt pork and reduction concentrate salt. Season lightly at the start, then adjust at the end.
- Split skins: Too much boiling or aggressive stirring. Bake gently and stir late.
FAQ
Do I have to soak navy beans for baked beans?
No, but soaking makes the timing more predictable and the texture more creamy. If you skip soaking, plan on a longer bake and expect to add hot water a few times as the beans hydrate. If your beans are older, soaking or a short simmer first can make the difference between tender and stubborn.
What temperature should baked beans bake at?
A low oven is key. I like 300°F for steady tenderness without splitting the skins. If you need more reduction at the end, finish with the lid cracked or off rather than cranking the heat.
How do I keep baked beans saucy, not watery?
Use a tight lid for most of the bake so the beans soften in a concentrated environment. Then, once tender, manage the thickness by cracking the lid to evaporate excess liquid. If they are still thin, go lid-off for a short final stretch.
Why did my baked beans get too thick in the fridge?
That is normal. Starch continues to set as the beans cool. Reheat gently with a splash of hot water to loosen.
Boston Baked Beans
Classic navy beans slow baked with molasses, mustard, and salt pork (or bacon) until thick, sweet-savory, and perfectly saucy.
- Prep
- 20 minutes (plus soaking)
- Cook
- 3 to 5 hours
- Total
- 3 hours 20 minutes to 5 hours 20 minutes (plus soaking)
- Yield
- 8 servings
Ingredients
- 1 lb (about 2 cups) dried navy beans, picked over and rinsed
- Water, for soaking and baking (hot water for adjustments)
- 6 oz salt pork or thick-cut bacon
- 1 medium yellow onion, peeled (left whole) or 1 cup chopped onion
- 1/2 cup unsulphured molasses
- 1/3 cup packed brown sugar
- 2 tbsp yellow mustard (or Dijon)
- 1 1/2 tsp kosher salt, plus more to taste (use less if your salt pork is very salty)
- 1/2 tsp freshly ground black pepper (optional)
- 1 tbsp apple cider vinegar, plus more to taste
- 2 to 3 whole cloves (optional, for studding a whole onion)
Instructions
- Soak the beans (choose one option). Overnight soak: Place beans in a large bowl and cover with at least 3 inches of cold water. Soak 8 to 12 hours, then drain and rinse. Quick soak: Put beans in a pot and cover with at least 3 inches of water. Bring to a boil for 2 to 5 minutes, then cover, remove from heat, and let stand 1 hour. Drain and rinse. No soak: Rinse and proceed, but expect a longer bake and more hot-water adjustments. Very old beans may benefit from the optional blanch step to soften properly.
- Heat the oven. Preheat to 300°F.
- Optional blanch (helps tenderness and reduces bake time). Put soaked beans in a Dutch oven and cover with fresh water by 2 inches. Bring to a gentle simmer on the stove, then simmer 15 to 20 minutes. You are not cooking them through, just giving them a head start. Drain, reserving about 2 cups of the hot bean cooking liquid if you can (it helps keep the sauce silky).
- Build the sauce base. Return beans to the Dutch oven. Add the onion (whole or chopped), molasses, brown sugar, mustard, kosher salt, pepper (if using), and vinegar.
- Add liquid to bake. Add enough hot water (or a mix of hot water and reserved bean liquid) to just cover the beans by about 1/2 inch. Stir gently to combine. The mixture will look loose at this point.
- Add the pork. If using salt pork, score the fat in a shallow crosshatch. Lay salt pork or bacon on top of the beans.
- Bake covered, low and slow. Cover tightly and bake 2 1/2 hours. Check once or twice during baking. You want a gentle bubbling, not a hard boil. If the beans look like they are drying out, add hot water 1/2 cup at a time to keep the level around the top of the beans.
- Keep baking until tender. Continue baking, covered, for another 30 to 90 minutes, checking every 30 minutes, until the beans are creamy and tender all the way through. Total time depends on bean age and whether you soaked.
- Thicken to saucy (not brothy). Once the beans are tender, remove the lid and gently stir, scraping the bottom to prevent sticking. Bake uncovered 15 to 45 minutes, stirring once or twice, until the sauce is thick and glossy and clings to the beans. If it gets thicker than you like, stir in hot water a few tablespoons at a time.
- Finish and adjust. Remove the salt pork or bacon, slice or chop, and stir some back in if you like. Taste the beans and adjust with more salt and a small splash of vinegar if needed for balance. Let stand 10 to 15 minutes before serving so the sauce settles.
Notes
Salt level: Salt pork varies wildly. If you are unsure, start with 1 teaspoon salt and adjust at the end after the sauce has reduced.
For the best sauce texture: Reserved bean cooking liquid helps because it contains starch. If you did not reserve any, hot water still works fine.
Make-ahead: These beans are even better the next day. Reheat gently and loosen with hot water to bring back a saucy consistency.